

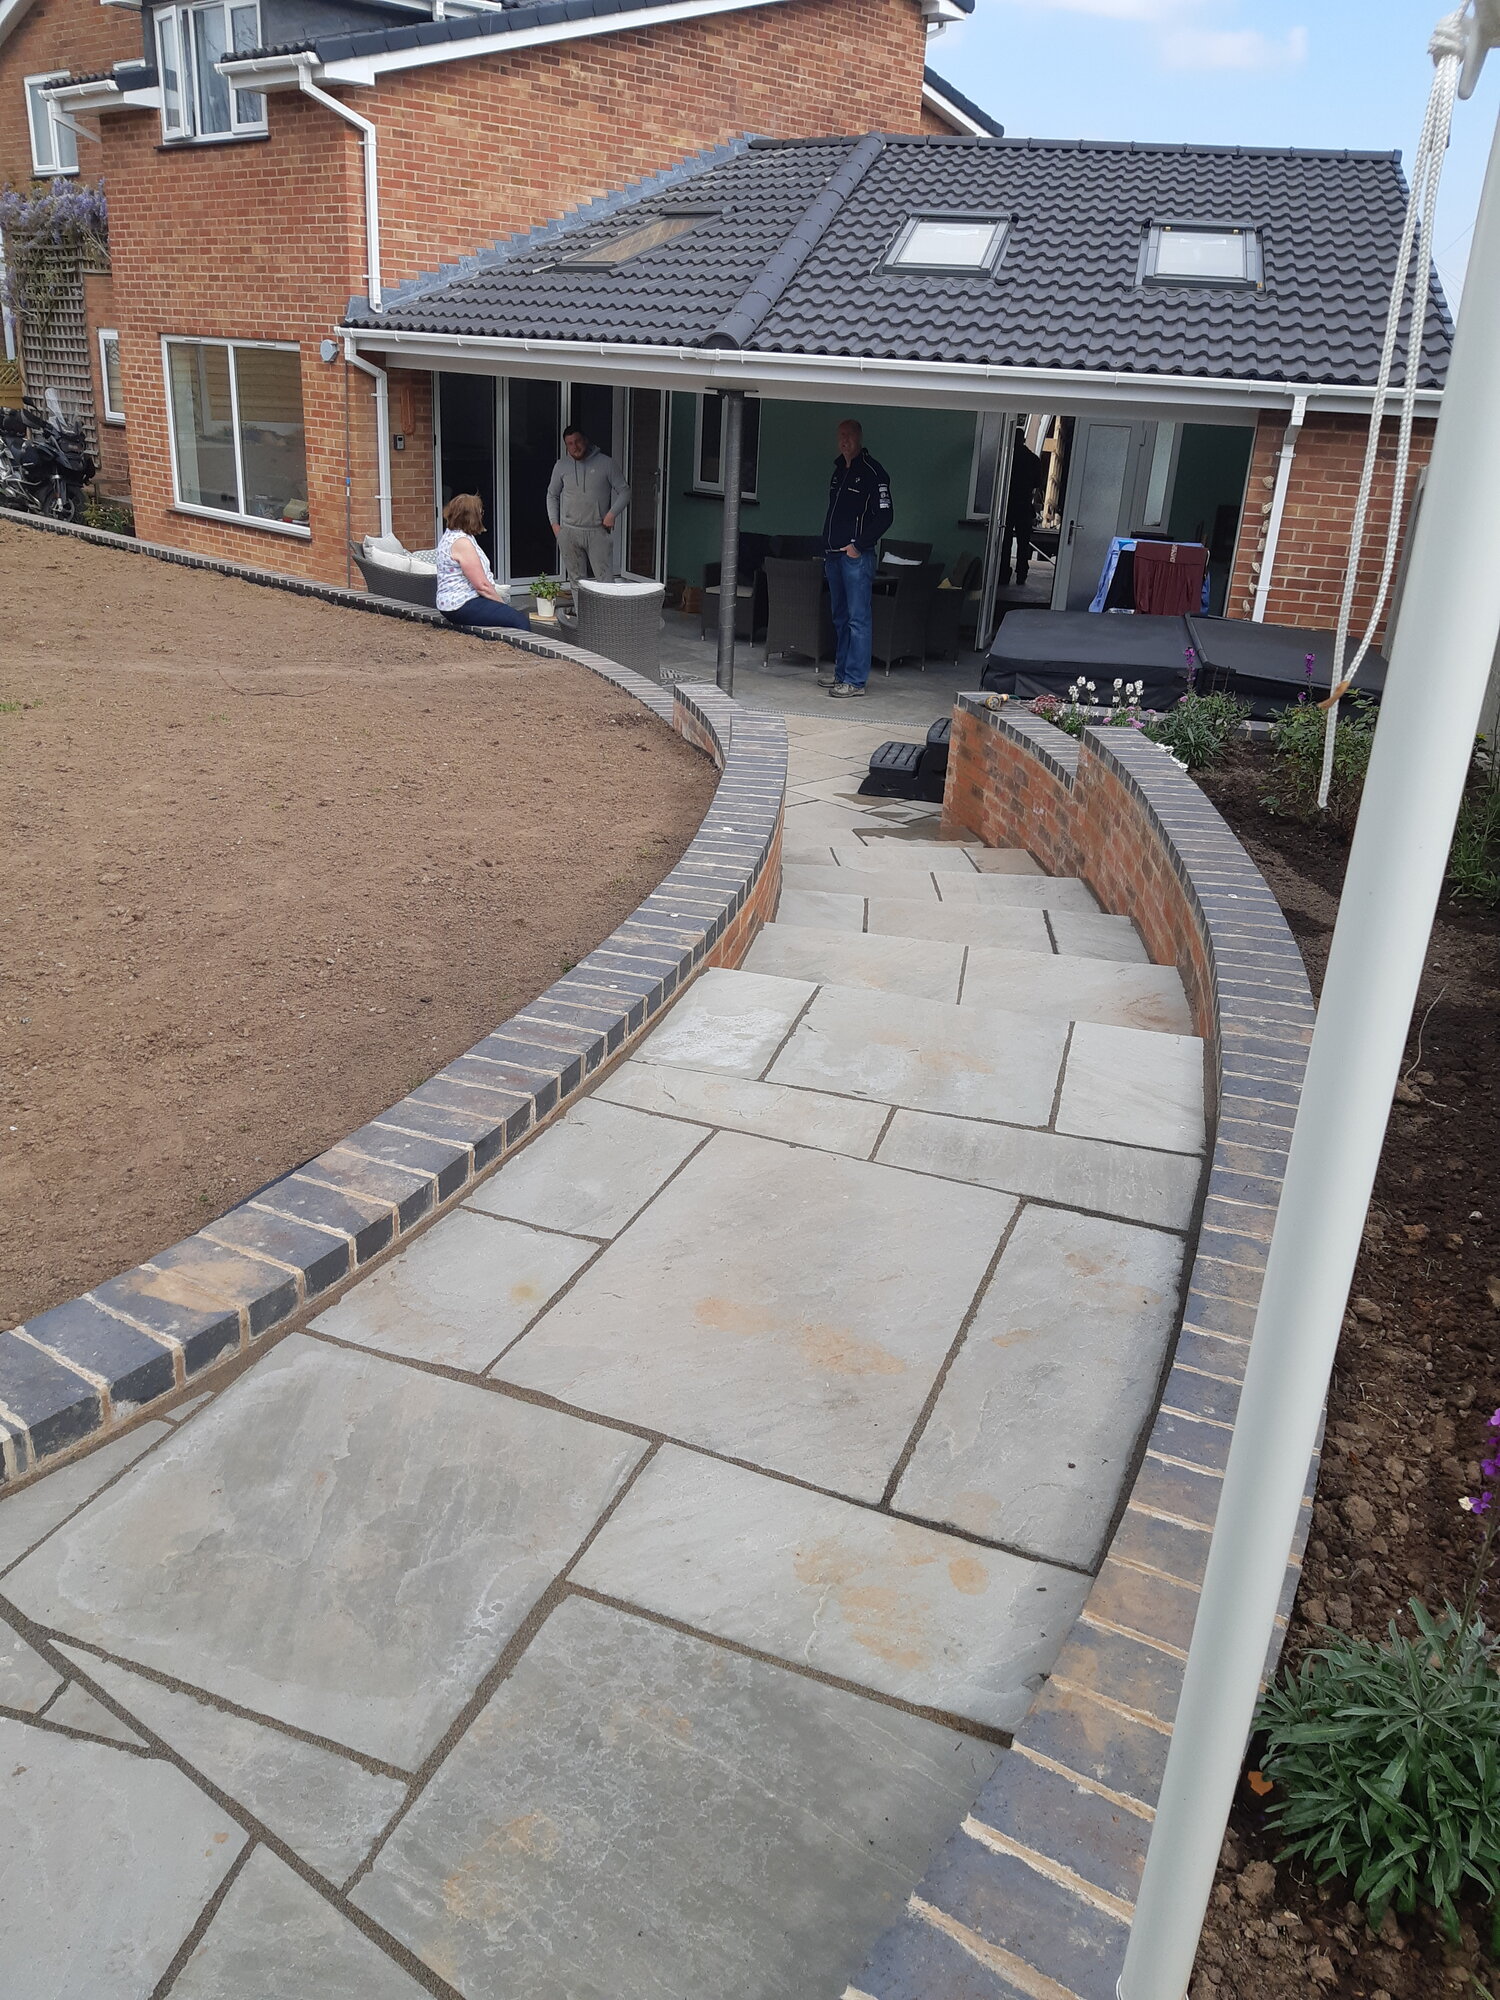
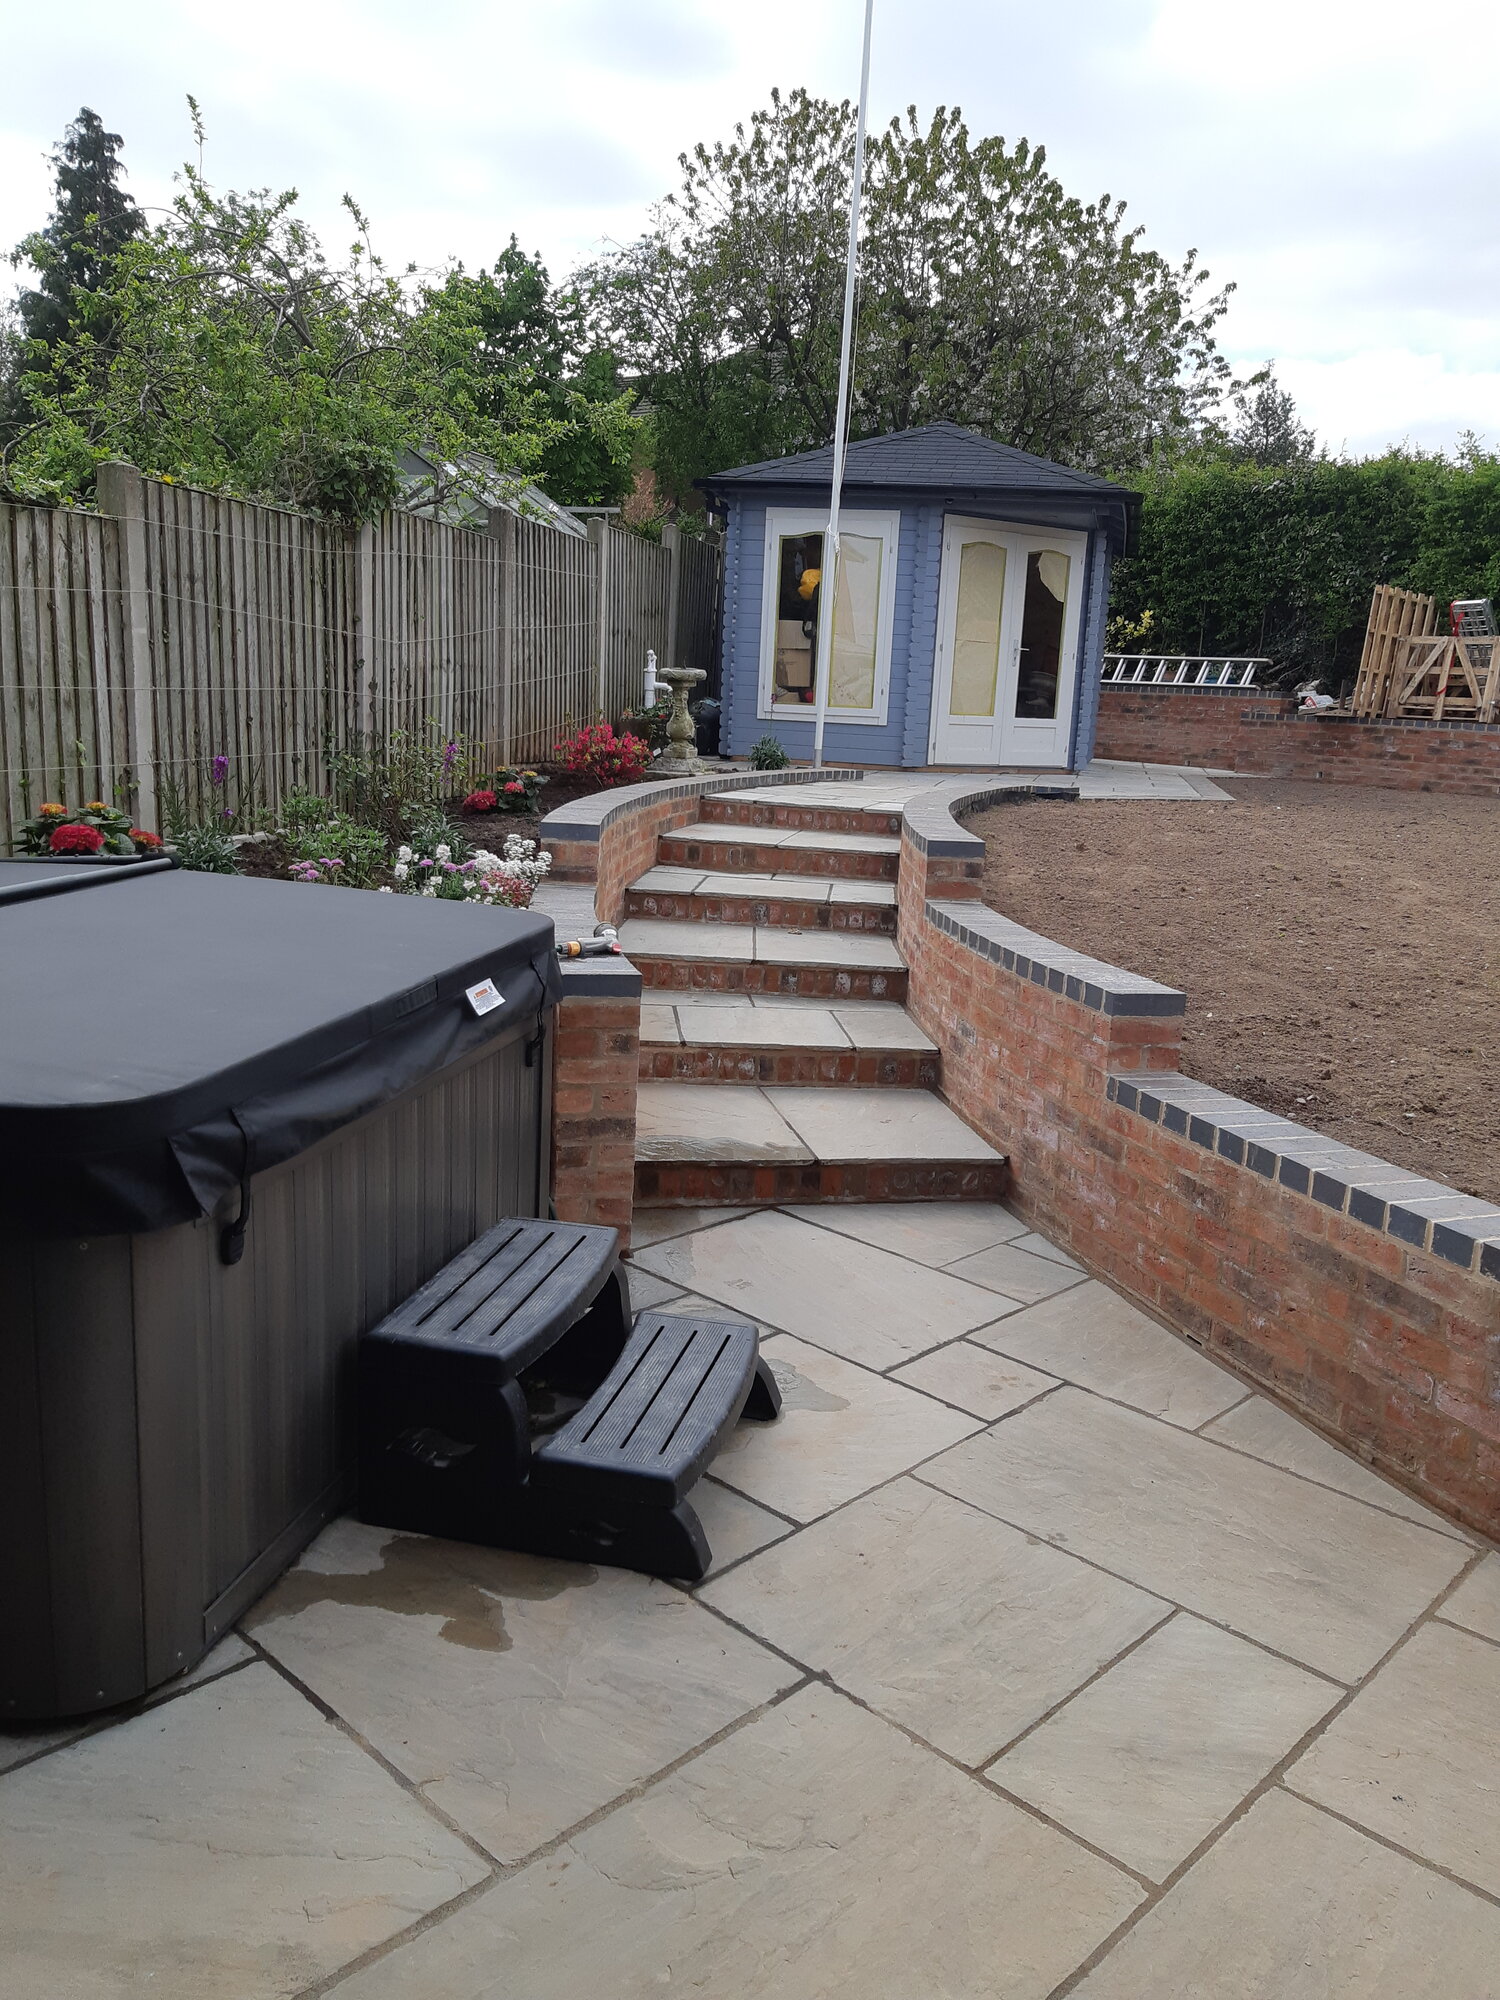
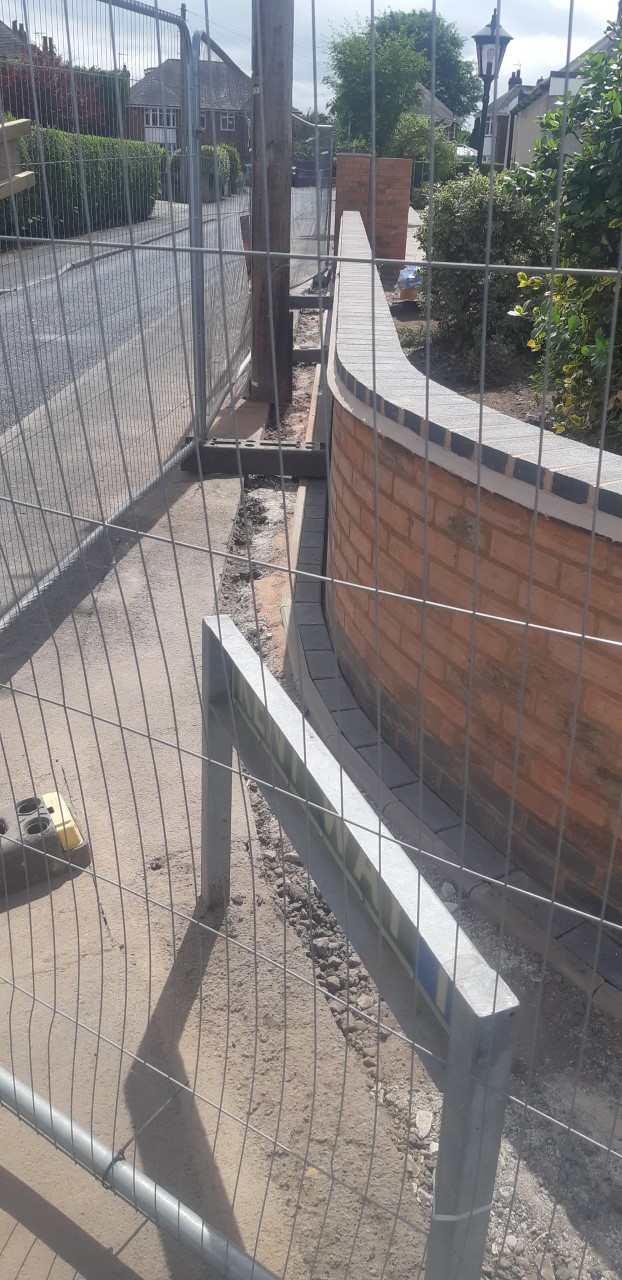
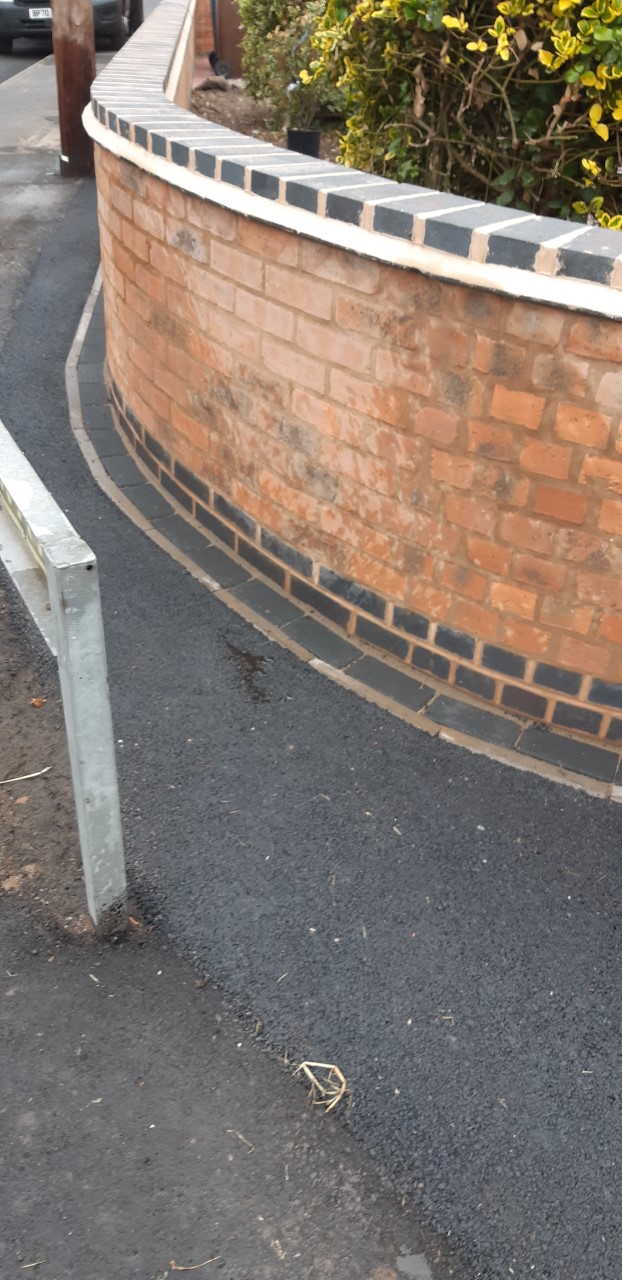
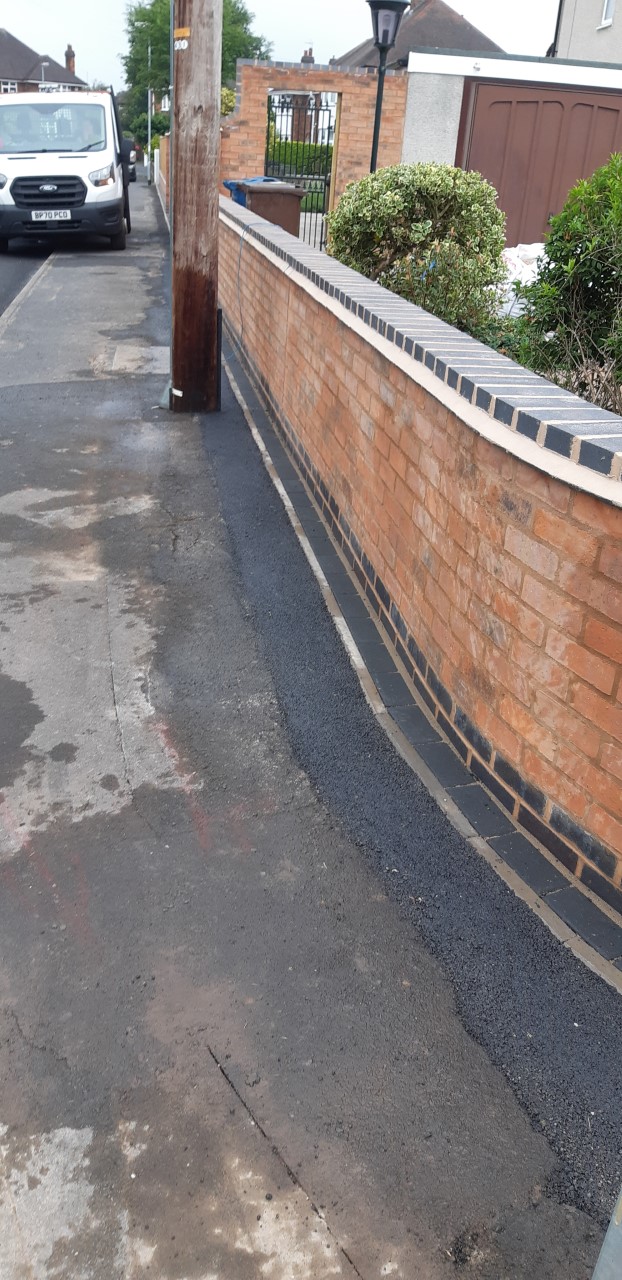
I want to do a blue (engineering perf) brick wall with dark dyed mortar, as a front garden wall at my house, to replace an existing badly spalled wall. About 6 or 7 courses high.
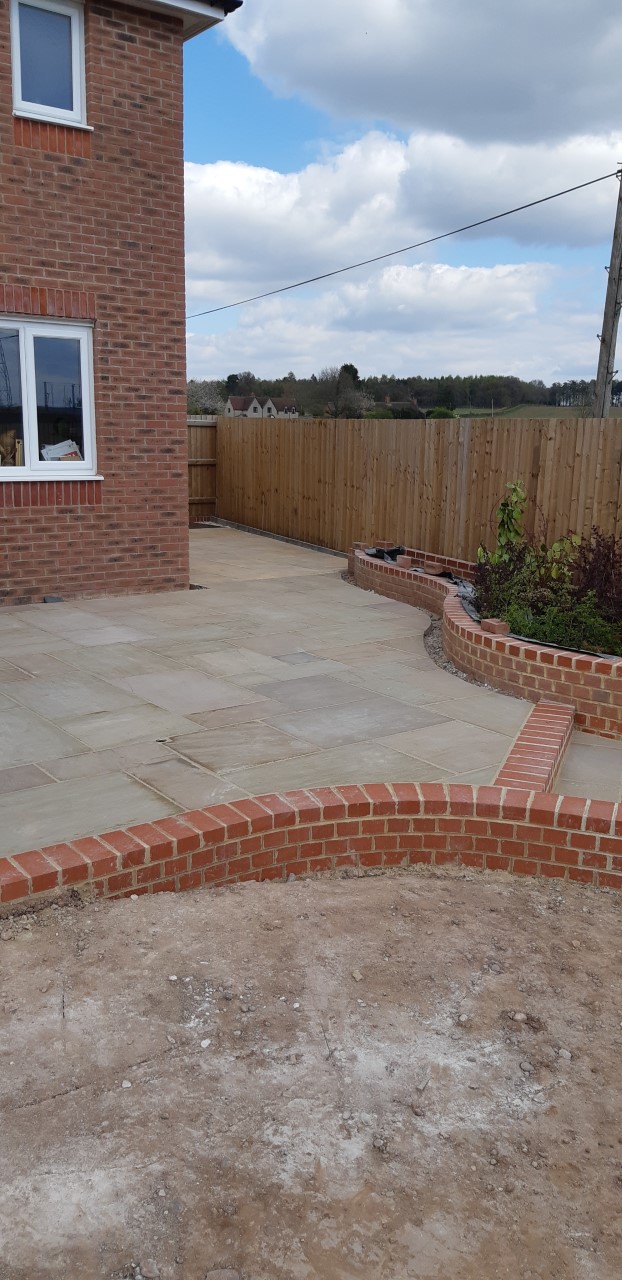
I’ve done a fair bit of brickwork for someone who doesn’t do it for a living, built my own 2 storey extension and pretty happy with my face work. But that was all to a nice easy line.
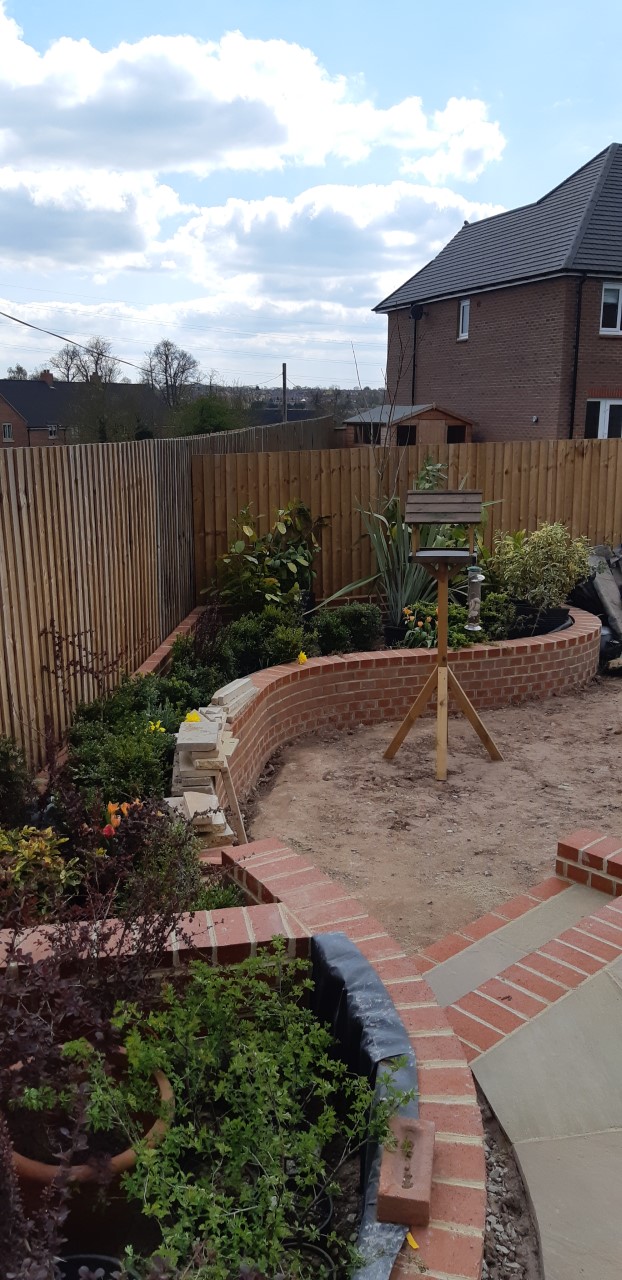
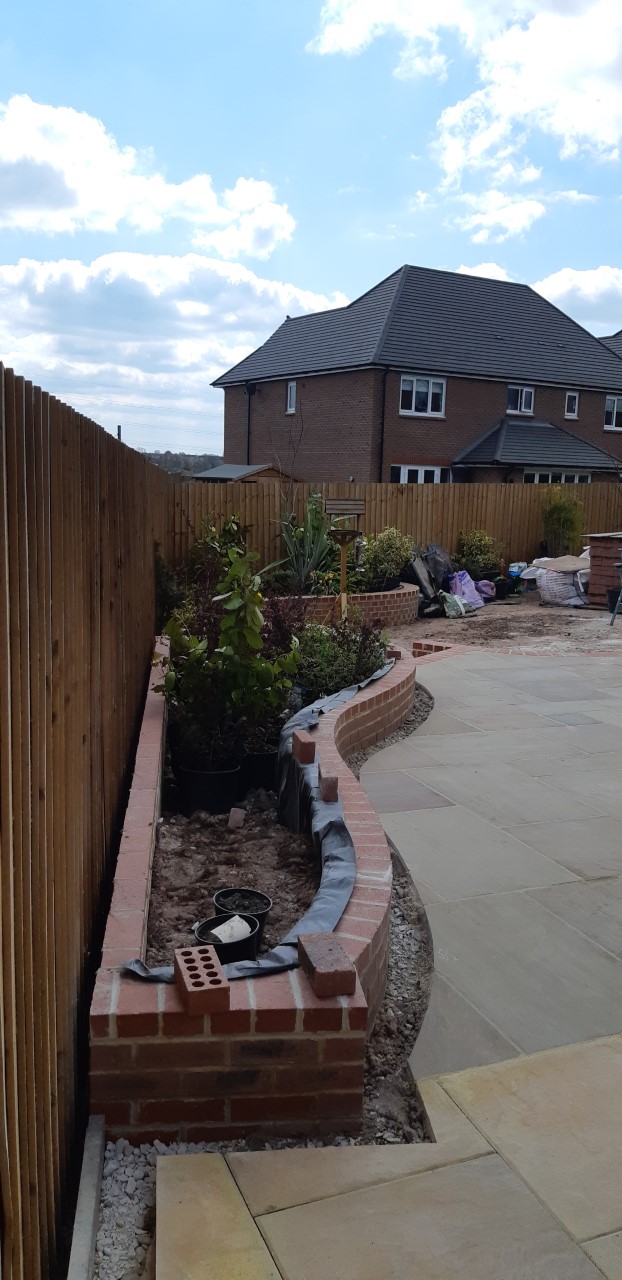
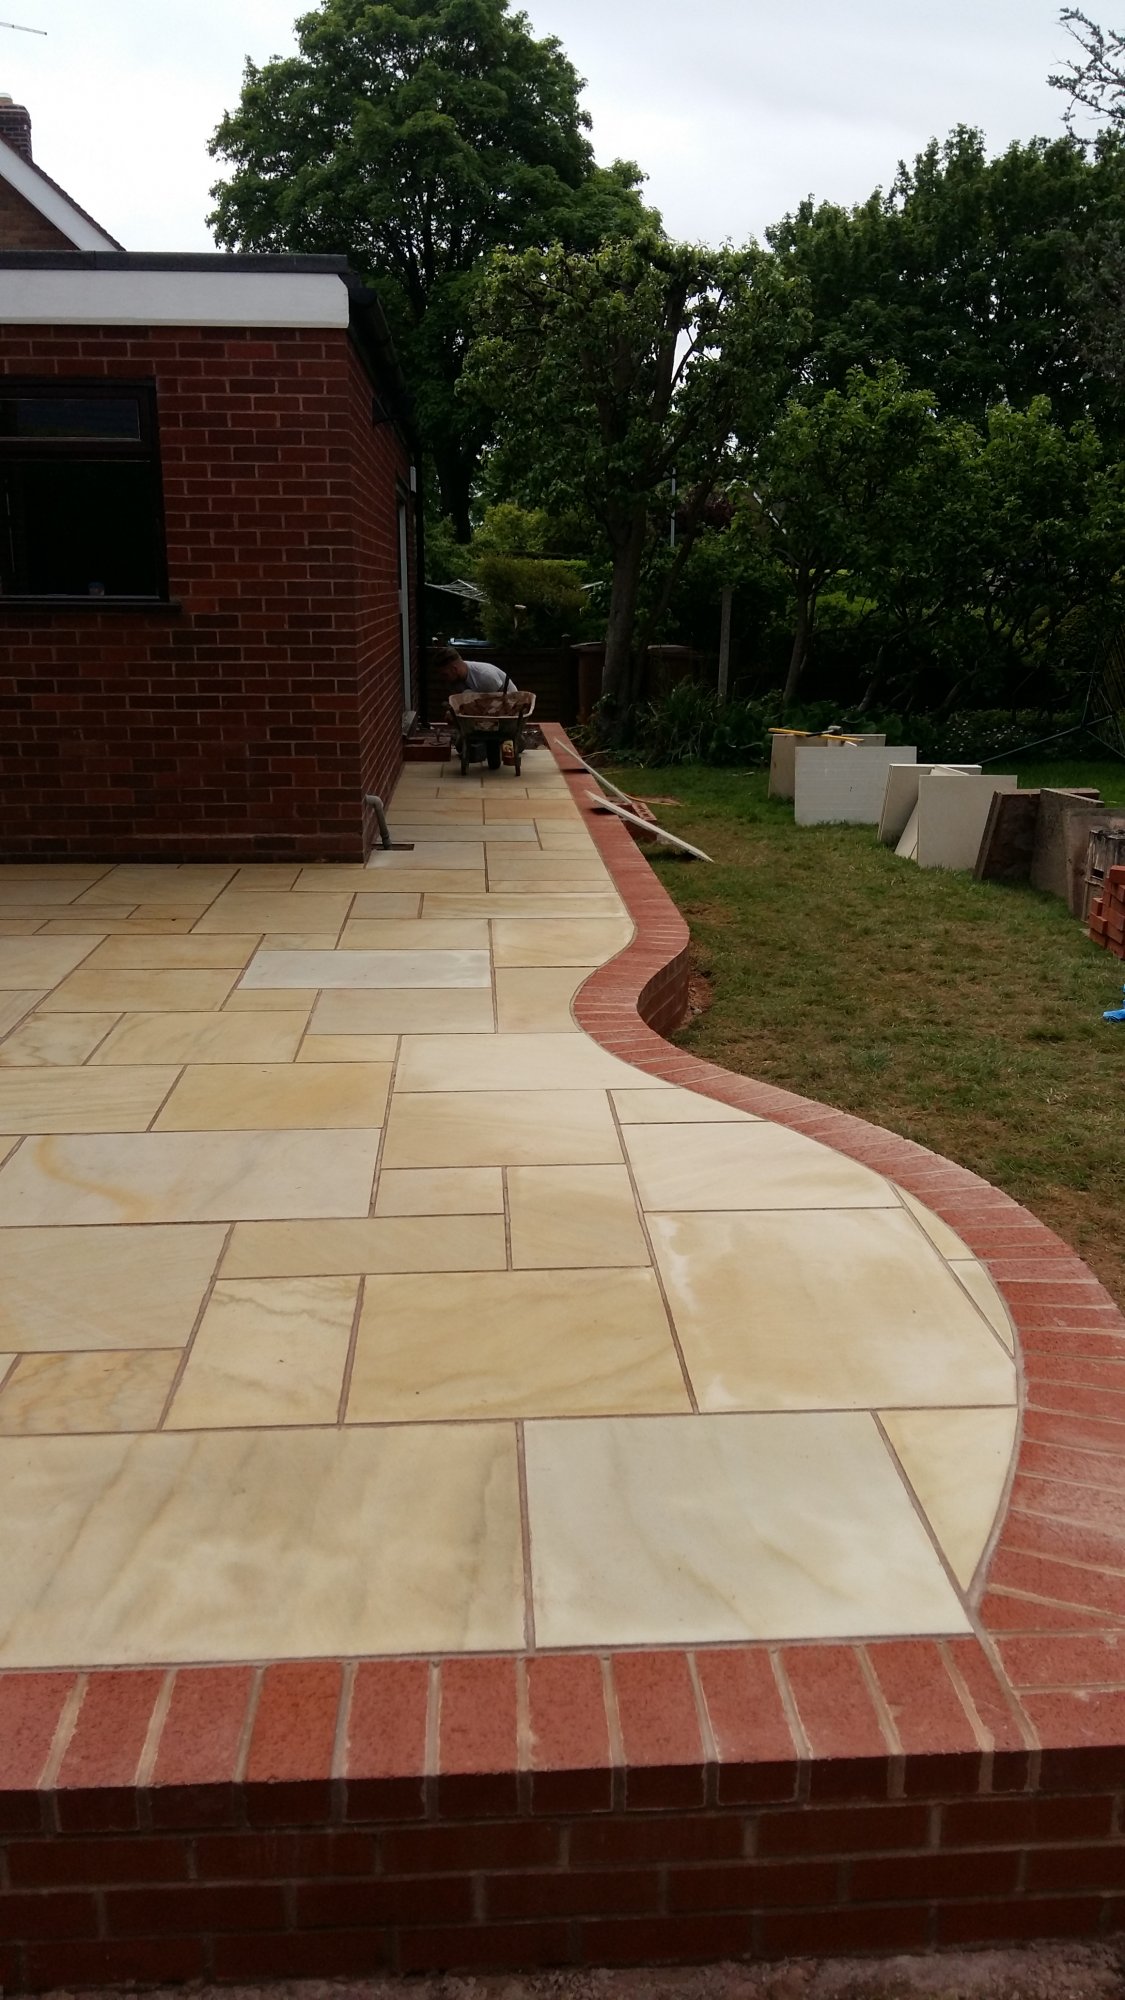
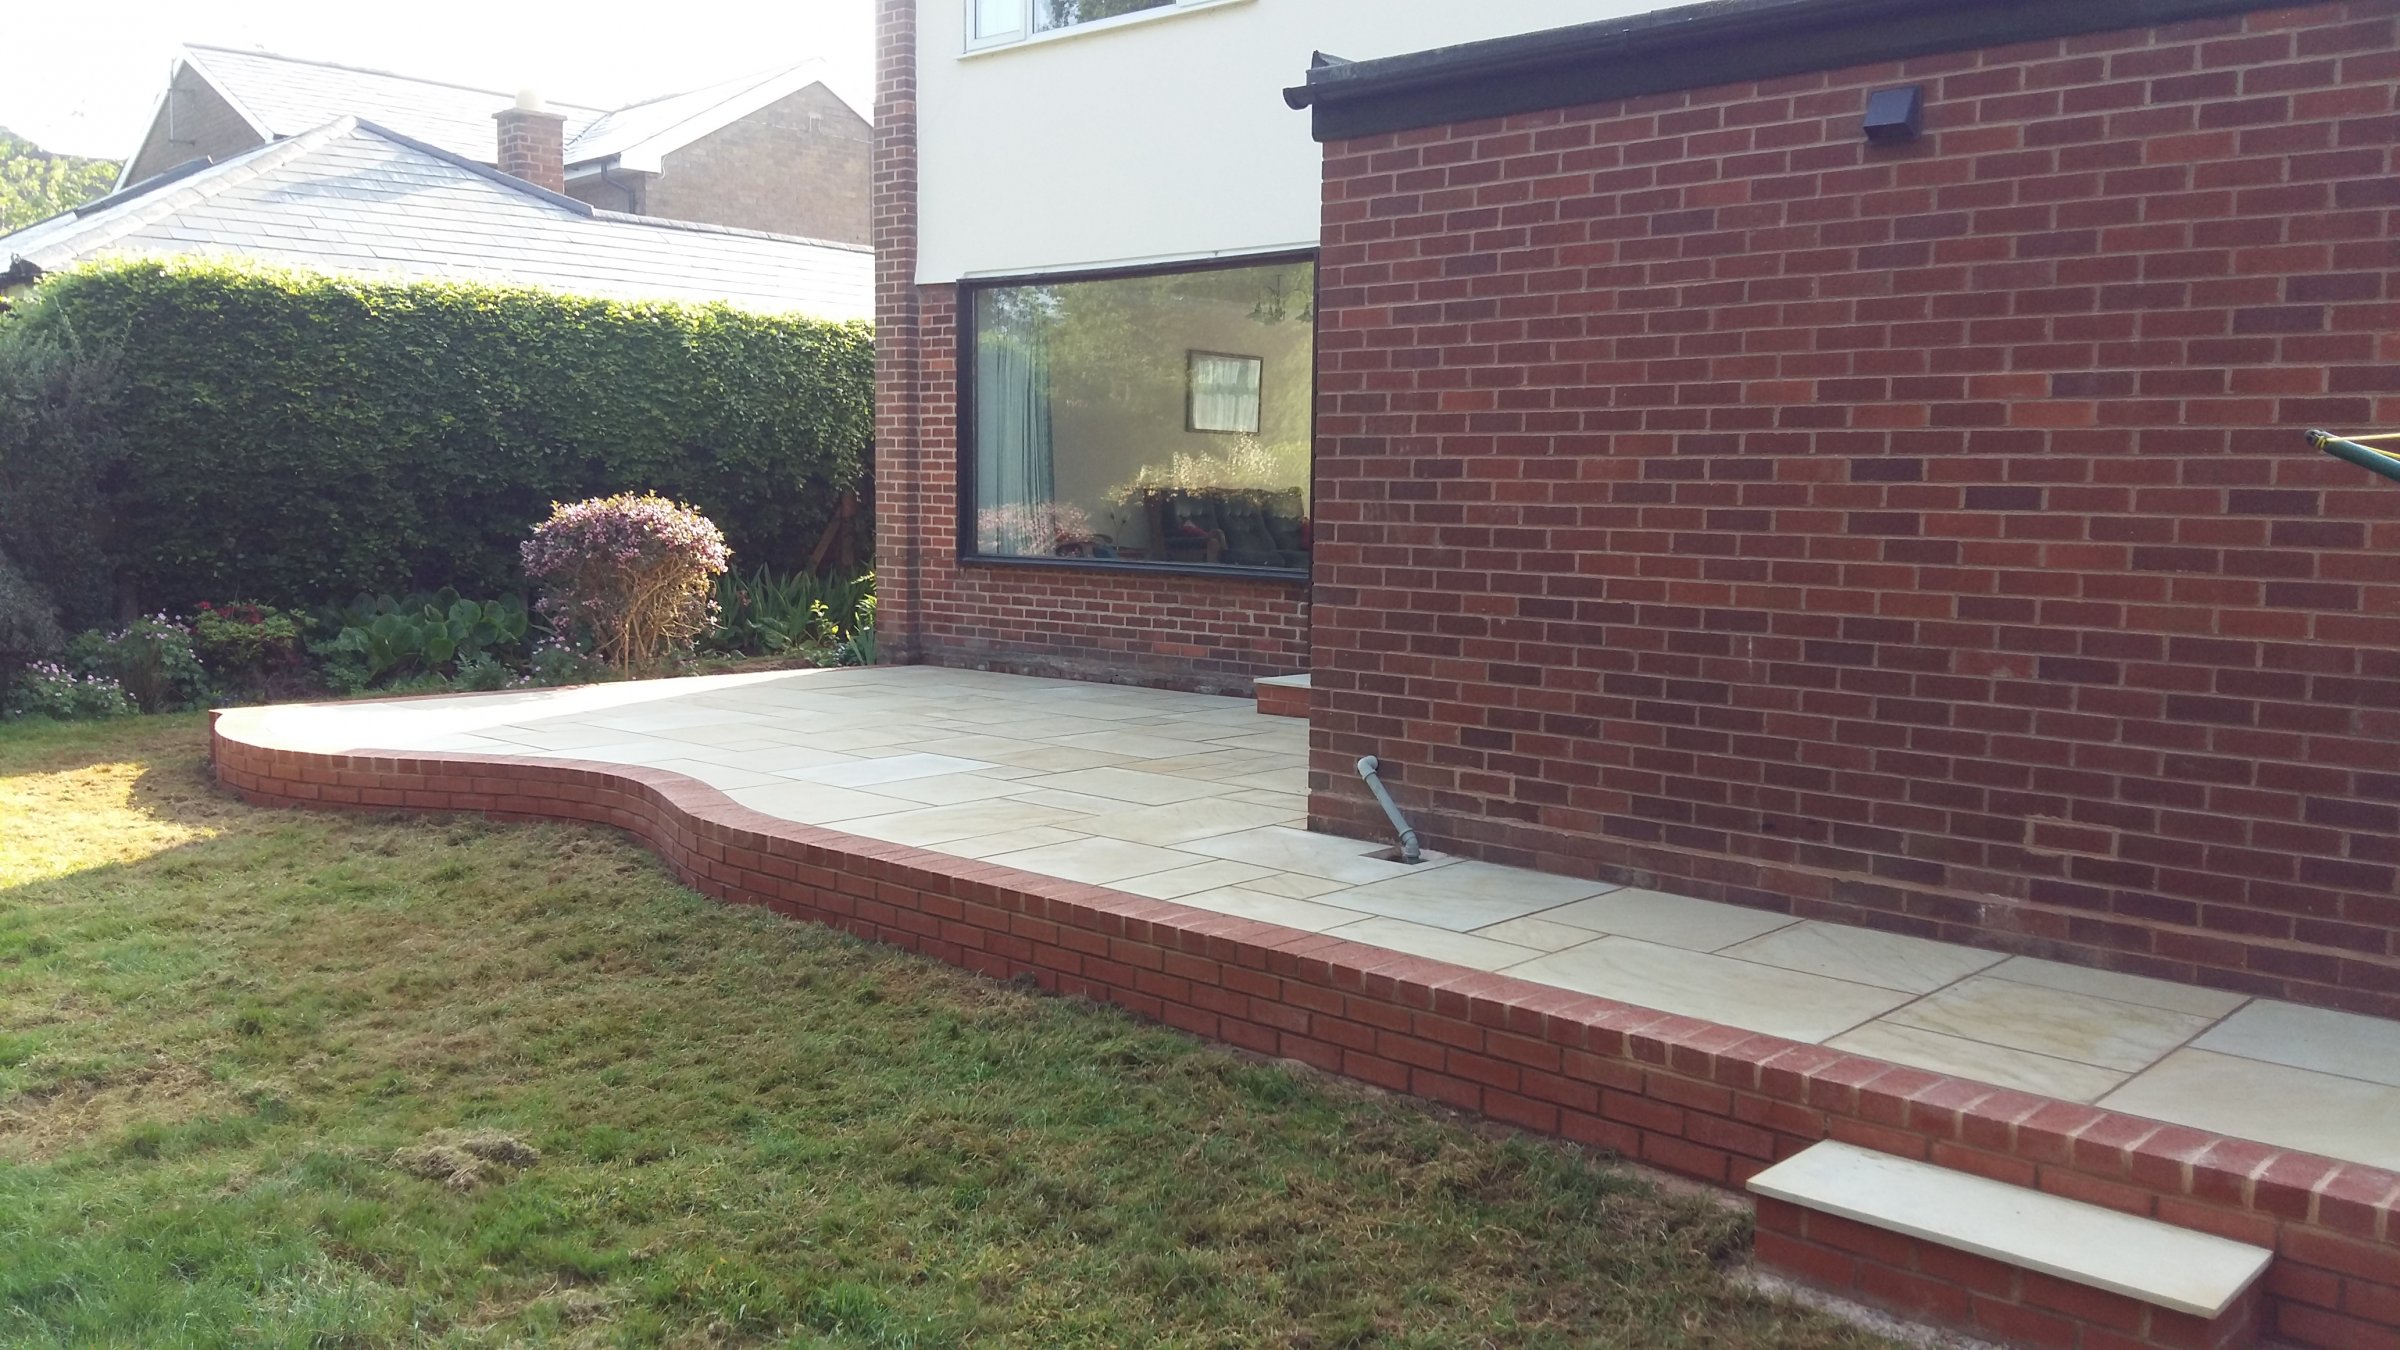
I did do a curved wall years ago, but it was old reclaimed bricks. I think I just laid them and checked for plumb every third brick.
Any advice on the best way to do this? Would you just take your time to get the curve right on the first course then use a level to check each brick as you go?
Also, any pointers on a decent mortar dye/mix ratio to give a nice dark tone?
Cheers")
I’ve done a fair bit of brickwork for someone who doesn’t do it for a living, built my own 2 storey extension and pretty happy with my face work. But that was all to a nice easy line.
I did do a curved wall years ago, but it was old reclaimed bricks. I think I just laid them and checked for plumb every third brick.
Any advice on the best way to do this? Would you just take your time to get the curve right on the first course then use a level to check each brick as you go?
Also, any pointers on a decent mortar dye/mix ratio to give a nice dark tone?
Cheers


")