Chimney cap shuttering advice please

Joined
25 Nov 2004
Messages
146
Reaction score
2
Country
United Kingdom
I am trying to construct a rain cap out of concrete for one of my large limestone chimneys (1m x 42cm). I originally thought that I should cast the feet first and then use shuttering to pour the top on.
I am now thinking that it really should all be poured at the same time but I am struggling with a shuttering design that will allow the pour and give the ability to remove it after the concrete has set.
Can anyone give me some pointers please?

Thanks
 
Sponsored Links
As a DIY'er you should be cautious about even going on a roof, & as for shuttering and pouring up there, well it doesn't sound like a good idea.
If you persist with the kind of set-up in the diagram then one possibility is to use two concrete flagstones set in mortar on top of bricks - one at each corner and two in the middle.
You dont need a large gap simply raise them on one brick high.
Some securely fixed bird/animal screen would be needed.
Slope them slightly to shed rain.

A photo of your stack esp. the top/flaunching area would help - I doubt that, as shown, you have one large flue opening?
Are the flues disused - no fires or appliances below?

FWIW: flags on stacks look terrible.
 
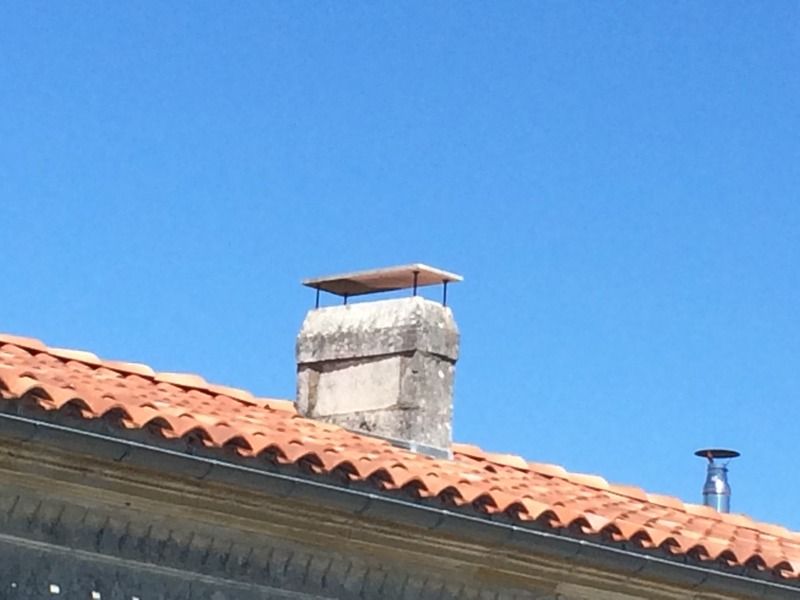
I don't like your idea. The shuttering will be complex and the killer is to get a good seal where the legs sit on the top of the original stack. A small amount of external leakage would be catastrophic. If you are going to this sophistication, then why not cast a slope on the top (you will need a drip rail anyway) and angled flaunching the the original stack top in the gaps.
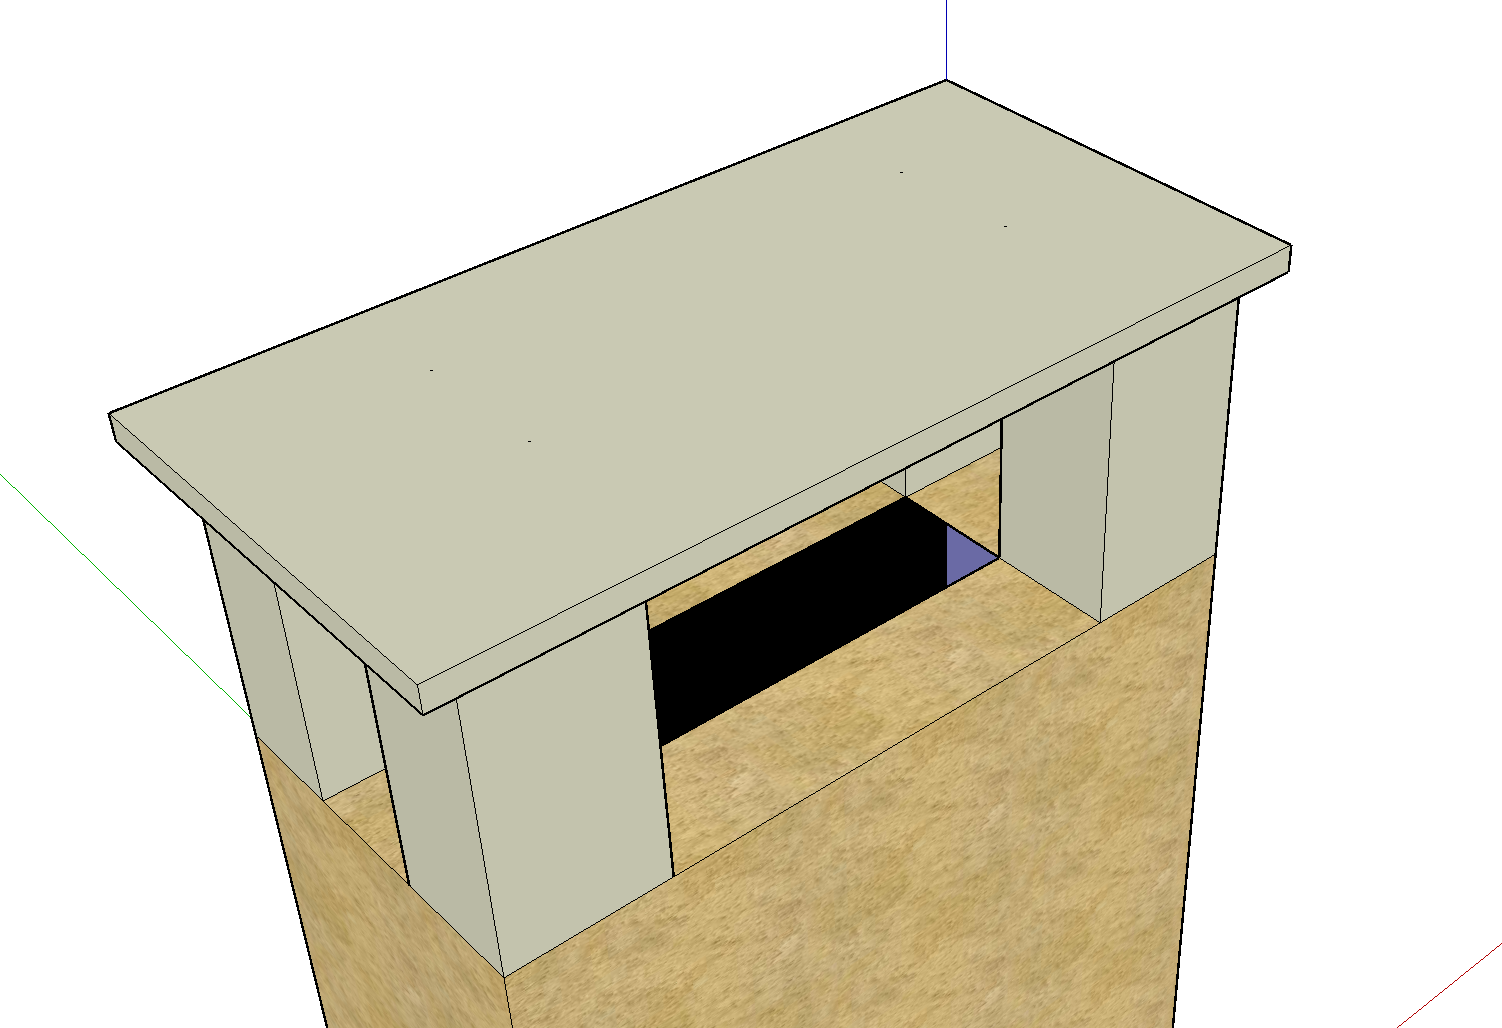
Back to your shuttering. It must work by all the screws holding it together being on the non concrete side of the wood Start of by making a piece that is the underside surface of the top (rectangle with 4 corner cut out). Mount your inside leg shuttering to this by screwing 1" X 1" strips inside the corner gaps (upwards) so your legs butt up to the top of the corner holes. Put a few screws into the external overlaps at the touching corners. Cut more outside corner shuttering which are a bit taller then the inside corner ones so their tops are the same as the top surface of the big bit. Screw all of them together using screws through the edges.
Now you can pour on the big bit and it will flow through the legs, so you better have a good seal against the brickwork. So now you need an overlap for the top, so screw suitable bits of wood (top)level with the top of the big bit around the whole assemblely, so now you have the basic bottom of the top slab.
The next thing to do is the drip rail, this is a 3/8" deep by 1/4" wide groove in the underside of the slab, so you have to machine up a suitable profile and mount it so it sticks up higher the the basic base of the slab. Now you need the actual drip rail, another bit of beading screwed to the outside of the previous bit (1/4"?). You have now reached the outside edge, so now screw on your side shuttering, I think this has to be a 1:3 with steel reinforcing and at least 4" thick to protect the steel.
Now is the time to tart up the inside of your shuttering, The joints that are external should be filled with ordinary filler, I think just using a decent masking tape for joint that are unseen. The external surfaces should be smooth and sealed. The internal surfaces should be well sealed if they are not smooth.
FWIW in 1991 I cast some concrete lintels which were dyed and were identical to the Victorian lintels in the rest of the house. I can't remember for the life of me what I used as a release agent*, but the front surfaces were filled and sanded and has a couple of coats of emulsion. Some of the emulsion stuck to the concrete, but it weathered off after the first winter. The front surface came out polished which lasted at least to 2011. There were some small bubbles but not very visible. So be warned make sure you poke the mix down well around the visible surfaces.
Further thoughts:- I wonder if you mount your shuttering and immediately Put some dryish sharp sand mortar, just in the bottom surface, I wonder if you pour carefully your "pugging" will remain in place long enough to provide a seal. Also when this has been done I think you need some retaining frame to keep the shuttering square to the stack while you pour.
Still don't like the idea !!
Frank
* could have been Mr Sheen !!
 
Thanks for your replies.
A photo of your stack esp. the top/flaunching area would help - I doubt that, as shown, you have one large flue opening?
Are the flues disused - no fires or appliances below?

Yes there is just one big opening as shown. The chimney has a woodburner fitted with a short flue and register plate.

I am mindful of your advice about working on the roof (I'm not particularly happy about it myself!).

There is a similar size and construction chimney down the road from us with a cap like this.
IMG_1806_zpsntcavk6r.jpg

I like the look of it but I wonder what the top plate is made of? It looks very thin for concrete? The owner has no idea who did it.

Any thoughts?
 
Sponsored Links
Thanks for your reply and reference photo.
A stack that size would have a min. of two flues divided by a brick "feather" - if I'm correct, what has happened to your feather?
Which fireplace openings have flues feeding into your stack?
The liner should be a one piece flexi SS liner finishing in an approved terminal on the stack.

If your feather is missing or breached then its a dangerous situation as fumes can cross over to the other flue, cool and drop down to the fireplace opening or vent in the (probable) bed room.

On the basis of the info provided your proposal is a non starter.
 
It's just a single wide chimney with no divides. I should perhaps have said that it is in France where it is fairly normal to have only a short flue into a larger chimney. There is only one appliance, so no danger of crossover.
 
That form of construction is for a sunny climate, where do you intend to do yours? That slab on top could be asbestos or some other cement based board, I am not sure it will stand up to frost very well. Just noticed it seems very clean, is it used much?
Frank
 

DIYnot Local

Staff member

If you need to find a tradesperson to get your job done, please try our local search below, or if you are doing it yourself you can find suppliers local to you.

Select the supplier or trade you require, enter your location to begin your search.


Are you a trade or supplier? You can create your listing free at DIYnot Local

 
Back
Top