Anxiously awating todays episode 

 Dremeled a slot in it, absolutely no joy moving that. Drilled it, drilled it and drilled it some more. Got the hump, went away to do something else and found massive screwdriver in shed. Tried hammering that into the slot (which by now had rounded edges) and the bugger turned!
  but with pulley out the way I could loosen the lower timing belt cover enough to get the belt off of lower cog, then some jiggling and get belt free to wrap around pulley.
 ")


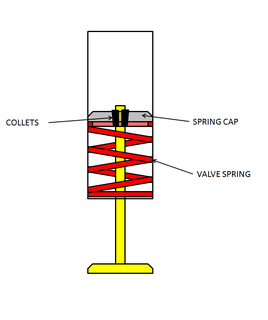
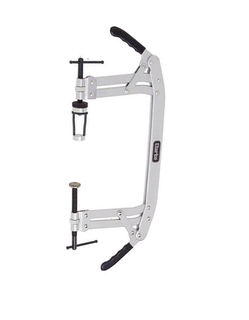


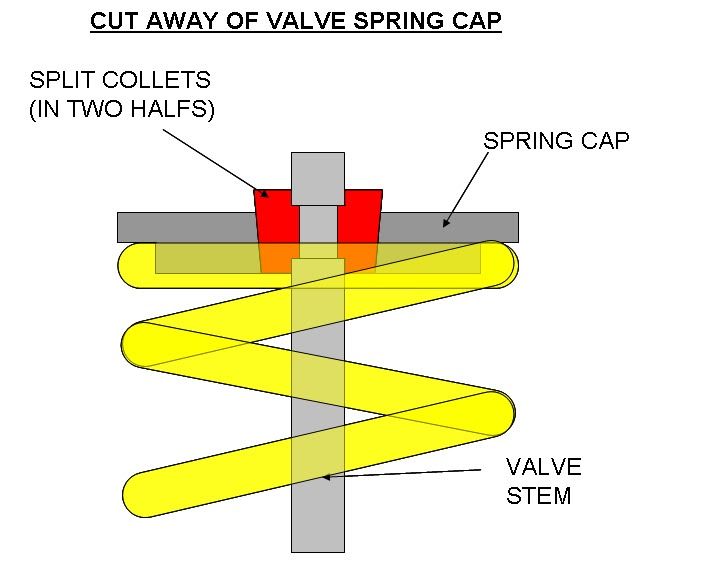
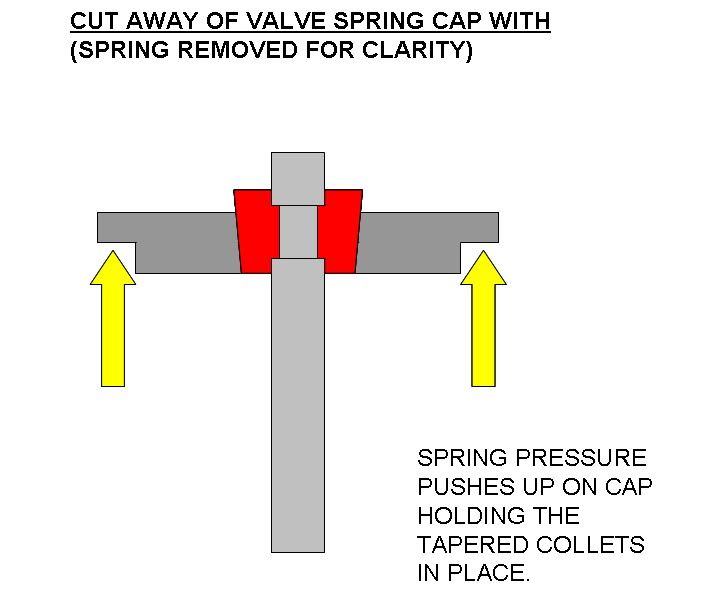
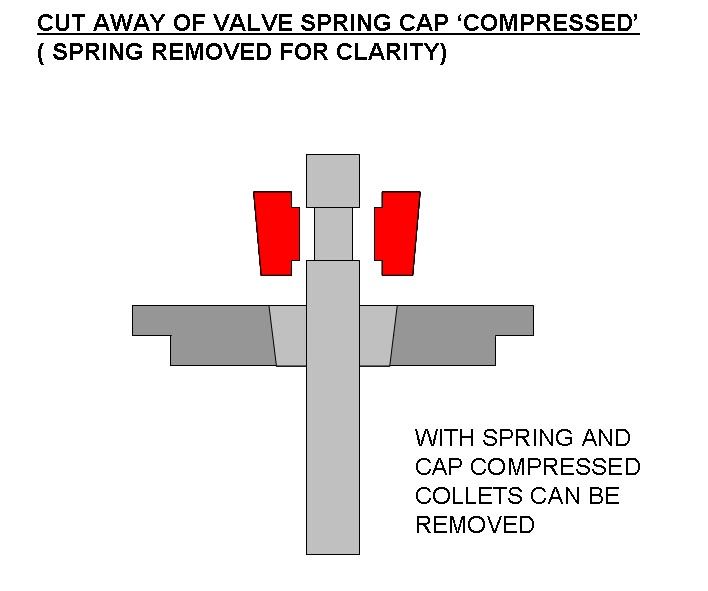
Once spring is compressed fish out the collets and release spring compressor. Remove valve cap and spring. Store the springs as you take them out. Not sure about this engine but some the springs have to be fitted the right way up. Also again not sure about this one but some alloy heads have a thin steel washer between the spring and the head to protect alloy(Sounds like Johns done this one before so he will be able to advise on this) Keep spring compressor aligned and avoid scratching the tappet bore. Sounds a bit fiddley but once you've done a couple its a doddle
Are you going to lap the valves in while they're out?