Death House

Joined
1 Oct 2007
Messages
607
Reaction score
22
Location
Hampshire
Country
United Kingdom
Welcome, to the first episode of

I will be including these in a 'my project' post at some point, but felt I should include these sooner.

We just bought this place (was a repo) and started by doing the electrics. Stripped the consumer unit and begun to trace. To be fair, this should have indicated what was to come:


That plug was feeding a light, a double socket and something else via speakercable.

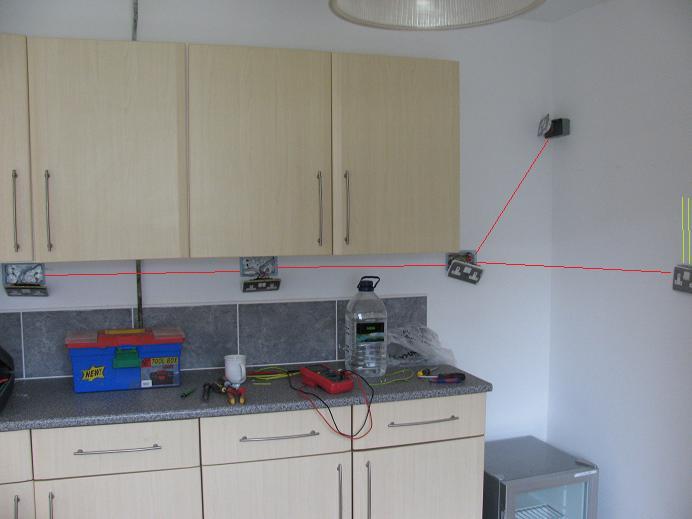
The kitchen is just wrong, but for the sake of a fuse, could have at least been safe. Green lines are the ring, red lines are a spured spur.


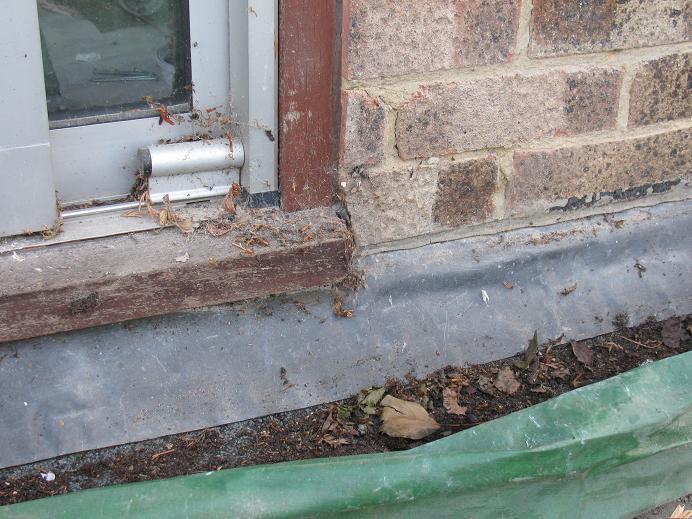
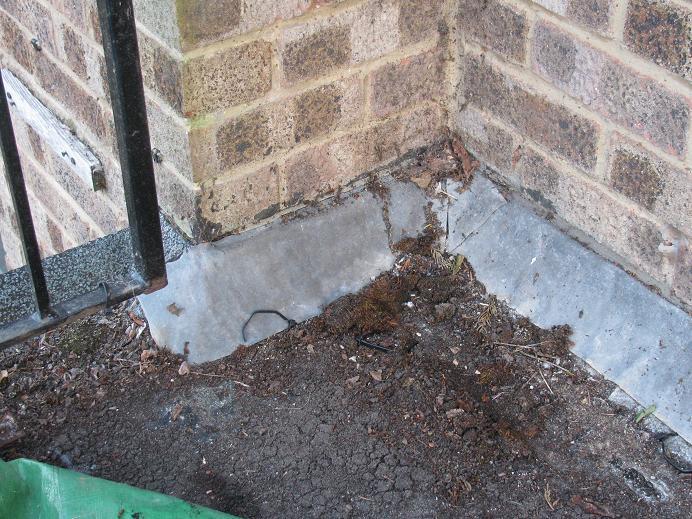
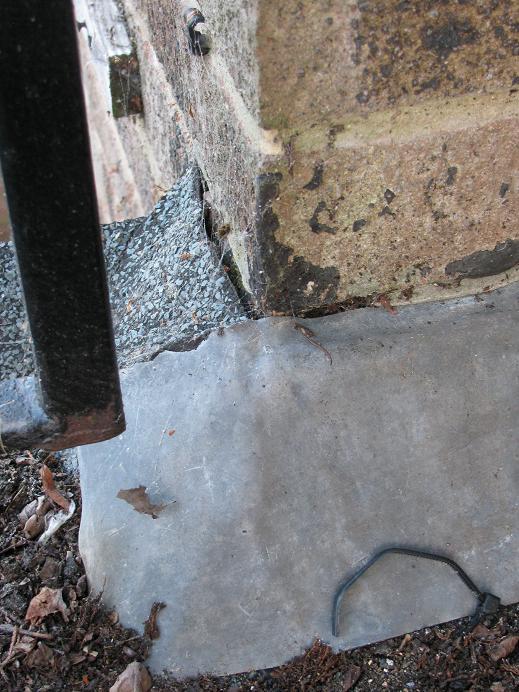
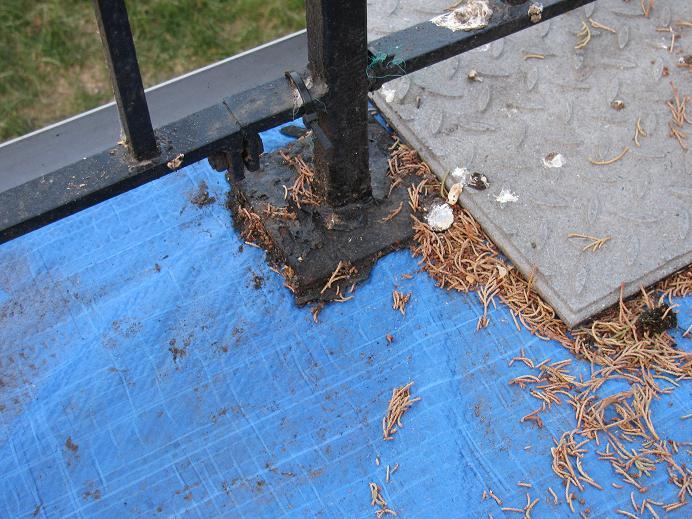
We couln't work out what was wrong with the extension though. We couldn't get a good trace, and the insulation resistance test was all over the palce.

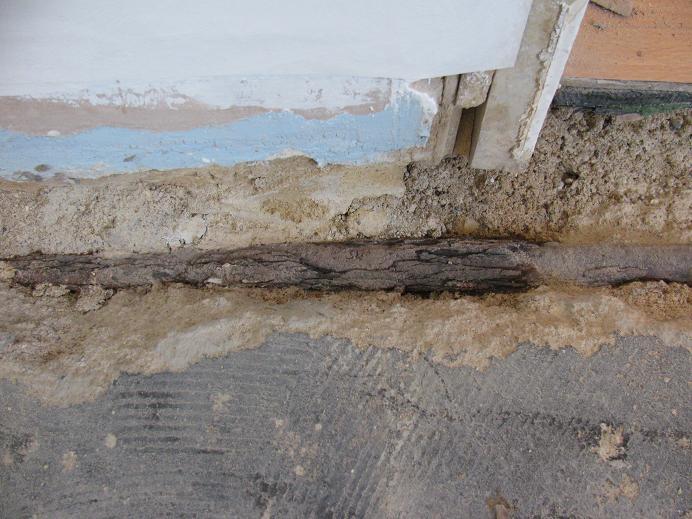
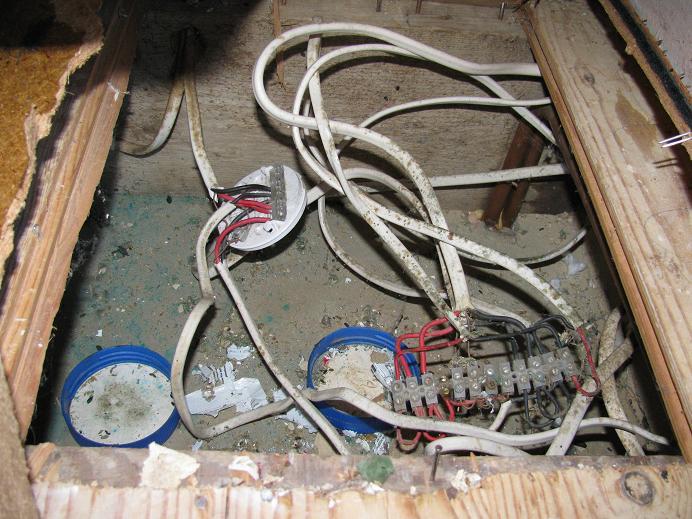
There was a double socket and a tripple socket in there, as well as an internal and external light. The internal light had 2 wires going to it, only a single core of each being used. Odd enough. What we found under the floor in the master bedroom was even more horrific...


Yes, that is a ceiling rose being used to take a 1.5mm spur from the 2.5mm ring. Into 6A chock block where it feeds EVERYTHING in the extension without a fuse. The cables were chewed through, and the entire area was filled with rat poison...

Calling this DIY would be an insult to competent (yet unqualified) people. This was a monkey with a screwdriver (though that may be an insult to a monkey).
 
Sponsored Links
Come across this type of stuff all the time, it's amazing what some (idiots) people do!
I have just been working on an installation, with a very similar set up than the kitchen pictured.
They had 30A ring final, with an unfused spur to sockets for fridge(double), oven, hob, extractor fan and worktop double socket.
I was asked if I could extend this circuit, to add more outlets on, which I polity informed them all bar one of the spurred sockets should be removed and consideration for a new circuit should be thought of.
 
I imagine that most people's knowledge of electricity is that metal conducts, plastic doesn't. With no concept of current, heating, resistance...etc

It's a shame that the kitchen doesn't look too bad. new units, hob, oven. But the gas looks DIY too so we may have to gut it and eat into the budget more. For now though, I've just removed the spur in the kitchen and had the rats nest joined in properly, the lighting is now attached to the lighting circuit. All working and tested.

Dread to think what the plumbing will be like. Pictures to follow.
 
Sponsored Links
Well at least if you extend the ring final circuit of sockets to above worktop, will not require to break in to tiles.
 
The kitchen is currently on the south side ring (rings are split south side and north side, rather than top and bottom). There is space in the CU and considering giving the kitchen its own circuit. Thankfully, can access the CU through the wall and under the stairs.
 
My cottage in Scotland had similar bodges on the electrics. The 6mm cable for the cooker had been spurred to supply an electric shower, OK until someone is cooking when someone else is having a shower! The kitchen + bathroom extension must have originally only been wired for lighting and it was done with the old lead covered cable. Instead of ripping this out and rewiring, some "bright spark" had wired several double sockets to the lead clad lighting circuit. :eek:
 
my house was like that when I moved in...

i had wall lights driven off a plug plugged into the wall sockets below with the wire chased up the wall...

etc

this was all hidden by the furnature so you don't see this stuff until you move in.

needless to say it was all rewired.
 
Best oddity i found in DIY stuff was at my mums places. Trip kept blowing after a quick investigation late at night found a part of the ring between sockets u/s, temp removed wires, and changed mcb to 16amp. Went round in the day to chase out issue, wire went though soil floor ( old house thin slab less than 1/2" laid onto soil)
went to pull wire straight out and replace it, after a bit of pulling wire went solid even both ends. So out comes the hammer to smash floor a few light taps latter i find a tesco carrier wrapped around a junction box.
This was literally for the sack of a 2.5m run a wire
 
On this weeks episode of
The balcony...

Lets first accept that the roof joists used in this thing are 47x150... Not even sufficient for a roof, let alone a balcony. But these are then build onto walls that are, well...


I'm sure that also, due to the bricks being dug out to bed the joists in, the rest of the wall is cracking...


All of this not helped by the lack of suitable guttering. This was just a down spout into a raised bed built against the wall and over the DPC...


And while the roof leaks through various holes in the felt, somehow, the flashing seems to be NOT leaking through some sort of satanic power...


Let us not forget the EXTREME ULTIMATE NEAR DEATH RISK FACTOR!!!!! The railings aren't even connected to the roof. I managed to lift them up to get the tarp underneath...


Your Host,
Fubar
 
You sir are a braver man than I.

I am literally sat here with my morning coffee crying with laughter! Not at your misfortune but at the house itself!

It is amazing what some people do, the biggest problem being that they genuinely believe their work is of a good and satisfactory standard!

Rather you than me mate.

Just remember keep smiling or you will cry!
 
Some would say brave, some would say foolish. Most people have said foolish actually.

But I would say that the truely brave person is the missus who is holding it together and trusting me when I rip a wall out, taking my word it needs to be done.

Looking at the roofing charts for maintainance only access. Even with the lightest imposed load (0.75 kN/m2) and lightest dead load (under 0.5 kN/m2). a 47x170 (being generous on the size, it's only 45x150 + firing) joist on 600mm centers has a recomended maximum span of...

3.61m.

The room (from finished plaster to finished plaster) is 3.65m long

Also, not shown in the pictures. There is no wall plate. So the joists are resting directly on bricks. On the frog. With no mortar. Thus, one end of each joist is supported on about 940mm^2 area. That sounds a lot, but should be... 4700mm^2 (100mm support of 47mm joist).

It's somewhat worrying that there was at least 2 building companies registered at this addess. I hope they're not responsible for any of this work. Because if they are, heaven forbid what else they've done on other properties...
 
Also, not shown in the pictures. There is no wall plate. So the joists are resting directly on bricks. On the frog. With no mortar. Thus, one end of each joist is supported on about 940mm^2 area. That sounds a lot, but should be... 4700mm^2 (100mm support of 47mm joist).

Although one can sympathize with your never-ending discovery of DIY horrors, this joist-bearing issue is not technically as bad as it seems.

The previous edition of the Building Regs tables allowed a minimum bearing of 38mm for joists! But the actual compressive stress per square mm on the timber is still quite low relative to the permissible compressive stress.

Also, when I first started, some Inspectors would not allow flat-roof joists to be fitted to a wall-plate but required that the joist were built-in as the wall went up.
keep up the reports; interesting read.
 
Cheers, though thankfully (for the sake of our sanity) efforts have been focused towards finishing the kitchen at the moment, so no more horrors at this time (except a very rusty iron gas pipe found under the floor, pictures to follow).

With regards to wall plate, I assume from your saying about building it into the wall, you mean the end that is against the house wall (which I had thought was a ledger board), rather than the end where the joists sit on top of the extension wall. In which case, I imagine the advances in fixing methods (resin bond anchours, expanding bolts... etc) are the reason 'to the wall fixings' (as opposed to 'in the wall fixings') are now acceptable.

While I can completely appreciate timber and brick have huge compressive strengths and are no where near their failure limit in this situation, it seems daft that for the sake of a little bit of mortar or timber, you would make the acting pressure 3 times higher than it could be.

This ties in with my 'over engineering' thread. If you CAN make something stronger for a couple of quid, why not do it, especially if it's your own house. Because inevitably building regs will change and what was just good enough at the time then becomes unacceptable by new build standards.

Fubar.
 
A micro
update.

Iron compounds in gas pipes and concrete don't mix...


Thankfully unused since we moved in, before then though...

Also, I feel the need to share this. Tiled kitchen floor that we decided to lift, took all of 20 minutes as, guess what, tile adheasive doesn't stick to bitumin (or these tiles in many cases)...


I also have a gem of some adheasive spreading I'll upload from my phone later.

Fubar.
 

DIYnot Local

Staff member

If you need to find a tradesperson to get your job done, please try our local search below, or if you are doing it yourself you can find suppliers local to you.

Select the supplier or trade you require, enter your location to begin your search.


Are you a trade or supplier? You can create your listing free at DIYnot Local

 
Sponsored Links
Back
Top