float & set - fixing battens

Joined
25 Oct 2008
Messages
1,185
Reaction score
145
Location
Cheshire
Country
United Kingdom
Hello all

I posted a while ago for some help with float & set (& got lots of good response). :D
(//www.diynot.com/forums/viewtopic.php?t=167671)

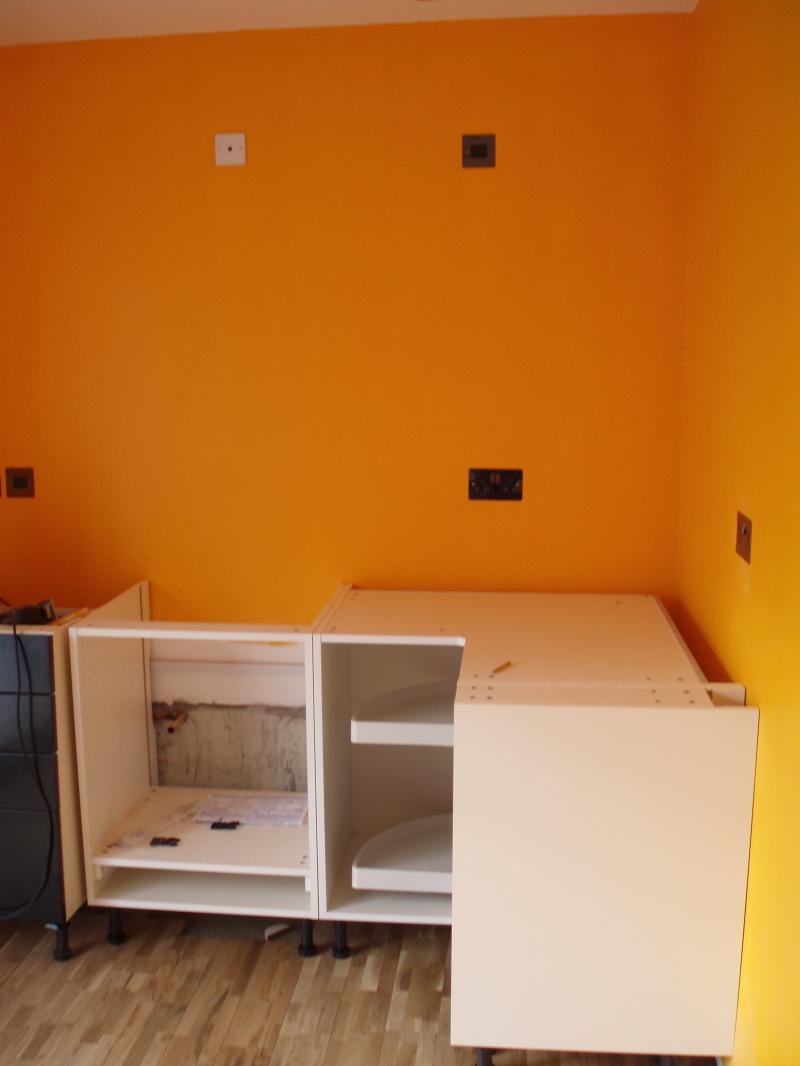
Due to other DIY crises, I'm only just getting chance to go for it this weekend.....
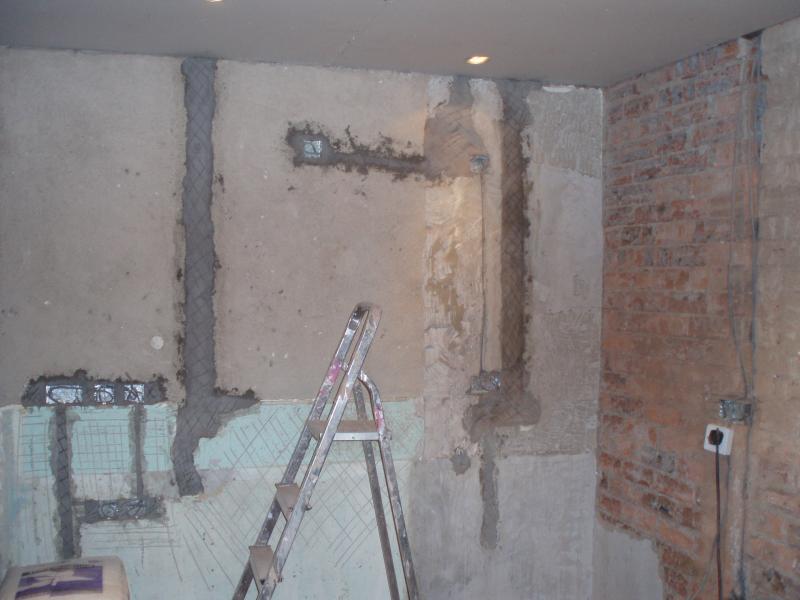
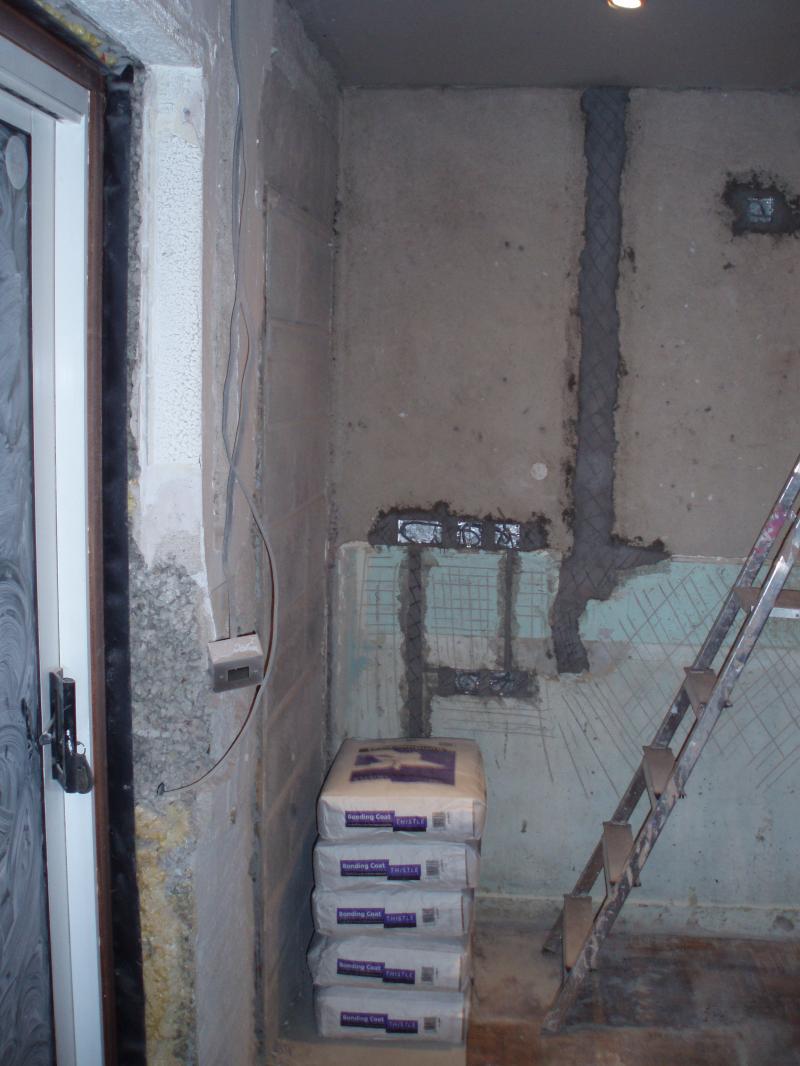
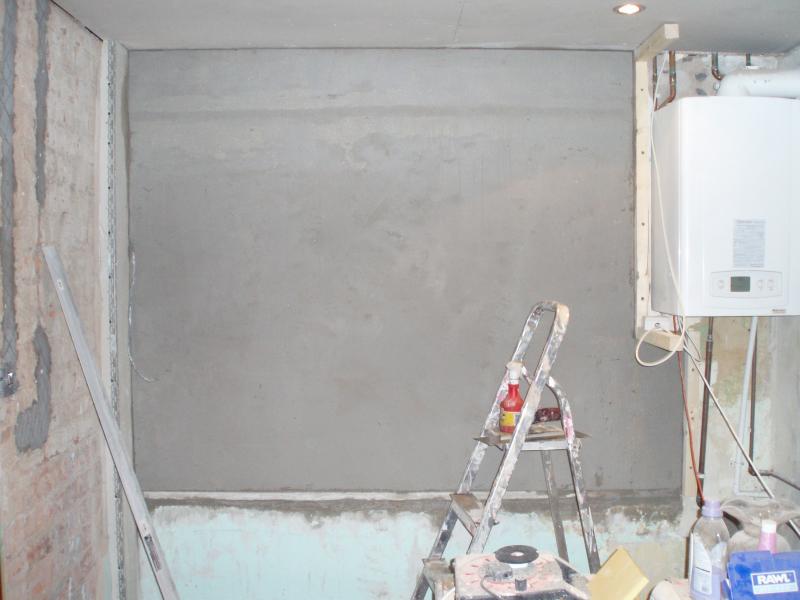
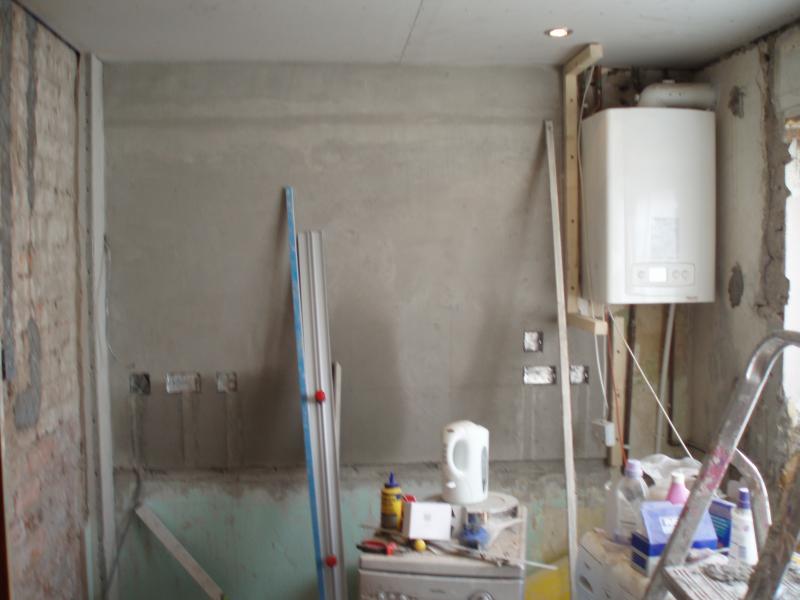
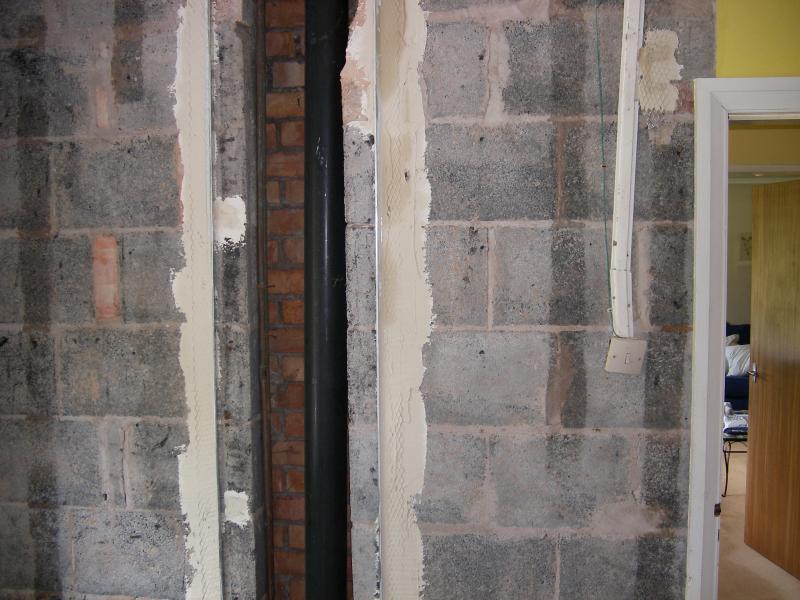
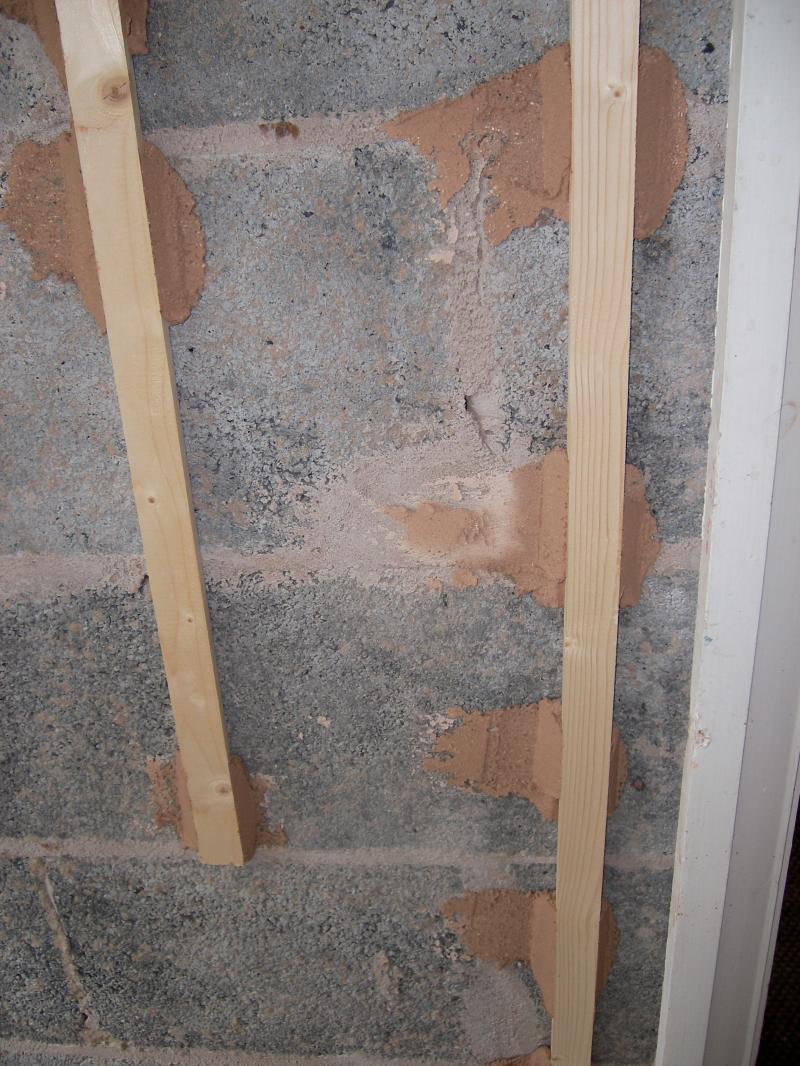
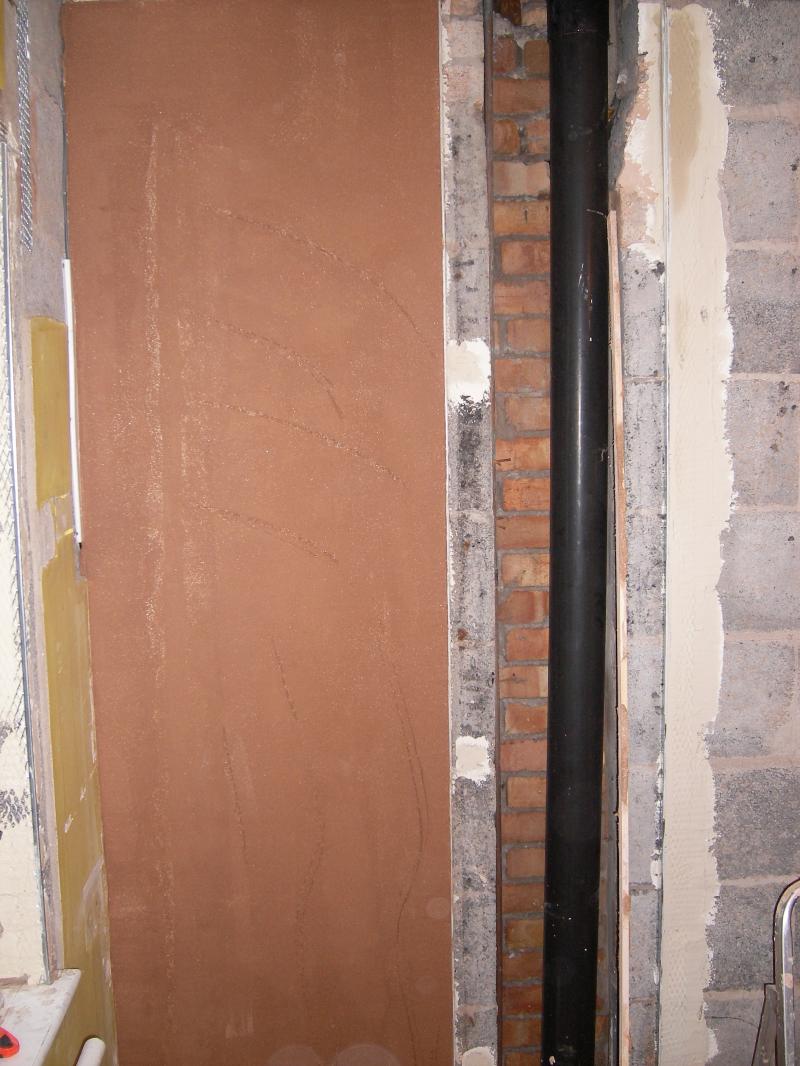
I've got some battens ready to go, but have a question on how to best fix them to my small test wall - so that they are holding firm for the big moment, but easy to remove when the time comes.

I think Roughcaster suggested some plaster dabs to hold them.

Would this be with a bit of multi-finish, even board adhesive perhaps?

And what sort of time would you suggest leaving them to set before getting on with the float & set. Overnight?

I'm hoping wood doesn't stick to them too well, so are reasonably easy to get off and not trash my newly floated wall! ;)

Any tips appreciated.
 
Sponsored Links
honestly i havent read your original posting but from experience i am guessing you are trying to use the battens to keep the wall flat whilst you bond or render it out before you skim the wall. the best way to fix the battens would be to drill and plug the battens fill out between the lines so to speak. leave it till the backing coat you are useing has gone hard so overnight will be fine, unscrew the battens then prize the battens off the wall if you like use the screws as something to pull the battens off with. fill in the gaps and hey presto the perfect flat wall. dnt forget to devil the wall up as it starts to go hard that is a float with 4 screws in the top edge just poking through and as it starts to go hard run it over the wall being sure to keep the float flat to the wall at all times leaving the trailing lines to give the plaster top coat something to key into
 
When I put temporary wooden dots on the wall, to form a screed to work from for the float coat, i would bed them on with browning, hardwall or bonding. Put a dab of plaster on the wall,, and bed/tap the wooden dot into it, until it is plumb, then leave it Once they're on and plumbed/leveled up,, tidy round about each dot with a guager,, remember,, you're only putting on enough plaster to bed/hold the plumbed dot in place. Fix a string line through from the first dot to the last dot,, and then position/plumb the other dots in between. The suction from the bricks/blocks will also help the dots hold too, so you can work off of them soon after they are set up. Don't forget a wooden ground/screed at the bottom of the walls to work from either, if you want it to be straight for the skirtings. The "floating coat" itself takes a fair old bit of practice,, so it pays to use a small practice wall/area.

Ok,,,, I put the dots on the wall, and then use them to work from to form the levels/screeds across the wall. Once I have formed the screed/s, i remove the dots more or less right away. I would never leave them until the following day. With me,, the dots are taken out once i have finished with them, even though the screed has not set. Don't screw or nail the dots on either,, i am only talking about pieces of timber around 18" max in length. Ideally,,, a float and set plastered wall would be finished on the same day,, depending on ability.

If you are going to "cement render" a wall/walls, using wooden dots to plumb and straighten the coat, you would bed the dots on with "render mortar". You would "not" use plaster,,, plus,, the wall would have also been scratch coated a day or two earlier.

Roughcaster.
 
hi newbee I read your posts and the info you got from roughcaster ect a couple of months ago as I also was about to attempt float and set about the same time.
I had never done it before and learned basics from the good help here. Anyway thought I would post my experience as will help others looking through posts trying to find out how to.

I cleaned all loose material from wall and applied pva to wall twice.
I just used two batons top and middle of wall (spent time making sure the batons were not bowed/twisted). As a kitchen wall and fitting units to bottom of wall only done top 2/3 of wall (this left me more room for utilitys).

I fastened first baton to wall by using bonding and tapped into place with feather edge). I done first baton one day and after it was completly set then fitted second baton the next day, I found as first baton was set to wall then it was easier to stick second baton to wall then get plumb/true to first baton.

I then applied three coats of bonding to wall to build up thickness with an hour between coats then levelled with a feather edge when last coat just on and very wet. I bought a float but found to be flexible and not very good (lack of skill on mybehalf im sure), the feather edge was great.

After the wall was left for an hour then I removed the top batons (ran a stanley along then) then filled the hole that was left.

I ended up with a perfectly flat wall that I skimmed a week later after some coats of pva again. Only put one coat of skim on as wall was so flat finnish was perfect.

It is a messy job and time consuming and the way I done it (not skimming on same day, putting batons on one at a time ect) is long winded but I was in no rush and learning as I went.

Here is some pics for encouragment, good luck at the weekend hope it goes well and thanks to the guys on this site that have helped me with there knowledge so I could get as far as I have with my project.

 
Sponsored Links
That plastering looks really good for your first attempt Ray. Many people can do basic skim, but it's a different kettle of fish when it comes to float and set,,, and it's not everyone that would attempt it either. Your finished job looks great. You'll be eyeing up your next project now. ;)

Roughcaster.
 
I've got spuds growing in an old rubber bucket like that one Rich, ;) but you're right about keeping everything clean as poss' for plastering.

Roughcaster.
 
I ended up with a perfectly flat wall that I skimmed a week later after some coats of pva again. Only put one coat of skim on as wall was so flat finnish was perfect.

Blimey. The force is strong in this one!!!!!!!!! ;)

Seriously, looks a good job. Hope I manage half as good at the weekend on my small wall. Feeling the pressure......

Thanks for the help. As always is invaluable!
 
You'll do alright too Newbee,, you've got a great interest in plastering as well. Put some pics up mind. ;)

Roughcaster.
 
well done Ray looks great! look at the money you saved as well.

good luck newbee ;) .
 
cheers boys, been hard work and not finnished yet!

Will post pictures of the whole project when finnished, the last two pictures that I posted is where the job was this morning so still a bit to do.

Starting to look good now and all the nice shiney things I bought are going in so at last im starting to see where my cash has went.

Have skimmed one other room before (the spare room for practice) but was my first float and set.
 
Put some pics up mind. ;)

Roughcaster.

Hello all

Well, I had a go this weekend and reasonably pleased with the end result (for me). Though I won't break any speed limits - only had limited time and only completed half the wall I wanted to! It takes a while! ;)

The two bits I struggled with most (that I hope I can get some pointers on to speed up with the rest) are:

1) Bedding battens into bonding so that they can come out easier

Pics of attempt so far:

Bare blocks + edge beads on the two sides (internal sewer pipe will be covered by a board)

Example batten fixing
I bedded the battens in and typically used ones that were quite long so that it was a bit easier with the darby. When it came to removing them, I went round with a stanley knife first, but still pulled away some of the dry dabs underneath and it messed up a bit around the new plaster. Corrected it when filling in, but think I must have done something wrong (too much plaster on dabs, shouldn't have neatened dabs gripping against wood, etc)


2) When to apply a float and scratch it up

After plaster

Filled the batten holes in ok - tho found it better to fill them in two passes. (When I tried to do the smaller one in 1 pass, it started to sag down in the area where the batten had been :eek: But was able to correct as it was small).

I wanted to try my new sponge float, but didn't know when the best time to apply it was. After I finished filling in the battens I tried it on a small bit, but I think was too soft.
I then tried to use a piece of wood with 4 small nails protruding 0.5cm. This also seemed too early as the nails picked up plaster and then dragged some thick gouges. You can prob see remnants in the pic.
So just smoothed down a bit and will be fine when the multi-finish goes over.

What am I looking for before using a float & then scratching - still a bit soft? Firm to the touch and little moisture sticking to hand when plaster touched? Dark patches starting to appear?

Any help appreciated for the second half!
 
Hi Newbee,
I didn't get back to you on you float and set. You mentioned the battens pulling the plaster away from the wall when you tried to remove them. I never leave the battens in very long,, just long enough to set the wall off, so i've not had that problem, but next time you do it,, instead of pulling/prising the battens off,, try tapping the batten/s with a hammer, tap it up the way,,, from the bottom,, enough to break the grip,, that'll help, no problem.

Using the scratch float,, i only use 1 nail in my float,, that's enough to devil any wall without overdoing it. Use it as you said, just when the plaster is steady enough to take it. Experiment with it,,, too wet and it will dig in,, try using it when the float coat's firm to the touch and take it from there,,, you'll learn,,, keep trying,, your wall's looking good too. ;)

Roughcaster.
 
Not had chance to tackle the second half yet, so advice still in good time to put into practice :)
I made a devil float myself - so will perhaps reduce the number of nails in it also!!! (currently at 4) ;)
Thanks Roughcaster.
 
I am a newbie to this site and plastering in general and I recently did a complete hallway/stairwell, only ever having done patch repairs before this.

I boxed in the stairwell drop and even boxed in some pipes and electrical conduit.

No-one told me you can't plaster over wood, but even plaster will stick when mixed with enough PVA glue...

However, I have a new problem someone here can help me with: Cement render to a bricked up doorway. I closed it up and the existing wall dressing is cement and plaster topcoat, so I thought I would give it a go.

PVA 50/50 to bare brick - leave to dry. Mix up 5/1 sand/cement. Sloppy mix. Like double cream but not as runny.

Applied to wall in 25mm coat. one hit. top to bottom. some places thicker others thinner. My brickwork not brilliant.

After about 30 minutes the whole lot fell off.

Mixed up new mix and ditto.


Advice needed very quickly 'cos tempers are volatile...
Advice with this job or shall I buy some thistle and go that way?
 

DIYnot Local

Staff member

If you need to find a tradesperson to get your job done, please try our local search below, or if you are doing it yourself you can find suppliers local to you.

Select the supplier or trade you require, enter your location to begin your search.


Are you a trade or supplier? You can create your listing free at DIYnot Local

 
Sponsored Links
Back
Top