Hacking Ikea kitchens.

Joined
18 Apr 2022
Messages
274
Reaction score
23
Country
United Kingdom
I'm thinking of having an Ikea kitchen. Wouldn't have done so until recently, but..

Actually I do like their wall units, as they are usefully deeper than the standard sized ones that Howdens/Wren/Magnet/yaddayadda think is all anybody will ever want, so I had been thinking about using those, but rigid carcasses for the base units.

Wasn't going to go for Ikea base units, firstly as they are flat-pack not rigidly pre-assembled, and isn't there (I think??) a problem that they have no void at the back for services?

But..

Was at the Grand Designs show recently, and saw a company doing great-looking plywood kitchens:

upload_2022-5-13_17-6-15.png

Stoke+Newington+Plywood+Kitchen+and+Cabinetry+2.jpg

Shepperton+Bespoke+Plywood+Kitchen+In+Birch+With+Wooden+Flooring+And+Canary+Yellow+Ply+Cabinetry


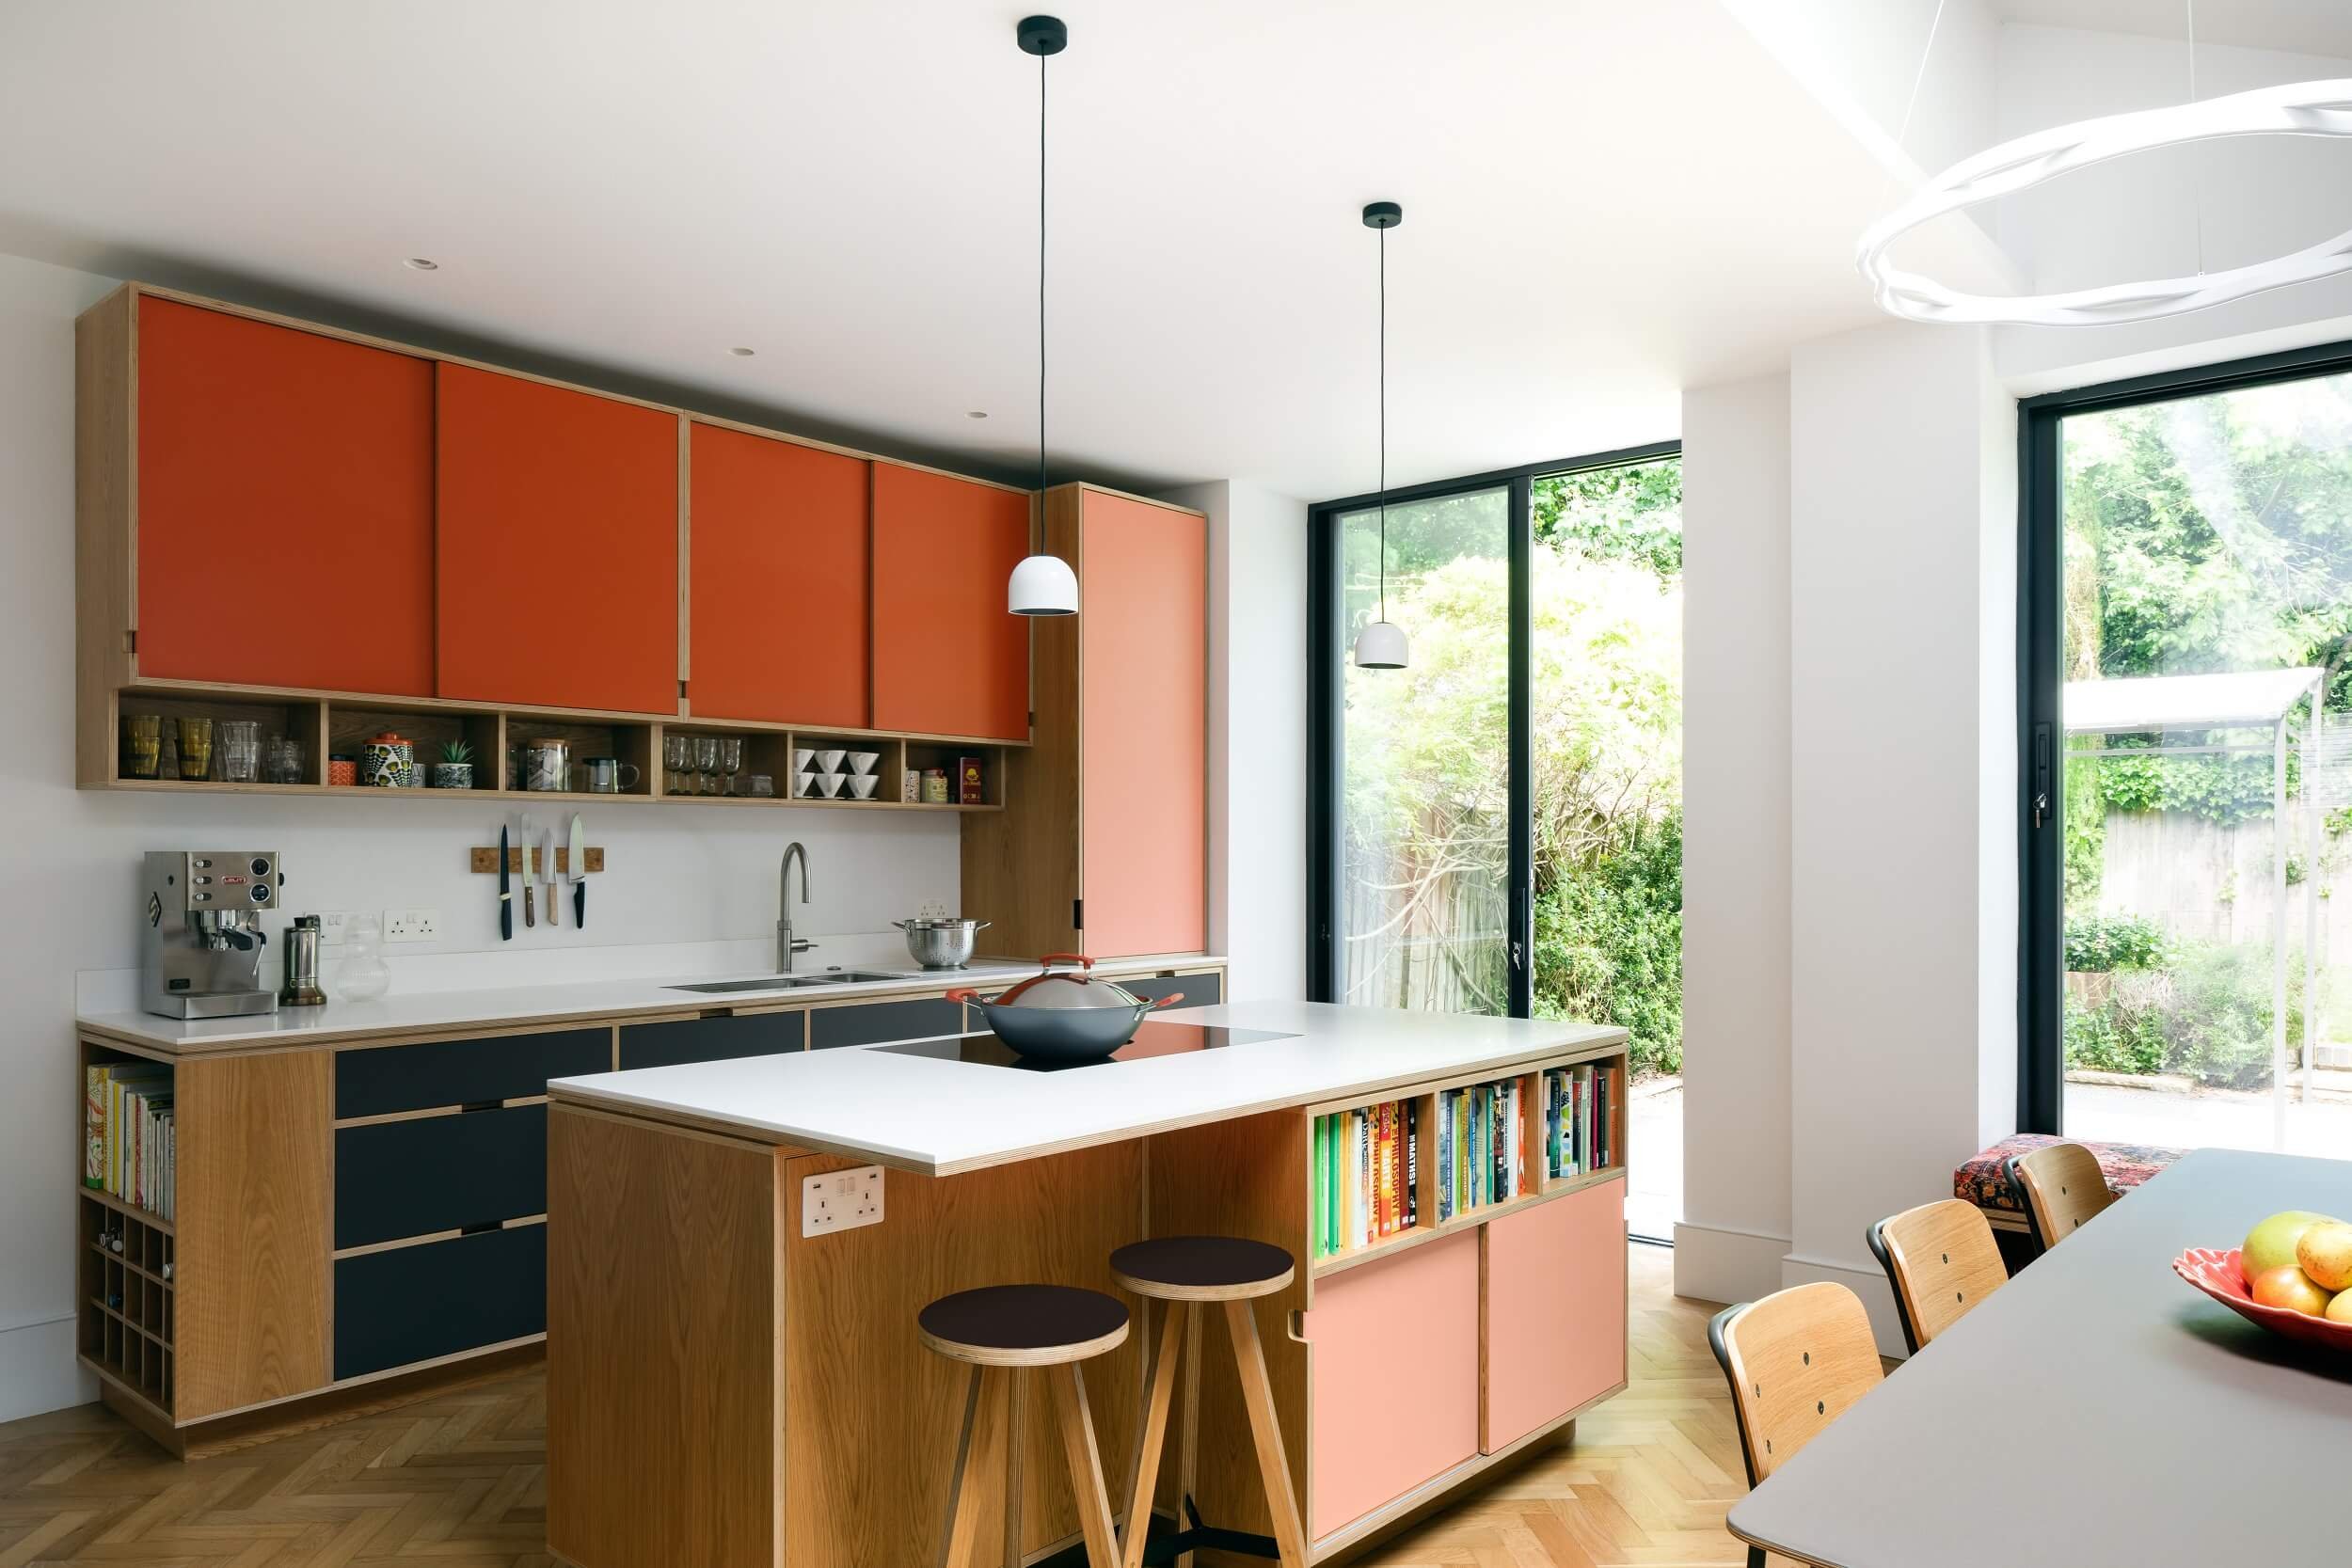
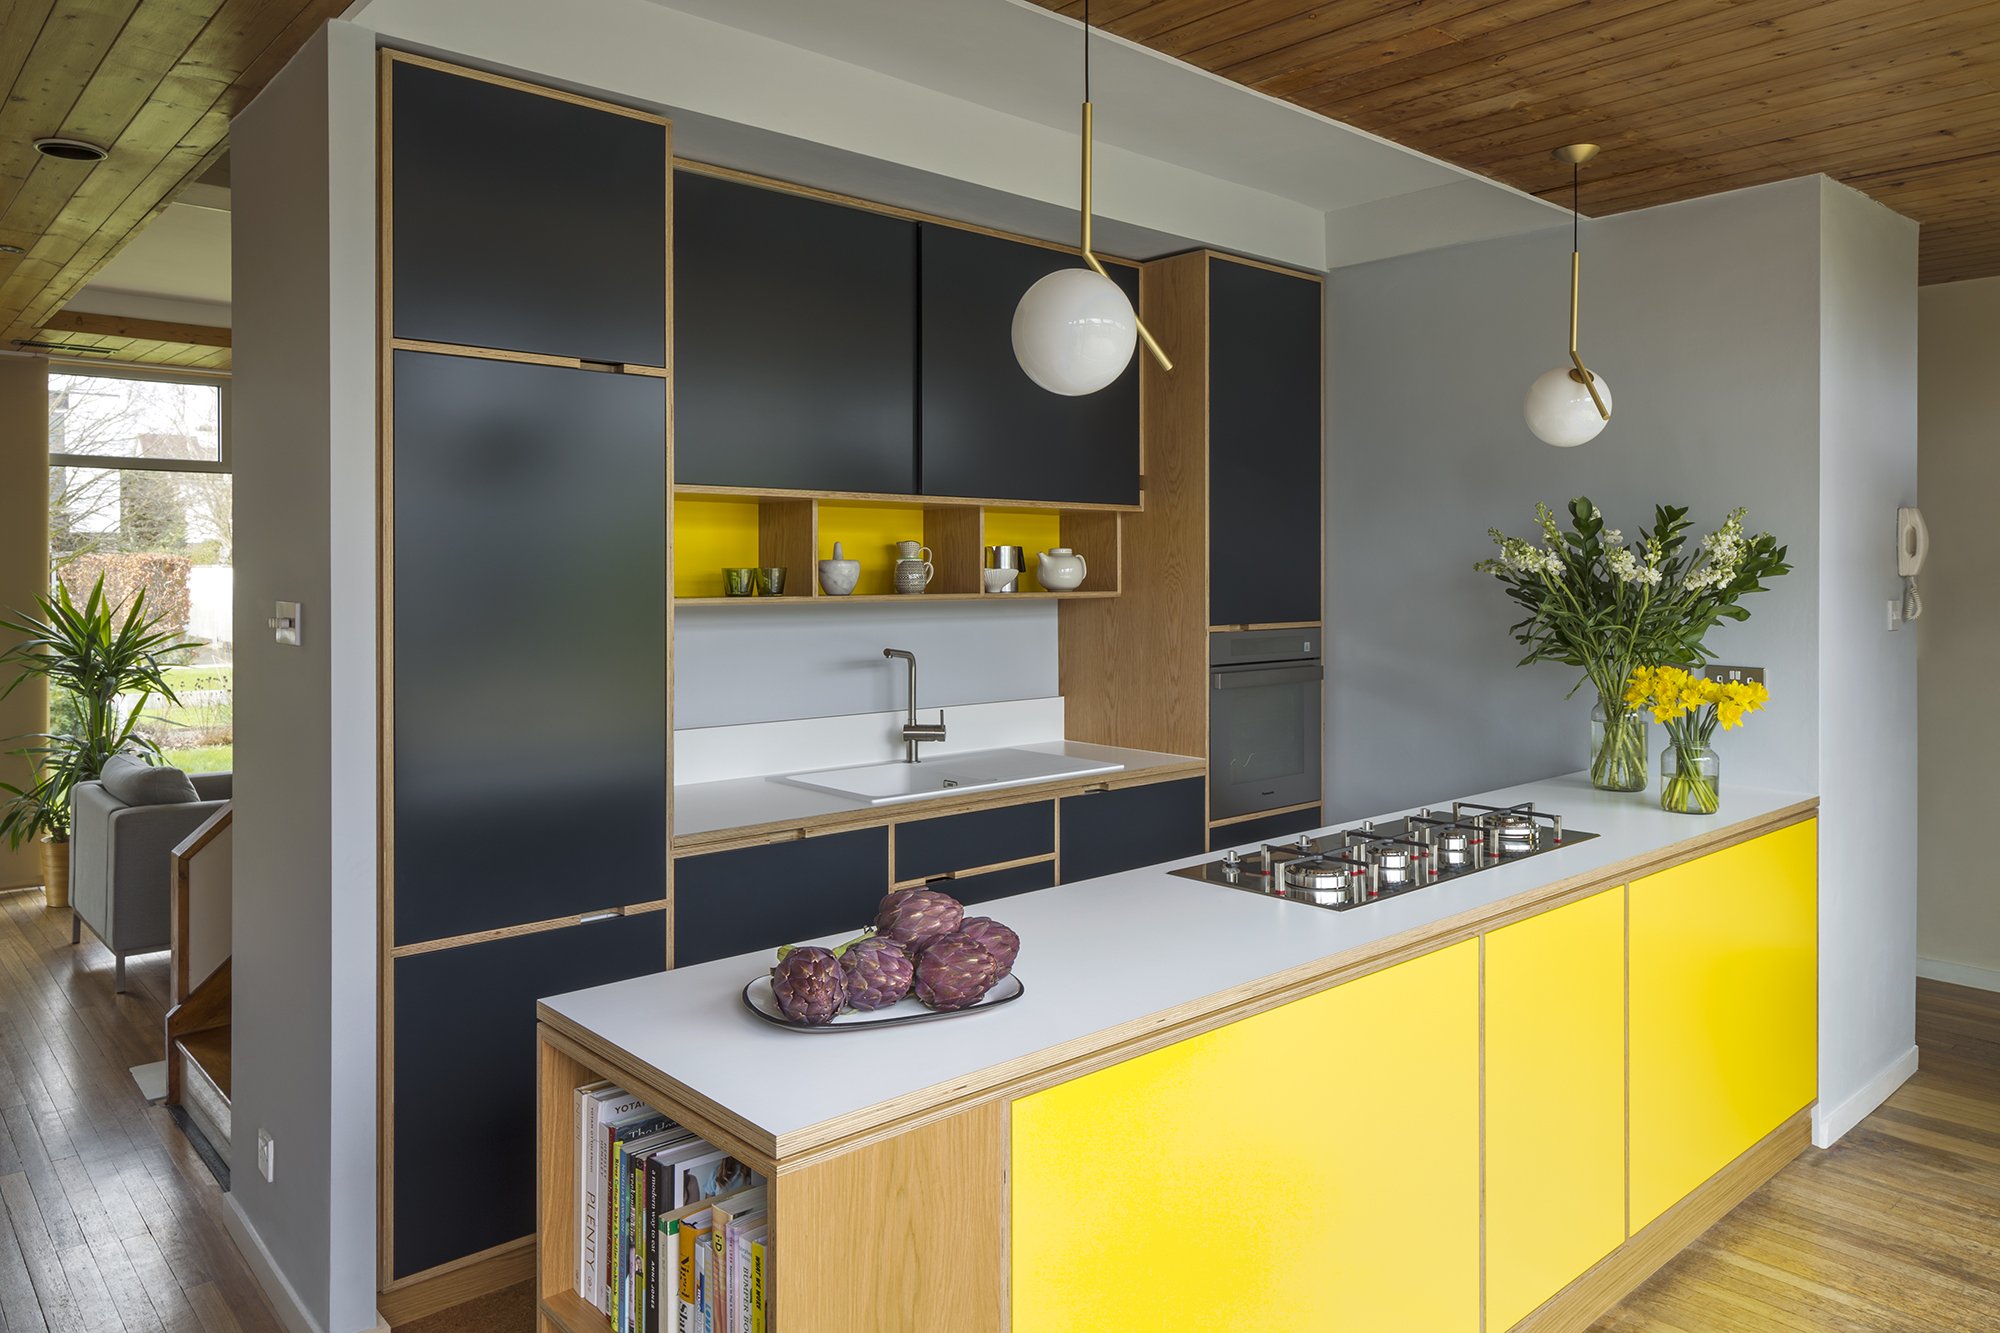
Very nice, and she-who-frowns-at-me absolutely loved them.

All bespoke, and way out of our price range.

But...

Searching the web for other peeps who make plywood kitchens turned up a company who make doors, end panels, spacer panels etc that you fit to Ikea carcasses, and voila:

upload_2022-5-13_17-16-0.png

upload_2022-5-13_17-18-12.png

upload_2022-5-13_17-19-49.png


So I'm thinking hmmm...

Getting to the point (at last), does anybody have tips on how to make the Ikea parts more sturdy?

I once modded some Ikea bedroom chests of drawers by discarding the hardboard backs and drawer bottoms, and replacing them with thin ply, and that made a big difference, especially to the drawers, so that's one thing I could look at doing.

Gluing the joints, I guess.

Worth getting a biscuit jointer to reinforce the joints?

Any other ideas?


PS - sorry - the photos looked smaller as I was creating the post, and I thought they'll be right...
 
Sponsored Links
Use a long strip of timber near the front and near the back instead of single feet everywhere, make them level and then fit to those. choose a size to suit the surface height that you want.
 
Getting to the point (at last), does anybody have tips on how to make the Ikea parts more sturdy?
This is a non-issue. If they are properly assembled you don't have to make them more sturdy. Once fixed together a row of even cheap carcasses is pretty rigid. About the only thing I'd consider is whether I wanted thicker cabinet backs - 16mm MFC is better than 8mm MFC which is better than 3mm painted MDF

Gluing the joints, I guess.
Glue doesn't strengthen joints in MFC

Worth getting a biscuit jointer to reinforce the joints?
You can do, but it will cost you a load of money for very little gain and a lot of effort. If you are going to "beef-up" the joining in any MFC or MDF carcassing the simplest (and cheapest) way is to assemble the carcase, mark the centre lines of the boards, drill and countersink holes down that centre line (get a Trend Snappy drill/countersink in the appropriate size), then add screws. At one time we used to get coarse-threaded black carcass screws in 1-1/4in and 1-1/2in sizes to build kitchen carcasses and shop fitting units (3/4 of all the "wood" counters and display cabinets you see in big shops were assembled with screws - no dowels, Dominos or biscuits). So just get chipboard screws - they won't be seen as you are putting deco panels over the ends, you'll also save a bundle on a biscuit jointer (or is it that youe really want to justify one to 'er indoors? In which case I'd go all out and ask for a Domino...)

For screws used internally, such as to join two cabinets together, look for Hospa screws (on-line, they are a trade brand and are out of the league of B&Q or SFX) as they sink fairly cleanly into MFC without pre-piloting. Used a lot in kitchen fitting

BTW - be aware that IKEA units use non-standard door sizes (longer than the standard 570 and 720mm) so your choice of doors with them is more limited
 
Sponsored Links
Beware if you want to fit a kickspace heater.
Ikea have less space and most won't fit.
 
The one and only issue with IKEA cabinets (apart from non-standard door sizes) is that lack of a service void at the back. Water and electrics aren't an issue - they can go at floor level either clipped to the skirting or (in the case of the water) to the floor. So that really only leaves you with the waste water to deal with. I've always thought it was poor practice to have huge long waste water runs behind cabinets - I mean, how do you service them when there's a leak? In practical terms surely it's better to have a design where the washer/dishwasher/sink either feed directly out through the wall, or possibly downwards through the floor? OK, I agree that isn't always practical, but it's still a good-ish idea to minimise the number of cabinets you run behind to say 2 or 3. If that is possible, then you could always take a standard IKEA cabinet where I believe that the back is held in a groove and assemble the cabinet sans back:

Kitchen Cabinet Moving Back 001.jpg

The back you remove is possibly sitting in 5mm deep grooves, so trim it down on 2 or 3 sides by 5mm to be an exact fit into the inside of the cabinet. Then remove the rear rail from the cabinet and fit a 2 x 1 PAR softwood "frame" on the insides of the cabinet to form a support for the back (I'd suggest 4 pieces, as below):

Kitchen Cabinet Moving Back 002.jpg


Refit the back you've removed, holding it in place with four or six screws in screw cups (or even those white snap shut screw caps):

Kitchen Cabinet Moving Back 003.jpg
Kitchen Cabinet Moving Back 003a.jpg


The service void above was set at 60mm - OK, the 2 x 1 sides are thick, but there is no reason why you couldn't rip the 2 x 1 PAR softwood down to 1 x 1in, or just cut out where you need the pipes to run (after all it doesn't need to be perfect - it'll never be seen). Finally resize the shelf (shelves) and possibly drill new shelf peg holes (if required). The modified cabinet not only has space for your services, but the back can be removed from the front for access by taking the shelf out and undoing some screws, This approach can be taked with any type of cabinet

As for non-standard doors, if you are in Manchester or Sheffield the firm I'd go to is HPP. They actually manfacture vinyl-wrapped doors to order and can do made-to-measure. Don't know if they do mail order, but they are a pretty big outfit and are local for me at least. They also sell hinges, wirework, drawer kits, handles, worktops, etc

Well, you were talking about hacking an IKEA kitchen... :)
 
Last edited by a moderator:
Use a long strip of timber near the front and near the back instead of single feet everywhere, make them level and then fit to those. choose a size to suit the surface height that you want.
That's a good idea. Another thing that Howdens/Wren/Magnet/yaddayadda seem to think people don't want are worktops higher than what was right for the average woman in the 1950s.
 
That's a good idea. Another thing that Howdens/Wren/Magnet/yaddayadda seem to think people don't want are worktops higher than what was right for the average woman in the 1950s.

Our kitchen is a Wren kitchen. She what scowls at me decided it was time to rip out the MDF kitchen that I built from sheets of MDF (admittedly building your own is wayyy more expensive). Anywho, she didn't want any door handles so we have a 3" metal profile under the worktops that enables one to pull the top of the door to open it.

Sorry that was a clumsy way of saying that you can make the worktop whatever height you want, but, yes sourcing end panels might become more difficult.
 
...but, yes sourcing end panels might become more difficult.
Solution #1: Buy a full size (8 x 4ft) deco panel - a lot of ranges have these. Of course if the OP wants birch ply that'll get expensive (especially as since the war in Ukraine birch ply has become a LOT more expensive as so much of it comes from Belarus)

Solution #2: For painted end panels sand, seal and spray your own any size you want.
 
Last edited by a moderator:
That's a good idea. Another thing that Howdens/Wren/Magnet/yaddayadda seem to think people don't want are worktops higher than what was right for the average woman in the 1950s.
Standard worktop height is about 910mm (150mm plinth, 720mm base cabinet, 40mm thick top). It is a compromise height which works well for most people between about 5 ft 2in and 6ft (or the sort of height a lot of people are still nowadays - let alone in the 1950s). Go above 950mm worktop height and shorter people (a lot of whom are women) find the worktops too high, go much below 900mm and you find that taller people like me (6ft 2in) get back ache when using them. The standard approach to ascertaining the ideal worktop height is to stand up straight, arms down by your sides, then turn the hands so that the palms are horizontal. From the palm to the floor is approximately the worktop height you'll be comfortable with. Oddly enough this is about 900mm. I bet your partner will have a lower ideal height than you

A few times in the past I was asked to put in kitchen worktops a lot higher. Only ever did it twice - once for a guy who was about 6ft 8in tall (so someone I really did look up to :)) and the second time for a couple who had me back within weeks to drop the height of the base cabinets AND lower the upper cabinets because 'er indoors couldn't reach anything. More often I've been asked to put in reduced-height base cabinets (which makes for issues with appliances) and the set the upper cabinets lower - this was mainly a request from the lady of the house whose stature made standard kitchens a PIA to deal with (and as SWMBO spends more time in the kitchen in most houses...), and also, sometimes, for people with disabilities
 
Last edited by a moderator:
I've always found it odd that, despite designing in a "service void", you can't actually get to it for servicing once the cabinet is made up and installed!
 
I've always found it odd that, despite designing in a "service void", you can't actually get to it for servicing once the cabinet is made up and installed!
In which case the above could be a very useful hack, don't you think?
 

DIYnot Local

Staff member

If you need to find a tradesperson to get your job done, please try our local search below, or if you are doing it yourself you can find suppliers local to you.

Select the supplier or trade you require, enter your location to begin your search.


Are you a trade or supplier? You can create your listing free at DIYnot Local

 
Sponsored Links
Back
Top