Help! Roof valley leaking

So, I was wrong about the cut tile - I've now got a full tile there. I also put back the bit of facia that broke off and shaped it above the tile. I haven't put flashing on it yet - will do that at the end (oh and its definitely needed - my soak test proved it was getting sprayed a bit).

facia_untreated.jpg


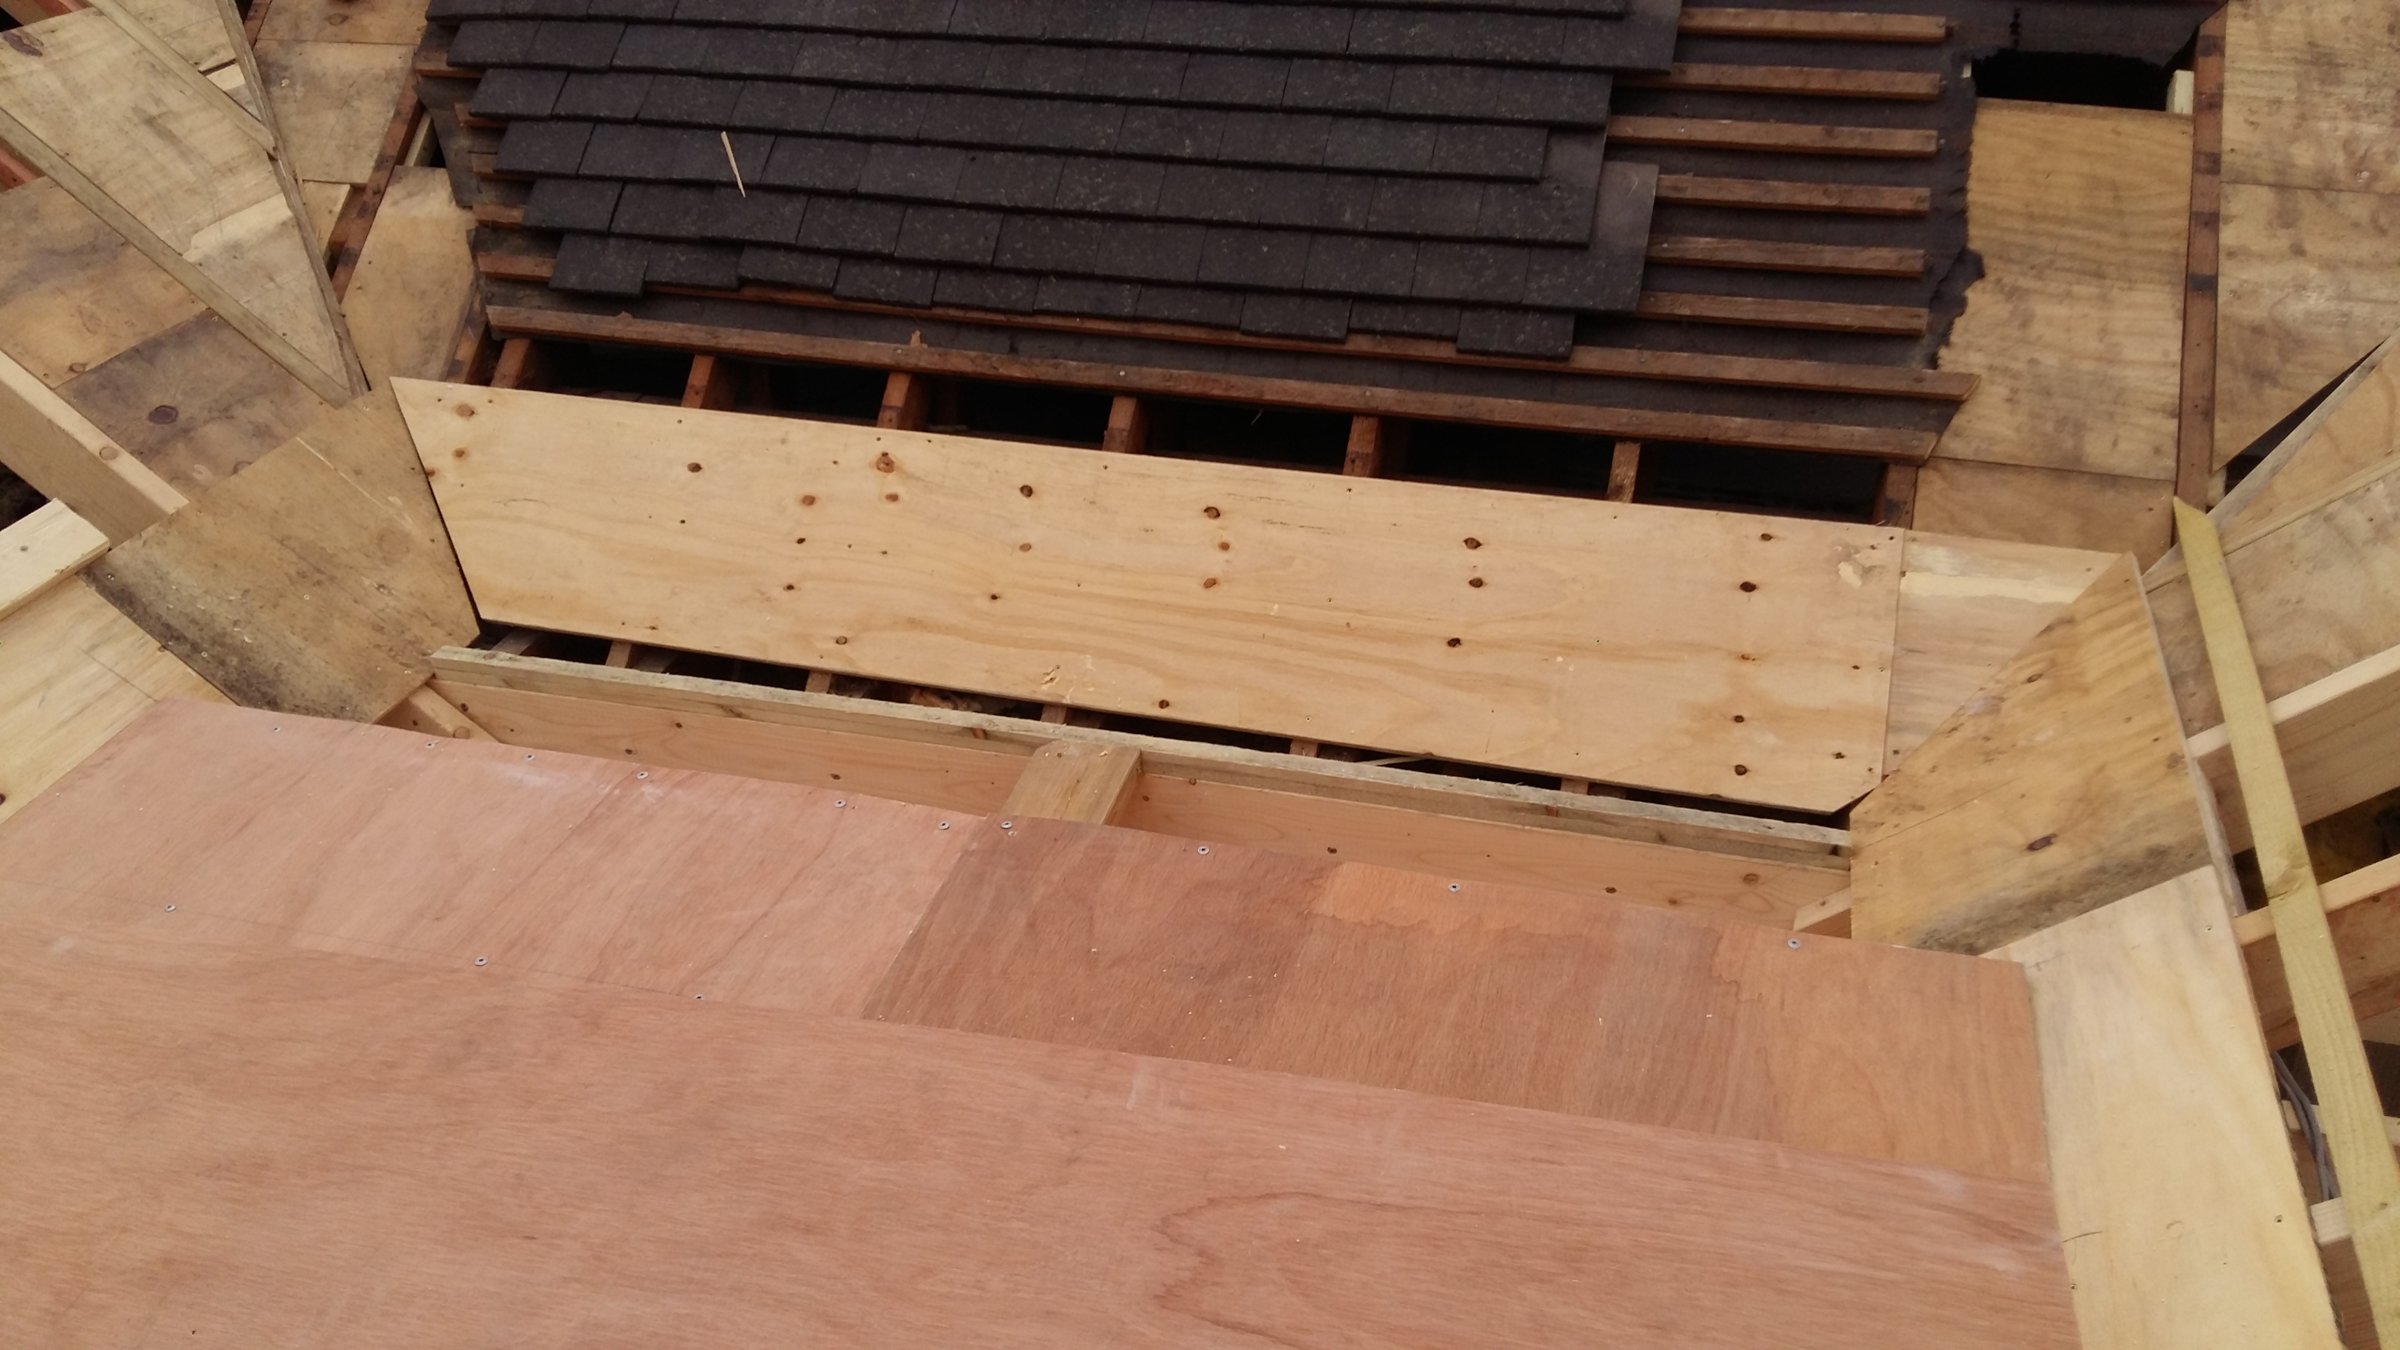
I added took the opportunity to replace the broken underlay and then initially I put it all back together with a sheet of underlay the same size as the lead would be. I then tested with a hosepipe fired into the air to simulate heavy rain and after 10 minutes no leak. ANd I thought cosmetically looked ok. Great I thought....

faux_lead.jpg


However, when today I replaced the temporary "lead" apron with real lead I had trouble with the tiles. You can see it has pushed one tile up quite a bit. The roof still doesn't leak but I don't really like it like that. Maybe the lead apron is too big or just in the wrong position? It was getting dark so ended up rushing a bit - maybe that was my problem.

IMG_20181002_195031.jpg
IMG_20181002_185050.jpg


I'm going to mortar only when I'm 100% happy with the rest.
 
Sponsored Links
Your first cut is cocking up because your lead saddle is over the adjacent tile that the cut should be interlocked with.
Also your saddle is not dressed sufficiently.
 
Ahh so it should go _under_ the adjacent tile on the right? I think I did that to start with but it looked like it wouldn't prevent water spilling over the right hand side - admittedly it was getting late so will try again hopefully tomorrow.

By dressing, is that basically lightly hammering the thing into shape after the tiles have gone over it?
 
I think the problem might be that because the apron goes over the fascia on the left, if it then goes under that adjacent tile on the right, it basically slopes into it. Maybe it should go under the fascia ?
 
Sponsored Links
noseal photos,

way to go - lots of backin.an the flat valley board for the intersectin roofs/jacks.
did you drain the flat roof with diminishin firrins?
could the flat roof have been a little lower to give you a bigger step-up/flashing or would that hav been irrelevant?

We added furring battens and insulation to that flattie. The furrings weren't diminishing strips as the slope went across the joists rather than with them. So we fixed a 50mm batten atop of the furthest joist then fixed a line and then added ever thinning battens as the line sloped.

The images below may give a clue. Sorry about the hijack but the photos do help show bottom of valley situations.(y)
We also fix a cocking fillet (not shown) to the ply tray as to 'kick' the bottom course of tiles. This also gets covered in the roofing felt to stop it rotting and prevent water getting back up the slope.
 
Sorry about the hijack but the photos do help show bottom of valley situations.(y)
.

No problem as long as you continue to comment on poor little valley :cool:. Hopefully you can see the flashing next to the fascia in the first pic. Also I'm guessing "dressing" means wrap the lead around the tiles as best as possible. I think I've done it slightly better this time? (Just noticed tile missing at the top left of pic but think that is just due to when I took this photo)

So I think I have now got the lead in roughly the right place? Certainly looks a lot better than when it went over that tile. I haven't really tested properly for leaks yet - just a bottle of water down the valley and seemed ok. So not sure if I should move to the mortaring or do a proper soak test first. Can you mortar when the surface is damp but it isn't raining?

I'm planning to push the cut tiles up next to the valley, build a wall of mortar along the rough bit of the grp valley then gently press back down each cut tile. Is that right? And to ask a really daft question, is the purpose of the mortar to enhance the valley channel that water will flow down or is it to provide some support for the cut tiles?

I shan't ask what a "cocking fillet" is. Sounds like code to prove you really know your roofing stuff haha.


IMG_20181003_184030.jpg

IMG_20181003_180525.jpg
 
noseall
thank you for the photos an explanation how you guys do it.

if i understand you - would a double batten do as what you call a cocking fillet?
 
if i understand you - would a double batten do as what you call a cocking fillet?
Yes - but, angle fillet is ideal especially for the flat roofers to dress their felt over, i.e. zero risk of hollow voids occurring.
 
@ Mike 42 - Always pinch the outer edges of the lead soaker upwards to form a slight water deflector where the lead is 'floating'.
 
Last edited:

Angle fillet. This is exactly the angle it would sit when fixed to the ply tray. The bottom of the first course of tiles rests on the crest.
 
@ Mike 42 - Always pinch the outer edges of the lead soaker upwards to form a slight water deflector where the lead is 'floating'.

This sort of thing? You're right I hadn't done it and when I did the tile still fit ok over it so glad I've done it.


IMG_20181004_145236.jpg


Also added a wall of mortar - in some places though when I put the tiles back (not to see in this photo) the wall sagged down a bit.

IMG_20181004_164945.jpg


Anyway, I think its all done now but will have to test for leaks tomorrow.
 
Well I think I got there in the end. The test went well and then the next night it rained for hours but dry inside.

There is quite a gap under the lead. It stays dry but ideally would fill it with something?
 

DIYnot Local

Staff member

If you need to find a tradesperson to get your job done, please try our local search below, or if you are doing it yourself you can find suppliers local to you.

Select the supplier or trade you require, enter your location to begin your search.


Are you a trade or supplier? You can create your listing free at DIYnot Local

 
Sponsored Links
Back
Top