hiding shower pipes

Joined
30 Nov 2004
Messages
231
Reaction score
0
Country
United Kingdom
we are having a new bathroom fitted soon. The bathroom is being plastered/skimmed lthrough out beforehand. Now we want to put the shower/bath up against a wall which is a soild wall( thin block). We want to hide these pipes and am wondering what the best way to do it is.

channel out the block work?,or dot and dab existing wall with plastereboard leaving the area around where the pipes will be untouched?
 
Sponsored Links
Dot and dab or baton with aqua board makes it alot easier for installation and testing.
Pete
 
Don't forget that sooner or later the shower will fail and you will have to dig it out for repair and replacement.

This will be infinitely easier if it is a surface-mounted one, or one in a big cavity with a removable escutcheon.
 
when u say surface mounted you mean by using chrome piping?. if so would i fit the pipe work after the tiles or before?
 
Sponsored Links
yes

before

But drill for screws and clamp down after.
 
I've just done /doing mine and had the same thing. The problem I had was that the bathroom wall is circa 1680mm so a "standard" 1700 bath meant channeling just to make it fit. There was not much hope of making it fit with aquapanel dotted and dabbed :(

I'm a DIYer so my method is by no means from the plumbing bible but...

I decided from the start that I would be using a surface mount mixer - my folks installed a brand new concealed mixer in a new stud wall, complete with rear service access but due to a mis-communication it got tiled over. 1 week later the brand new valve predictably went mammory verticales causing much bemusement
So I will be using something like THIS

This means that you'll need wallmount elbows to attach the shower.
I channeled out a letterbox in the wall to a depth of about 1.5" by about 3" by maybe 7" to mount the elbows in. Then I chaneled out two vertical slots for the pipes to the elbows probably about 1.5" square down to below bath level
I then screwed the elbows on (also using epoxy adhesive too lol), saddled 15mm plastic pipes into the vertical channels then filled the channels up with expanding foam back to wall surface level. I hope the plastic will prevent any corrosion problems and the foam will stop any expansion/contraction issues. The compressions on the elbows are assembled with ptfe + fernox lsx + several yards of knuckle skin religeously sacrificed to the fickle gods of plumbing over the last couple of weeks
This has now been pressure tested for a week with not even a drip. Tiler is coming next week to seal it all up! I've also tried to figure it out so that a single tile will cover the elbows should they need service
Fingers crossed :D

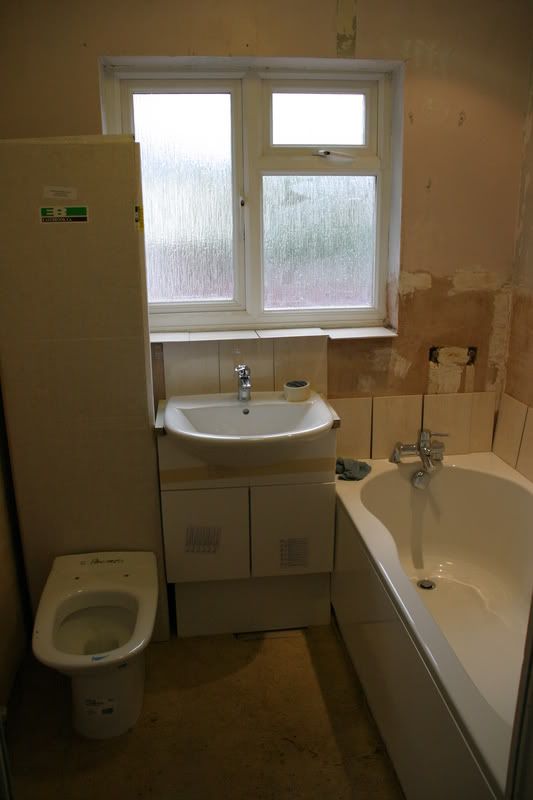
You can see the final result behind the bath in this rather poor photo
IMG_6474.jpg
 
Fumb did you use the epoxy resin on the fittings on the plastic pipe !
If so wouldnt you have a job getting them apart!
 
I am a humble DIYer too.

I tracked out the wall with a grinder.
Put a 15mm plastic pipe in and covered it up with some plaster.
Left the plastic pipe sticking out at the unit just enough to fit a pressfit elbow joint on (no awkward spanner work).
 
No

I epoxied the elbows to the wall as well as 3 screws per

The fittings are just ordinary compression with olives and inserts for the pipe
 

DIYnot Local

Staff member

If you need to find a tradesperson to get your job done, please try our local search below, or if you are doing it yourself you can find suppliers local to you.

Select the supplier or trade you require, enter your location to begin your search.


Are you a trade or supplier? You can create your listing free at DIYnot Local

 
Sponsored Links
Back
Top