

Hi,
I stripped all my front room Wallpaper away at the weekend with a view to tidying the walls so I can paint directly onto them.
Unfortunately a fair bit of the Skim Coat came away, some of the patches being around 50cm wide.
The walls are made up of Cement & Sand render with around a 3mm skim coat
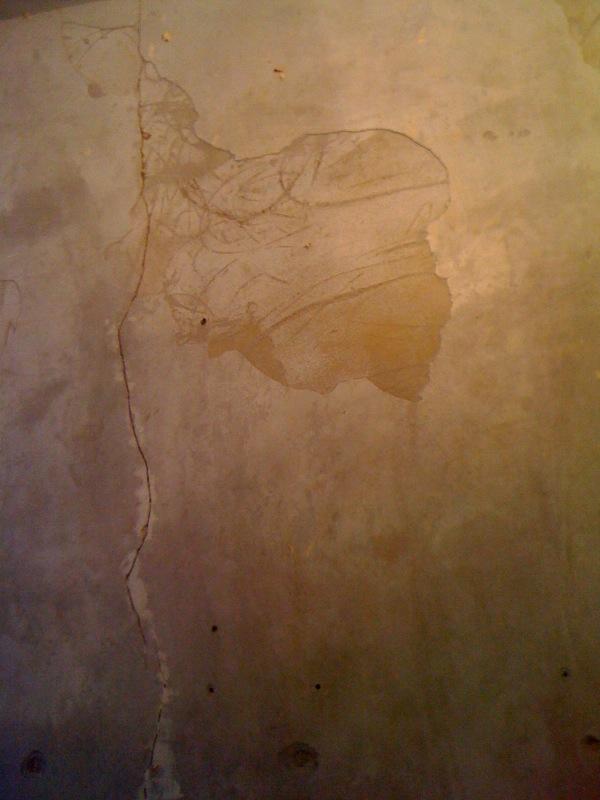
Also as shown in the pic below, there is a worrying verticle crack around 4mm wide running the full length of one of the walls, this in the same area a Chimney breast was filled, I think it has settled after the work had taken place.
I was looking to patch this all up with finishing plaster such as this
http://www.wickes.co.uk/Finishing-Plaster/invt/224542
Then lightly sand after
From reading these forums I take it I would be wasting my time and effort as it would always be noticable after I painted??
If so would my best bet to get a Plasterer in to skim the entire room even though large parts of the existing Skim looks OK?
Also there is a lot of WallPaper Paste and Polyfilla (which is above the level of the Skim) still on the walls,
Would I have to wash the paste off and chisel the filler off (its rock hard) in preparation for new Skim Coat?
Thanks for your help,
Chris
I stripped all my front room Wallpaper away at the weekend with a view to tidying the walls so I can paint directly onto them.
Unfortunately a fair bit of the Skim Coat came away, some of the patches being around 50cm wide.
The walls are made up of Cement & Sand render with around a 3mm skim coat
Also as shown in the pic below, there is a worrying verticle crack around 4mm wide running the full length of one of the walls, this in the same area a Chimney breast was filled, I think it has settled after the work had taken place.
I was looking to patch this all up with finishing plaster such as this
http://www.wickes.co.uk/Finishing-Plaster/invt/224542
Then lightly sand after
From reading these forums I take it I would be wasting my time and effort as it would always be noticable after I painted??
If so would my best bet to get a Plasterer in to skim the entire room even though large parts of the existing Skim looks OK?
Also there is a lot of WallPaper Paste and Polyfilla (which is above the level of the Skim) still on the walls,
Would I have to wash the paste off and chisel the filler off (its rock hard) in preparation for new Skim Coat?
Thanks for your help,
Chris

 there, i've said it,, do i agree with it?,,,, do i *******s,, grind away, but wear a mask/goggles,,, (ooops, i nearly said condom too,, but that's a different type of grinding)