Hello fellow diyer's. Last year i posted a thread on here for my extension. In the end i floored the extension, kitchen and family room with the reclaimed maple dance floor. I had enough left over to floor the hallway which is the basis of this thread. I also had enough left over to give to my mate so he can floor his lounge. So that's 80sqM laid at my house and another 25sqM to my mate, not bad for £400 cash and the purchase of 2 thicknesser machines(the first one burnt out after processing 60sqM). Oh aye and the 16 months its taken me to do the job from start to finish!
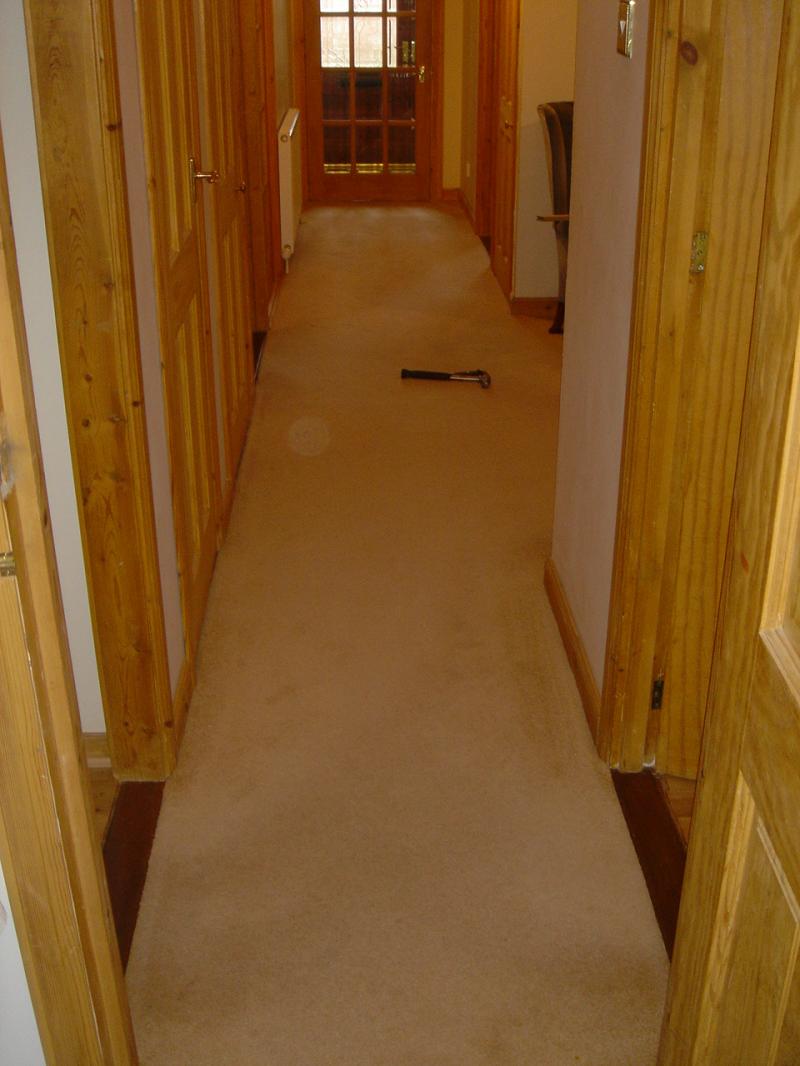
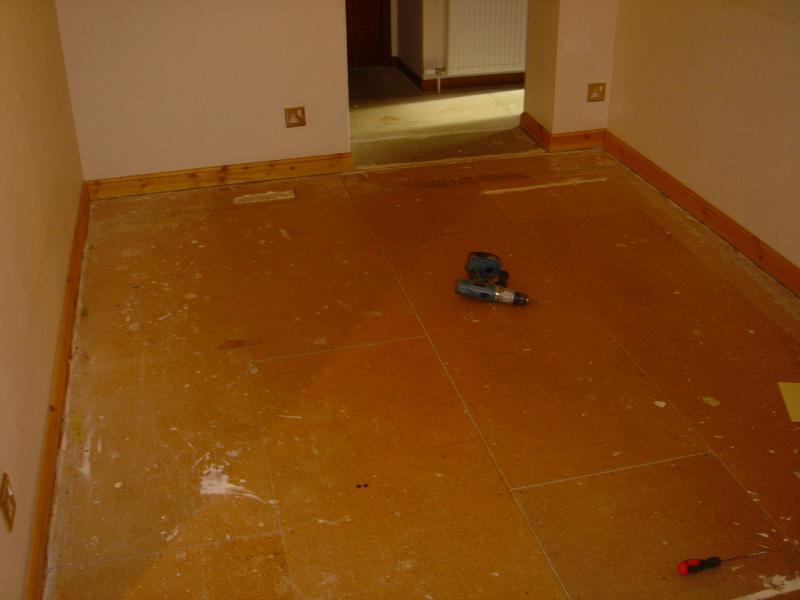
A few photos of the hall as it was.
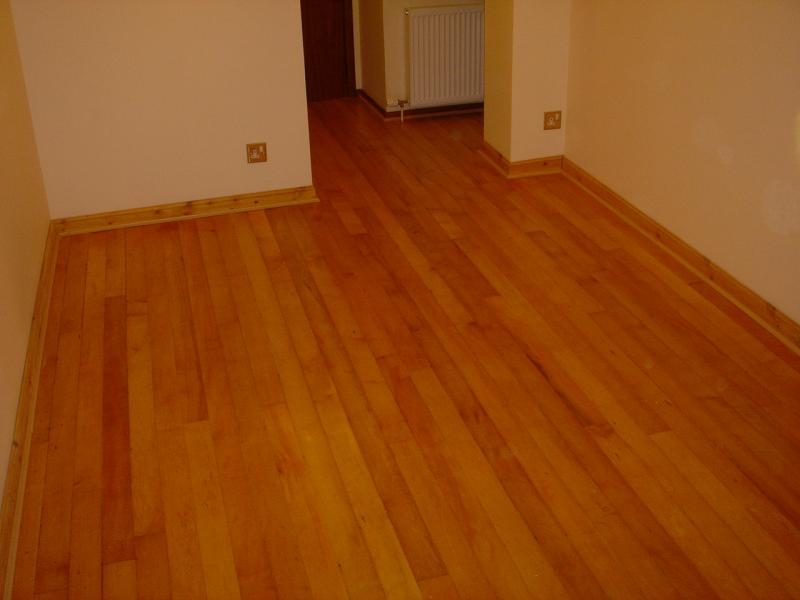
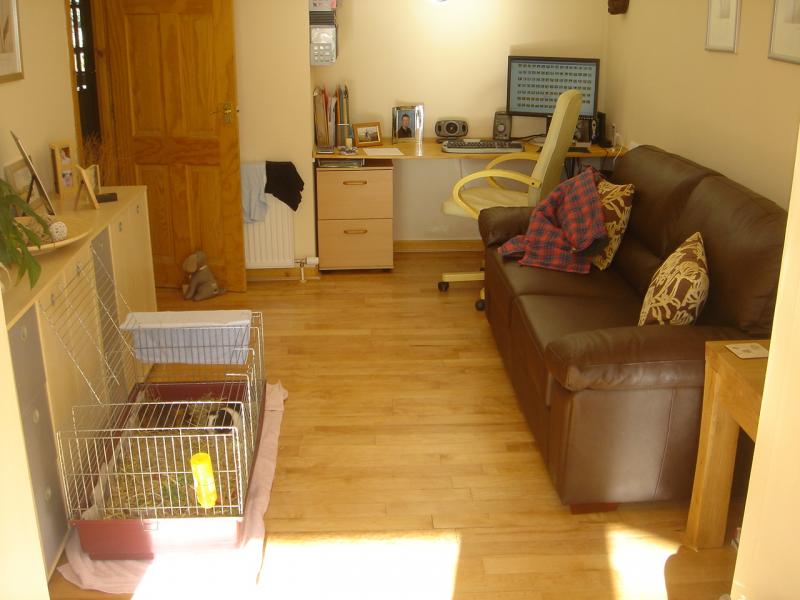
Hallway from one end
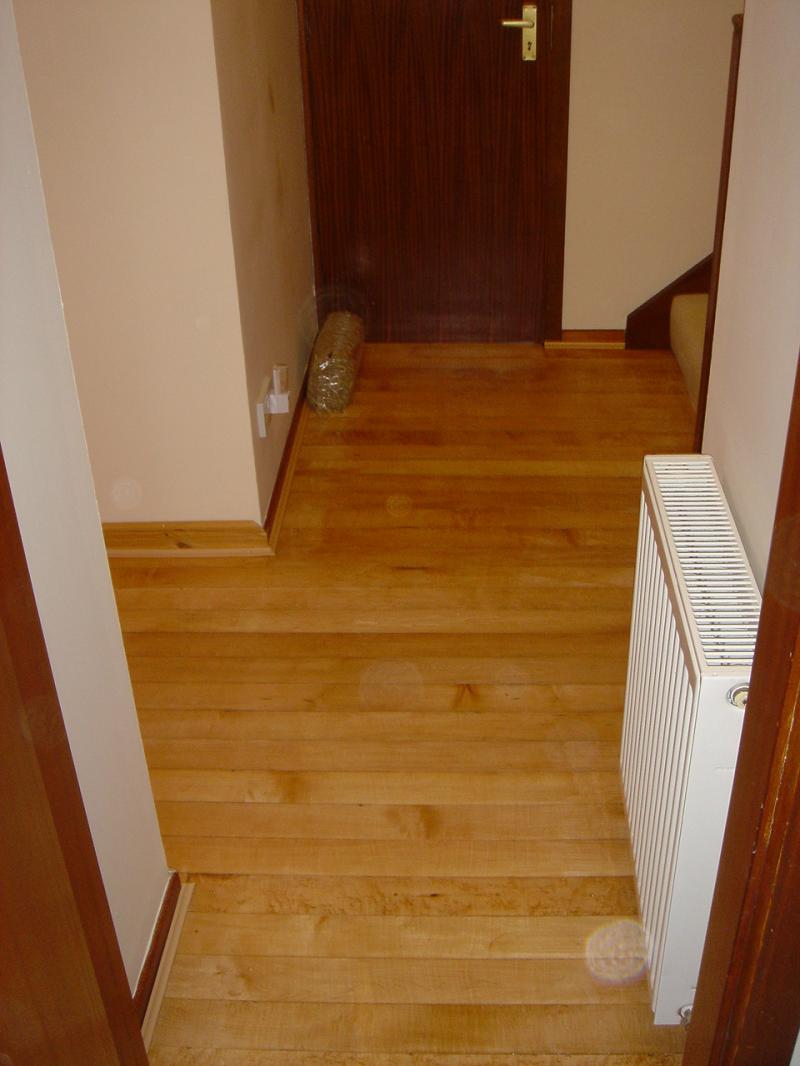
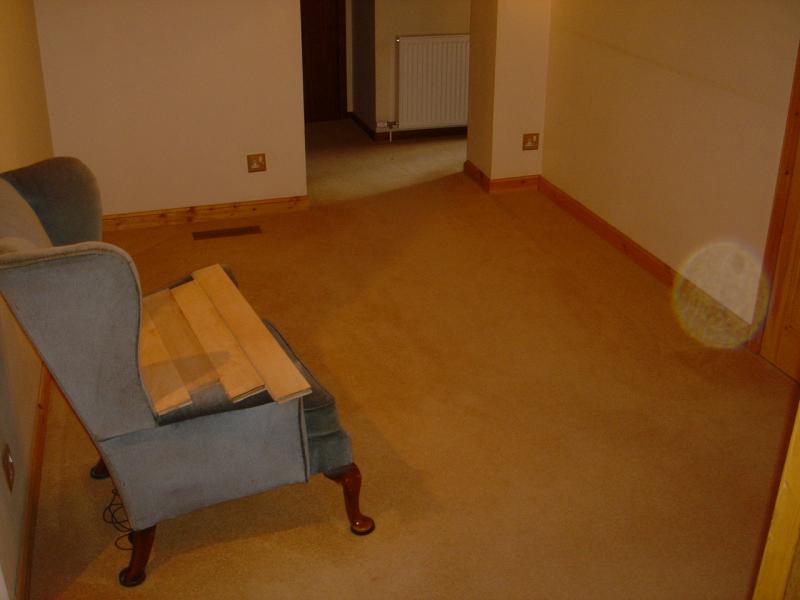
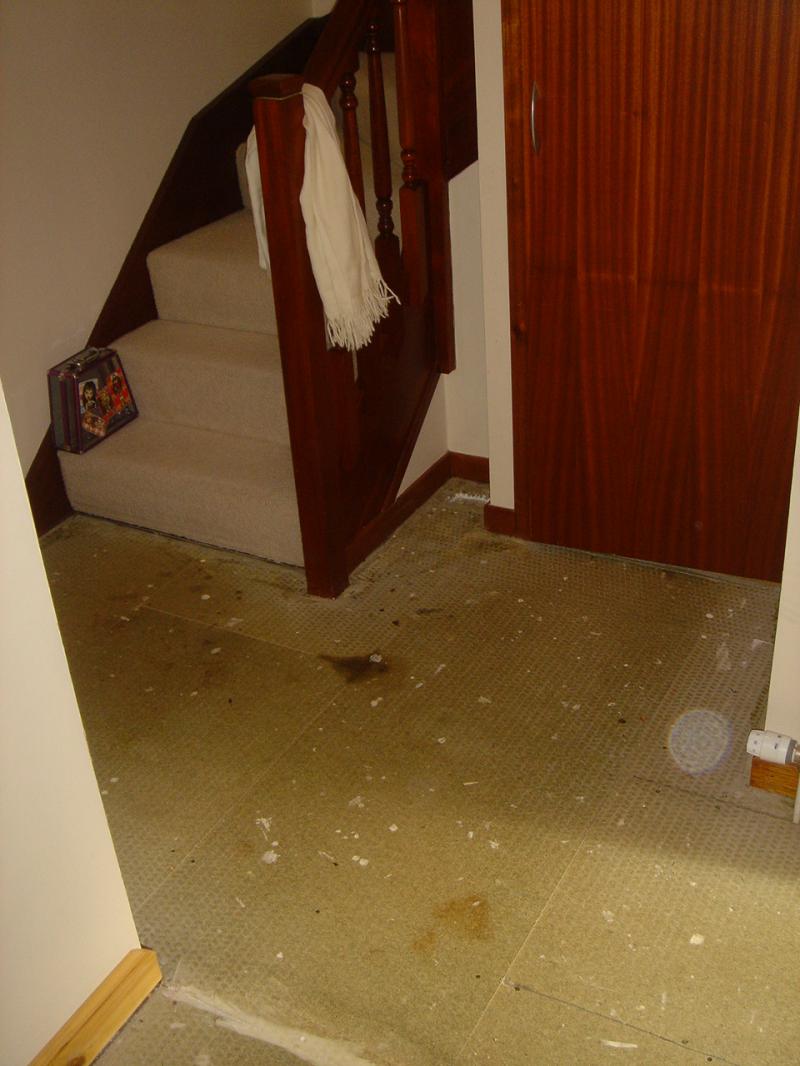
open area in hall
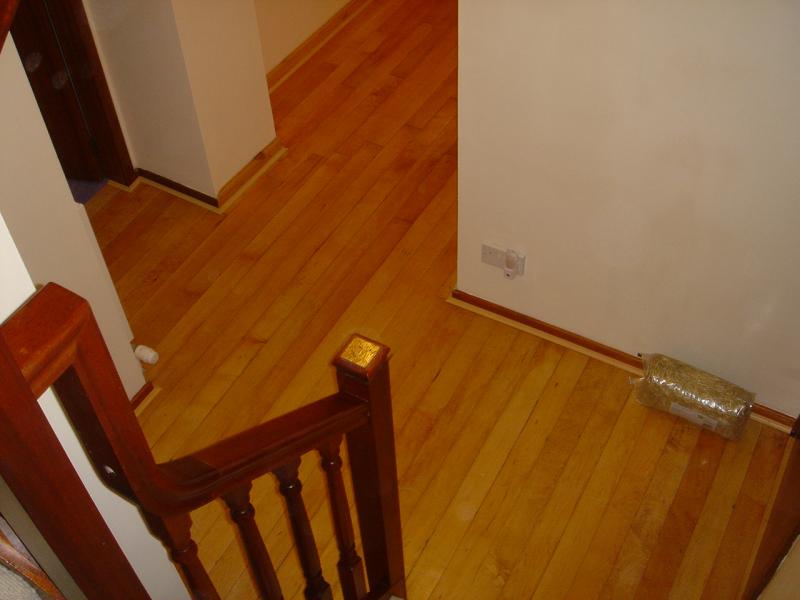
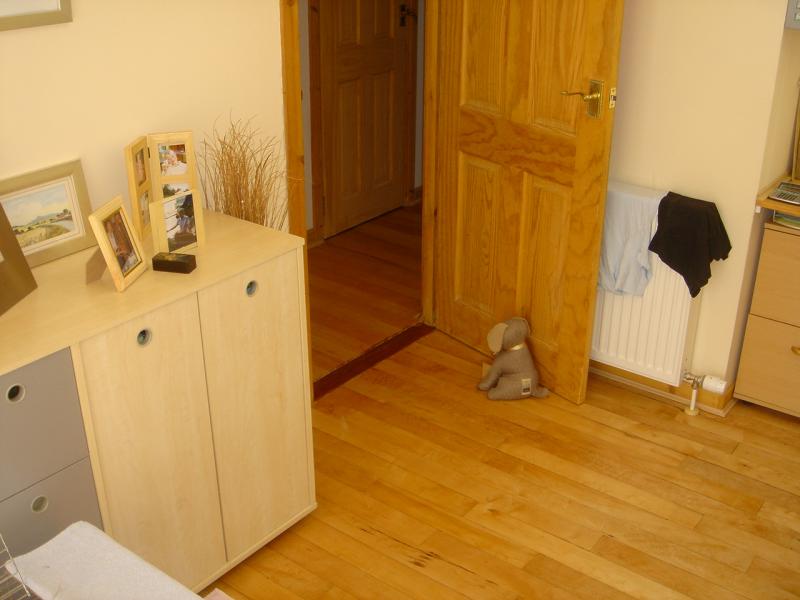
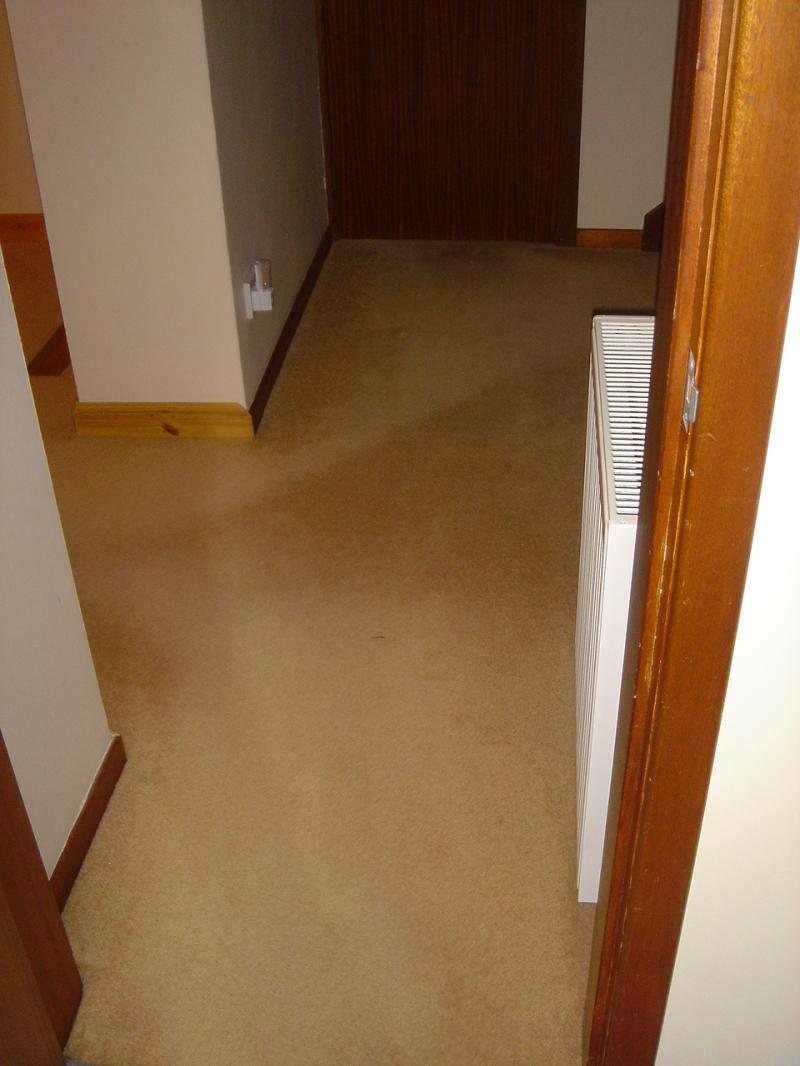
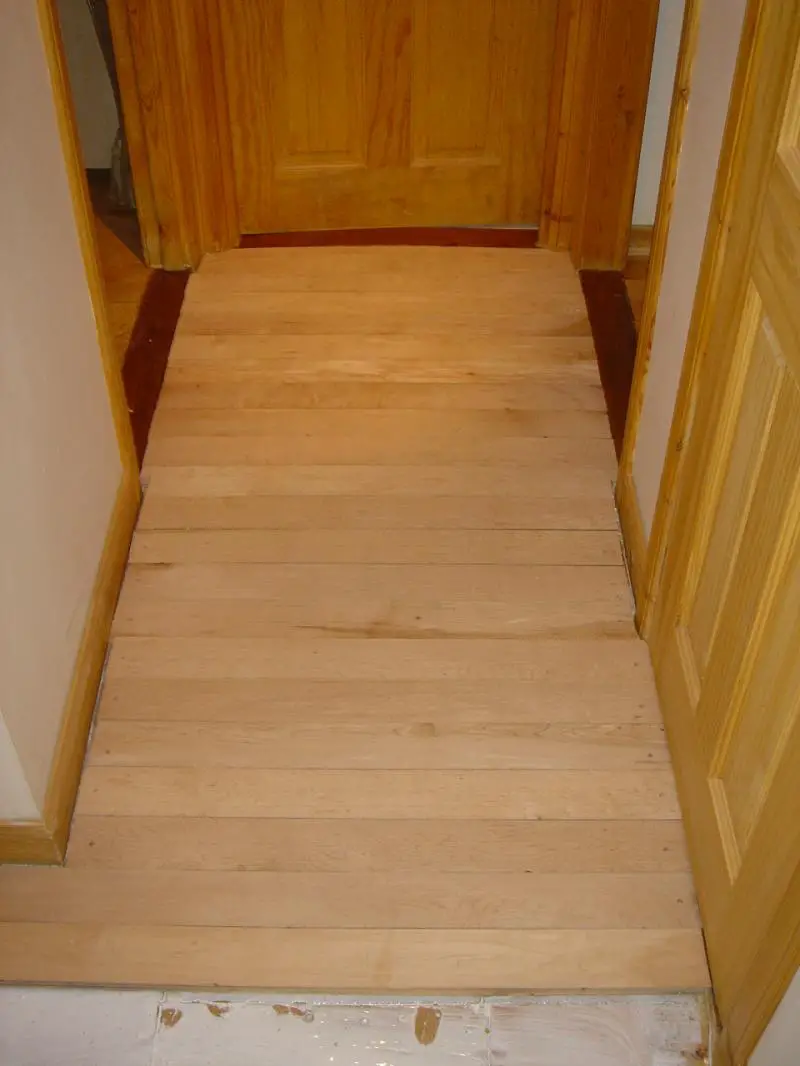
leadthrough to other half of house
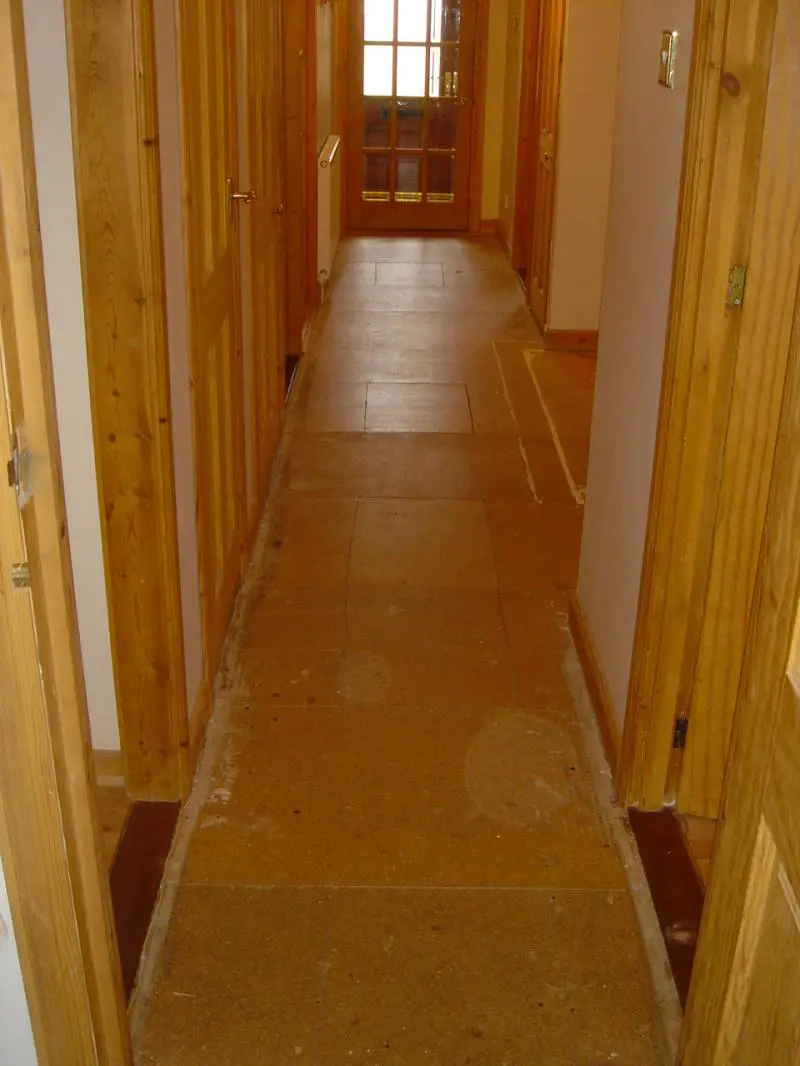
My house is a Barrat construction so its chipboard floors on joists. Not the best base to lay a maple floor onto. There were lots of hatches in the floor which gave squeaks etc. All hatches were lifted and dwands fitted tween the joists to give full support. I also went through about 200 screws making the floor solid to the joists as Barrat Nailed floors at that time.
After fixing the floor to my satisfaction i marked out joist centres with a black marker for ease of secret nailing
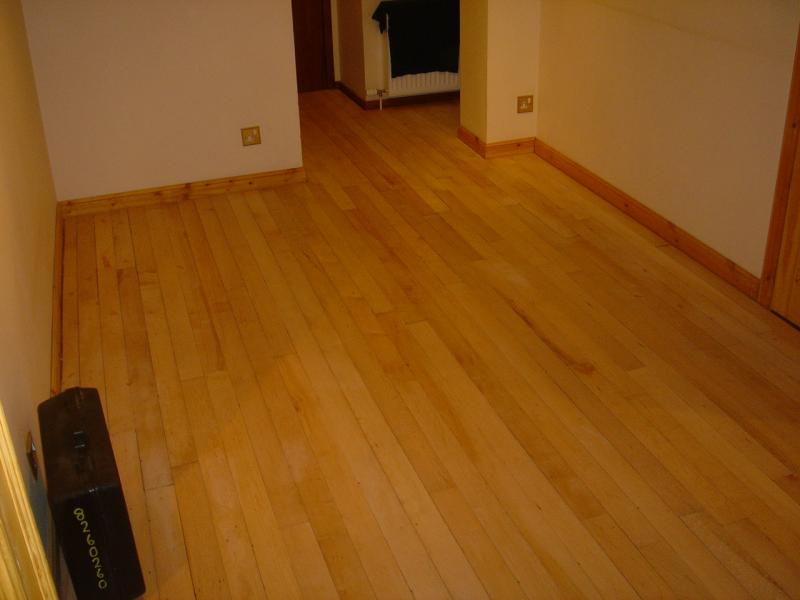
The lay of the flooring is consistent with the other 3 rooms and gives a beter impresssion of width in a narrow hall.
My method to fix onto a chipboard floor is a bed of pva glue and fix as often as possible onto the joists via secret nailing. If thats not possible i will face screw will No4 screws and fill later. I also stagger my flooring as much as possible so if for example i have a row of short timbers which i am not 100% happy with the fixing i will make sure thatthe next timber to go down will be a long timber with many fixings on it. Hope this makes sense. Essentially its tailor the timber to be laid to allow maximumn secret nailing through to the joists and think of spreading the load all the time. The pva glue takes a killer grip on the back of the maple! I use a 4" harris brush and slop on plenty!
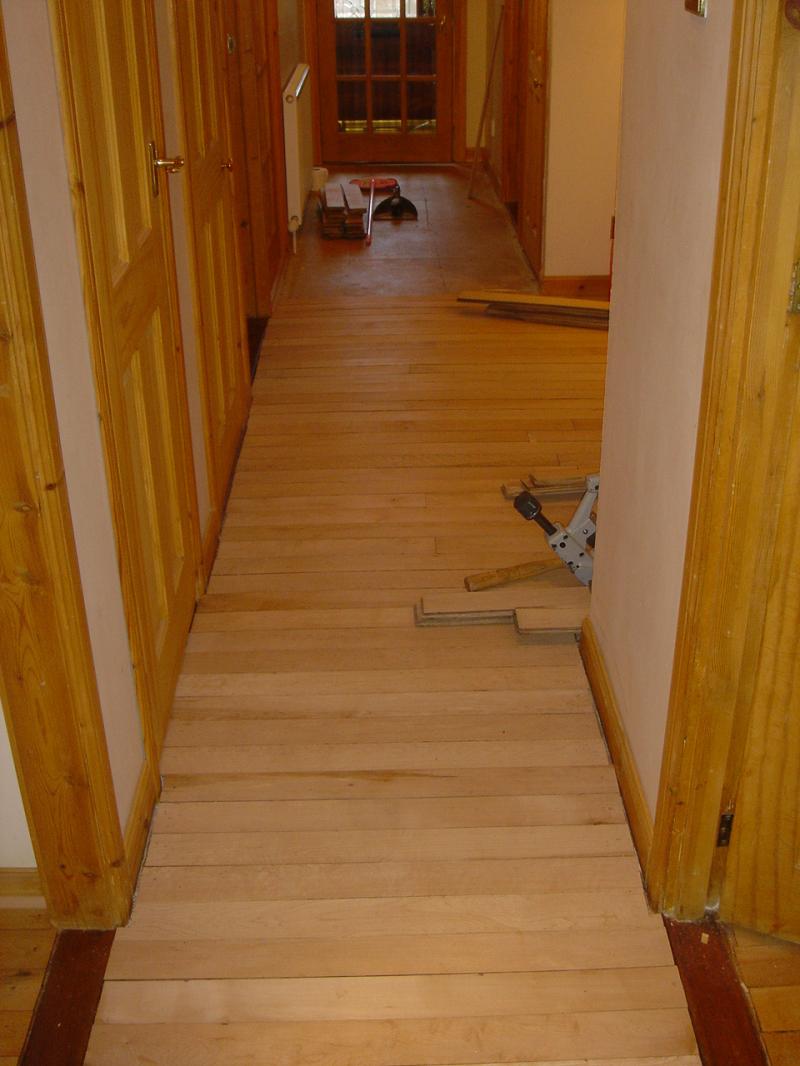
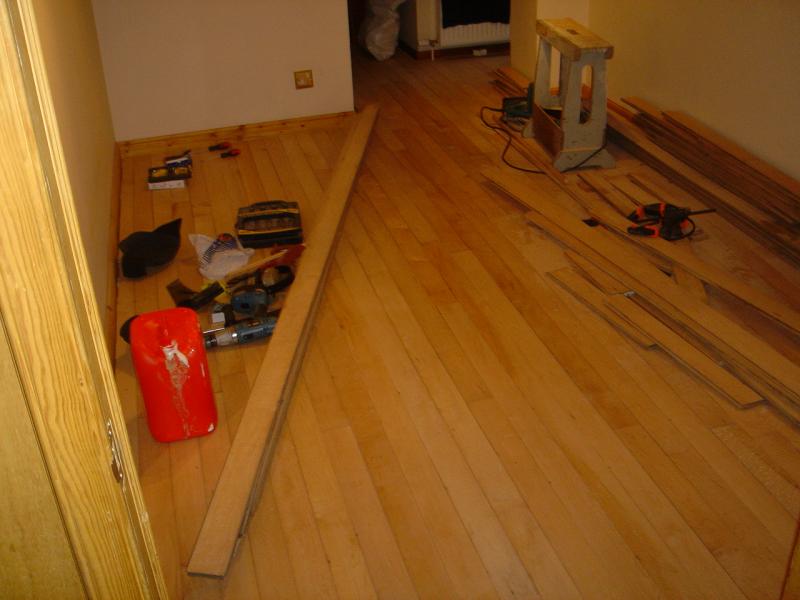
Right in the middle of it!
I don't have any photos of it but i use the dust generated by the sanding to fill in any spaces tween the timbers etc. I then seal the floor with the first coat of lacquer. This gives me a seal and traps the dust in the layer just where i want it. I then sand over the floor with a 1/3rd sheet sander to flatten off and then apply the top layer of lacquer. After that its beading time and admire.
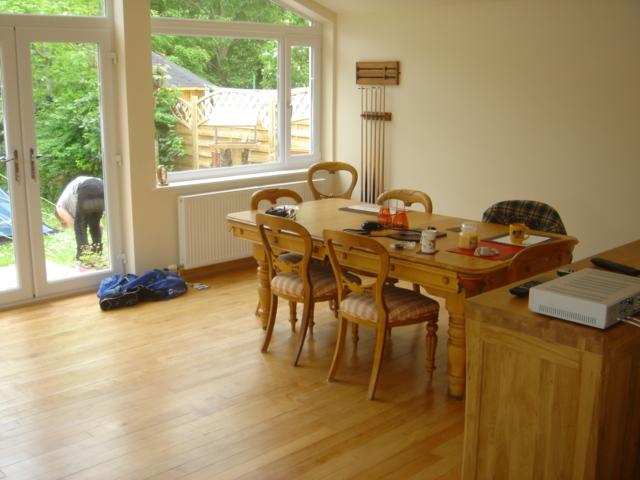
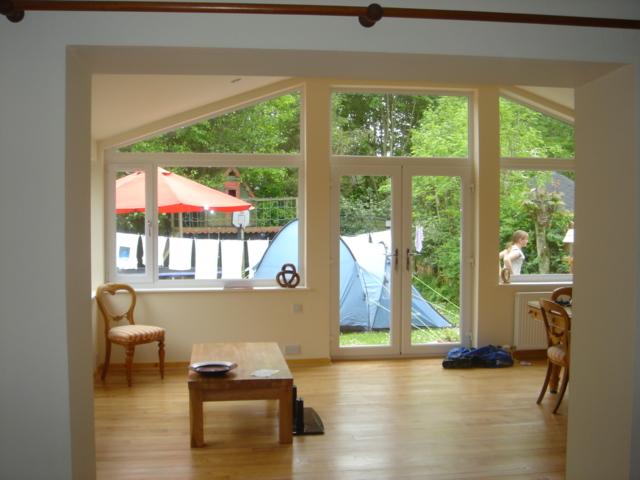
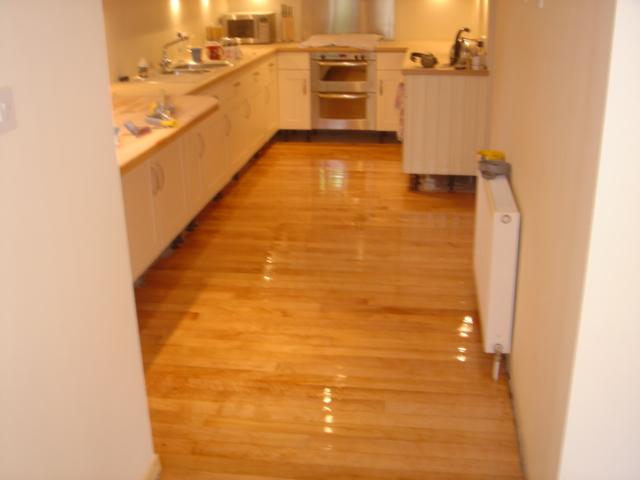
Finally , the one thing i have not mentioned is aclimatising. I have had this flooring inside the house for a full year. I see the benefits as the floor has not shrunk at the seams, it looks great. Anyone reading this and laying a reclaimed floor, make sure you let in aclimatise for as long as you can or you might regret it. Right that's me, i'm for the off. Thanks for looking and any questions go ahead. Last thing is a few shots of the other rooms. Best 400 quid i ever spent!
A few photos of the hall as it was.
Hallway from one end
open area in hall
leadthrough to other half of house

My house is a Barrat construction so its chipboard floors on joists. Not the best base to lay a maple floor onto. There were lots of hatches in the floor which gave squeaks etc. All hatches were lifted and dwands fitted tween the joists to give full support. I also went through about 200 screws making the floor solid to the joists as Barrat Nailed floors at that time.
After fixing the floor to my satisfaction i marked out joist centres with a black marker for ease of secret nailing
The lay of the flooring is consistent with the other 3 rooms and gives a beter impresssion of width in a narrow hall.

My method to fix onto a chipboard floor is a bed of pva glue and fix as often as possible onto the joists via secret nailing. If thats not possible i will face screw will No4 screws and fill later. I also stagger my flooring as much as possible so if for example i have a row of short timbers which i am not 100% happy with the fixing i will make sure thatthe next timber to go down will be a long timber with many fixings on it. Hope this makes sense. Essentially its tailor the timber to be laid to allow maximumn secret nailing through to the joists and think of spreading the load all the time. The pva glue takes a killer grip on the back of the maple! I use a 4" harris brush and slop on plenty!
Right in the middle of it!

I don't have any photos of it but i use the dust generated by the sanding to fill in any spaces tween the timbers etc. I then seal the floor with the first coat of lacquer. This gives me a seal and traps the dust in the layer just where i want it. I then sand over the floor with a 1/3rd sheet sander to flatten off and then apply the top layer of lacquer. After that its beading time and admire.

Finally , the one thing i have not mentioned is aclimatising. I have had this flooring inside the house for a full year. I see the benefits as the floor has not shrunk at the seams, it looks great. Anyone reading this and laying a reclaimed floor, make sure you let in aclimatise for as long as you can or you might regret it. Right that's me, i'm for the off. Thanks for looking and any questions go ahead. Last thing is a few shots of the other rooms. Best 400 quid i ever spent!