Ok, so earlier this year I did the ensuite conversion to a wetroom. Now it's the turn of the wardrobe to be enlarged.
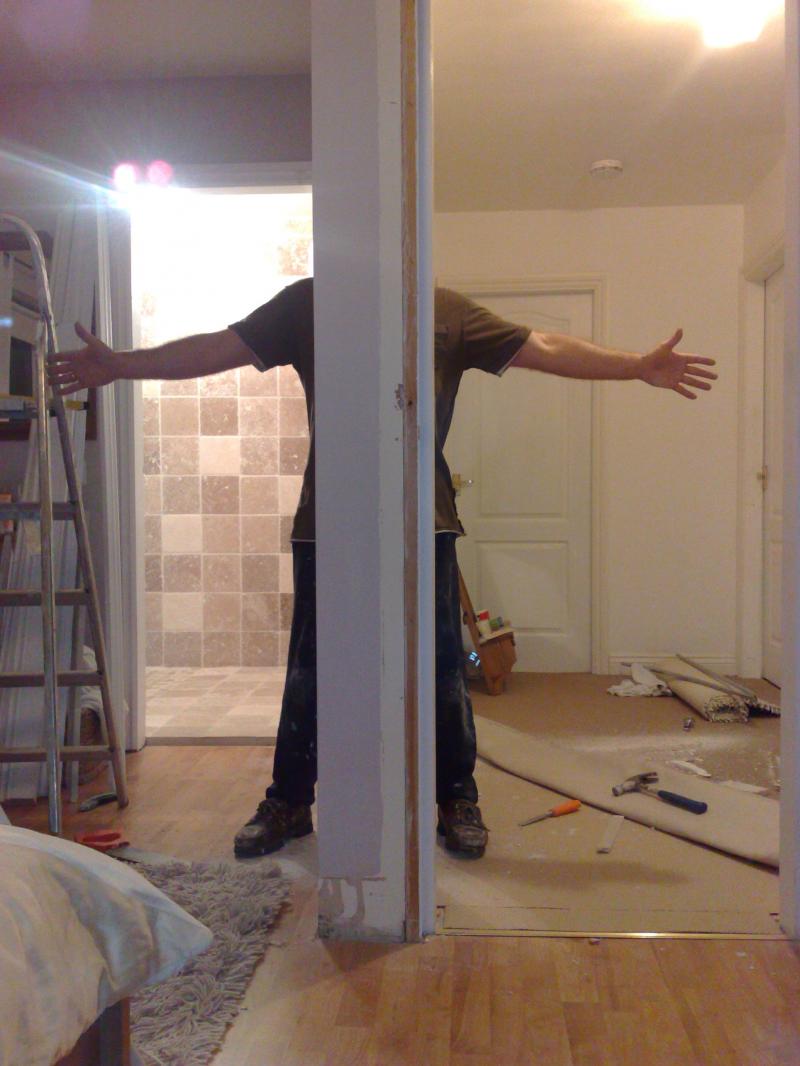
My plan is to use some of the main bedroom space, the existing wardrobe space and part of the bedroom adjacent. I'll be removing two stud walls, re-positioning the bedroom door, and fitting full length sliding doors. Hoping to have new racks, drawers and rails fitted inside too. We're lucky in as much as this house has two further double+ bedrooms in the loft space. Just as well as i'll be producing one of my famous DIY messes very soon and needing somewhere to sleep!
I'm hoping this will be a relatively quick project but I always seem to say that. The reason is that I've always wanted a walk-in wardrobe, neat and tidy and big enough for all of my clothes and shoes. I'm already having time for delivery issues with the supplier of certain items so will possibly going for other options as I see fit.
Hope I don't bore you all to death again.
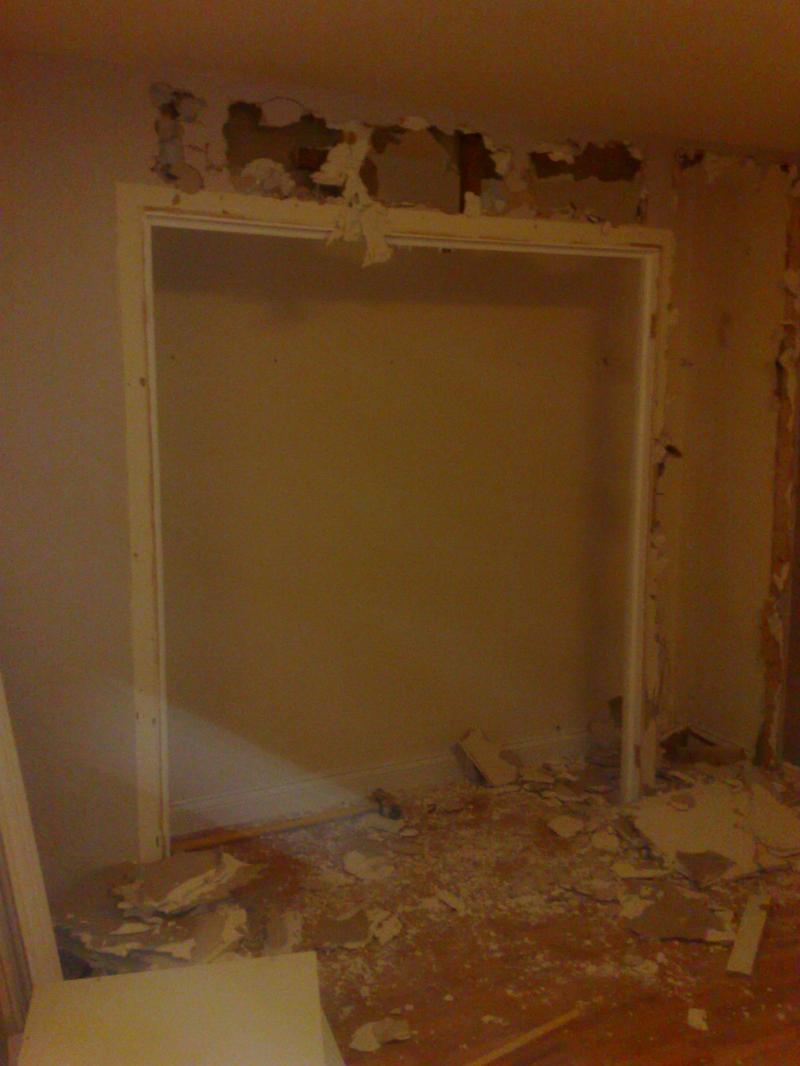
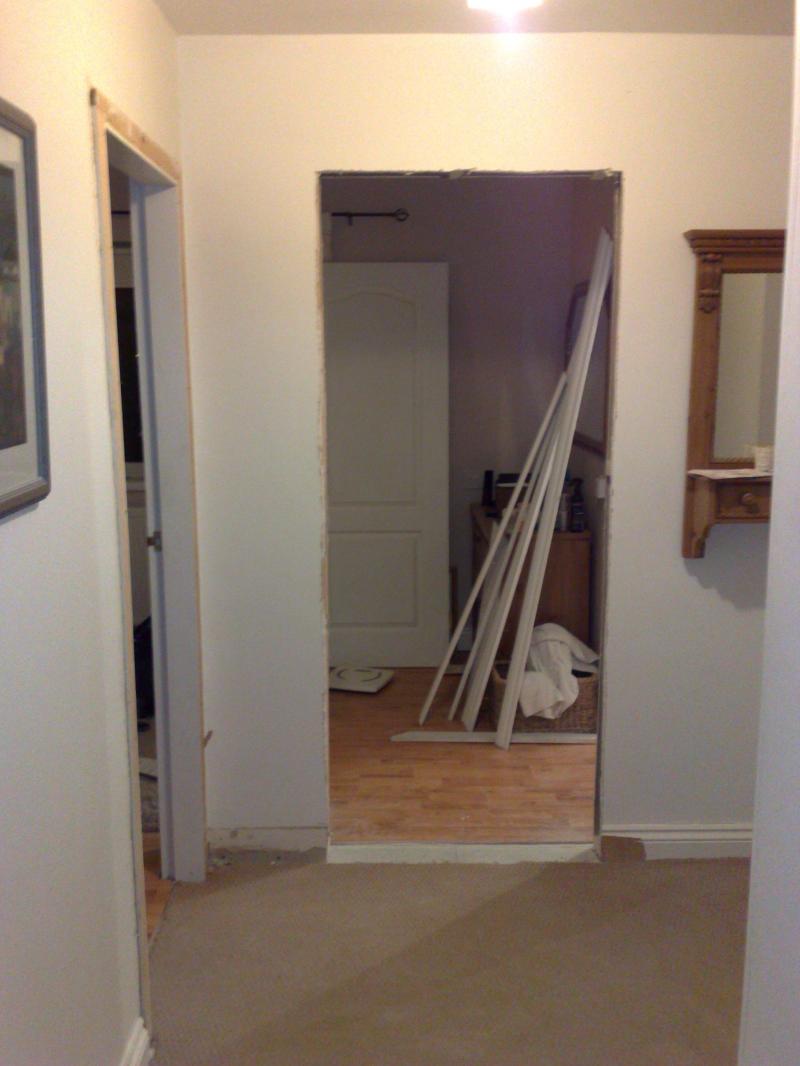
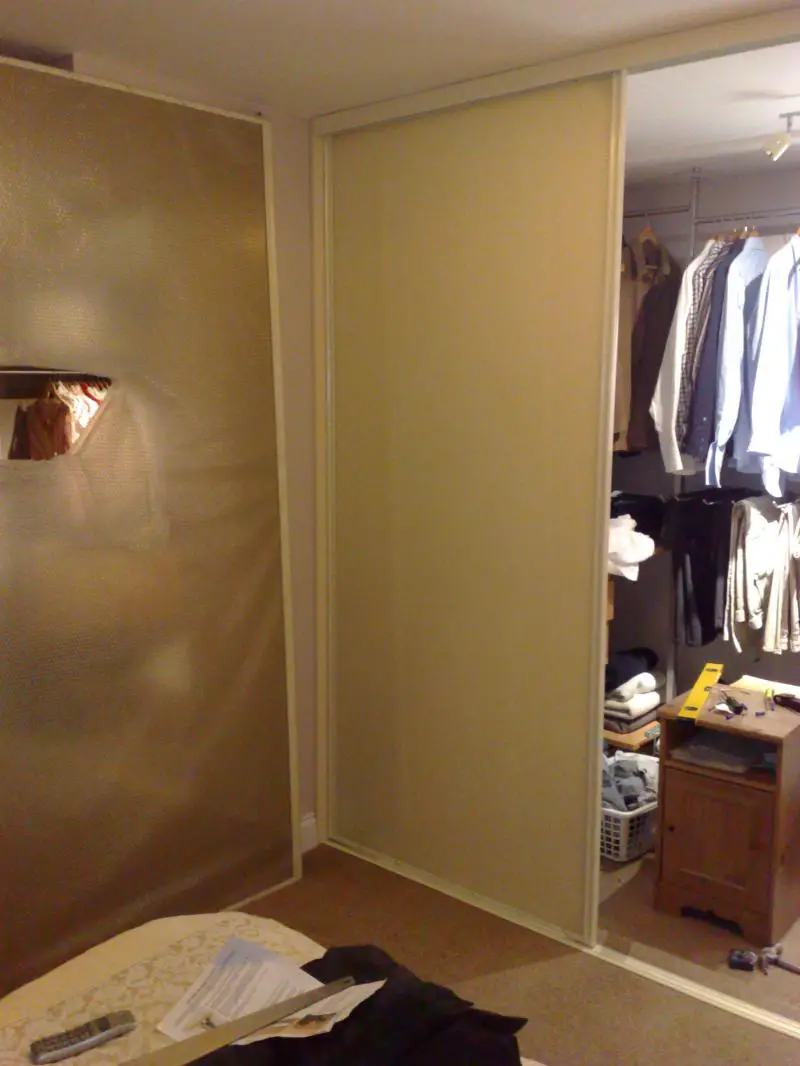
Doors removed then forgot I hadn't taken pics!
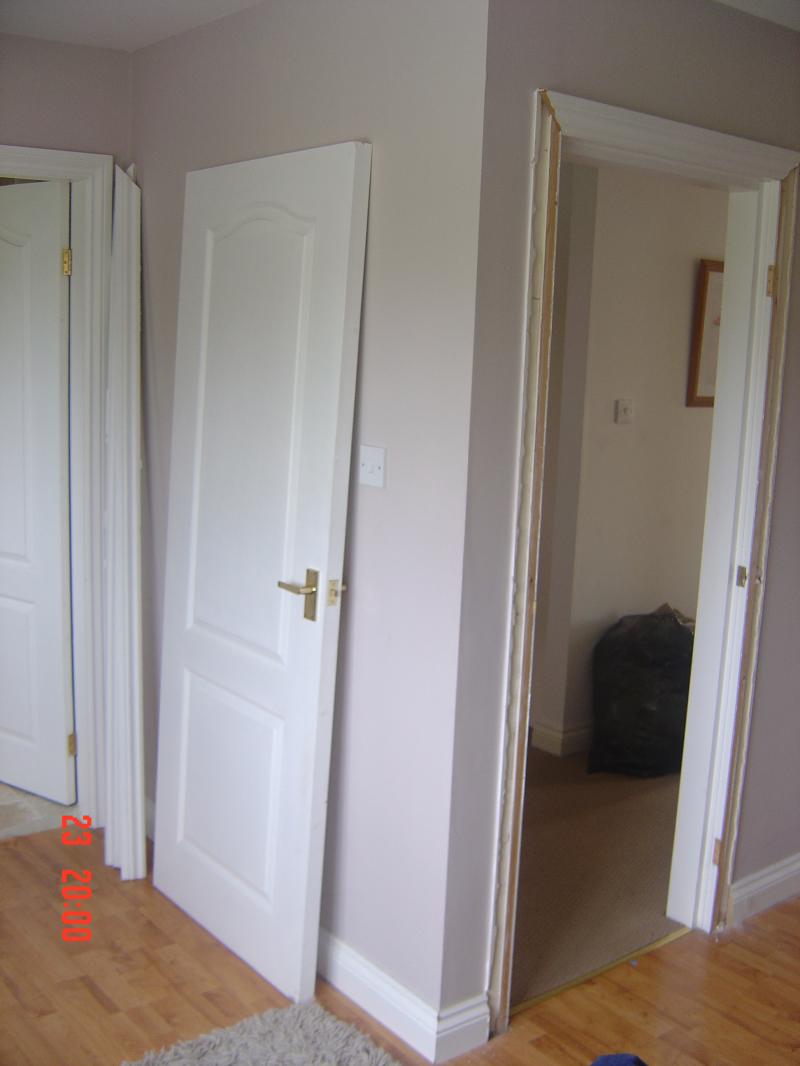
Small built in wardrobe, your typical newbuild cheap option.
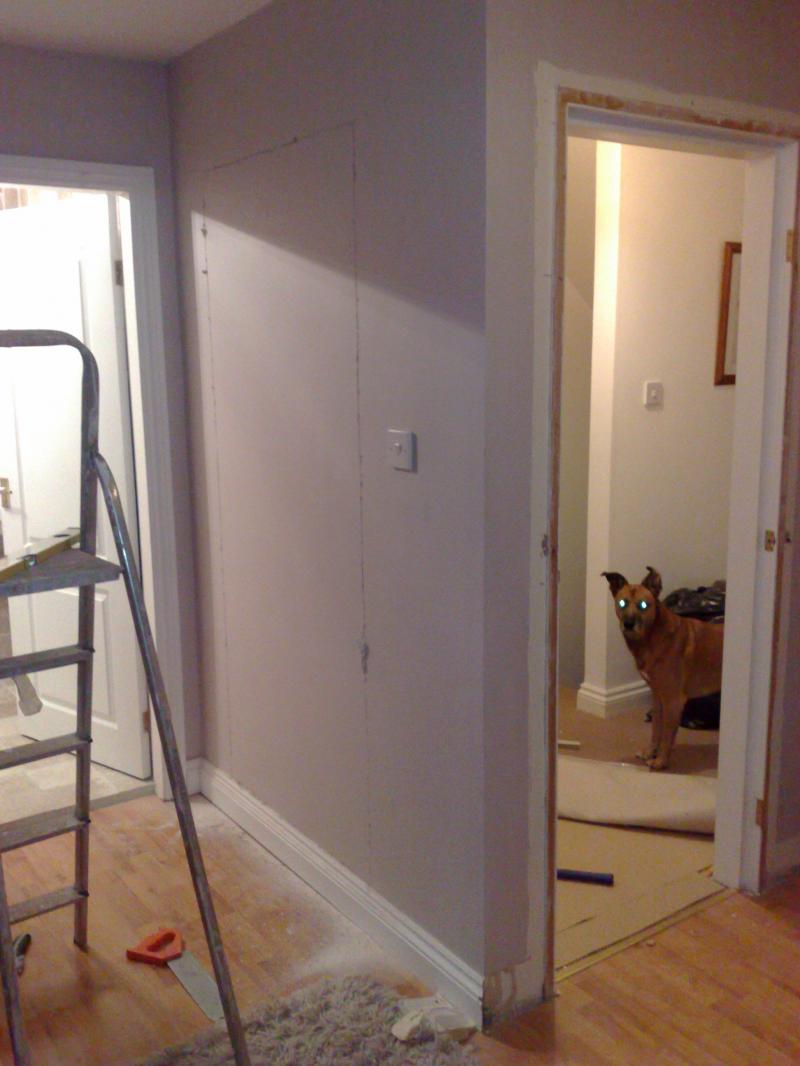
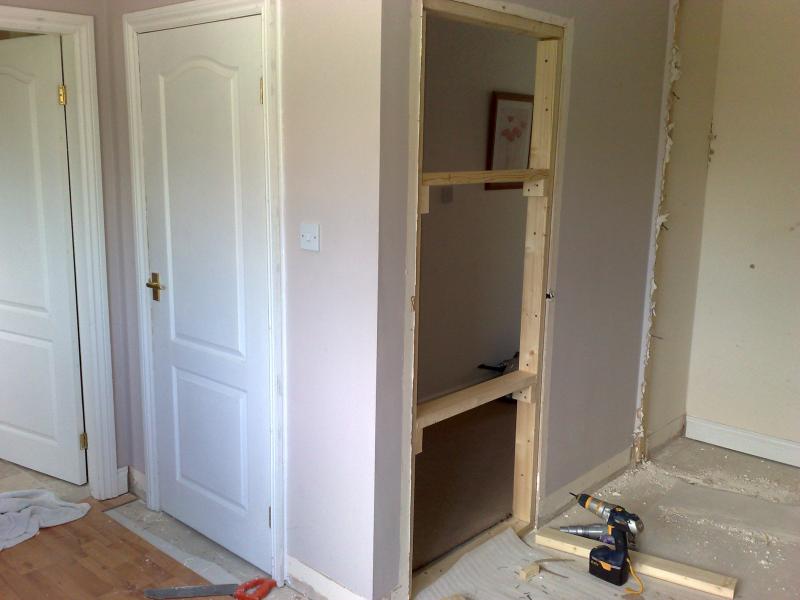
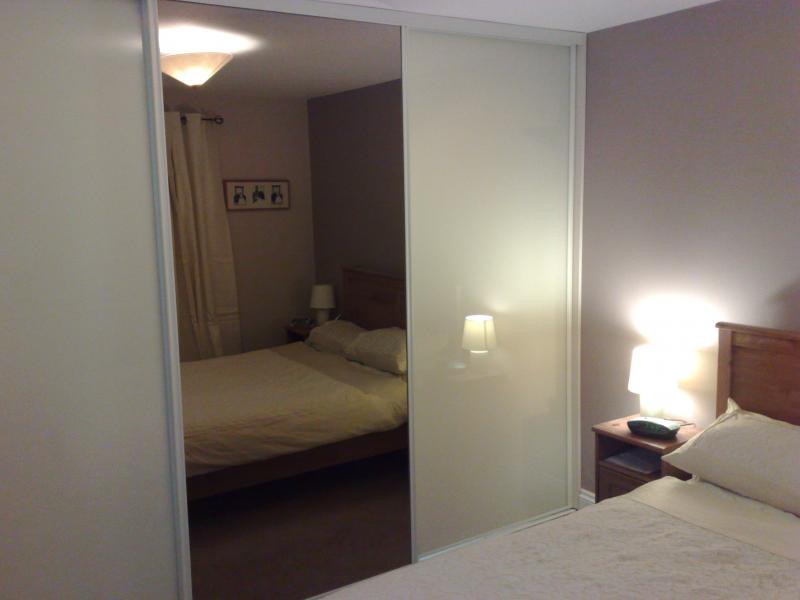
Wardrobe in other room was used as a sheet and towel store.
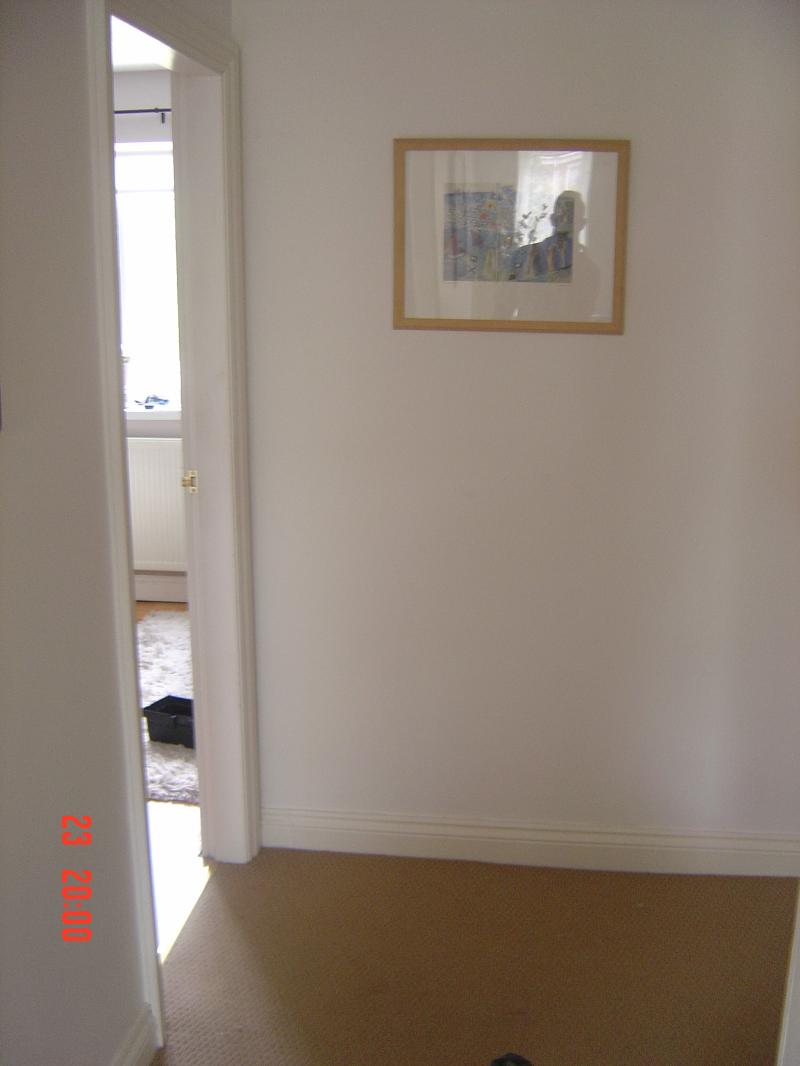
Hopefully a doorway will replace the picture!
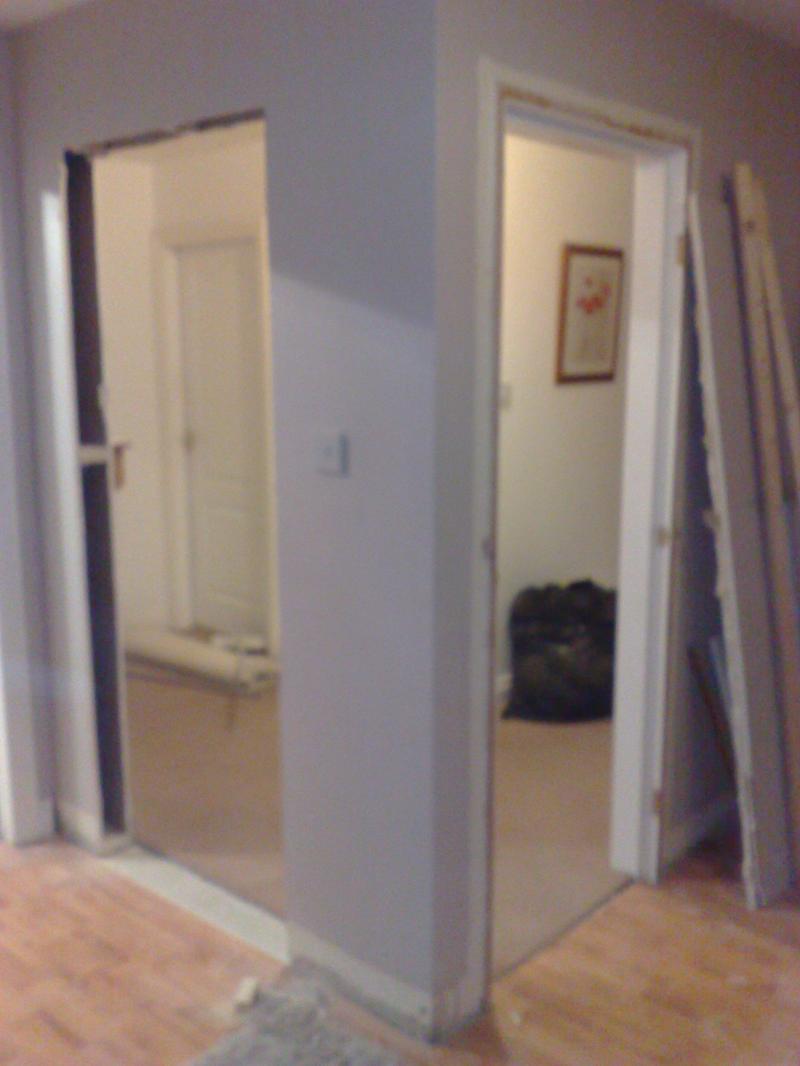
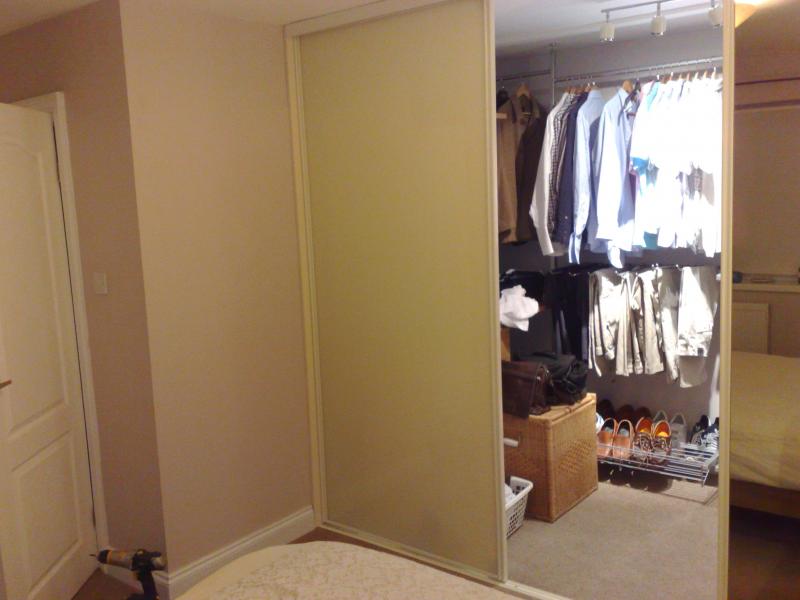
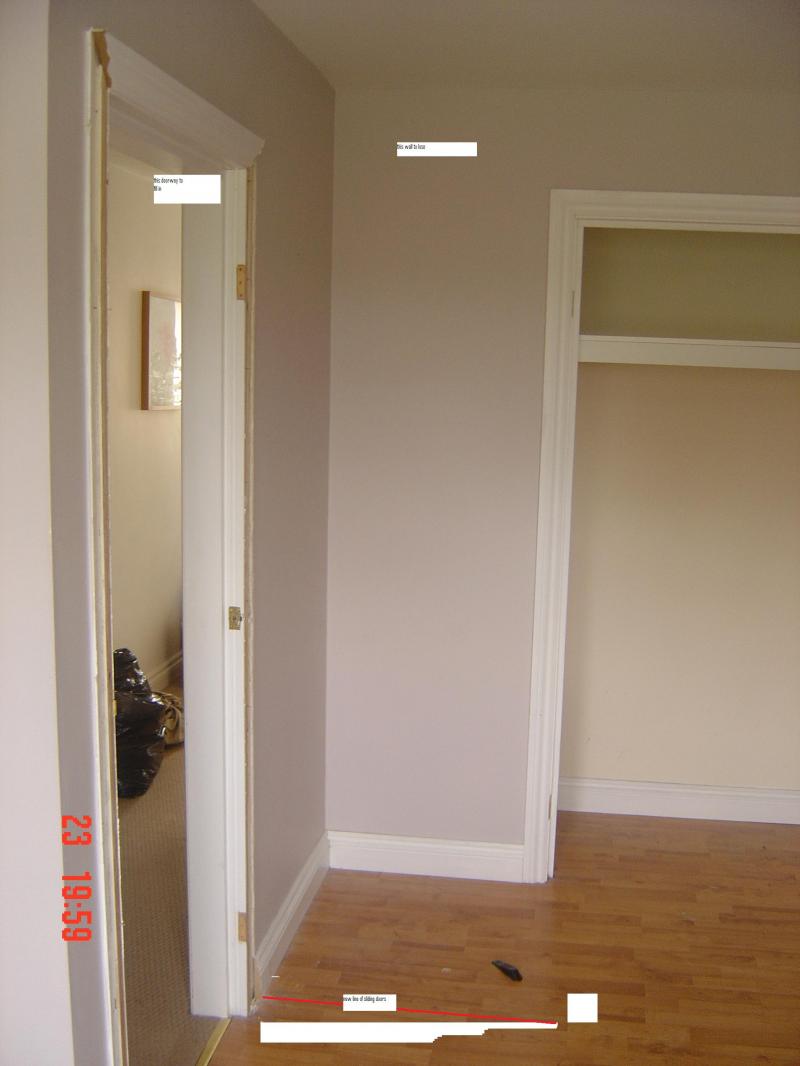
You can see here where the new doorway will go.
Now, i've never moved a doorway, so this will be interesting.
My plan is to use some of the main bedroom space, the existing wardrobe space and part of the bedroom adjacent. I'll be removing two stud walls, re-positioning the bedroom door, and fitting full length sliding doors. Hoping to have new racks, drawers and rails fitted inside too. We're lucky in as much as this house has two further double+ bedrooms in the loft space. Just as well as i'll be producing one of my famous DIY messes very soon and needing somewhere to sleep!
I'm hoping this will be a relatively quick project but I always seem to say that. The reason is that I've always wanted a walk-in wardrobe, neat and tidy and big enough for all of my clothes and shoes. I'm already having time for delivery issues with the supplier of certain items so will possibly going for other options as I see fit.
Hope I don't bore you all to death again.
Doors removed then forgot I hadn't taken pics!
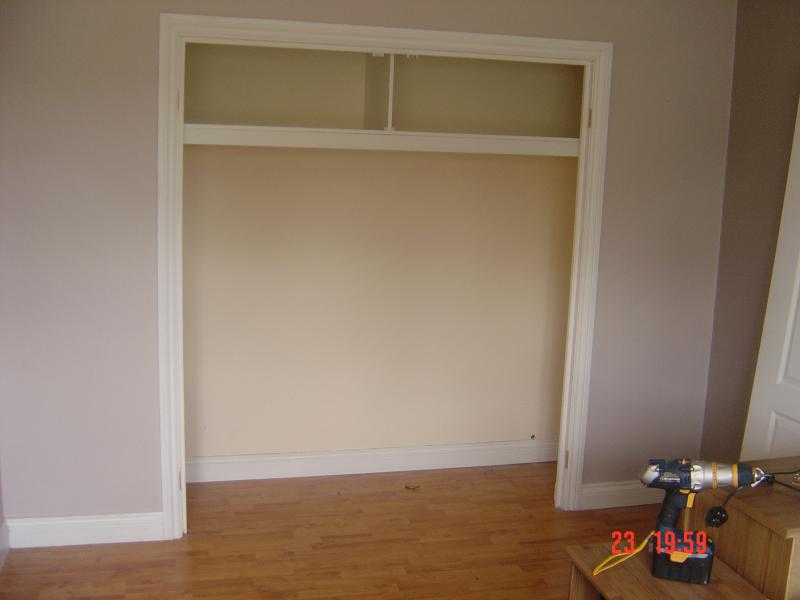
Small built in wardrobe, your typical newbuild cheap option.
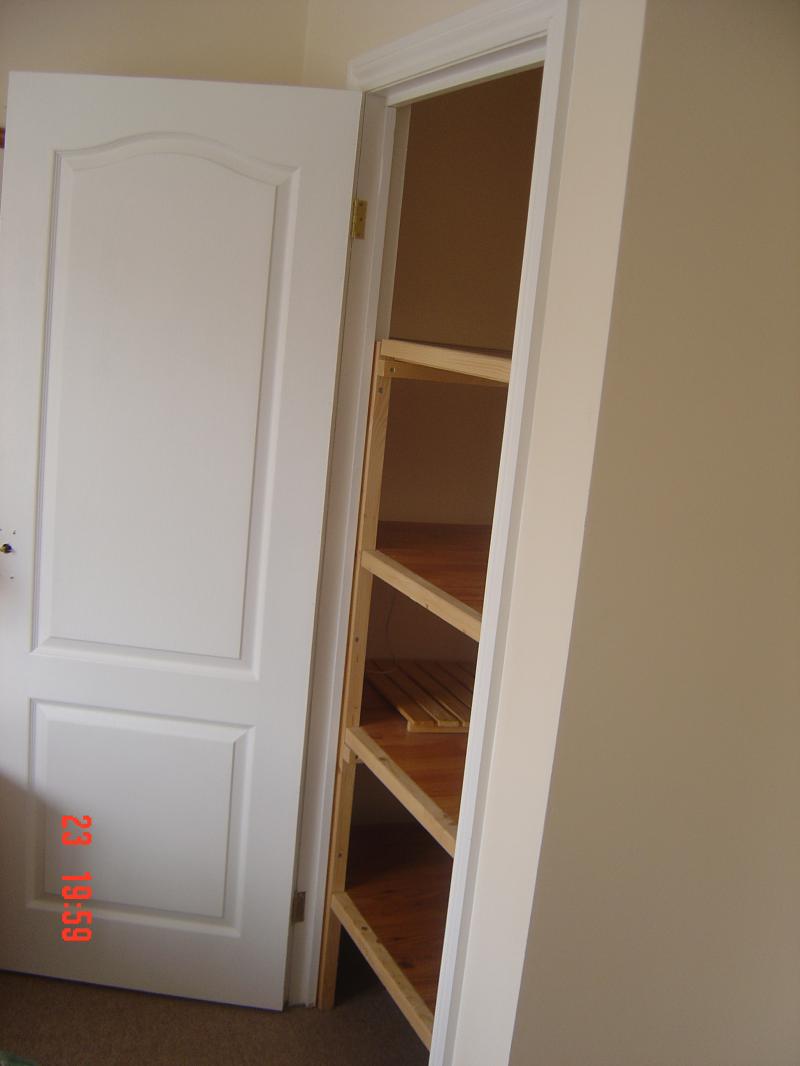
Wardrobe in other room was used as a sheet and towel store.
Hopefully a doorway will replace the picture!
You can see here where the new doorway will go.
Now, i've never moved a doorway, so this will be interesting.