

Ok a bit of background first, I bought my first house last year and decided in the Kitchen I wanted to remove all the tiles, decorate and then re-tile.
I had a handyman (very expensive and very poor quality ) knock all the tiles off then a new skim of plaster, however, he never put the chimney hood back up before leaving and as i have no idea how it came down I'm struggling to see how it will go back up.
I'm trying to do this job by myself which does seem a bit of a struggle when there is nobody there to hold something in place.
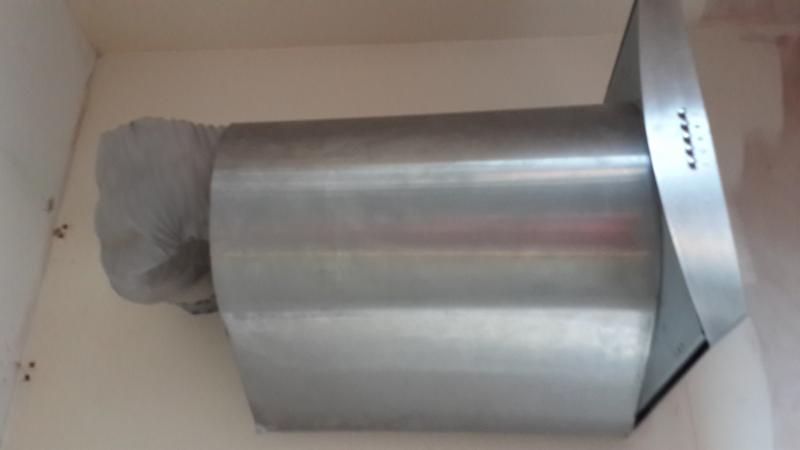
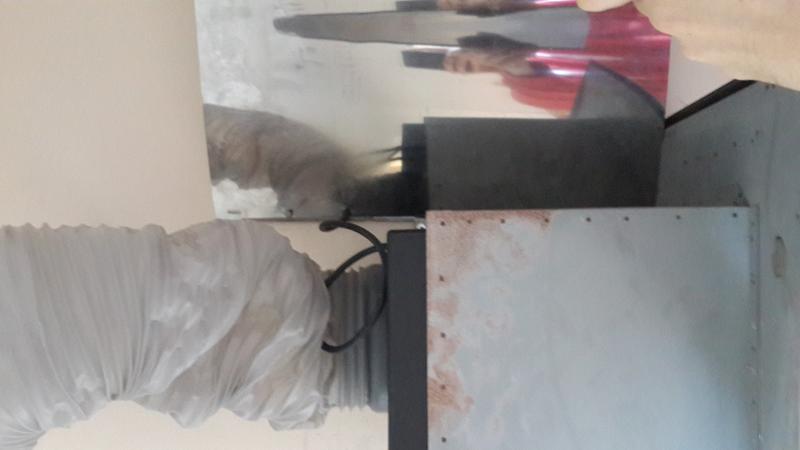
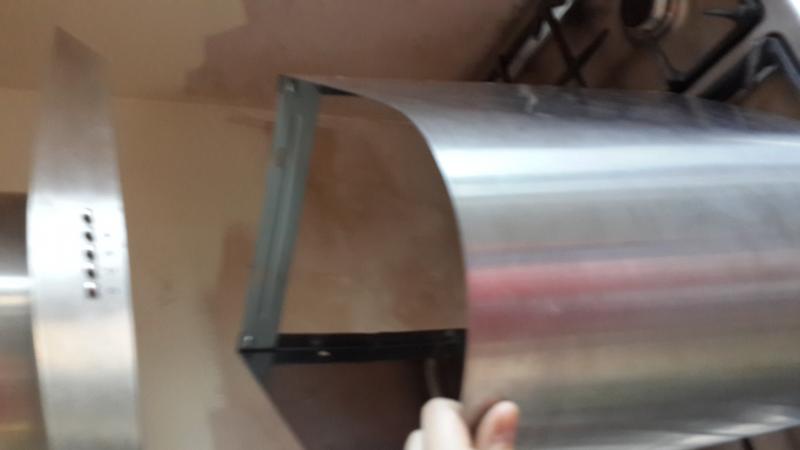
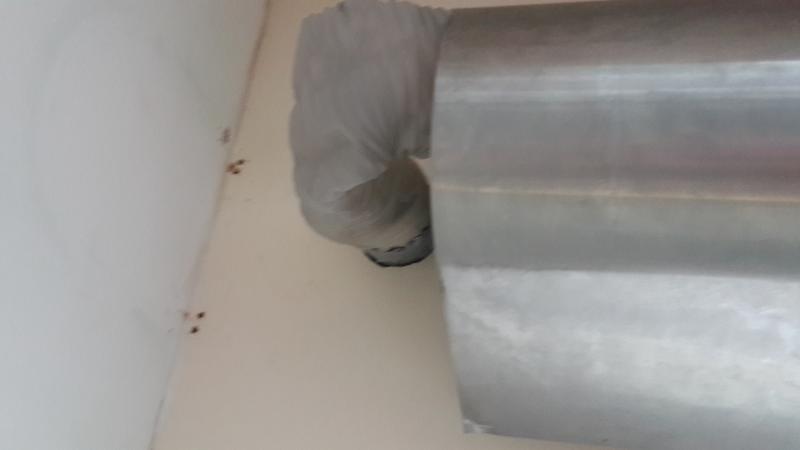
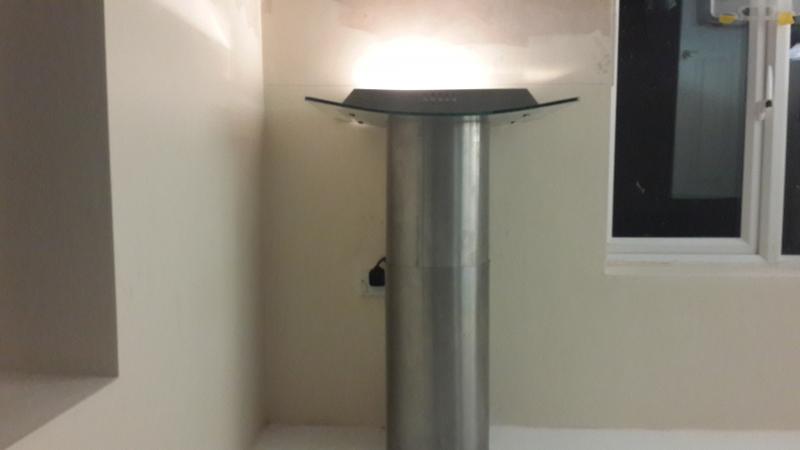
what I have tried to do : there are two parts to the chimney, one that slides in to the other, the first part I fixed flush to the ceiling (before it came crashing down last night) as it has a bracket that fixes it into the wall, the second part i'm assuming slides up under it then the main fan itself hooks into the bracket i have fitted on to the wall then the vent flexi pipe attaches in to the fan.
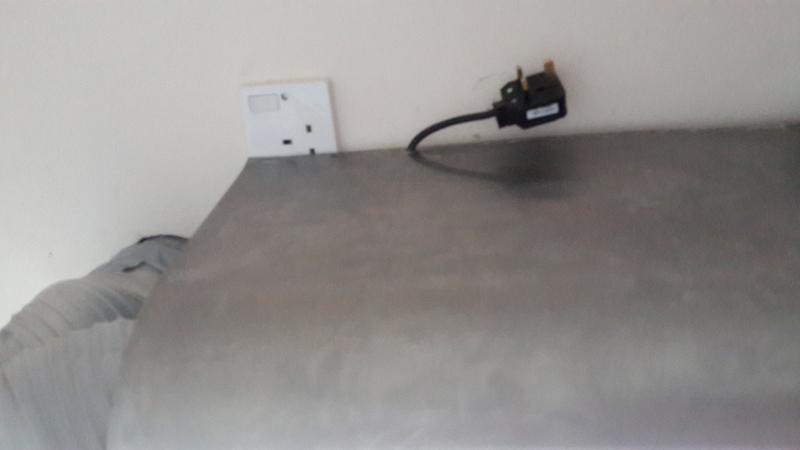
I suppose my question is how on earth do i hook the fan part whilst simultaneously feeding the power cable through the pre cut hole in the lower chimney section, attaching the flexi pipe and also slide the chimney part in place?
My only reason is i'm missing something major here in how to put it up, so if anyone can give me some advice on how its meant to be done I would be most grateful.
I had a handyman (very expensive and very poor quality
) knock all the tiles off then a new skim of plaster, however, he never put the chimney hood back up before leaving and as i have no idea how it came down I'm struggling to see how it will go back up.I'm trying to do this job by myself which does seem a bit of a struggle when there is nobody there to hold something in place.
what I have tried to do : there are two parts to the chimney, one that slides in to the other, the first part I fixed flush to the ceiling (before it came crashing down last night) as it has a bracket that fixes it into the wall, the second part i'm assuming slides up under it then the main fan itself hooks into the bracket i have fitted on to the wall then the vent flexi pipe attaches in to the fan.
I suppose my question is how on earth do i hook the fan part whilst simultaneously feeding the power cable through the pre cut hole in the lower chimney section, attaching the flexi pipe and also slide the chimney part in place?
My only reason is i'm missing something major here in how to put it up, so if anyone can give me some advice on how its meant to be done I would be most grateful.
")

