Plaster Disaster

Joined
17 Jun 2013
Messages
6
Reaction score
0
Location
London
Country
United Kingdom
Decided to take of old wallpaper in the spare bedroom before repainting. There were a few hole here and their after removing the paper so i filled these with the intention of just lining the wall afterwards. However the walls wouldn't have looked to good even with lining, nothing else for it I thought, give a go at plastering it! What could possibly go wrong
:LOL:

I've no experience with plastering but had made sure I had a good nosey round the forum first. So I pva'ed the wall the night before to take up some of the suction (5:1 mix) Today when i was sure it had dried, I made another PVA mix and let it go tacky before mixing up my multi-finish. Never mixed it up before but added about 3/4 a bag of multi to about 7 litres of water. Got the good creamy texture mix I had read about and started walloping it on.

I had read that the first coat wasn't that important, just try level it out, this was of course easier said than done, and by the time I had got the wall nearly covered, it had started to go off and was pulling when i put it on..I cracked on anyway!

Unfortunately for me the cracking was quite literal, just as i was coming to finish off the bottom of the wall, the fecking trowel snapped! To late to go get another trowel, and now the first coat is crazing like nobody's business, what a disaster, To laugh or to cry? I'm laughing what else you gonna do.

Going to let the plaster dry and then remove all the crazed plaster, pva again and give it another go. It's been a good learning experience though, here's whats stuck out:

Plaster get's everywhere!
Don't buy cheap tools
Don't flaff about mixing forever
clean buckets and tools soon as possible, or be prepared to get scrubbing
Make more plaster than you anticipated you'd use
Get it done in the morning if possible, cooler and you can hit the trade shops if you need something
Plaster loves to suicide from the hawk
it's not as easy as it looks!
 
Sponsored Links
I did my own recently too.

Didn't get it levelled as good as I would have liked so had to use fillers after, straight edged on and sanded down.

My skimming was however better done than the original guys who did the skimming. Which was why the walls were wall papered.

I used a flood light to show up imperfections when I was doing the sanding.

My BiL had a room done recently and the guy used a straight edge on all his work.
I seen his work and it is flawless. Total perfection.

Anyways my walls are all painted now and they look pretty good.

Regarding tools you definitely want the best.
Marshalltowns!

It sounds as though you laid the first coat too heavy.
 
Glad to hear your plastering went well Norcon.

What made you think that the first coat of plaster was to heavy? Is crazing* a sign of laying a coat on too thick?

I myself assumed that my amateur hour attempt was one or possibly all of four things:

Bad plaster mix
Taking to long to get it on the wall
Going off to soon due to temperature
Possibly leaving the PVA to long and it drying out a bit, thereby sucking the moisture out early

I'm certainly open to different suggestions, as if the crazying drys completely flakey, then I'm going to have to take whole lot off I imagine....big job!
 
mdavidson said:
It's been a good learning experience though, here's whats stuck out:

Plaster get's everywhere!
Don't buy cheap tools
Don't flaff about mixing forever
clean buckets and tools soon as possible, or be prepared to get scrubbing
Make more plaster than you anticipated you'd use
Get it done in the morning if possible, cooler and you can hit the trade shops if you need something
Plaster loves to suicide from the hawk
it's not as easy as it looks!

A great summary!
As a recent learner, completely agree.

It sounds like your crazing is probably too much suction still when you laid it on. If your pva coats were a little light, or the background really thirsty, then it can happen.
I've had it before when I thought I had put enough on, but started to get some localised crazing on first coat. Fortunately the second coat went on fine and sorted it.
The other option is to use a bonding agent first e.g. Wickes bonding agent, thistle bond-it etc. then it can be skimmed dry after leaving to dry 12hrs etc. makes the timings a bit easier.
 
Sponsored Links
As diynewbie says, Wickes Bonding Agent , or Thistle Bondit will kill the suction. PVA is no good for high suction backgrounds.

Keep on trying and learning!
 
Hi all,

So I gave the plastering another go, used the WBA to limit it the suction and that worked well.

Got the first coat on and then flattened it a bit. Cleaned the tools then mixed the plaster for the second coat. Got that on the wall then flattened that too. Gave it about fifteen minutes and started the dry trowel. The dry trowel seemed to go fine, but didn't take out the trowel marks as well as I'd hoped, but knew i still had the wet trowel to go and hoped this would smooth the trowel marks out even better.

I lightly sprayed the plastered wall where troweling with clean water and tried to work it to a smooth flat finish. This seemed to go okay, I could see some small dings, but thought I'd get that with easy-fill when dried.

Upon drying though, the wall looks quite rubbish. The smoothness has gone and been replaced with small very light blemishes, hard to describe. Like it's sheared in some places and the trowel lines can still be seen, to a small degree.

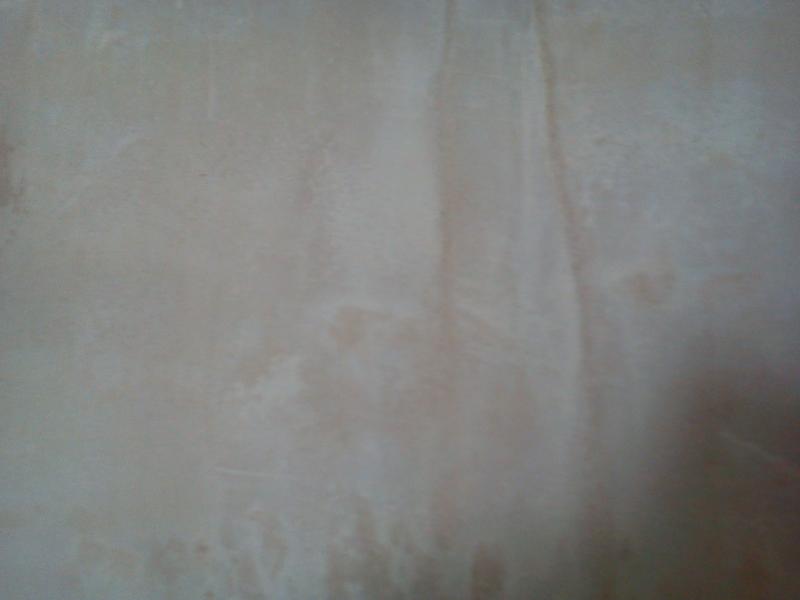
Though it looked good to the eye, did I overwork it during the wet trowel? I made sure to wipe the fat off and not use it during the wet trowel. Bit disappointed as it looked good before it dried. I've inserted a photo I took of the dried result, quality is a bit pants but will give you a rough idea of what I mean. The marks that can be seen on the photo range from half a mill to a mill deep and in size up to a couple of fifty pence pieces.

Would appreciate any advice on trying to get a smooth finish, I could try and sand down, but I'd rather give it another go. Just got paid off so going to have free time to try get it right. Especially as this will be the first of many walls I tackle in this house.

 
Gave it about fifteen minutes and started the dry trowel. The dry trowel seemed to go fine, but didn't take out the trowel marks as well as I'd hoped, but knew i still had the wet trowel to go and hoped this would smooth the trowel marks out even better.

The main thing I could suggest that may help is from the bit of text above.
As I don't plaster day in, day out, I find I'm not very quick - prob like you. So by the time I've put a second coat on (separate mix from first as you did) then I am troweling almost immediately.
The timing is critical! I was taught to lightly press a dry hand against the setting plaster - it shouldn't leave marks that are too wet on your fingers. Difficult to describe, but you get used to the feel.
Then as I start by brushing in the corners, this gives me feedback also if my timing is good. If it's still a bit soft or getting too firm - you can tell and adjust your speed/pressure accordingly!

I also tend to start with wet troweling to get any ridges out quick. Then move onto dry troweling, with wiping my trowel regularly with a wet brush. I put water on initially by flicking from a brush, but each to their own, some use a bottle as you did.

The fact you have some deep imperfections, may indicate you were troweling too late.

There are probably different ways, what i do is not definitive - but works for me. What you did may be fine, it may just be down to practice/experience.
 

DIYnot Local

Staff member

If you need to find a tradesperson to get your job done, please try our local search below, or if you are doing it yourself you can find suppliers local to you.

Select the supplier or trade you require, enter your location to begin your search.


Are you a trade or supplier? You can create your listing free at DIYnot Local

 
Sponsored Links
Back
Top