Render volumes for 2.7sqm walls

Well, got the pics...will post on the way home from work as can;t do it here...

Got my BIL to mix up for me last night...SO much easier just being able to slap it up than have to keep stopping to mix...at one pojnt he was feeding my hawk while I was going 10 to the dozen with the trowel!

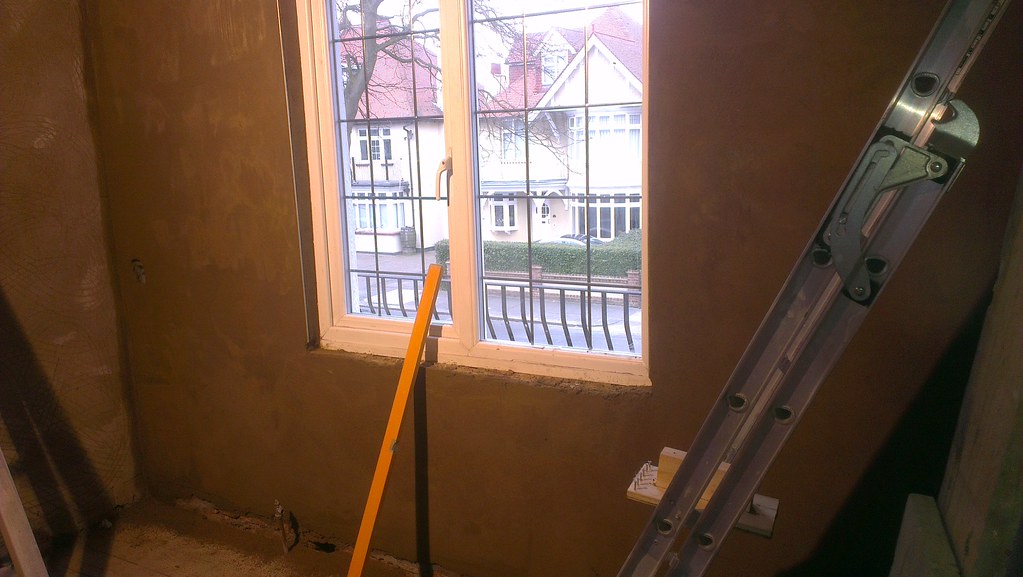
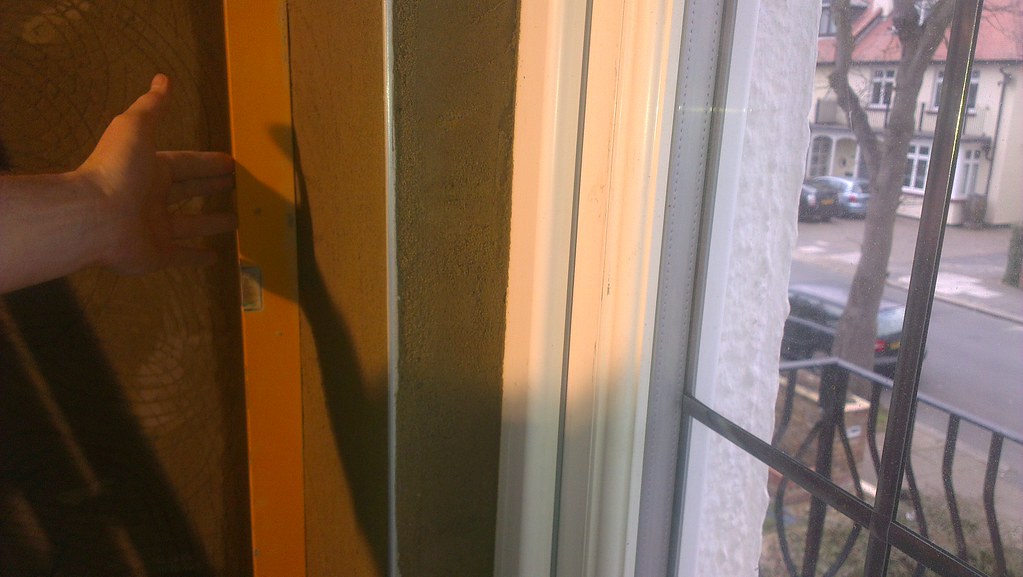
Got a good finish, but think I soaked the scratch coat a little too much before applying the float...had left it a couple of days due to circumstances beyond my control!

finished at 12:30 am last night...almost spent longer putting the beads up that float coating, but was way to soft to rub up...slept on the sofa till 3am but still too soft to do anything with, so did it at 7:30 this morning before work. I recon 5/6am would have been perfect at it was a little too set to make rubbing up easy (the other wall I did (scratch and float in one night) was much easier...firm but still 'rubbable')..still get a decent finish on it and light figure of 8s. set my screws slightly shallower than the first wall which I think I did too deep.

One 1.5m wall (very straight and flat so should be much less issue and much less render needed) to go then hardwall and finish (set?) on the other two wall I have...

Think I'm getting the hang of it and hugely rewarding to be able to tackle a new skill...pics later...
 
Sponsored Links
here's the larger wall...3.3m long and 2.7 high with window...this was before rubbing up this morning...

8617963551_63284393cc_b.jpg


you can see the floating fig 8's on the wall on the left (that's the alcove wall)...basically take a 3.3x3.3 bedroom and chop it into 1m and 2.3m rooms
with one alcove in one room and a chimney breast and alcove in the other..

vertical flatness...

8617964101_bf8eba3390_b.jpg


and horizontal flatness

8619067454_9fafcdb89b_b.jpg


and diagonal flatness

8619073188_dc992d059b_b.jpg


I know all you guys can probably flat plaster without even thinking about it or ruling off, but I'm happy to have a perfectly (to within 1mm wherever measured) flat wall. I have a 2.4m length of perfectly straight timber (like gold dust from B&Q!) and the bottom and top are perfectly straight...happy of happy land, me!
 
looks good, just have one question while you have your level out put it up against the window bead and also get a tape measure the margin at the top looks wider than the bottom on the reveal between the window and bead, pic 1 shows it tapering in at the bottom and going wider at the top or is that just a illusion?
 
Sponsored Links
looks good, just have one question while you have your level out put it up against the window bead and also get a tape measure the margin at the top looks wider than the bottom on the reveal between the window and bead, pic 1 shows it tapering in at the bottom and going wider at the top or is that just a illusion?
nice job though virgilns
 
looks good, just have one question while you have your level out put it up against the window bead and also get a tape measure the margin at the top looks wider than the bottom on the reveal between the window and bead, pic 1 shows it tapering in at the bottom and going wider at the top or is that just a illusion?

Could be the window is out of plumb ,Steve,,, ;) 
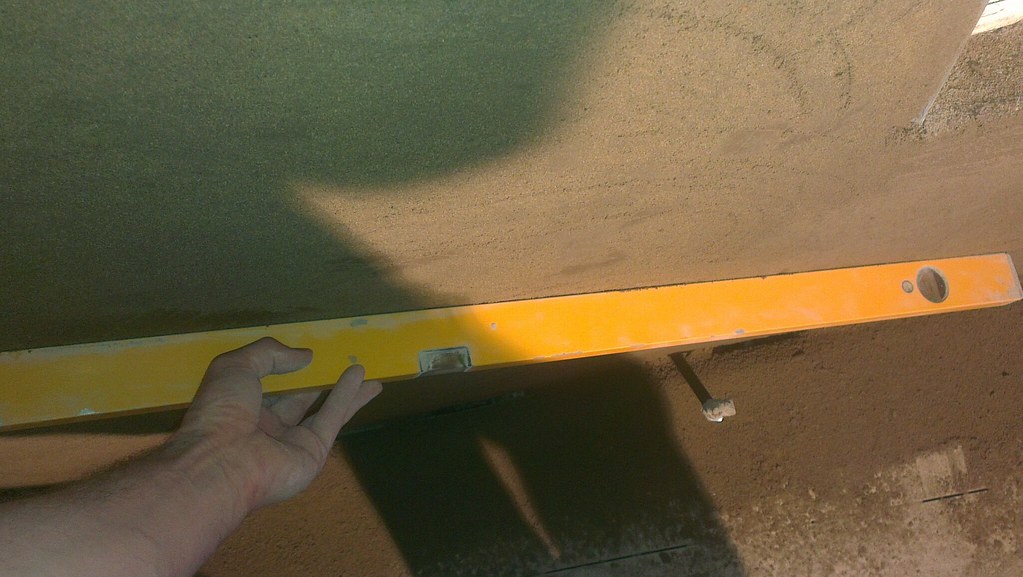
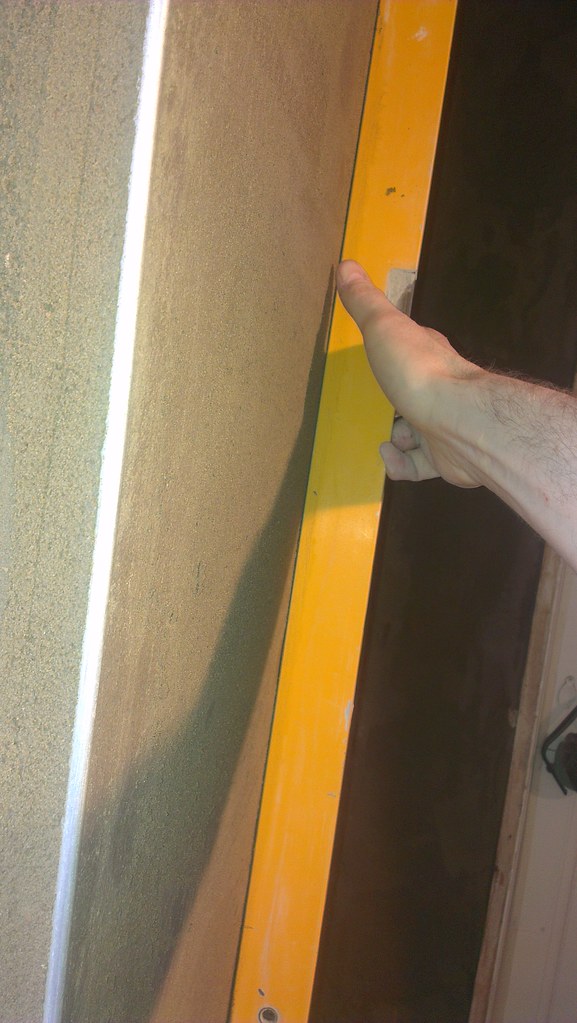
But non of the pics show the bubble in the level. But as for the work ,it's spot on, Good job there mucka ;) I would put money on the window being "out"... ;) not the wall....
 
10 points to you both!! The window is WAY out of plumb...tips a long way out at the top! It's also not level, or straight..the frame is bowed quite considerably...all in all, not the best fitted window...and no, I didn't do it ;)

The beading is bang on both elevations...

Glad you guys think it looks OK, I'm just really chuffed that I managed to get it back looking like a wall again!

Bought a 14" trowel the other day to go with the 11" and tried it out tonight ...haven't smoothed the edges off yet like my 11" but it's a beast! great for loading up the wall!...and much nicer to use than my B&Q cheapie...

Any tips for skimming?
 
shame about that all your work is spot on and the window stops you from having it all a 100%
as for skimming have a look at the wiki there should be lots of info on it , but in my opinion the best thing a beginner can have is a sponge float to rework the plaster in case it all goes wrong
 
Yeah, I know...did briefly consider refitting the window but the wife would have killed me if i'd have started to do that as well!

Now I have to say I have a small problem...

Got the hardwall scratch coat up on two walls reasonably flat ready for th float coat...so much easier to put up than render...BUT

Managed to take a large lump off the end of my finger with a power planer (fortunately my left hand) but going to revert to more genteel DIY for the next week or so while it starts to heel, so scratch coat up and going to be dry when I come to float and set...do I need to apply PVA before the float, or just damp the wall down a bit??

Really hacked off as was getting on very well and a silly stupid not concentrating mistake outs me back a couple of weeks!
 
Soak it the day before then wet again in morning. Or seal up day before with sbr. If using pva make sure day before too. Be prepared for blistering that will need a hard trowel just before end or even a shave after gone off
 
Soak it the day before then wet again in morning. Or seal up day before with sbr. If using pva make sure day before too. Be prepared for blistering that will need a hard trowel just before end or even a shave after gone off

Thanks.

What's the blisteirng caused by? I'm imagining bubbles between the scratch coat and float coat where its not adhered properly?? Is this what you mean? And I presume by shavin gyou mean to flatten off a buldge in the finish coat caused by the bubble/bliser in the float coat??

Or have I misunderstood completely?

Any way to prevent this?

Cheers,

Virgil.
 
Well, fingers crossed it still looks good in the morning. Did both walls tonight - first proper skim and they look good!

To be honest, when I left them they looked better than the last 3 pro jobs I've seen...

the first wall was troweled more and perfectly flat..the second was polished more, but trowel less...both probably went off quicker than they should, or maybe I was slower than I should be ;), but managed to get first coat up, then mixed again to put up second coat on the first wall and first coat on the second wall...by the time I came back to the first it had gone off a bit too much, but i'd got it up very very flat with few trowel marks so they came out pretty easy...just left it like that really with a quick polish...should have polished it more with a little water... second wall once again went off before I got every blemish out..there's two small lines in it, but with a little water it polished up a bit better that the first.

So my first hardwall, float and set and I'm really pleased...got he ceiling to do next (I know wrong way round, but thought it better to practice on the walls that try a ceiling as first thing!) So once i've finished the airing cupboard, on to the bathroom proper!!

14" ragni carbon trowel is my new best friend!!
 
To be honest, when I left them they looked better than the last 3 pro jobs I've seen...
are you sure you wasent a plasterer in a previous life virglins?

Judging by the blister on my right hand and ache in my right arm...fairly sure ;)

But to say I'm chuffed with the results is a hug understantement...the actual skim was a pleasure to put up!! :D

Not sure how well I'd fair on a full size wall though..we'll see.

Steve, with a fully hardend/dried rendered wall...do I just soak with water first as i did with the hardwall before skimming?
 
Steve, with a fully hardend/dried rendered wall...do I just soak with water first as i did with the hardwall before skimming?
yes give it a good soaking, one of the best methods to soak a wall other than a hose is to use a long pile paint roller the shagier the better just dip the roller in a bucket of water and away you go.
 

DIYnot Local

Staff member

If you need to find a tradesperson to get your job done, please try our local search below, or if you are doing it yourself you can find suppliers local to you.

Select the supplier or trade you require, enter your location to begin your search.


Are you a trade or supplier? You can create your listing free at DIYnot Local

 
Sponsored Links
Back
Top