Back in 2014 we had a kitchen extension built onto our 1998 stone built house. This involved removing the outside kitchen wall and installing a huge steel beam to support the upstairs walls. At the time there was quite a lot of cracking of the mortar in the upstairs walls as a result of the girder being installed and the builder did some repointing. Over the years, more settlement has occurred resulting in more cracks in the mortar and I would like to resolve these myself by re-pointing.
This isn't something I've done before and would really appreciate some advice.
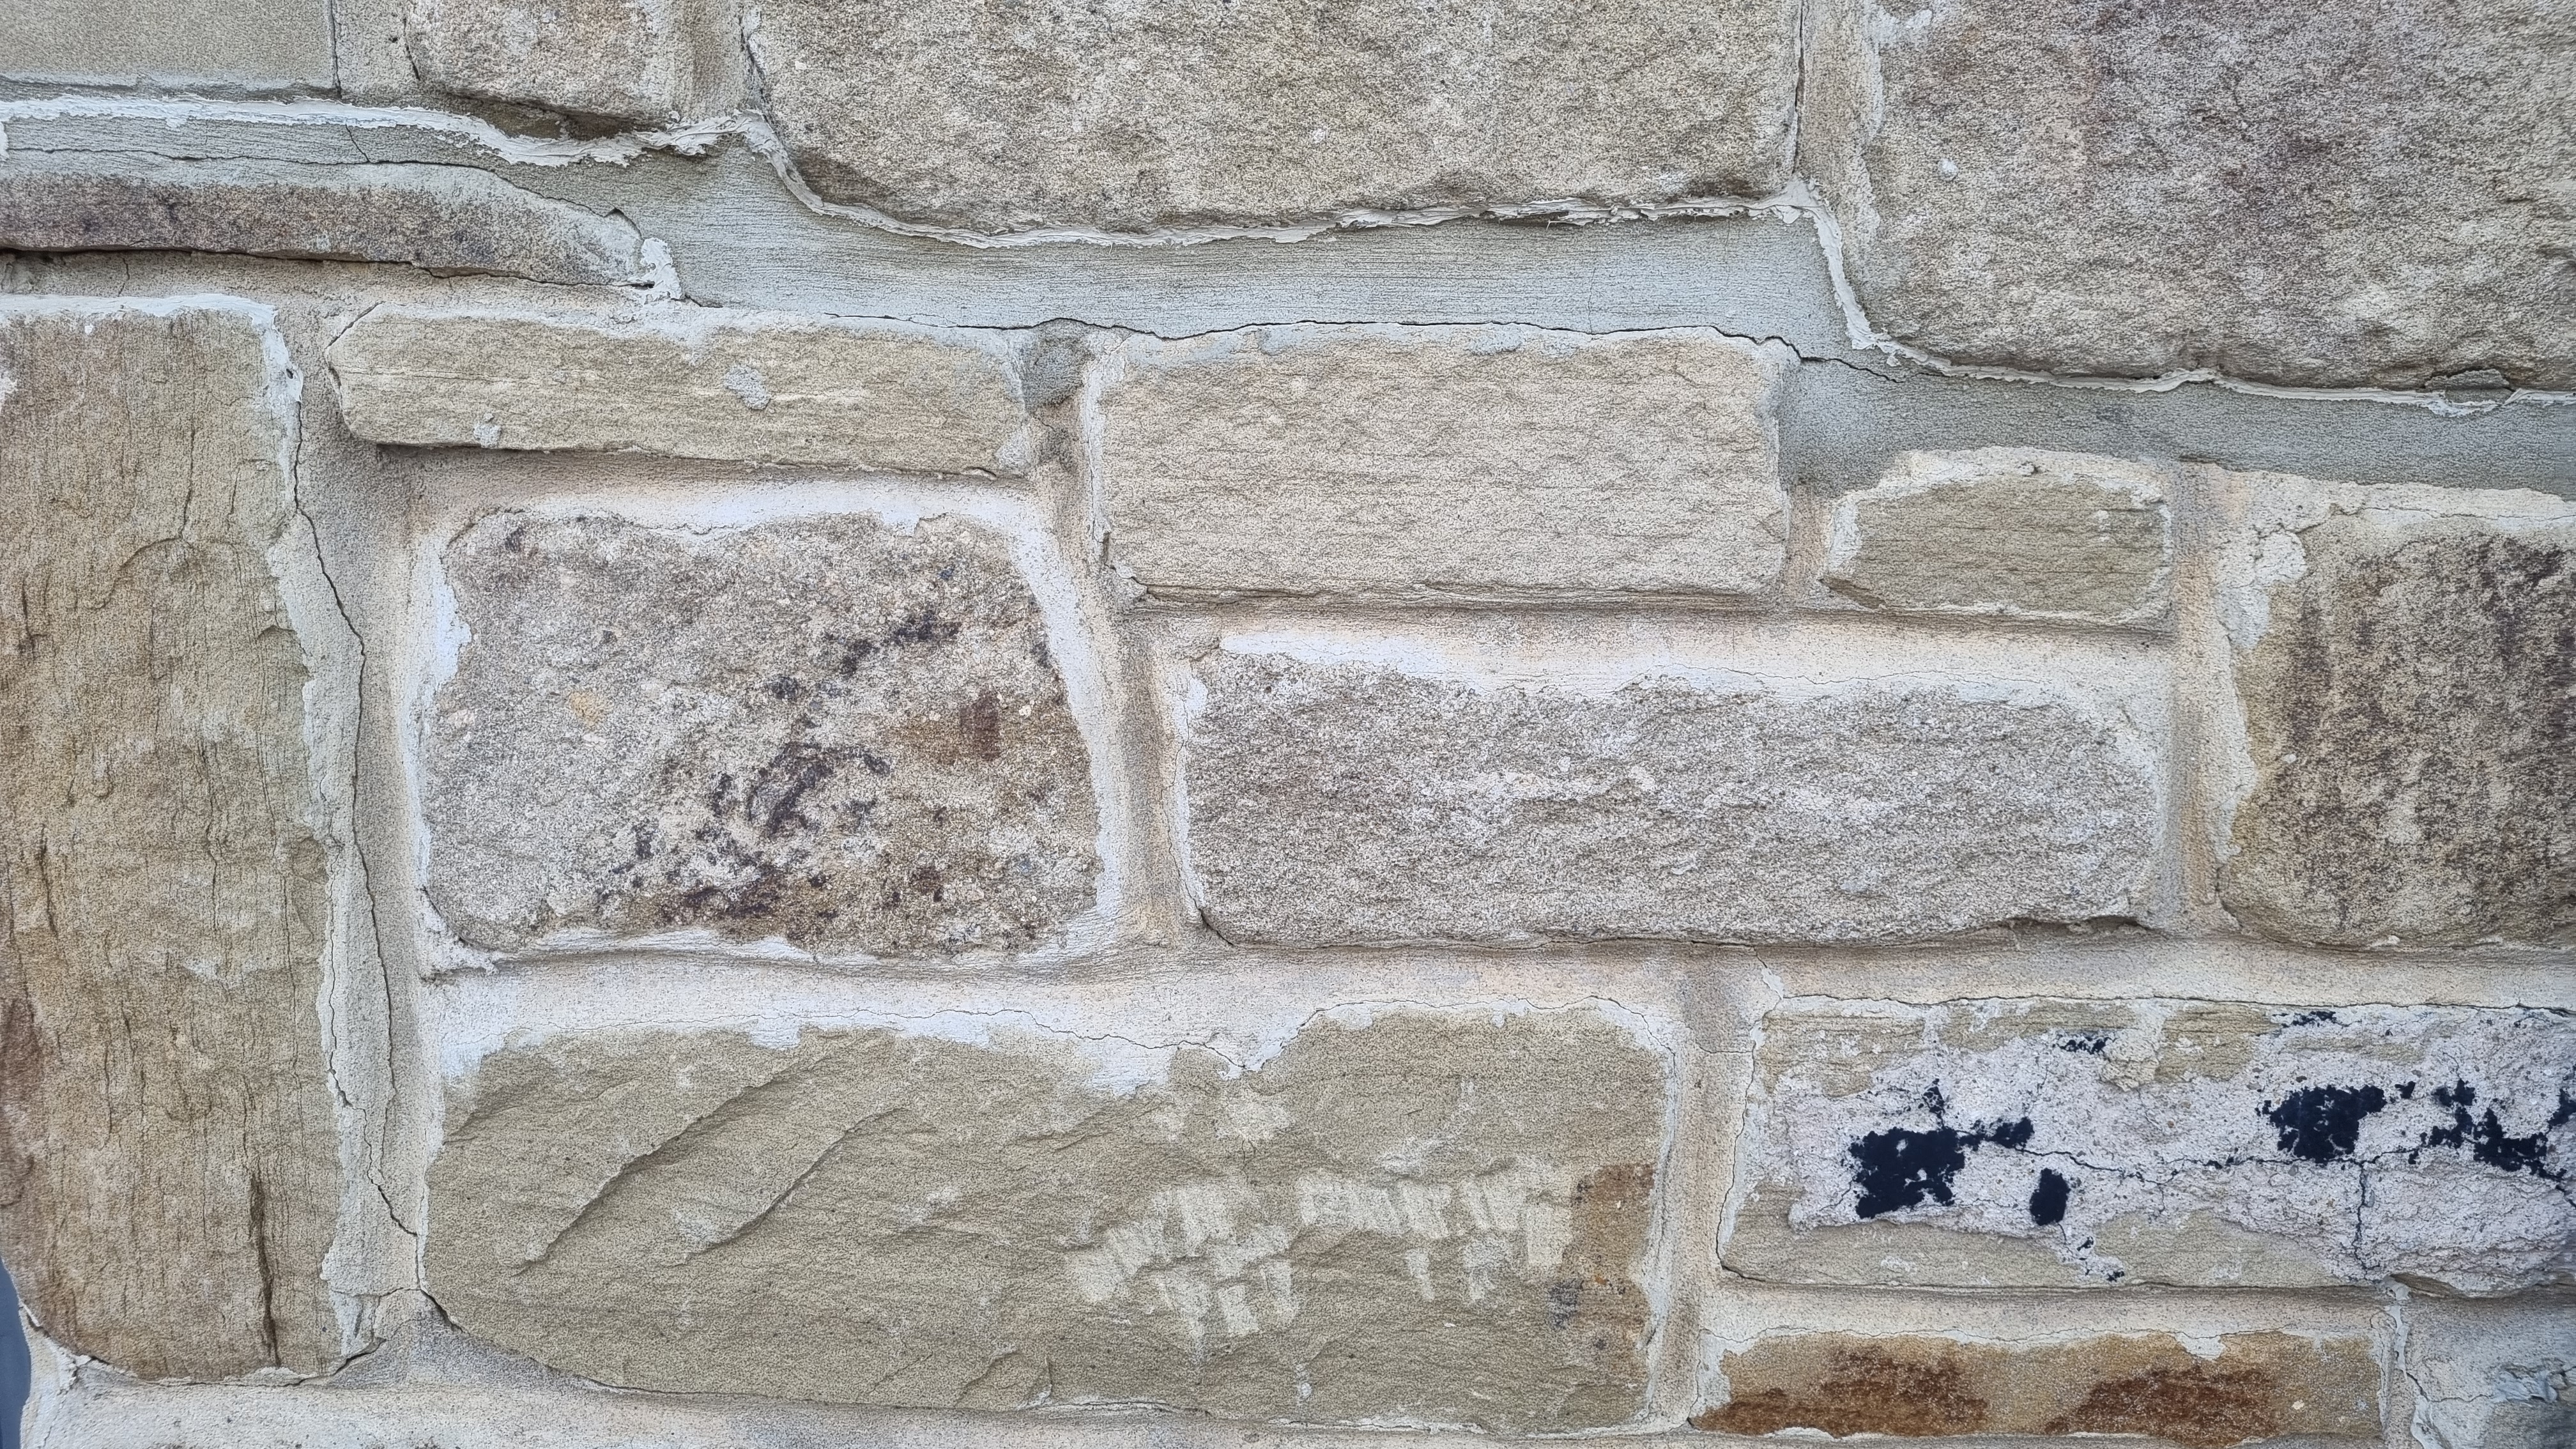
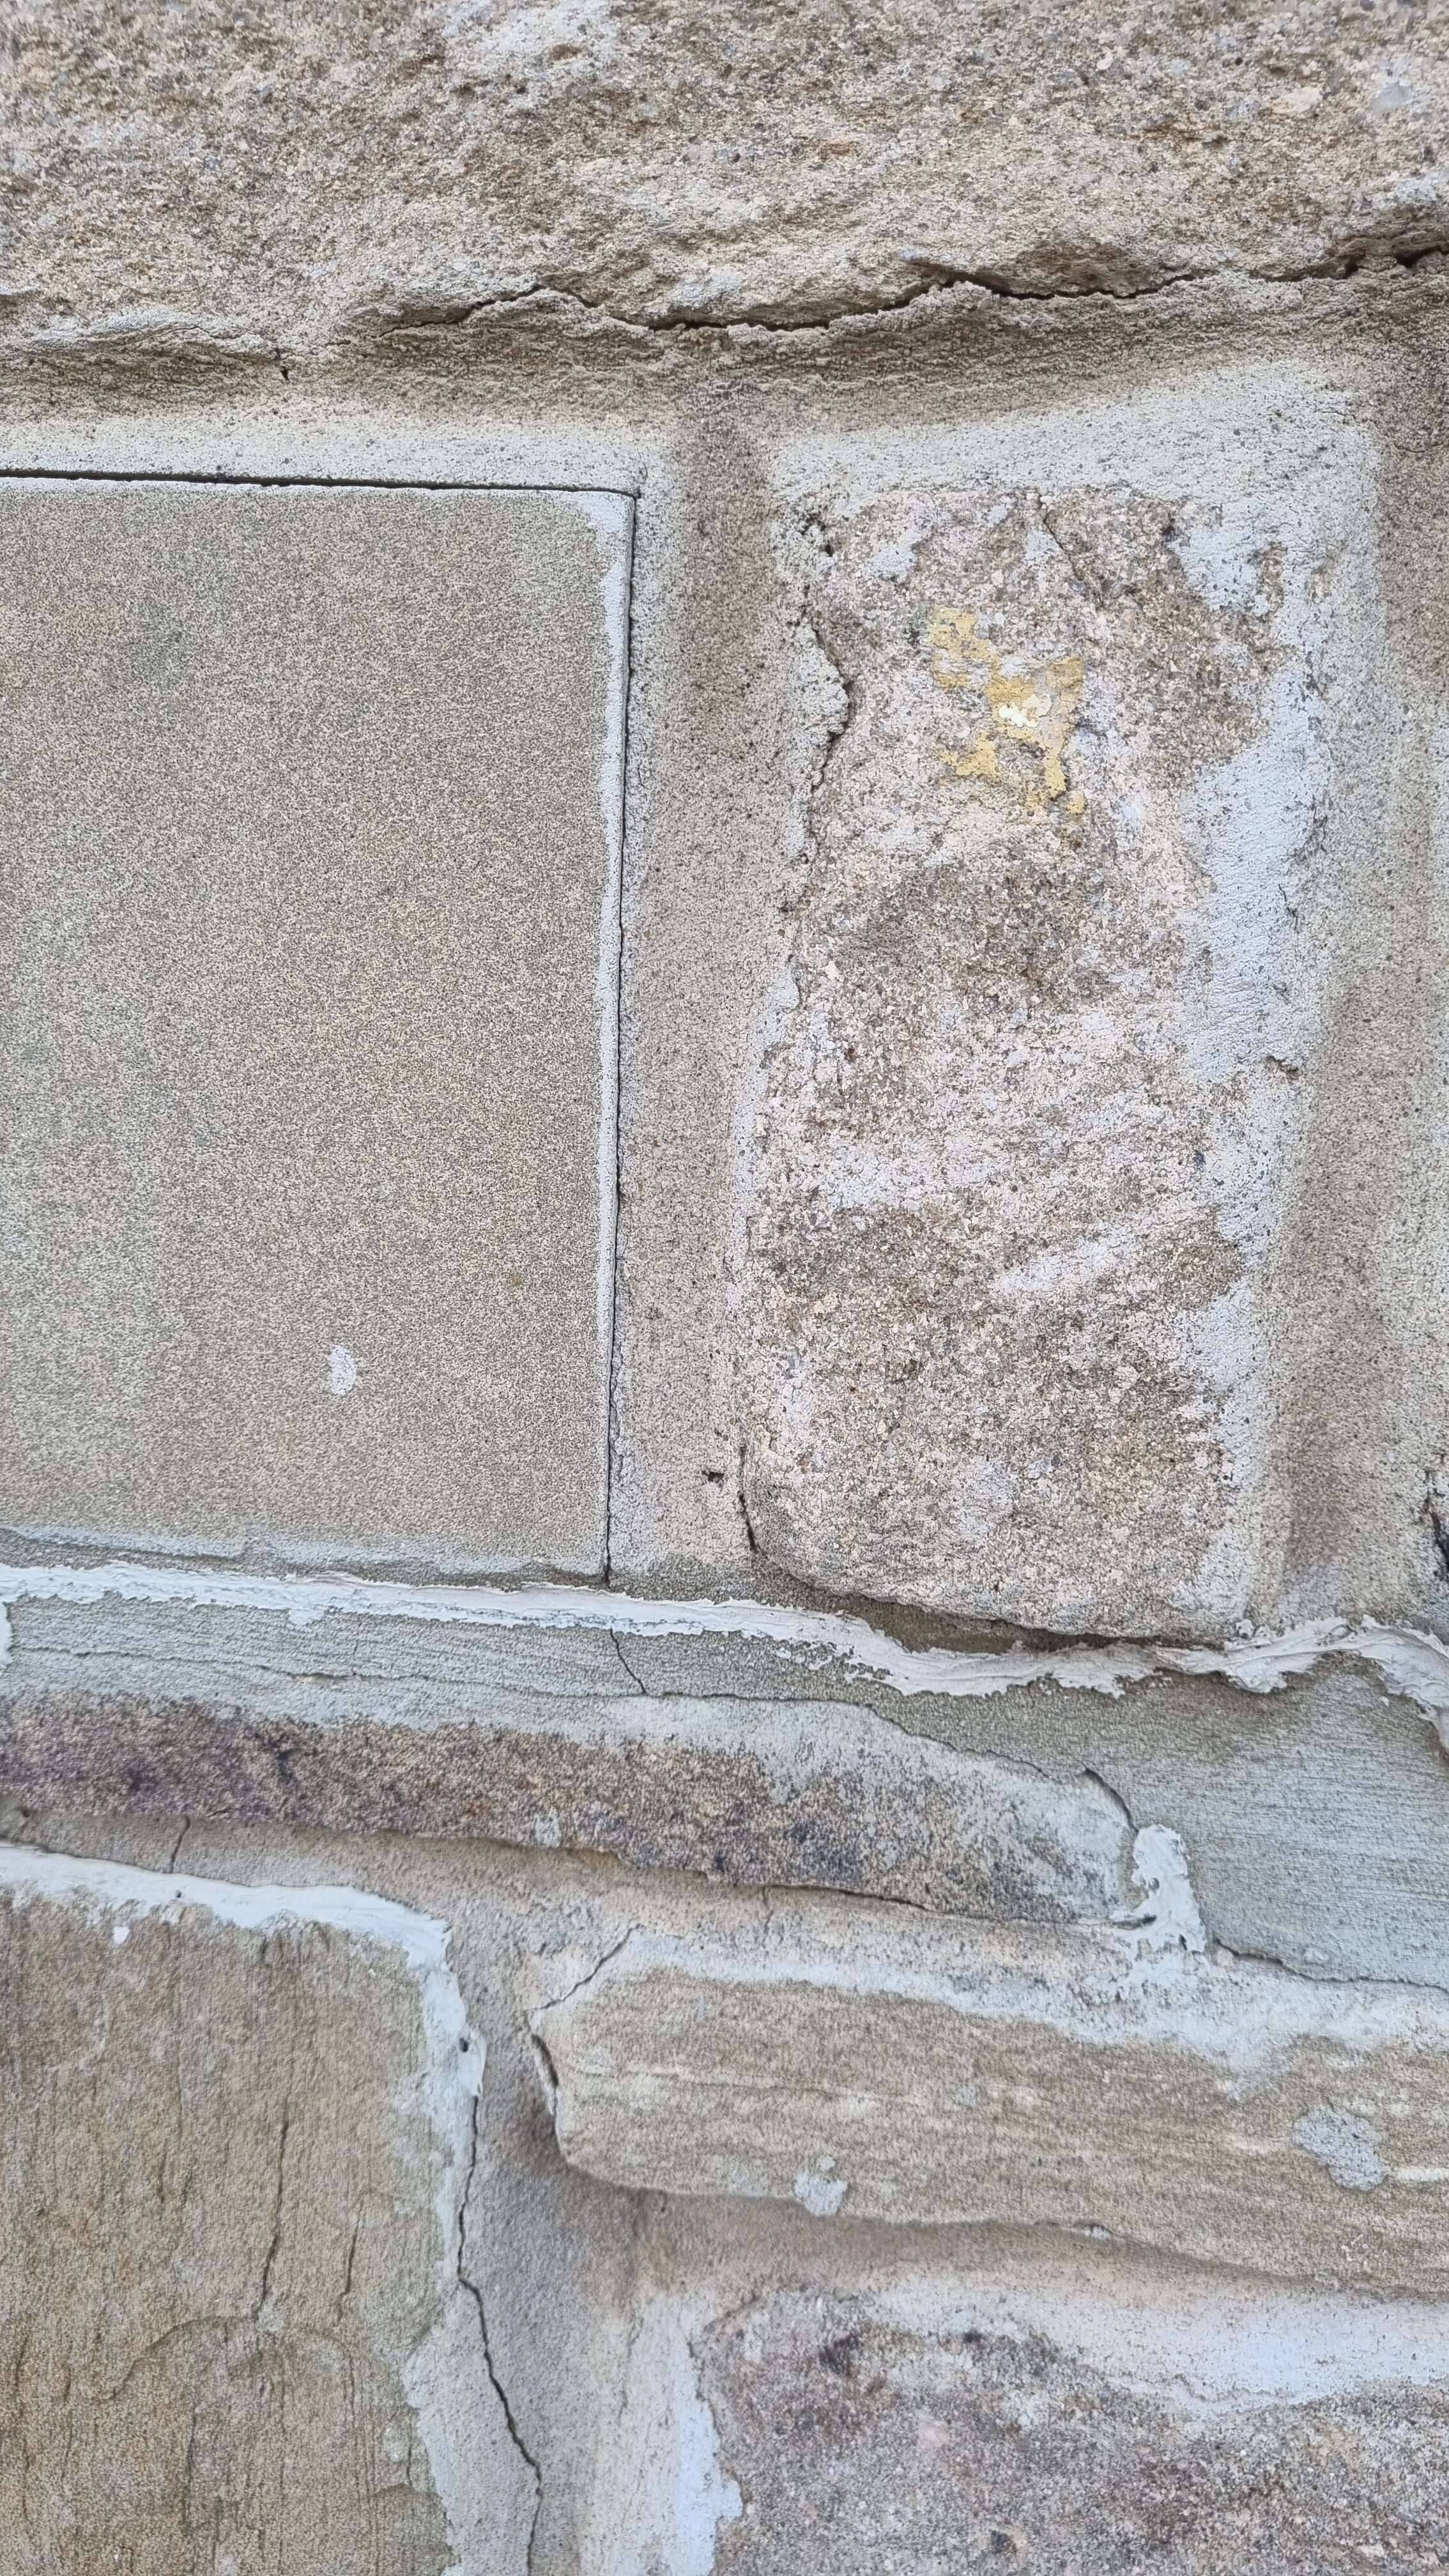
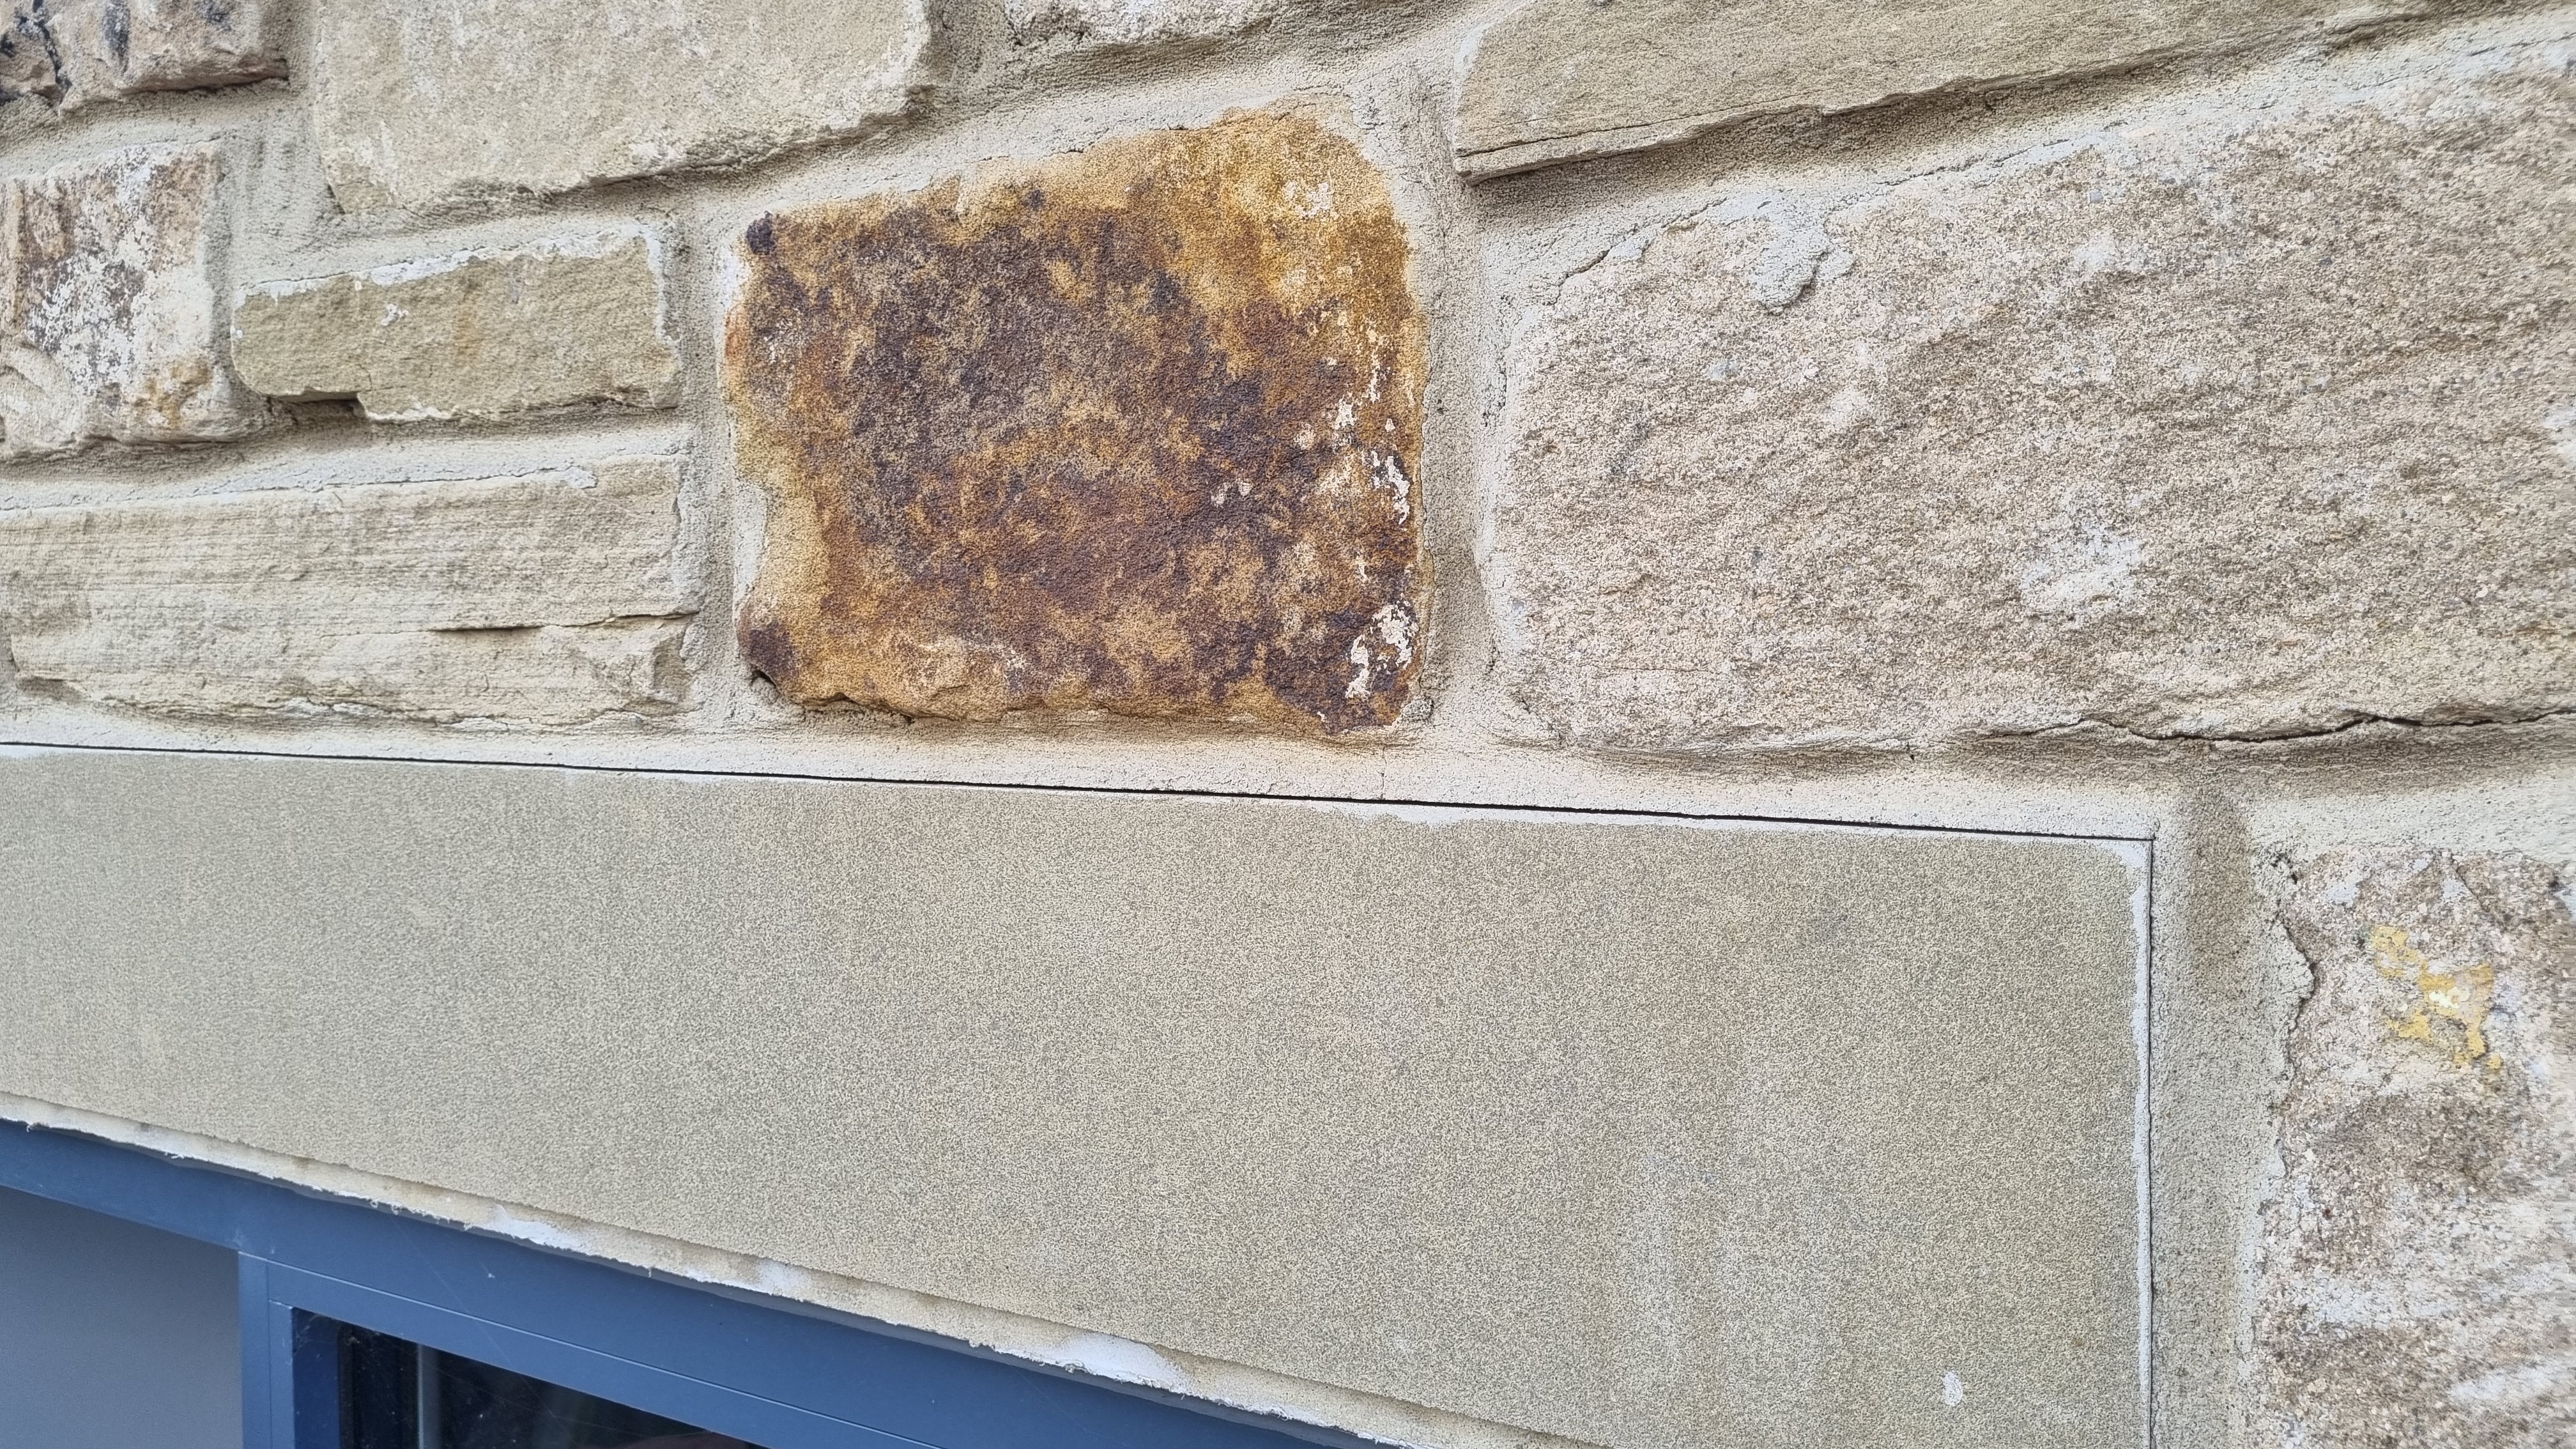
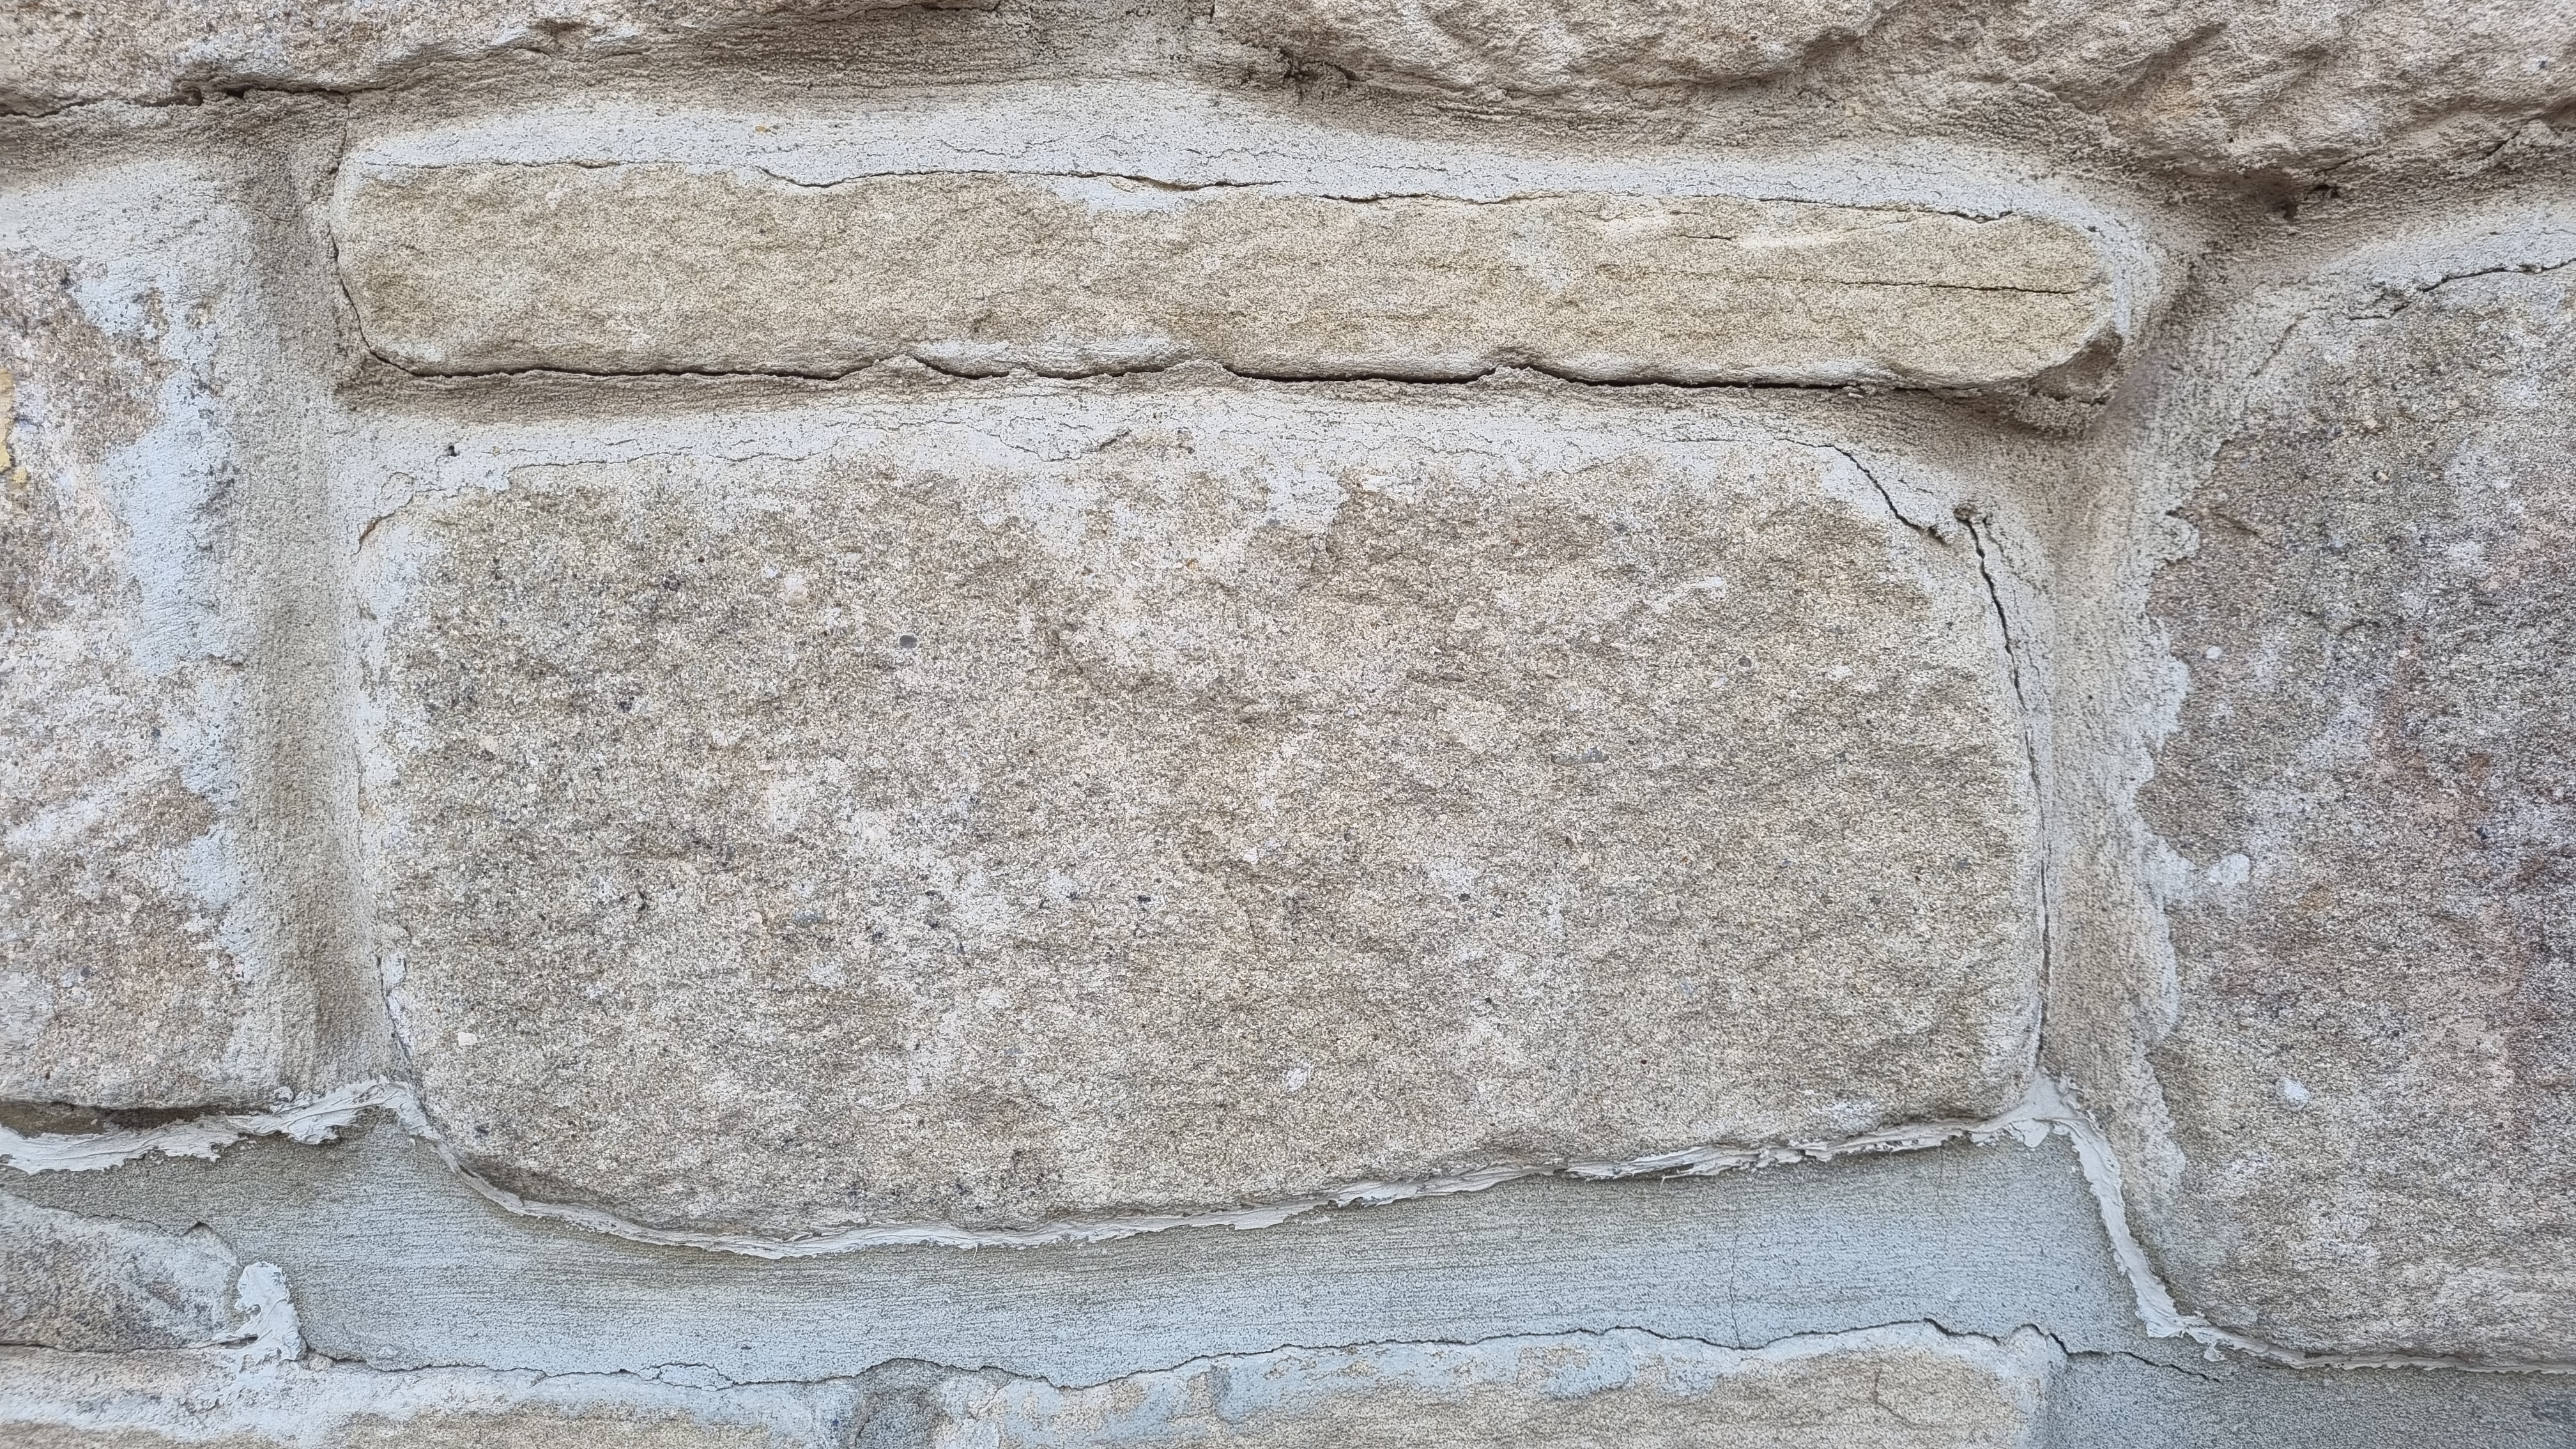
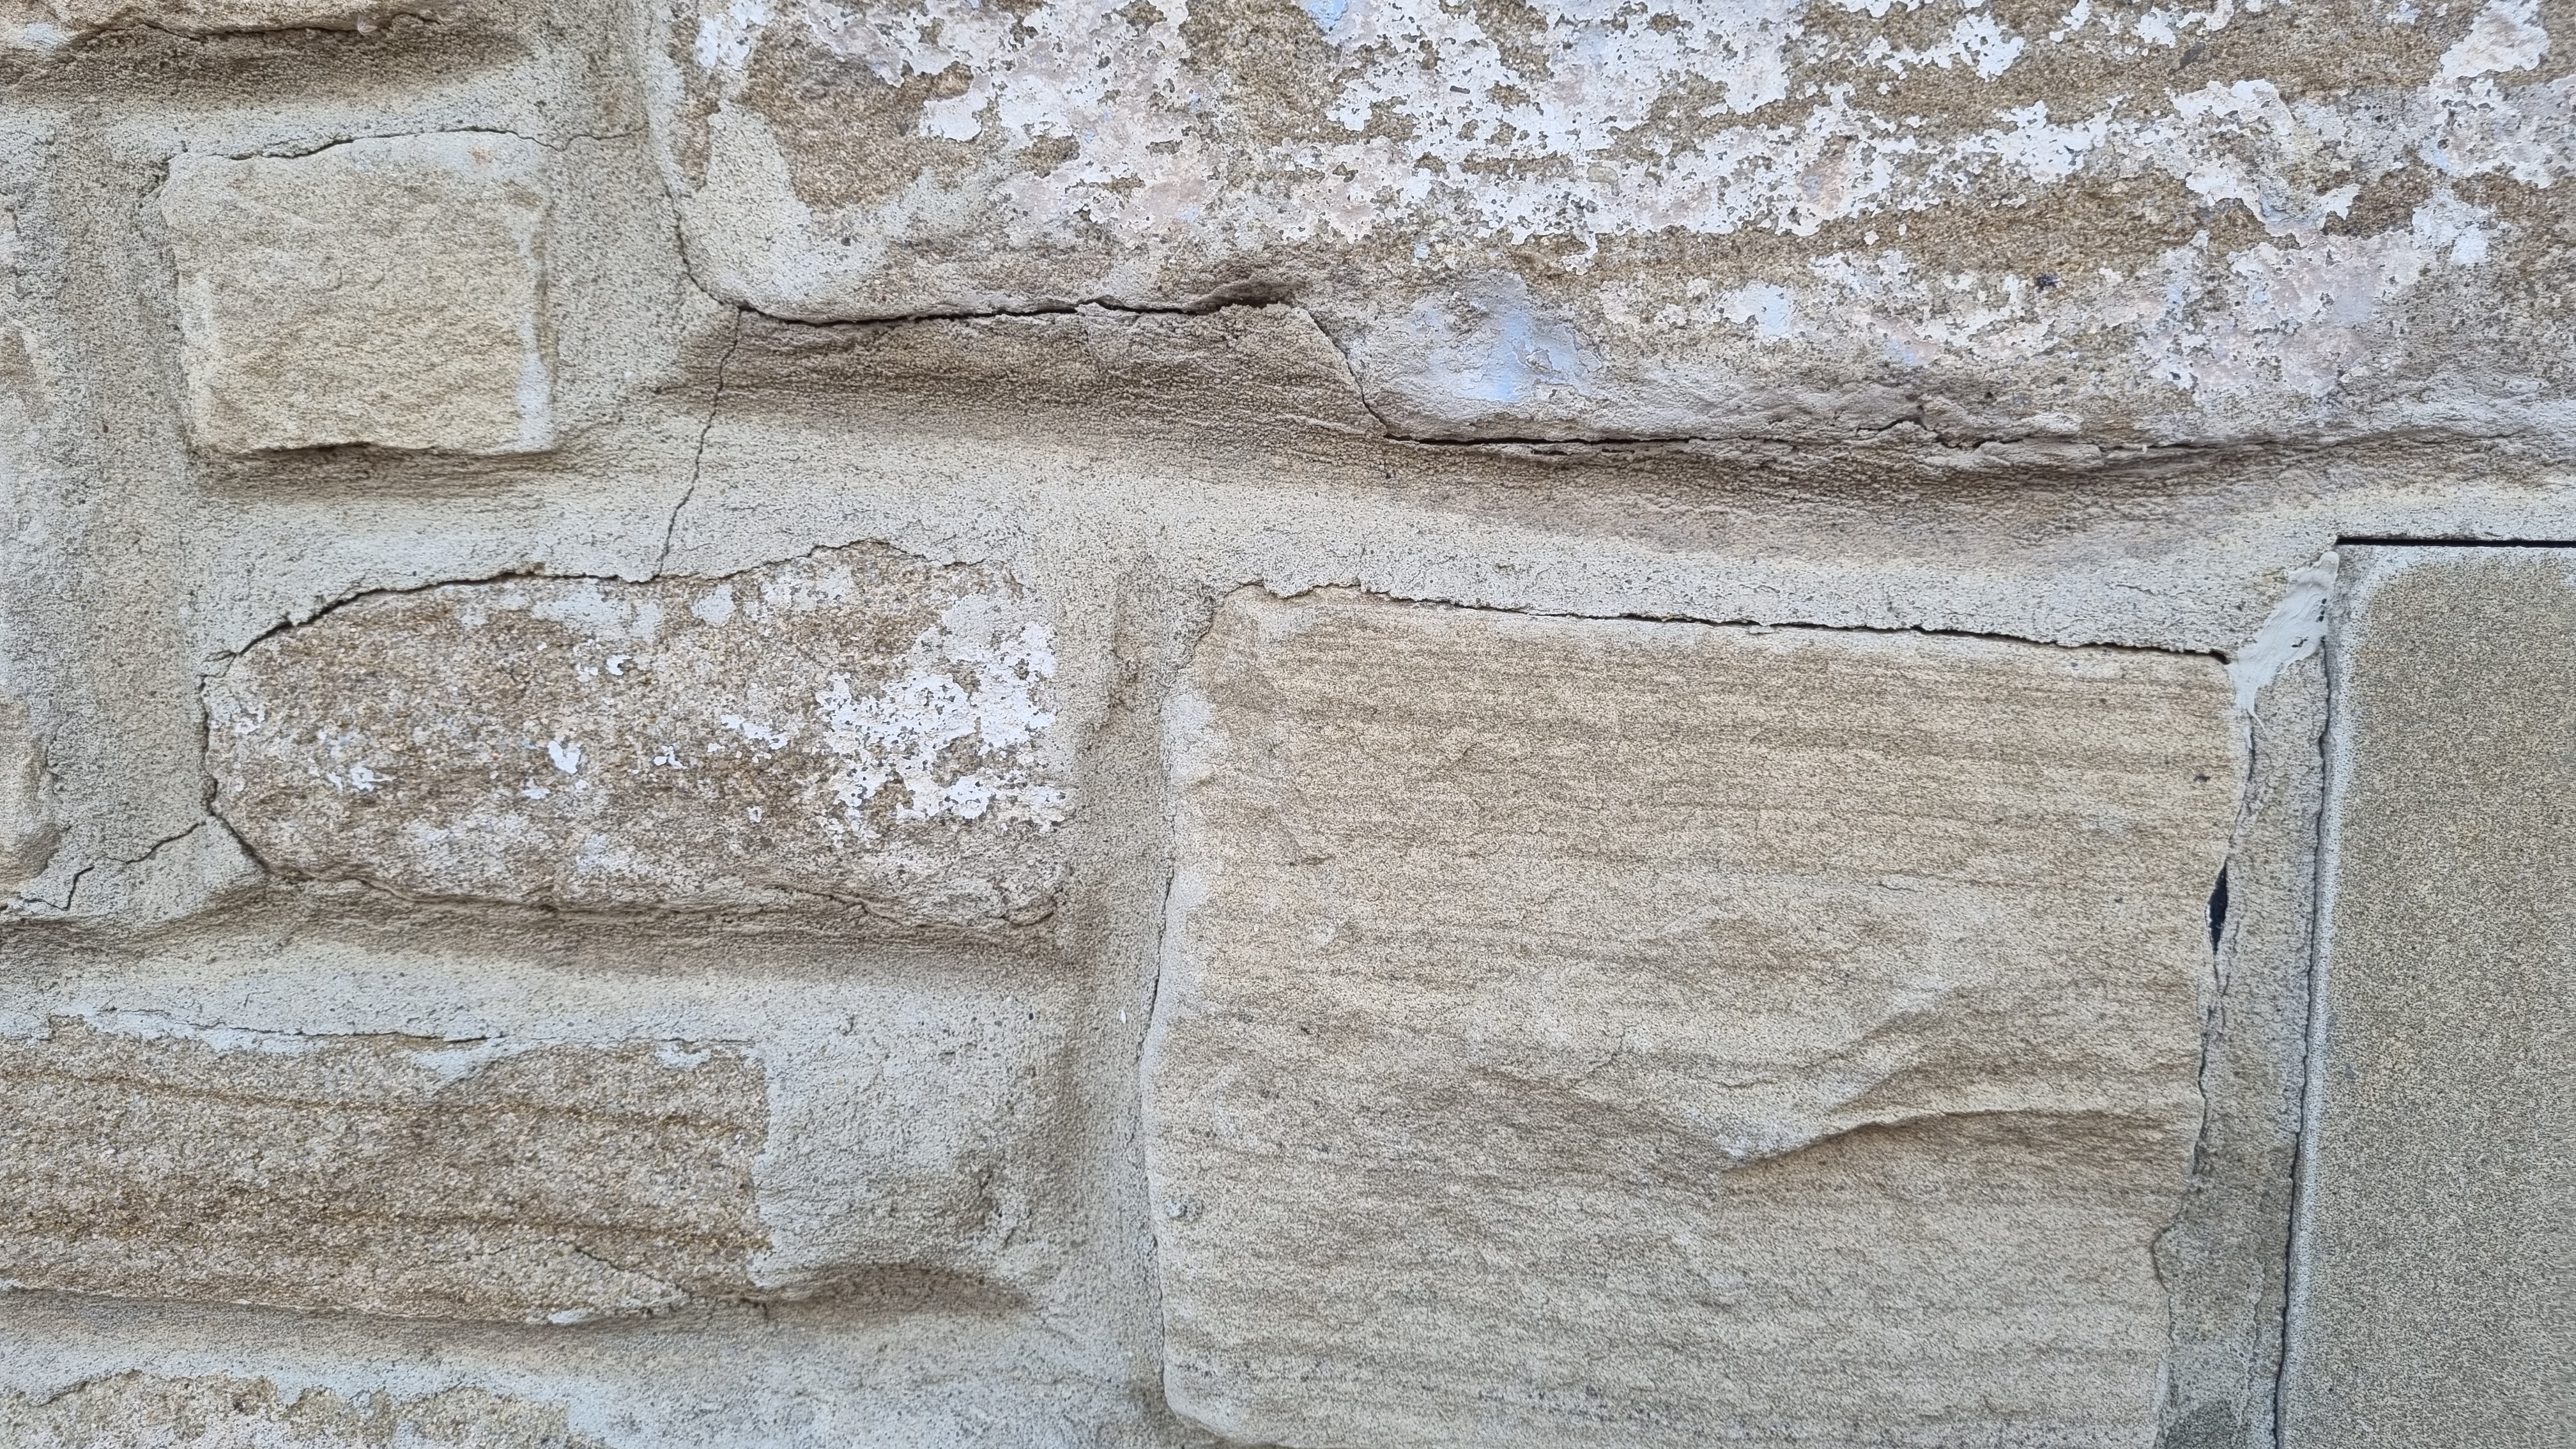
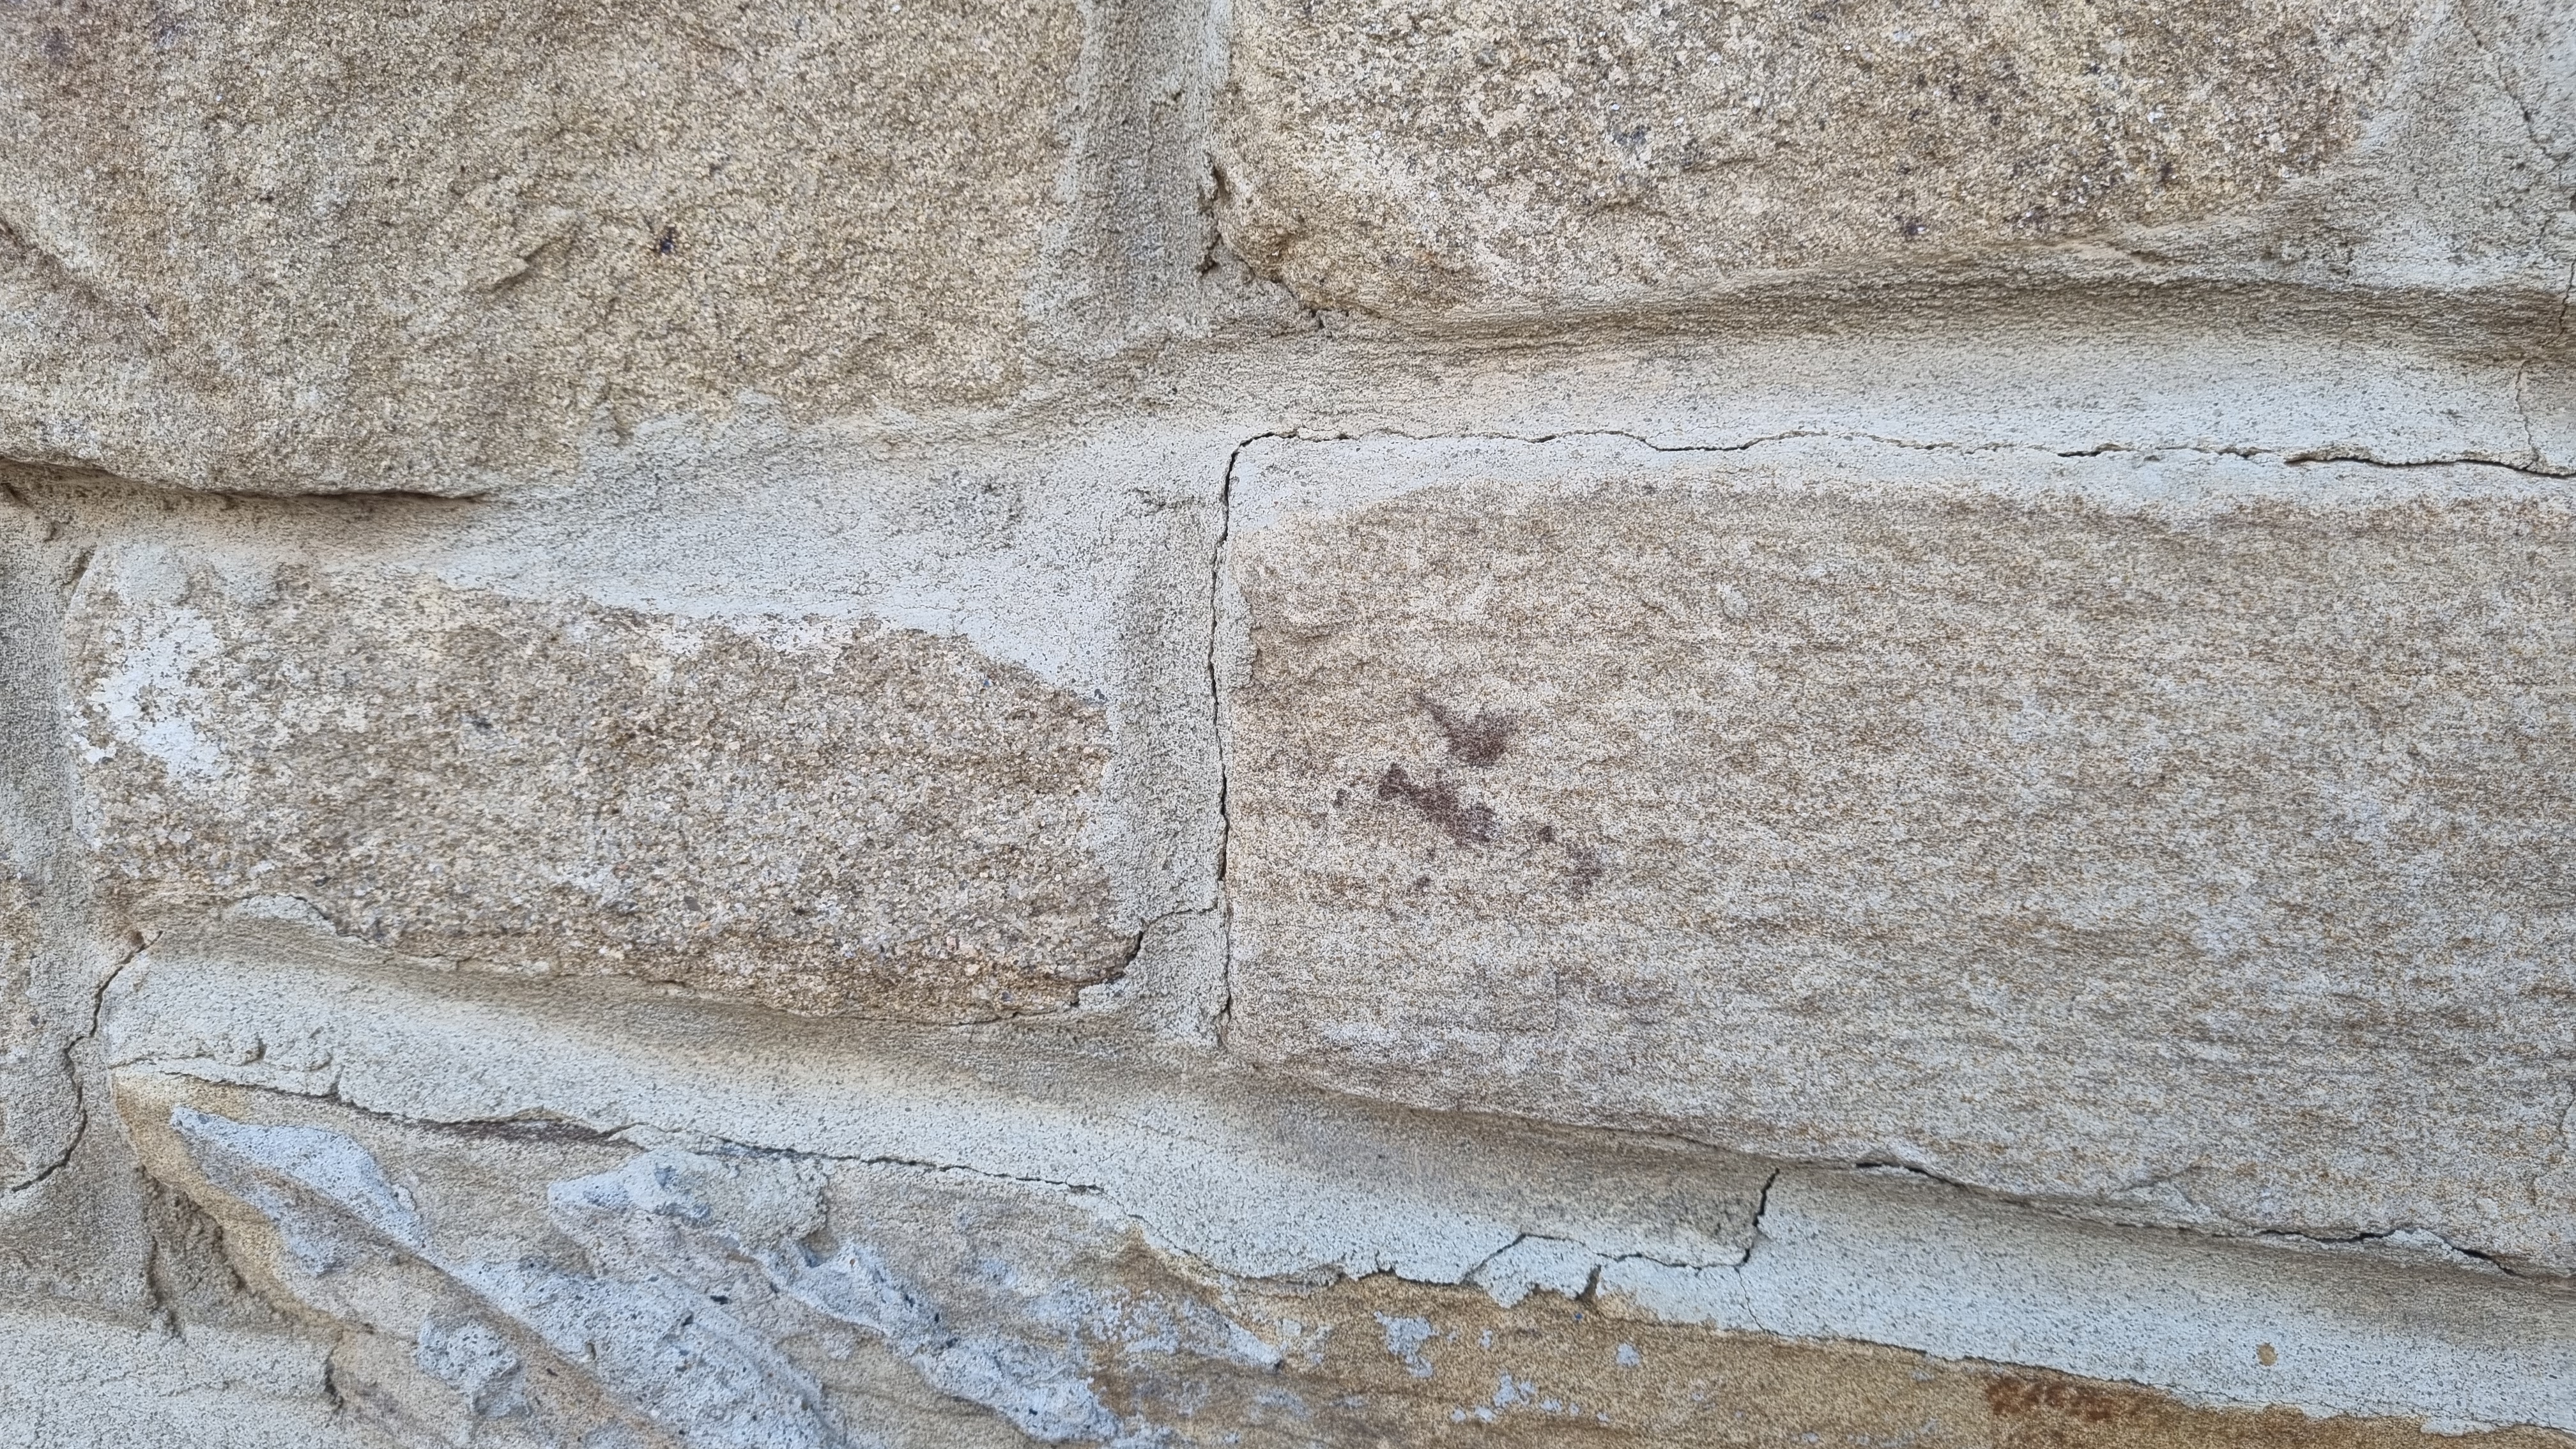
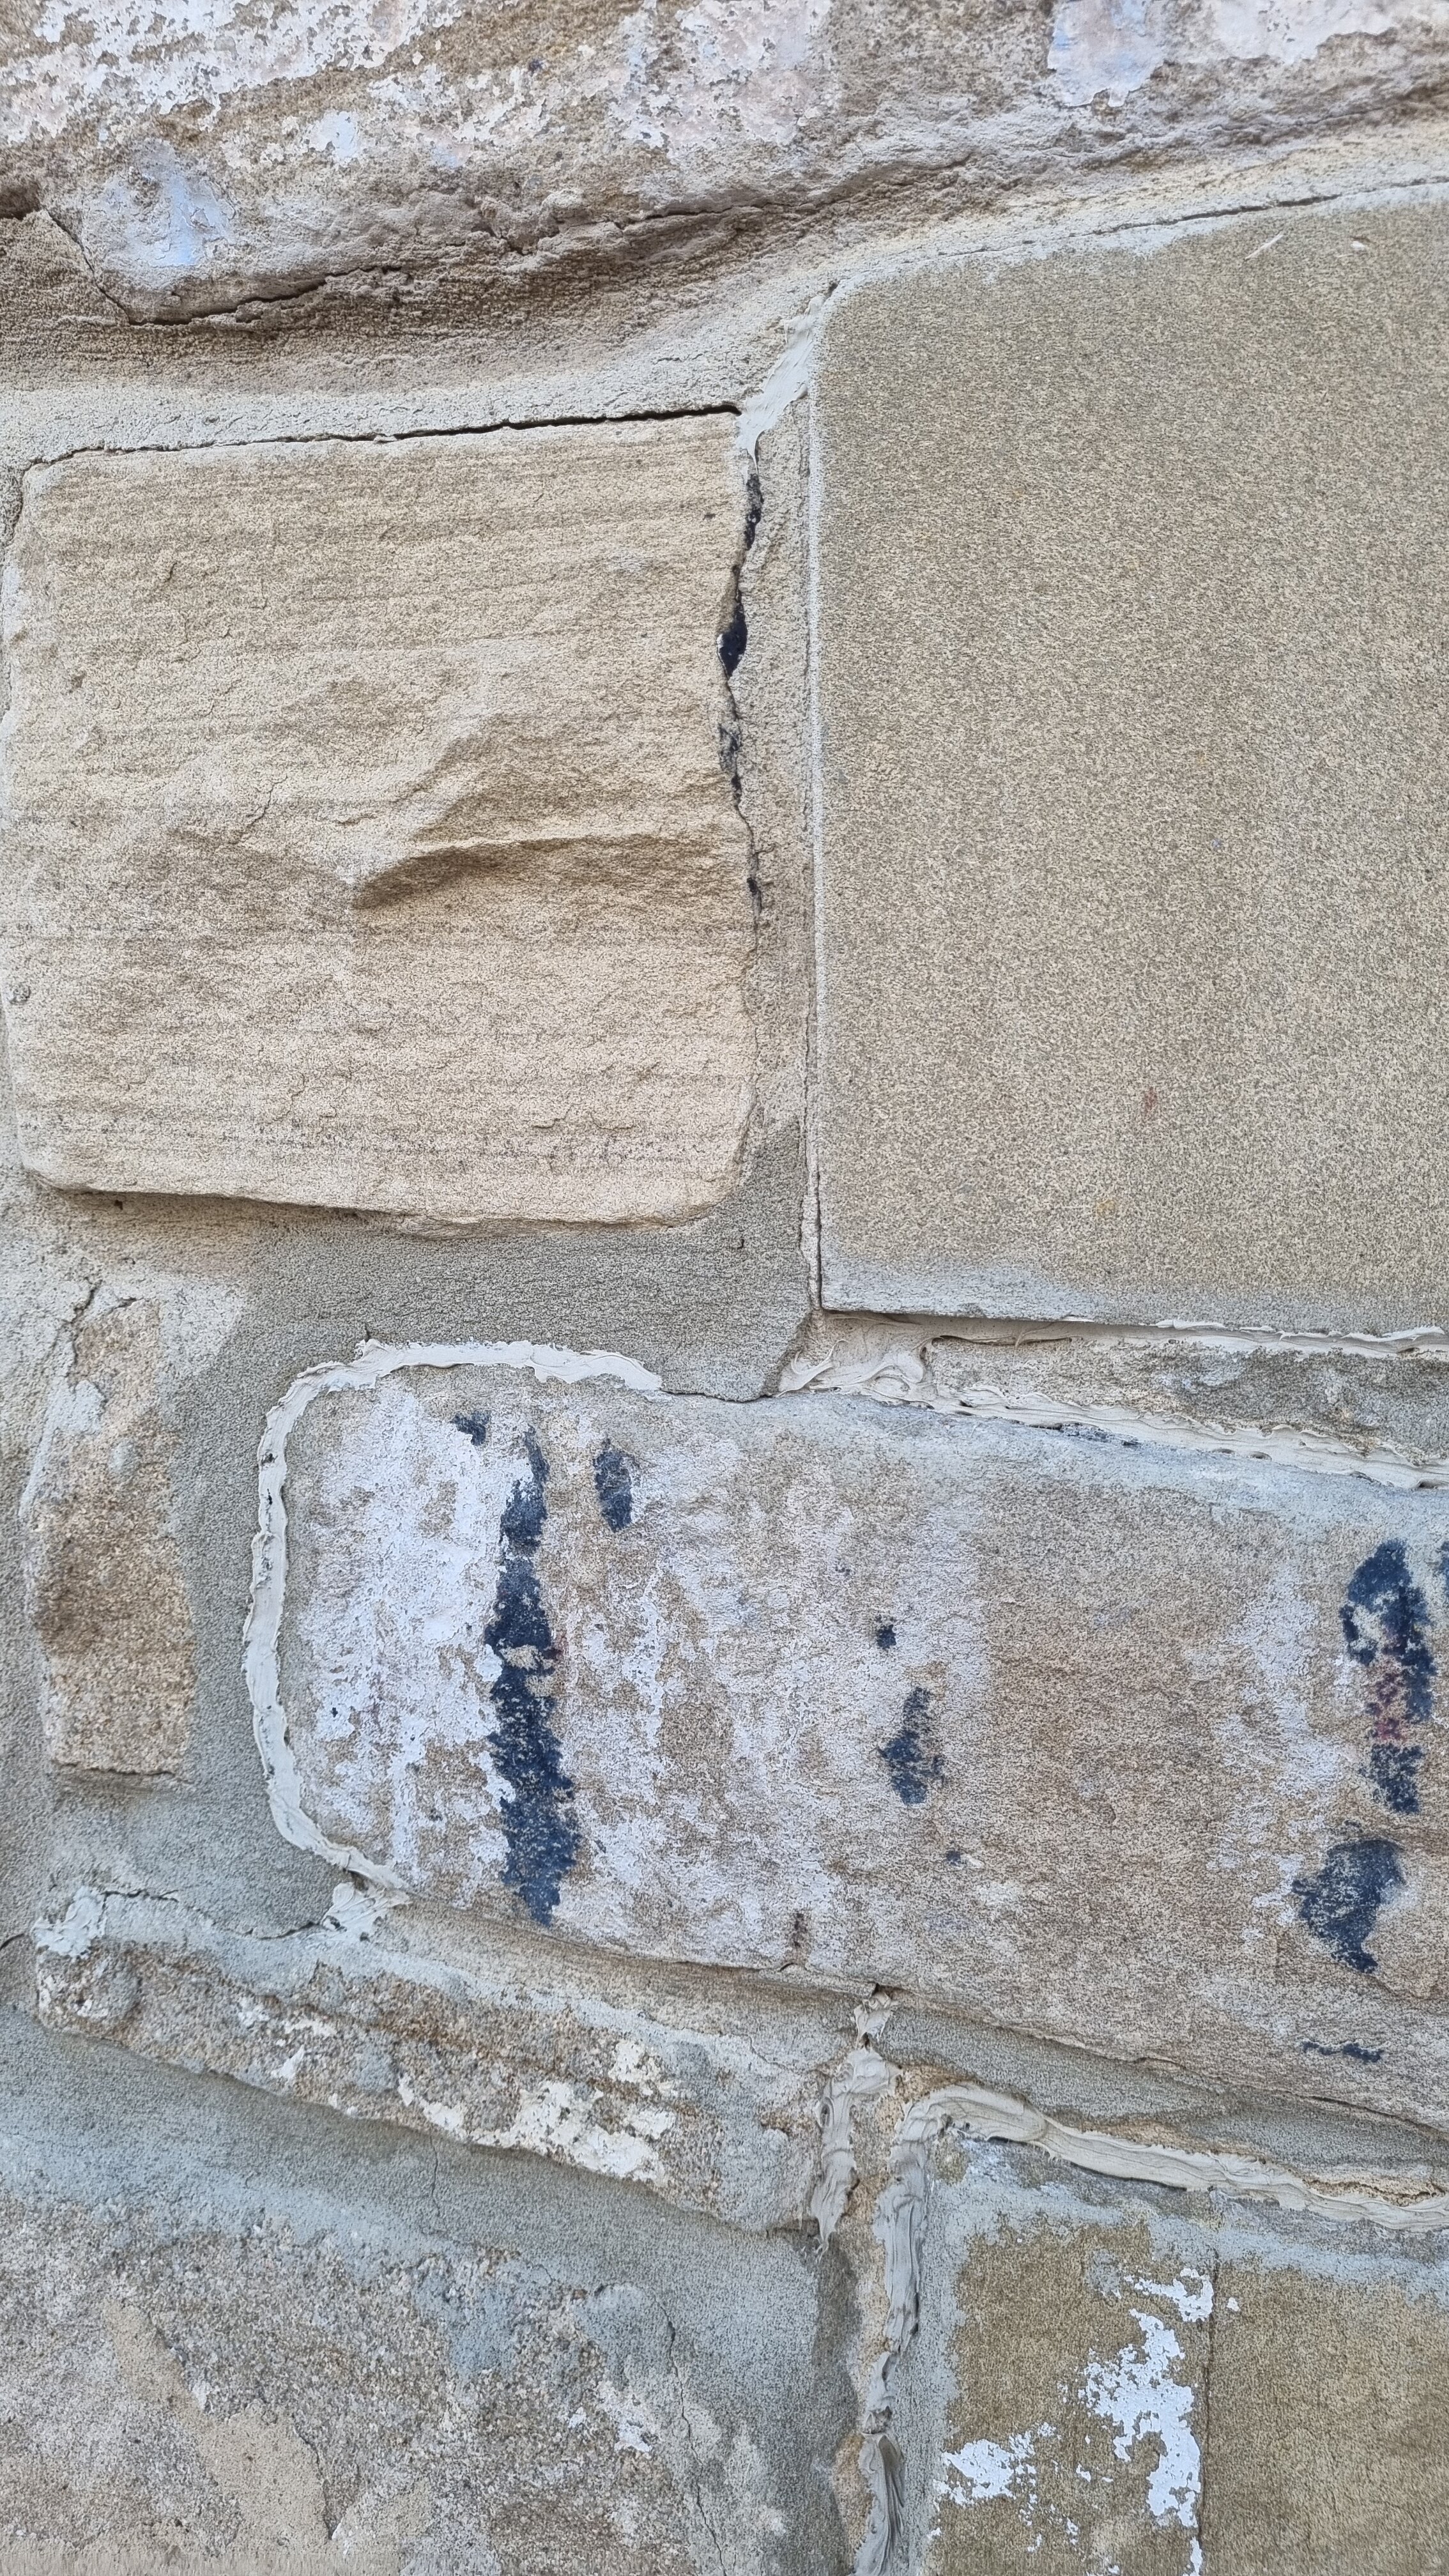
The cracks are quite fine in most places and I assume I will need to remove the existing mortar to create a gap large enough to accept the new mortar.
The stone seems very hard, it's always a hard job drilling into it, so I'm assuming I can use a sand/cement mortar mix, possibly with some SBR added?
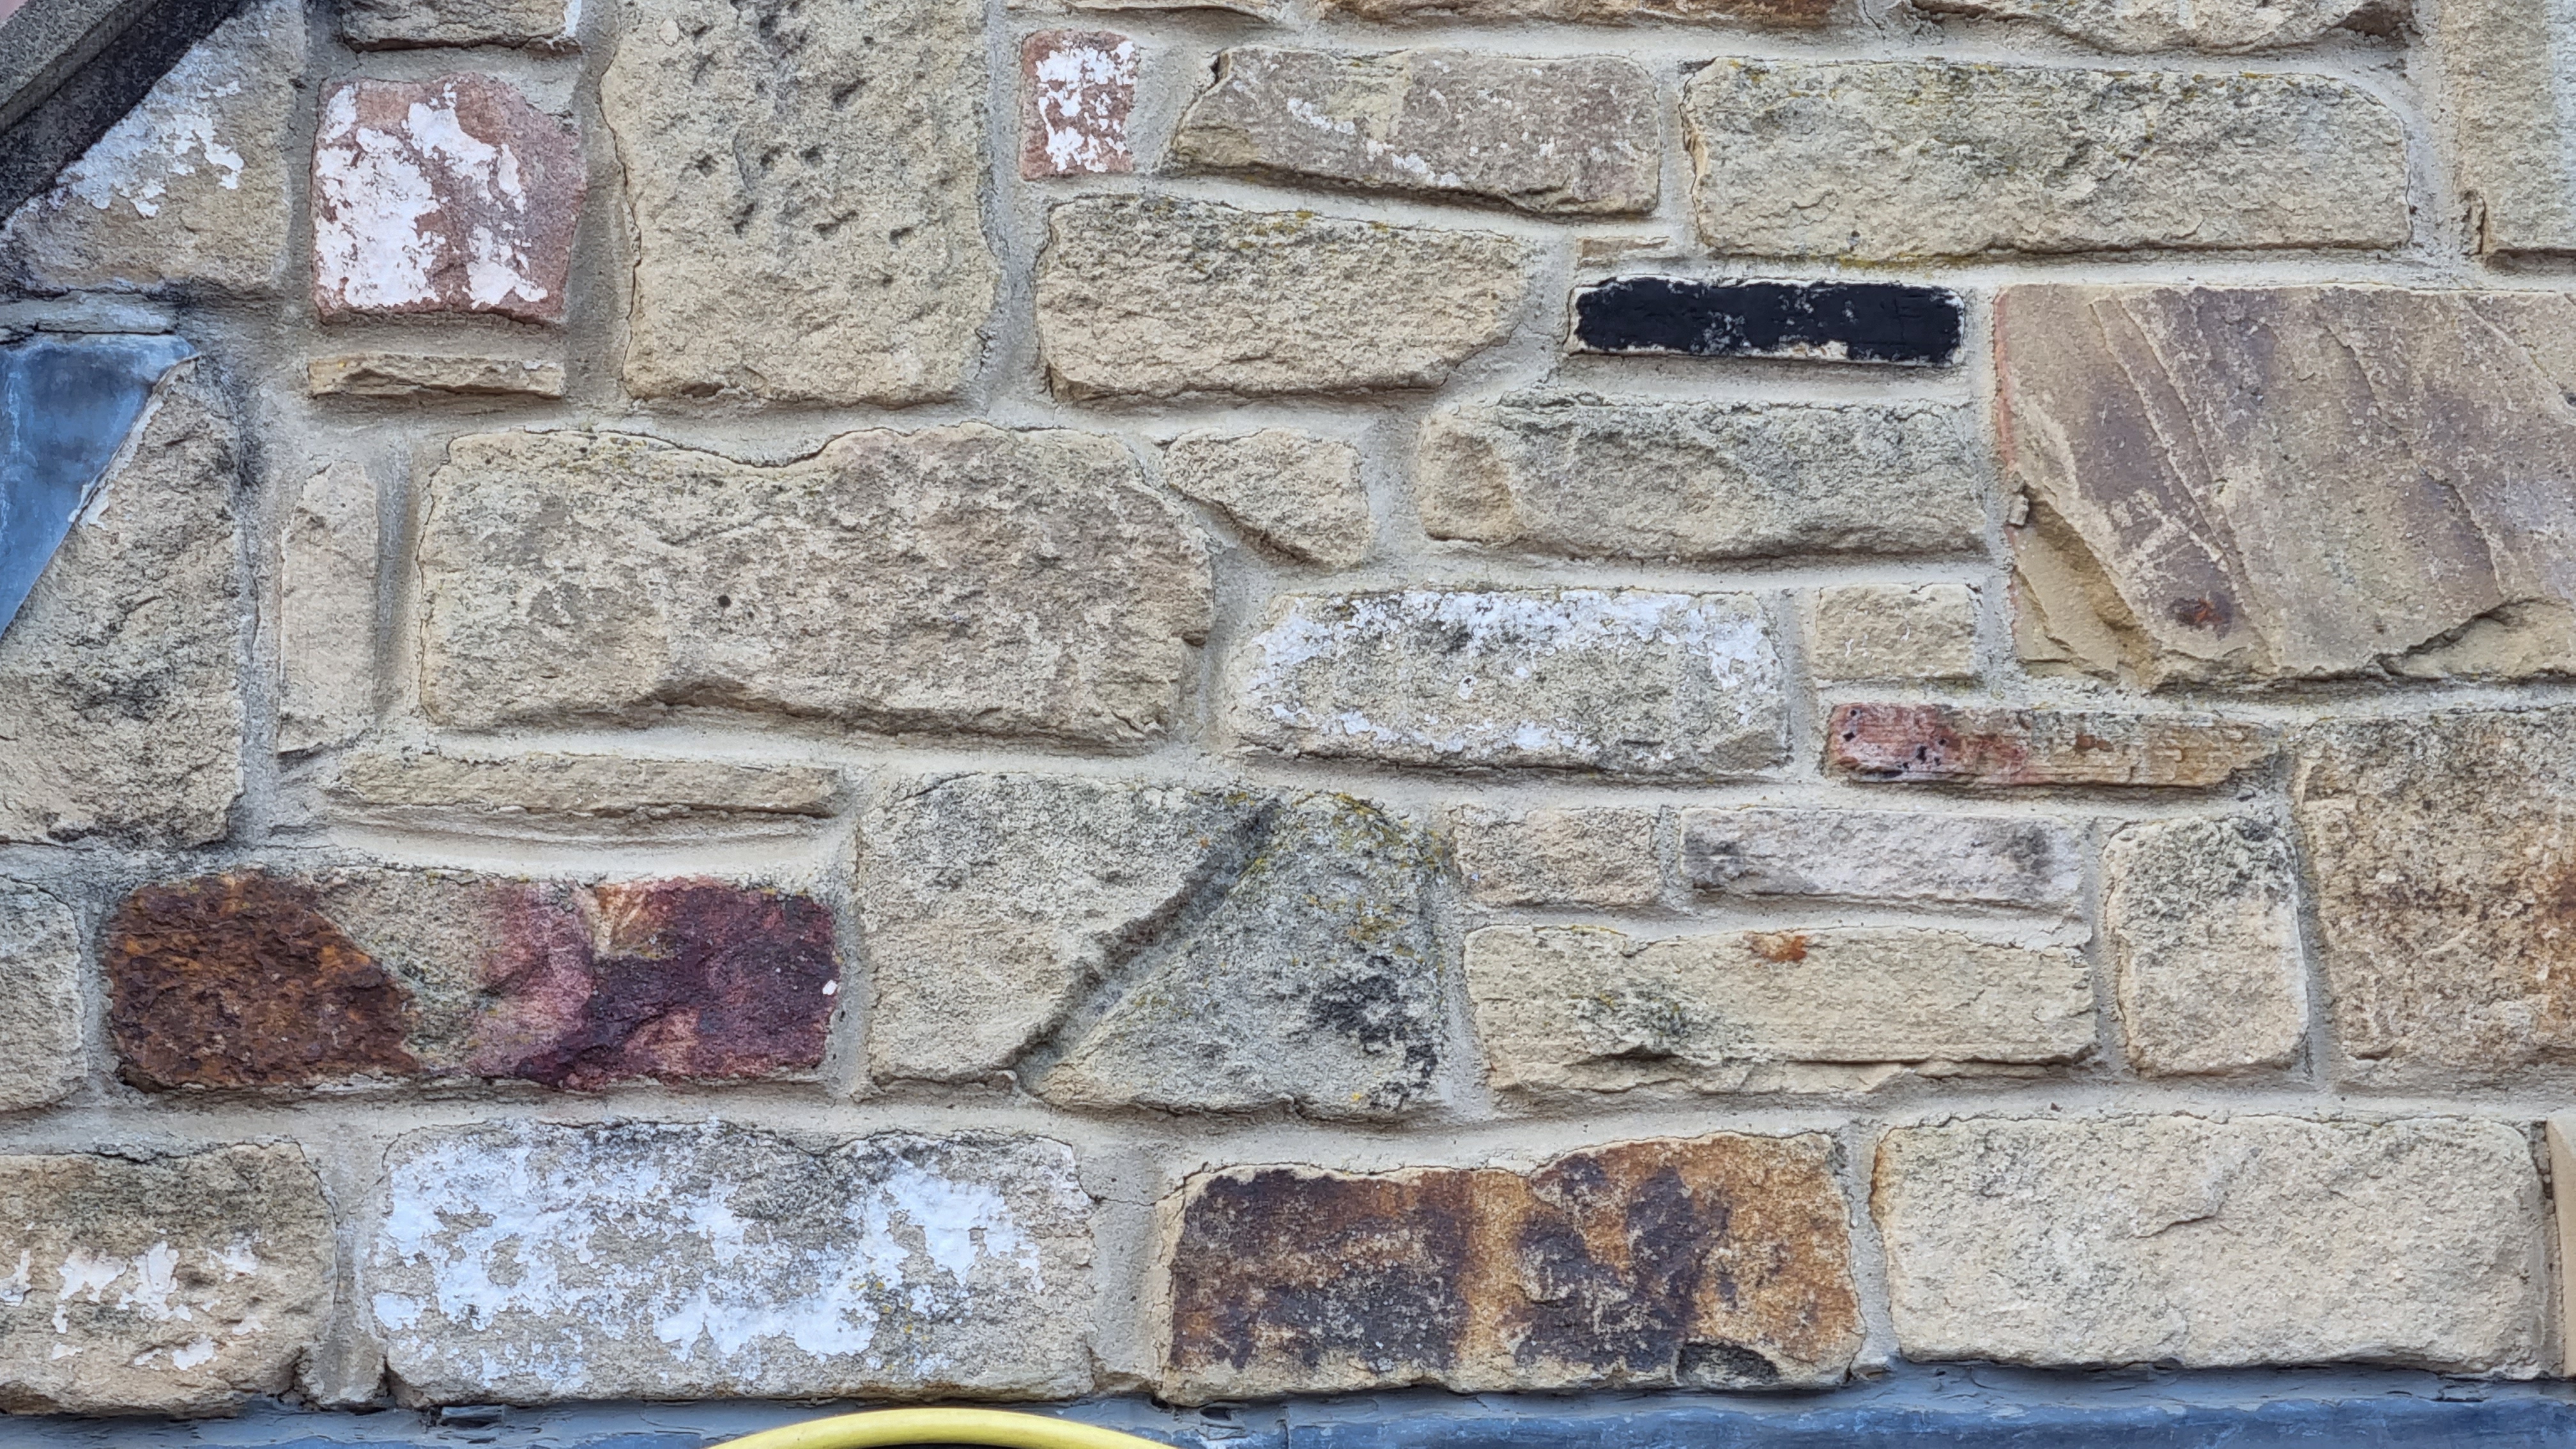
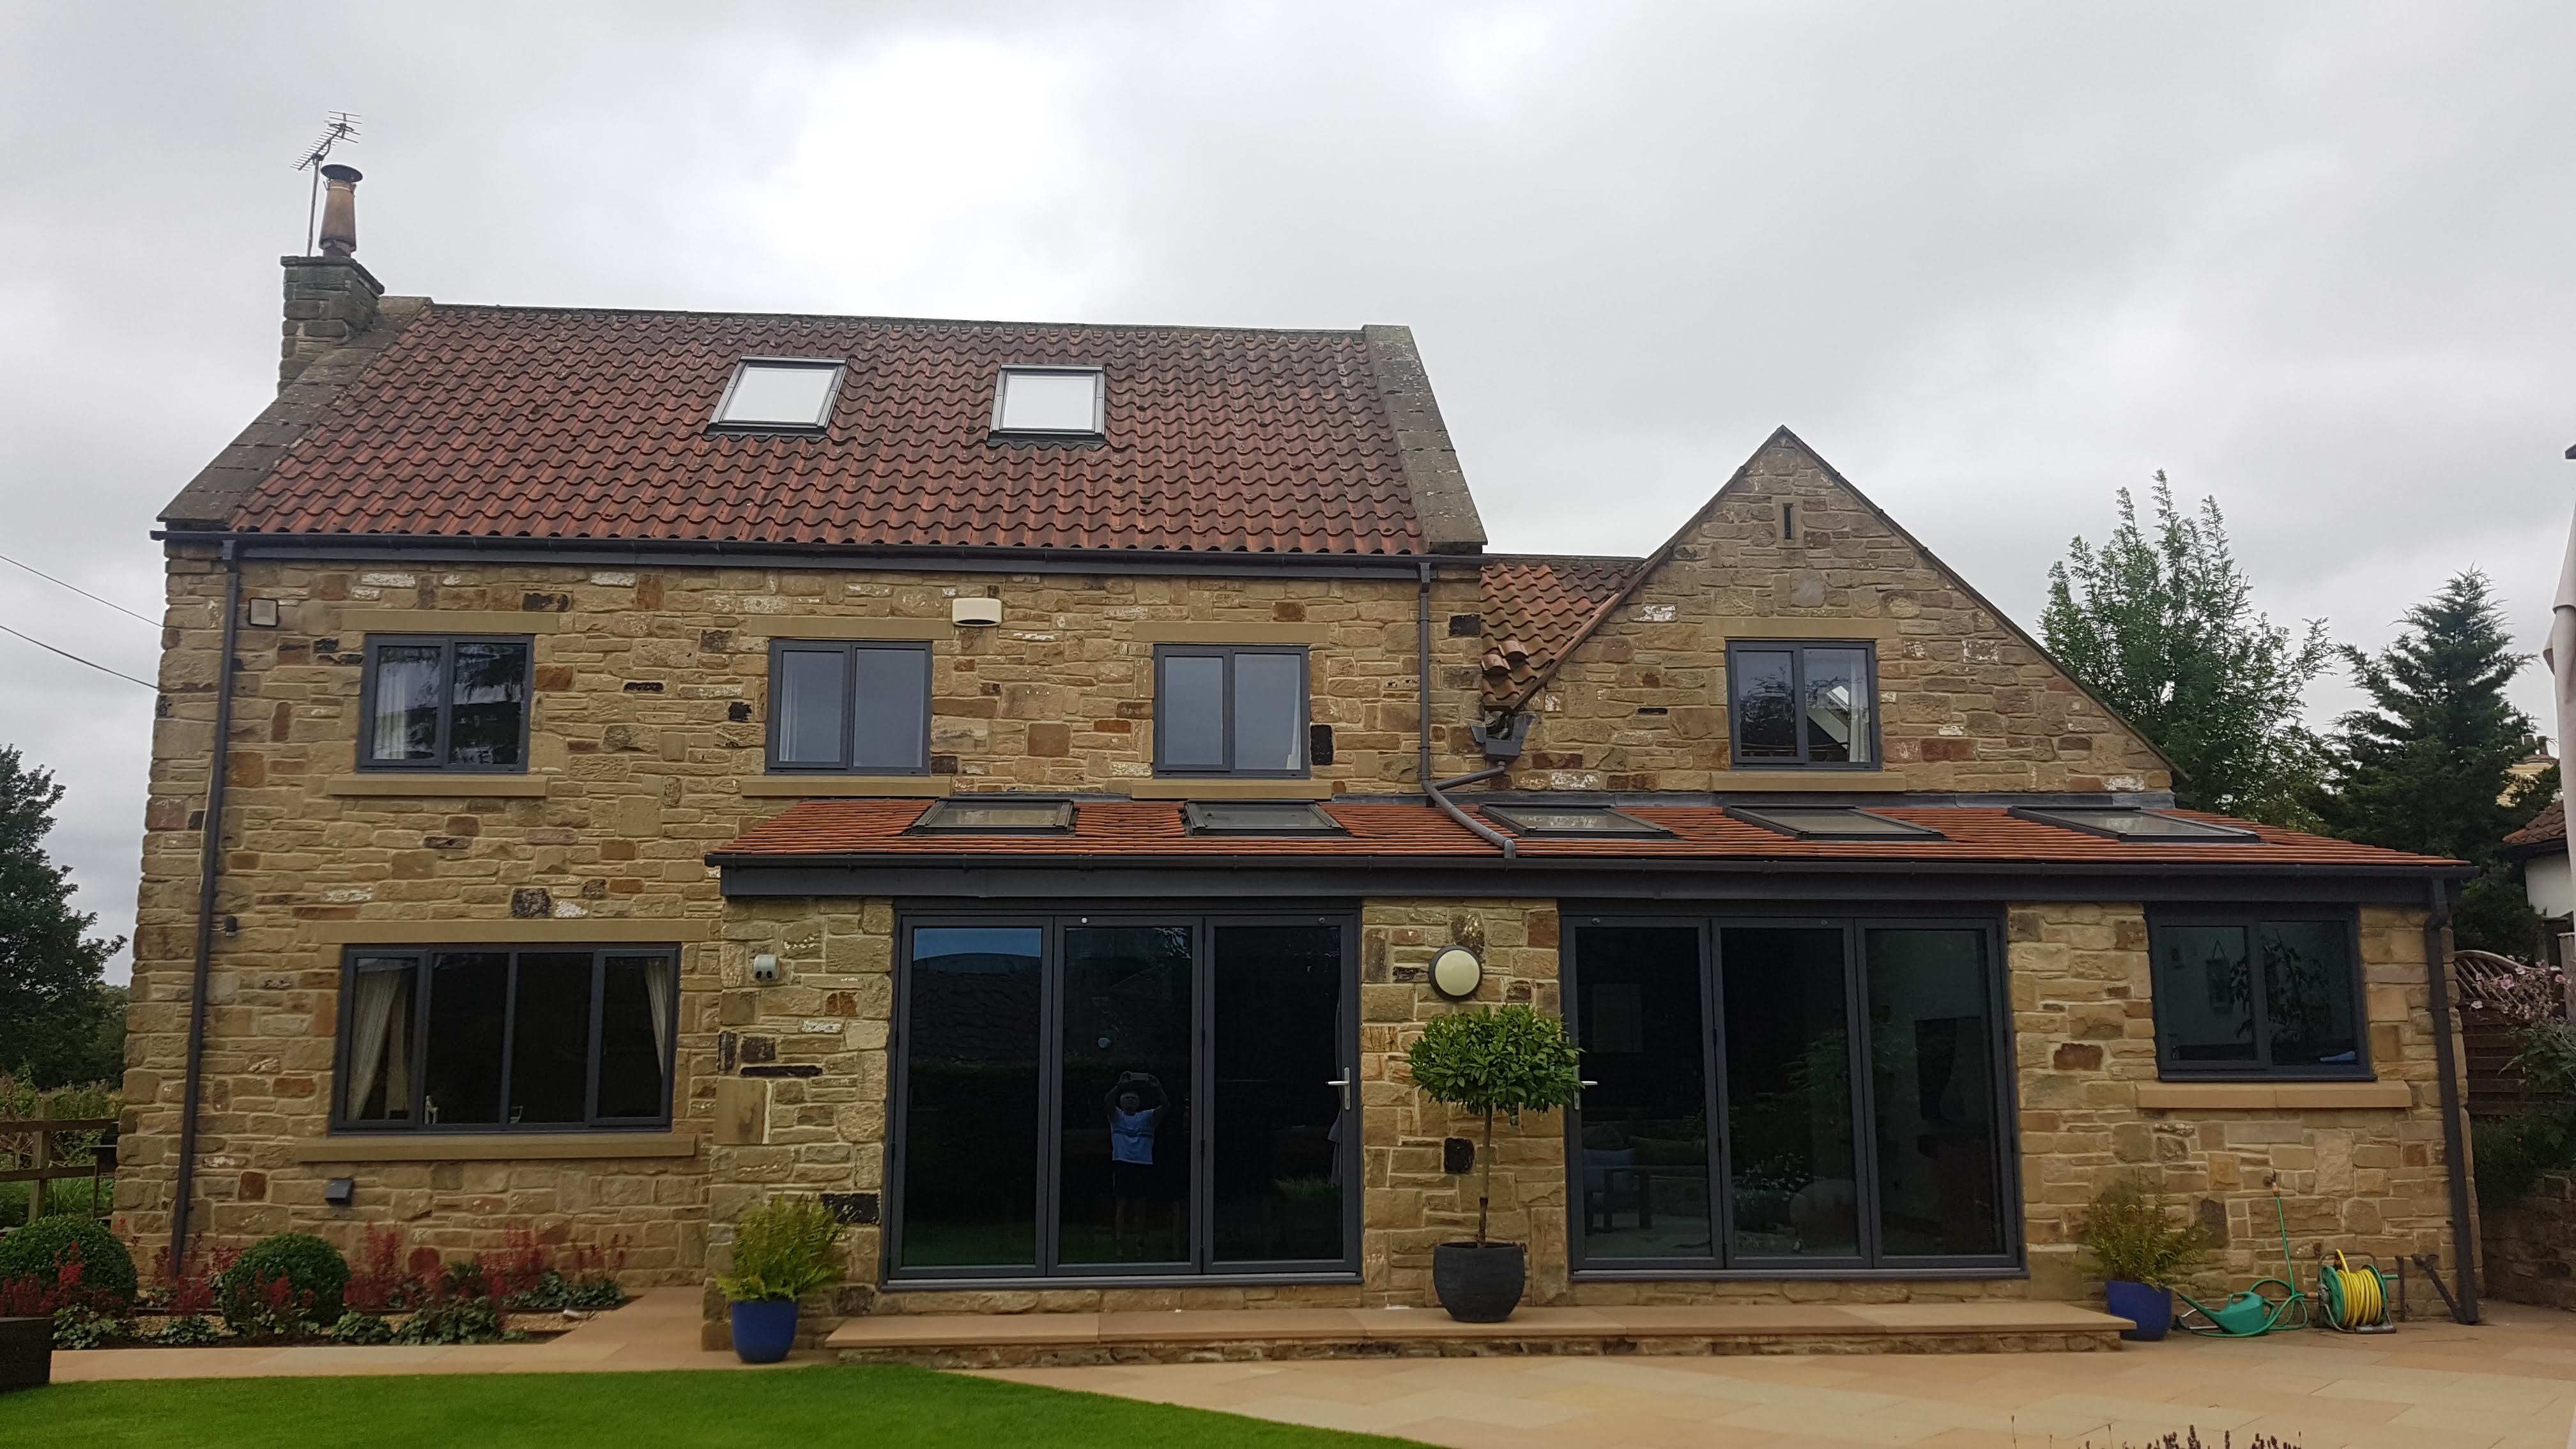
As you can see from the following photo of the extension, the walls are built from random stone.
Access to the upstairs walls will be via the extension roof.
If it stops raining, I will try to get some close up photos of the cracked mortar to give an indication of the scale.
This isn't something I've done before and would really appreciate some advice.
The cracks are quite fine in most places and I assume I will need to remove the existing mortar to create a gap large enough to accept the new mortar.
The stone seems very hard, it's always a hard job drilling into it, so I'm assuming I can use a sand/cement mortar mix, possibly with some SBR added?
As you can see from the following photo of the extension, the walls are built from random stone.
Access to the upstairs walls will be via the extension roof.
If it stops raining, I will try to get some close up photos of the cracked mortar to give an indication of the scale.