Stairs: joining two newel bases

Joined
11 Dec 2011
Messages
5
Reaction score
0
Location
Warwickshire
Country
United Kingdom
Hi all,

Would appreciate some help. We currently have a death-trap staircase whereby there is no bannister. The newel base has been sawn-off at a low height, and I'm wondering if it's possible to attach another form of newel base to it, thereby extending the height. I've uploaded some photos to show the issue.


I've looked on the Richard Burbidge website, and their newel posts (the type with a dowel running through that allow them to be fixed to existing newel bases) advise that you need to have 268mm of 'existing newel base' from the pitch line to allow you to attach their newel bases.

Are there any alternative options, as I'm really keen to avoid having to rip-out the existing newel base altogether and completely replace.

Would really appreciate any advice.

Many thanks,

Dave
 
Sponsored Links
Don't use dowels and polyurethane glue. Polyurethane glue is the expanding type of wood glue, great for fixing timbers where the joint is not tight and strength is not required, or if there is a danger of water ingress, as it is moisture curing, or where you want it to set in 5 or 30 mins as it's quick setting.
But because it expands a bit like foam it has little to no compressive strength, so it will compress if there is any movement.
Dowels are great for locating the timbers when aligning a joint for glue, or to stop joints pulling open, after all oak framed houses are held together with dowels, but they break like twigs if you bend one over your knee as they have little lateral strength and a joint will fail if pressure is applied laterally as it will on a newel post.

You need to create a joint with as much glue area as possible, do not rely on a butt joint and dowels alone.

Your photograph shows you still have a reasonable length of newel to be able to form a good joint.
Use the 1/3 rule when creating joints. In your case I would suggest dividing the newel top into three sections, Remove the centre 1/3 down to a depth of about 100mm, this will create a nice mortice hole.
Then do the opposite and remove the two outer 1/3 rds of the new newel post to form a 100mm long tenon.
Apply a wood glue to all faces of the mortice and tenon joint and use G cramps so hold it together.
Now would be a good time to use dowels, but put them into the side of the joint to hold the tenon into the mortice. You could use two, three or even four dowels.
Take time with the marking out and use a good hardpoint saw as the aim is to get a good tight joint. The strength is in the joint, not the glue.
You will have to have a bit of a fill and sand to clean up the faces when its all set hard or it will notice when painted.
 
Sponsored Links
if in any doubt about the lateral movement after following stevethejoiners advice then i would strongly reccomend adding a few pocket holes and some self tapping screws. i use a kreg jig and would reccomend theirs or the one made by trend as have used both. good luck
 
Many thanks for all your replies - particulary stevethejoiner - most detailed...thanks.

You suggest not using polyurethane glue. What would you advise as an alternative?

What is the best method for removing the centre third of wood from the existing newel base and the two outer thirds of wood from the new newel post?


It would be easy to demonstrate, not so easy to write it down, but I will have a go.
Tools required.
Carpenter square, sharp chisel, mallet or hammer, sharp pencil, marking gauge, craft knife and new hardpoint panel saw, unless you are 100% sure your current panel saw has not lost its set. Because if your existing saw has lost its set, common if a nail has been cut in error, you will not be able to cut a straight line. A multi-tool would make the job easier, as would a tenon saw.

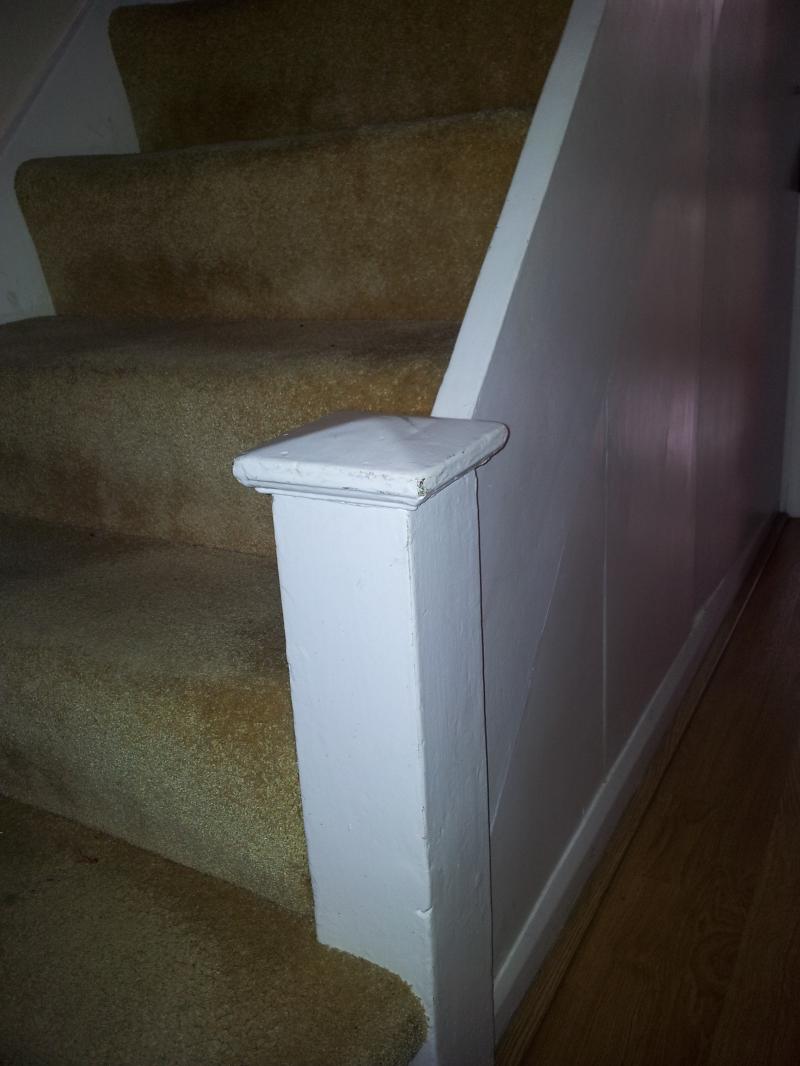
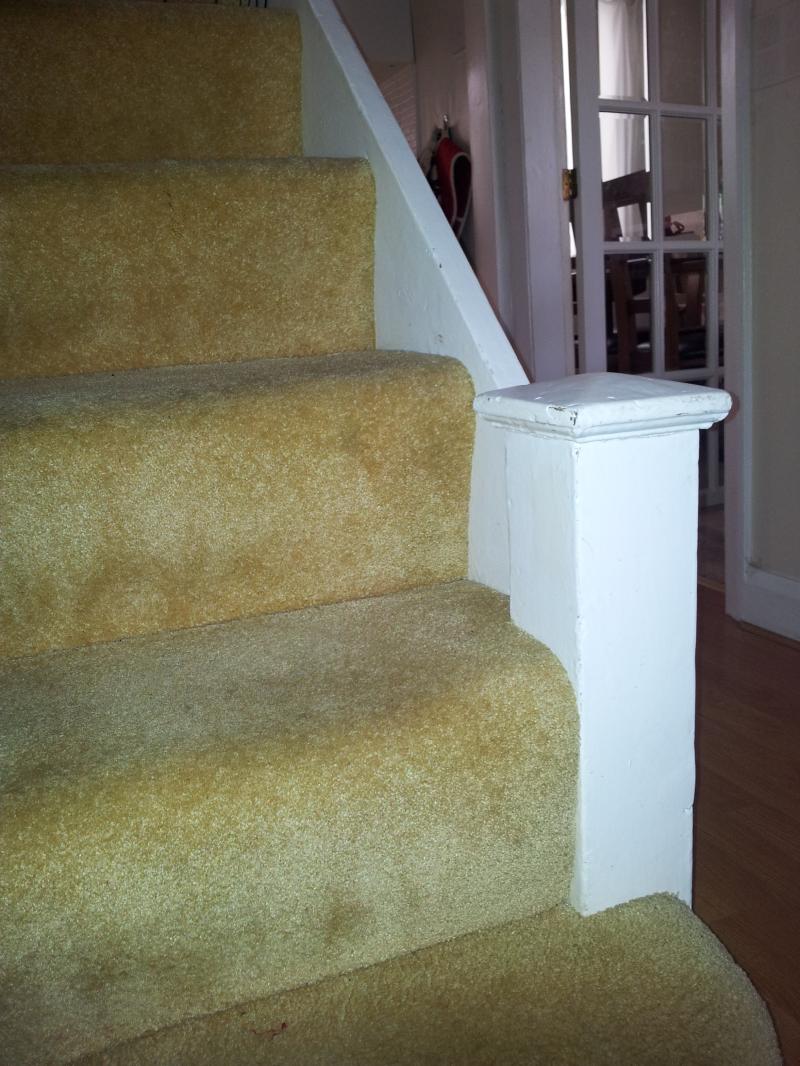
Marking out the mortice on the existing newel stump.
Measure the top and divide it into three, continue the three lines down each side of the post to the desired depth, say 100mm. Set the marking gauge to the width of these 1/3rd lines and run the point of the marking gauge up to post, across the top and down the other side. Repeat on the other 1/3rd line. The groove the gauge assists guiding the saw cuts.
With the carpenters square and pencil, square around all four sides at the 100mm depth line. If you mark correctly the end of the line on the fourth face should accurately meet your start point on the first face. If not you are probably not holding the square properly.
Then running the craft knife on the blade edge of the carpenters square, make a cut line on the pencil mark at the bottom of the mortice only, do not cut mark all around the post, only mark the part to be removed. Do this on both sides of the newel. This will aid your getting the mortice bottom square and flat.

Cutting out the mortice.
From one side only, cut at 45deg down the gauge mark to the knife cut at the 100mm depth, but do not try to saw right through and down the other side, keep the saw at 45deg so that the saw teeth stay on top of the newel. Then move around to the other side and repeat the 45deg cut down to the 100mm line. Only when you have done this on both sides do you bring the saw level and cut down the newel. The saw will follow the first 45deg cut and you should get a lovely straight cut.

Repeat the cut process on the other marked line.

If you have a multi-tool use the oscillating saw blade to cut in from both sides on the knife marked line to remove the mortice.

If not, use the panel saw again and make three or four more vertical cuts down to the 100mm depth, but these cuts do not need to be so accurate. Then with a sharp chisel on the knife mark points chop into the newel sides to remove the timber. Light chops into the side, followed by chiselling down from above, little by little is better than trying to do it all in one go.

Marking out the tenon.
With your marking gauge (which should still be set) gauge mark the new newel across the end and up the sides on both sides to the 100mm point. Use the carpenter square and square around at the 100mm and knife mark the two tenon cheeks hat are to be removed.

Golden rule, cut down the tenon cheeks (as before, 45deg in from each side first and then saw horizontally)before cutting in through the sides because if you cut too deep into the tenon sides, you weaken the tenon but problem wont happen if you have already cut down the sides of the tenon. The sharp panel saw is best for the vertical cuts but a fine toothed tenon saw is best for crosscutting the tenon cheeks.

Best glue? I would go with Axminster’s titebond111 ultimate. There are others, but that is easy to get online at £6.80 for a 237ml bottle.
 

DIYnot Local

Staff member

If you need to find a tradesperson to get your job done, please try our local search below, or if you are doing it yourself you can find suppliers local to you.

Select the supplier or trade you require, enter your location to begin your search.


Are you a trade or supplier? You can create your listing free at DIYnot Local

 
Back
Top