

First post this but I had to share this job with you as it was all done using previous advice give by this site, so keep up the good work gents you have all been life savers.
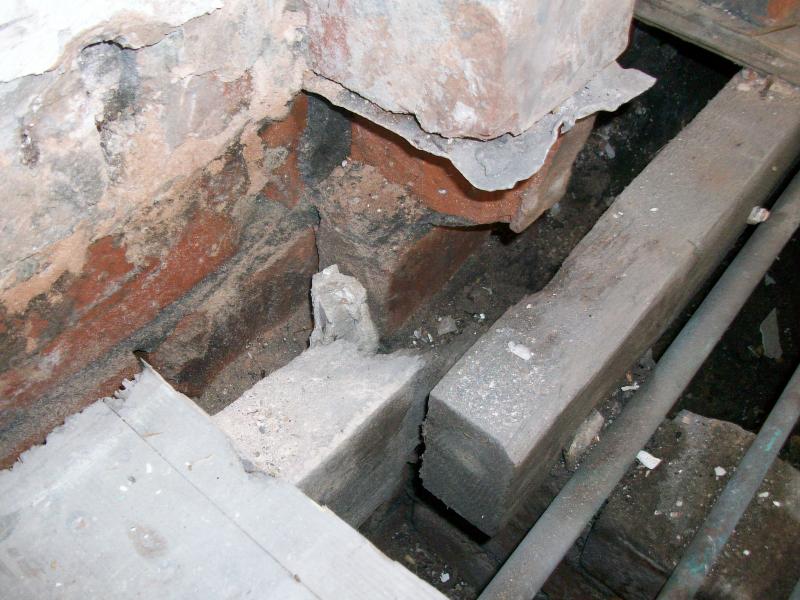
I recently bought a 1930's semi repossesion as a "little" project to move into. It has 2 extensions side and rear. In building the extensions they blocked off all the air bricks, hence no air flow under the wooden suspended floor.
As you can all imagine the joyst were in a bad state. But lots of reseach on DIY not and a lot of swearing i'm nearly there. Still not finished but will post further pictures when done.
[net]205009/63359_62095833.jpg[/net
]
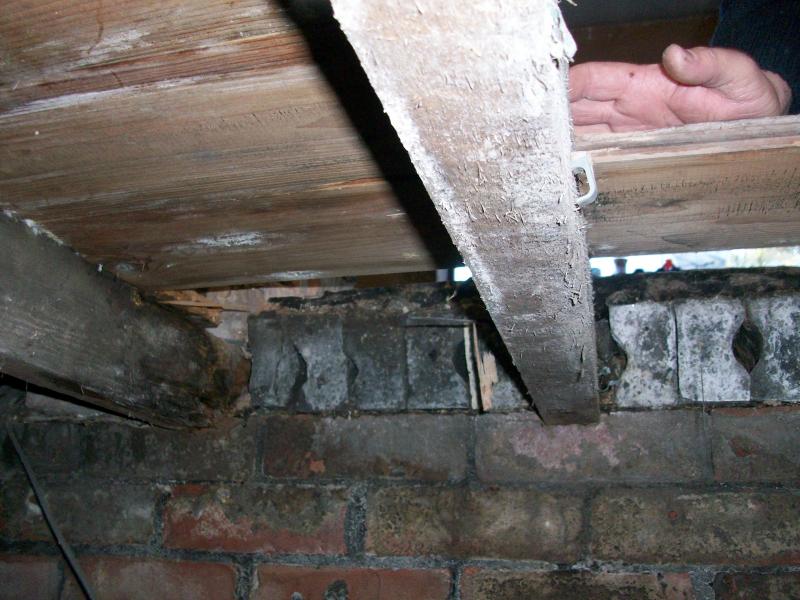
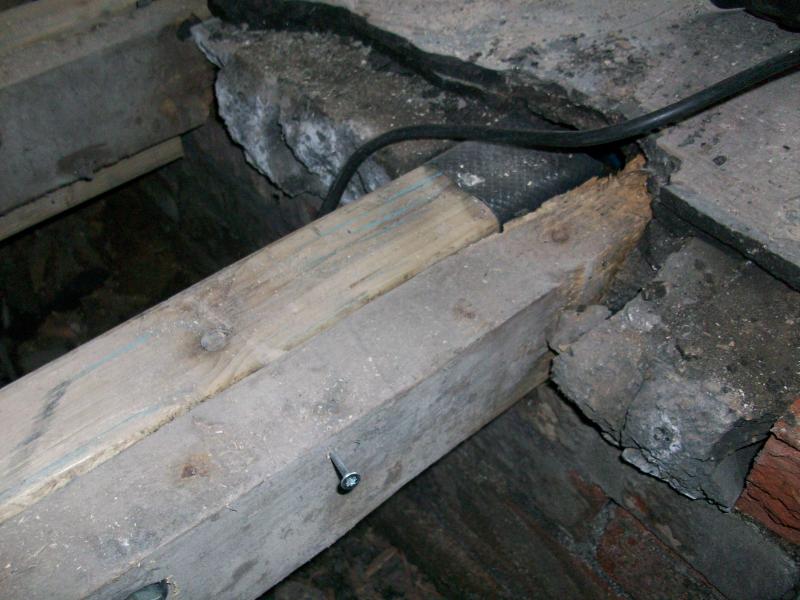
Basically had to sister the existing joyst's. It was either that or concrete the whole lot, but the floor depth was too much. Then to solve the problem of no air flow. I cut 2 channels through the extention floor and dug out using a hired jack hammer (tried with the sledge hammer but gave up straight away). Then I installed 2 telescopic vents with 4 inch pipe staight through and under the existing wooden floor and filled in with concrete (with DPC). Fitted the airbricks ouside and filled in missing brick work.
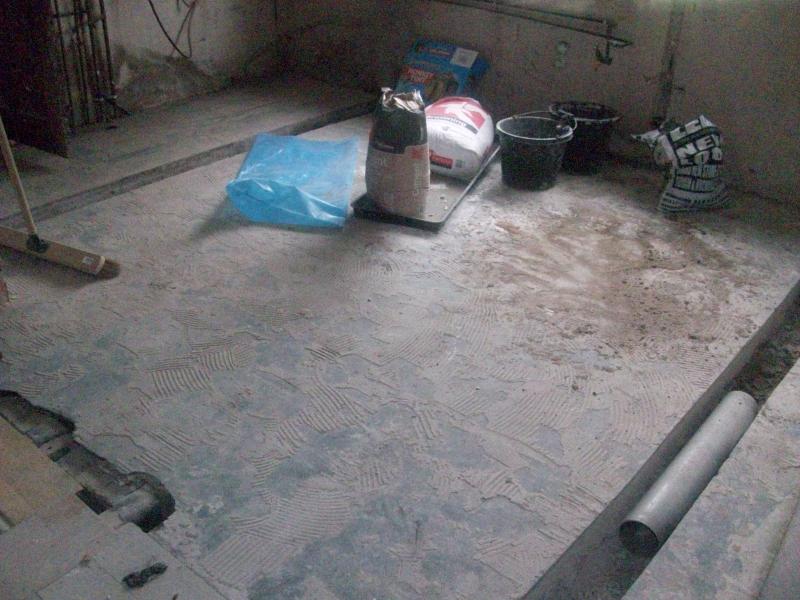
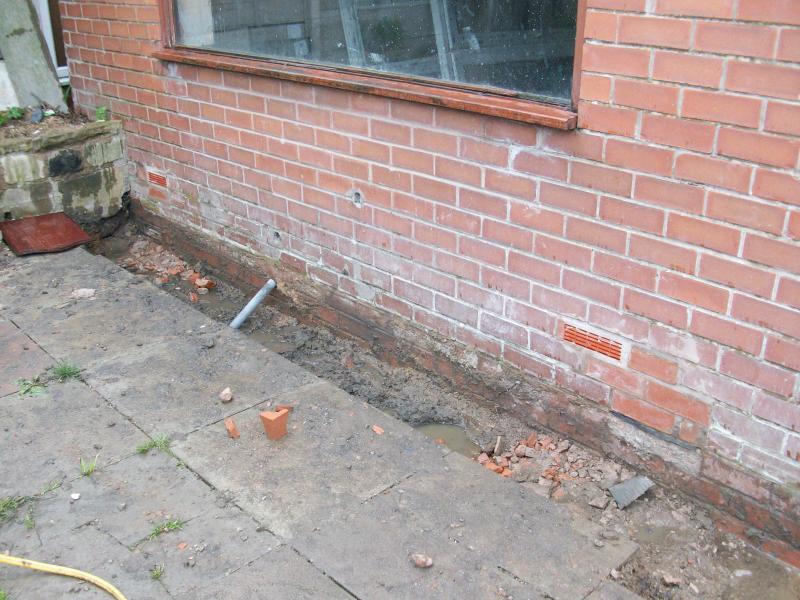
As you can see from the last picture the whole of the outside floor level is too high. On level with DPC and needs diggin down 3 bricks depth. Thats a job for when we get some prpoer sun though
Any way folks. Thanks for a top site with great advice. Will be adding more albums and topics as i progress. whole house to do.[/net]
I recently bought a 1930's semi repossesion as a "little" project to move into. It has 2 extensions side and rear. In building the extensions they blocked off all the air bricks, hence no air flow under the wooden suspended floor.
As you can all imagine the joyst were in a bad state. But lots of reseach on DIY not and a lot of swearing i'm nearly there. Still not finished but will post further pictures when done.
[net]205009/63359_62095833.jpg[/net
]


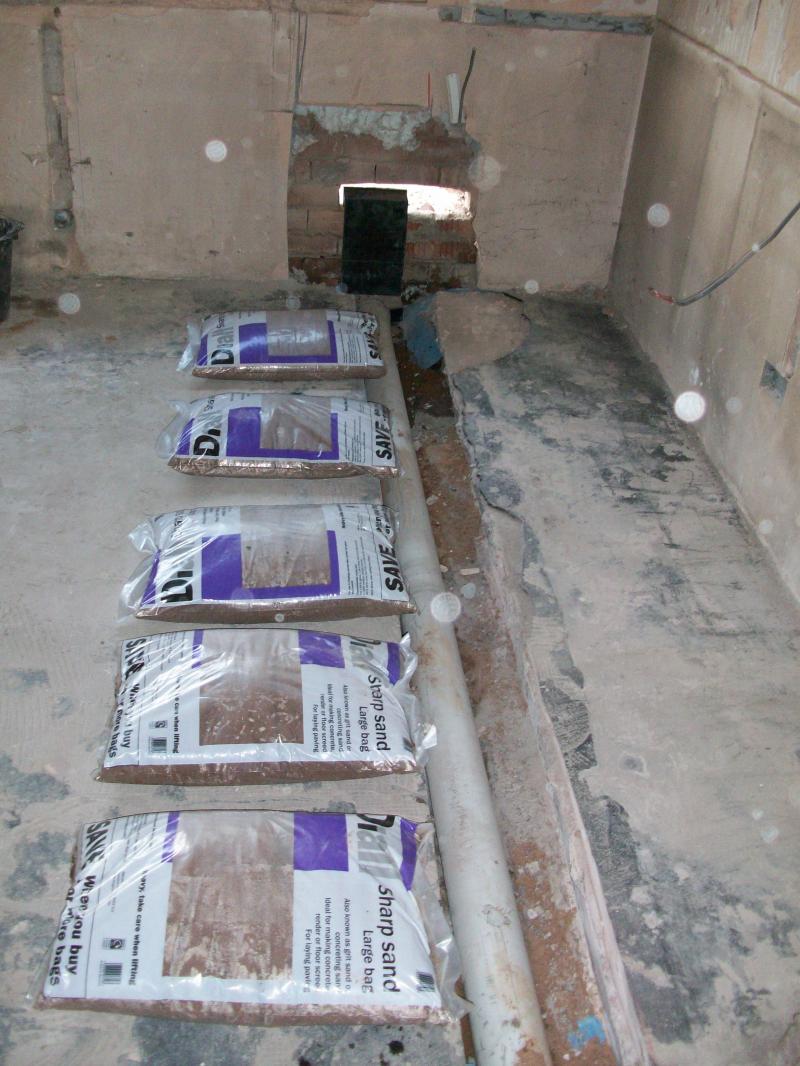

Basically had to sister the existing joyst's. It was either that or concrete the whole lot, but the floor depth was too much. Then to solve the problem of no air flow. I cut 2 channels through the extention floor and dug out using a hired jack hammer (tried with the sledge hammer but gave up straight away). Then I installed 2 telescopic vents with 4 inch pipe staight through and under the existing wooden floor and filled in with concrete (with DPC). Fitted the airbricks ouside and filled in missing brick work.
As you can see from the last picture the whole of the outside floor level is too high. On level with DPC and needs diggin down 3 bricks depth. Thats a job for when we get some prpoer sun though
Any way folks. Thanks for a top site with great advice. Will be adding more albums and topics as i progress. whole house to do.[/net]