

Hello all,
Couldn't find a previous post on this - so hopefully no duplication!
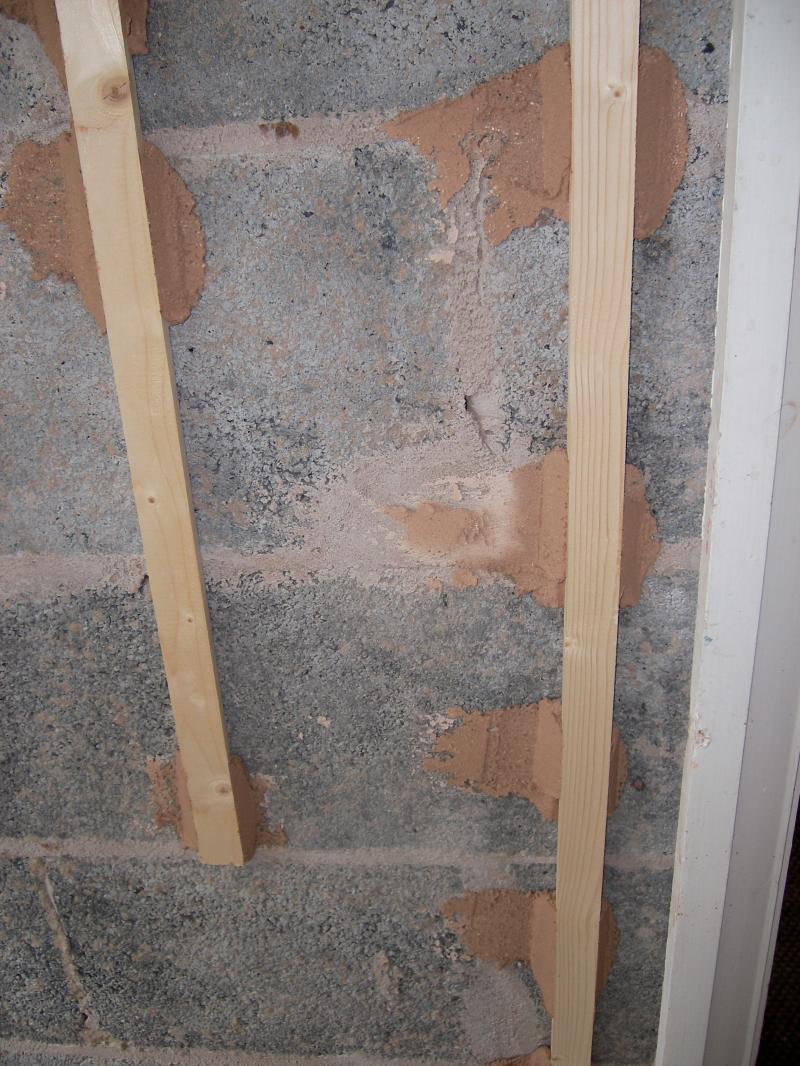
 Do the pros/experienced plasterers use battens as a guide when rendering or floating with backing plasters?
They take a bit of time to set up and I personally struggle a bit getting the bug*ers out and making good.
Was wondering if you guys manage without.
TIA
Couldn't find a previous post on this - so hopefully no duplication!
Do the pros/experienced plasterers use battens as a guide when rendering or floating with backing plasters? They take a bit of time to set up and I personally struggle a bit getting the bug*ers out and making good.
Was wondering if you guys manage without.
TIA

 - are laths small strips of wood (typically ~10mm thick) ?

")


")