- Most noticeable in the summer where the house can be relatively cool during a hot summers day but then at night the heat seems build up to become uncomfortable
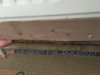
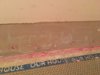
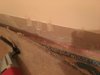
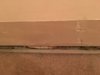
- Black marking on carpet edges, presumably where air flows around carpet edges to skirting boards
- Noise travels between floors readily
- Lots of airflow within dot and dab drywall, behind sockets etc.
- Drywalls are open to loft
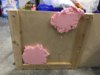
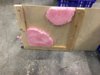
- Anything involving Artex is giving up, taping, coving etc. I thought it was because when the house was built it was in winter so did not dry off properly but I’m beginning to think it is down to damp airflow?
- House built 1999/2000
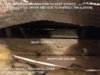
- Insulated cavity wall with weep vents at first floor level
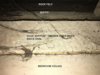
- Open cavity end to loft space
- Pretty sure there are no cavity closures around any of the windows
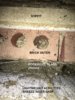
- Pretty sure floor joists are supported through the internal cavity wall so will have dried out and shrunk creating air paths
What has got me thinking about it all has been researching a potential garden office and the various build techniques.
TIA.
")