

Hi,
I am looking to install this shower and tray in a bathroom that I am refurbishing.
 victoriaplum.com
I'll be replacing the sink and toilet too, but I am keen to get the shower installed first.
The rough dimensions of the shower tray are marked out on the floor in duct tape, and the location of the shower drain is marked with the star on the piece of paper.
The black line of tape, in the centre of the photo, indicates the planned location of the new shower unit.
I will be removing the floorboards in the shower area and replacing with a single piece of 18mm marine ply.
As you can see there is a long waste pipe (outside diameter 36mm) for the sink, which has been run through the joists, and which connects to a perpendicular 42mm pipe which runs to the soil stack. There is also a 42mm waste, which was installed above the joists, for the old bath.
I originally hoped to tee the shower waste to the long pipe, but 36mm is undersized. I could still tee to it, but would have to expand the pipe to 42mm downstream of the tee.
Attaching it to the old bath waste, will either involve cutting into the joist, or raising the height of the floor under the shower, to accommodate the pipe above the joist. I would not be attaching to the 42mm pipe at the current height but would be looking to run a new 42mm pipe as close to the top of the joist as possible, and connecting to the vertical section of the 42mm pipe. I suspect that I will need to place minimum 50mm timbers across the joists and then the ply above that, to give me a sufficient drop to the vertical waste.
I have also included a shot which shows that all of the cables from the consumer unit enter the house right next to the area around the pipes, which would complicate running brand new pipes in that area.
I have a few questions that I am hoping to get some advice on, please.
1) Is raising the floor and connecting to the existing 42mm vertical waste the best option, or should I tee into the 36mm pipe, expanding it to 42mm downstream of the tee?
2) The tray is 1400x800. If I raise the floor, should I create a raised area which is exactly that size or should I go larger?
3) Can I and should I install the tray rotated 180 degree so that the waste is in the location of the orange spot?
Any advice on the above and any other thoughts would be much appreciated.


I am looking to install this shower and tray in a bathroom that I am refurbishing.
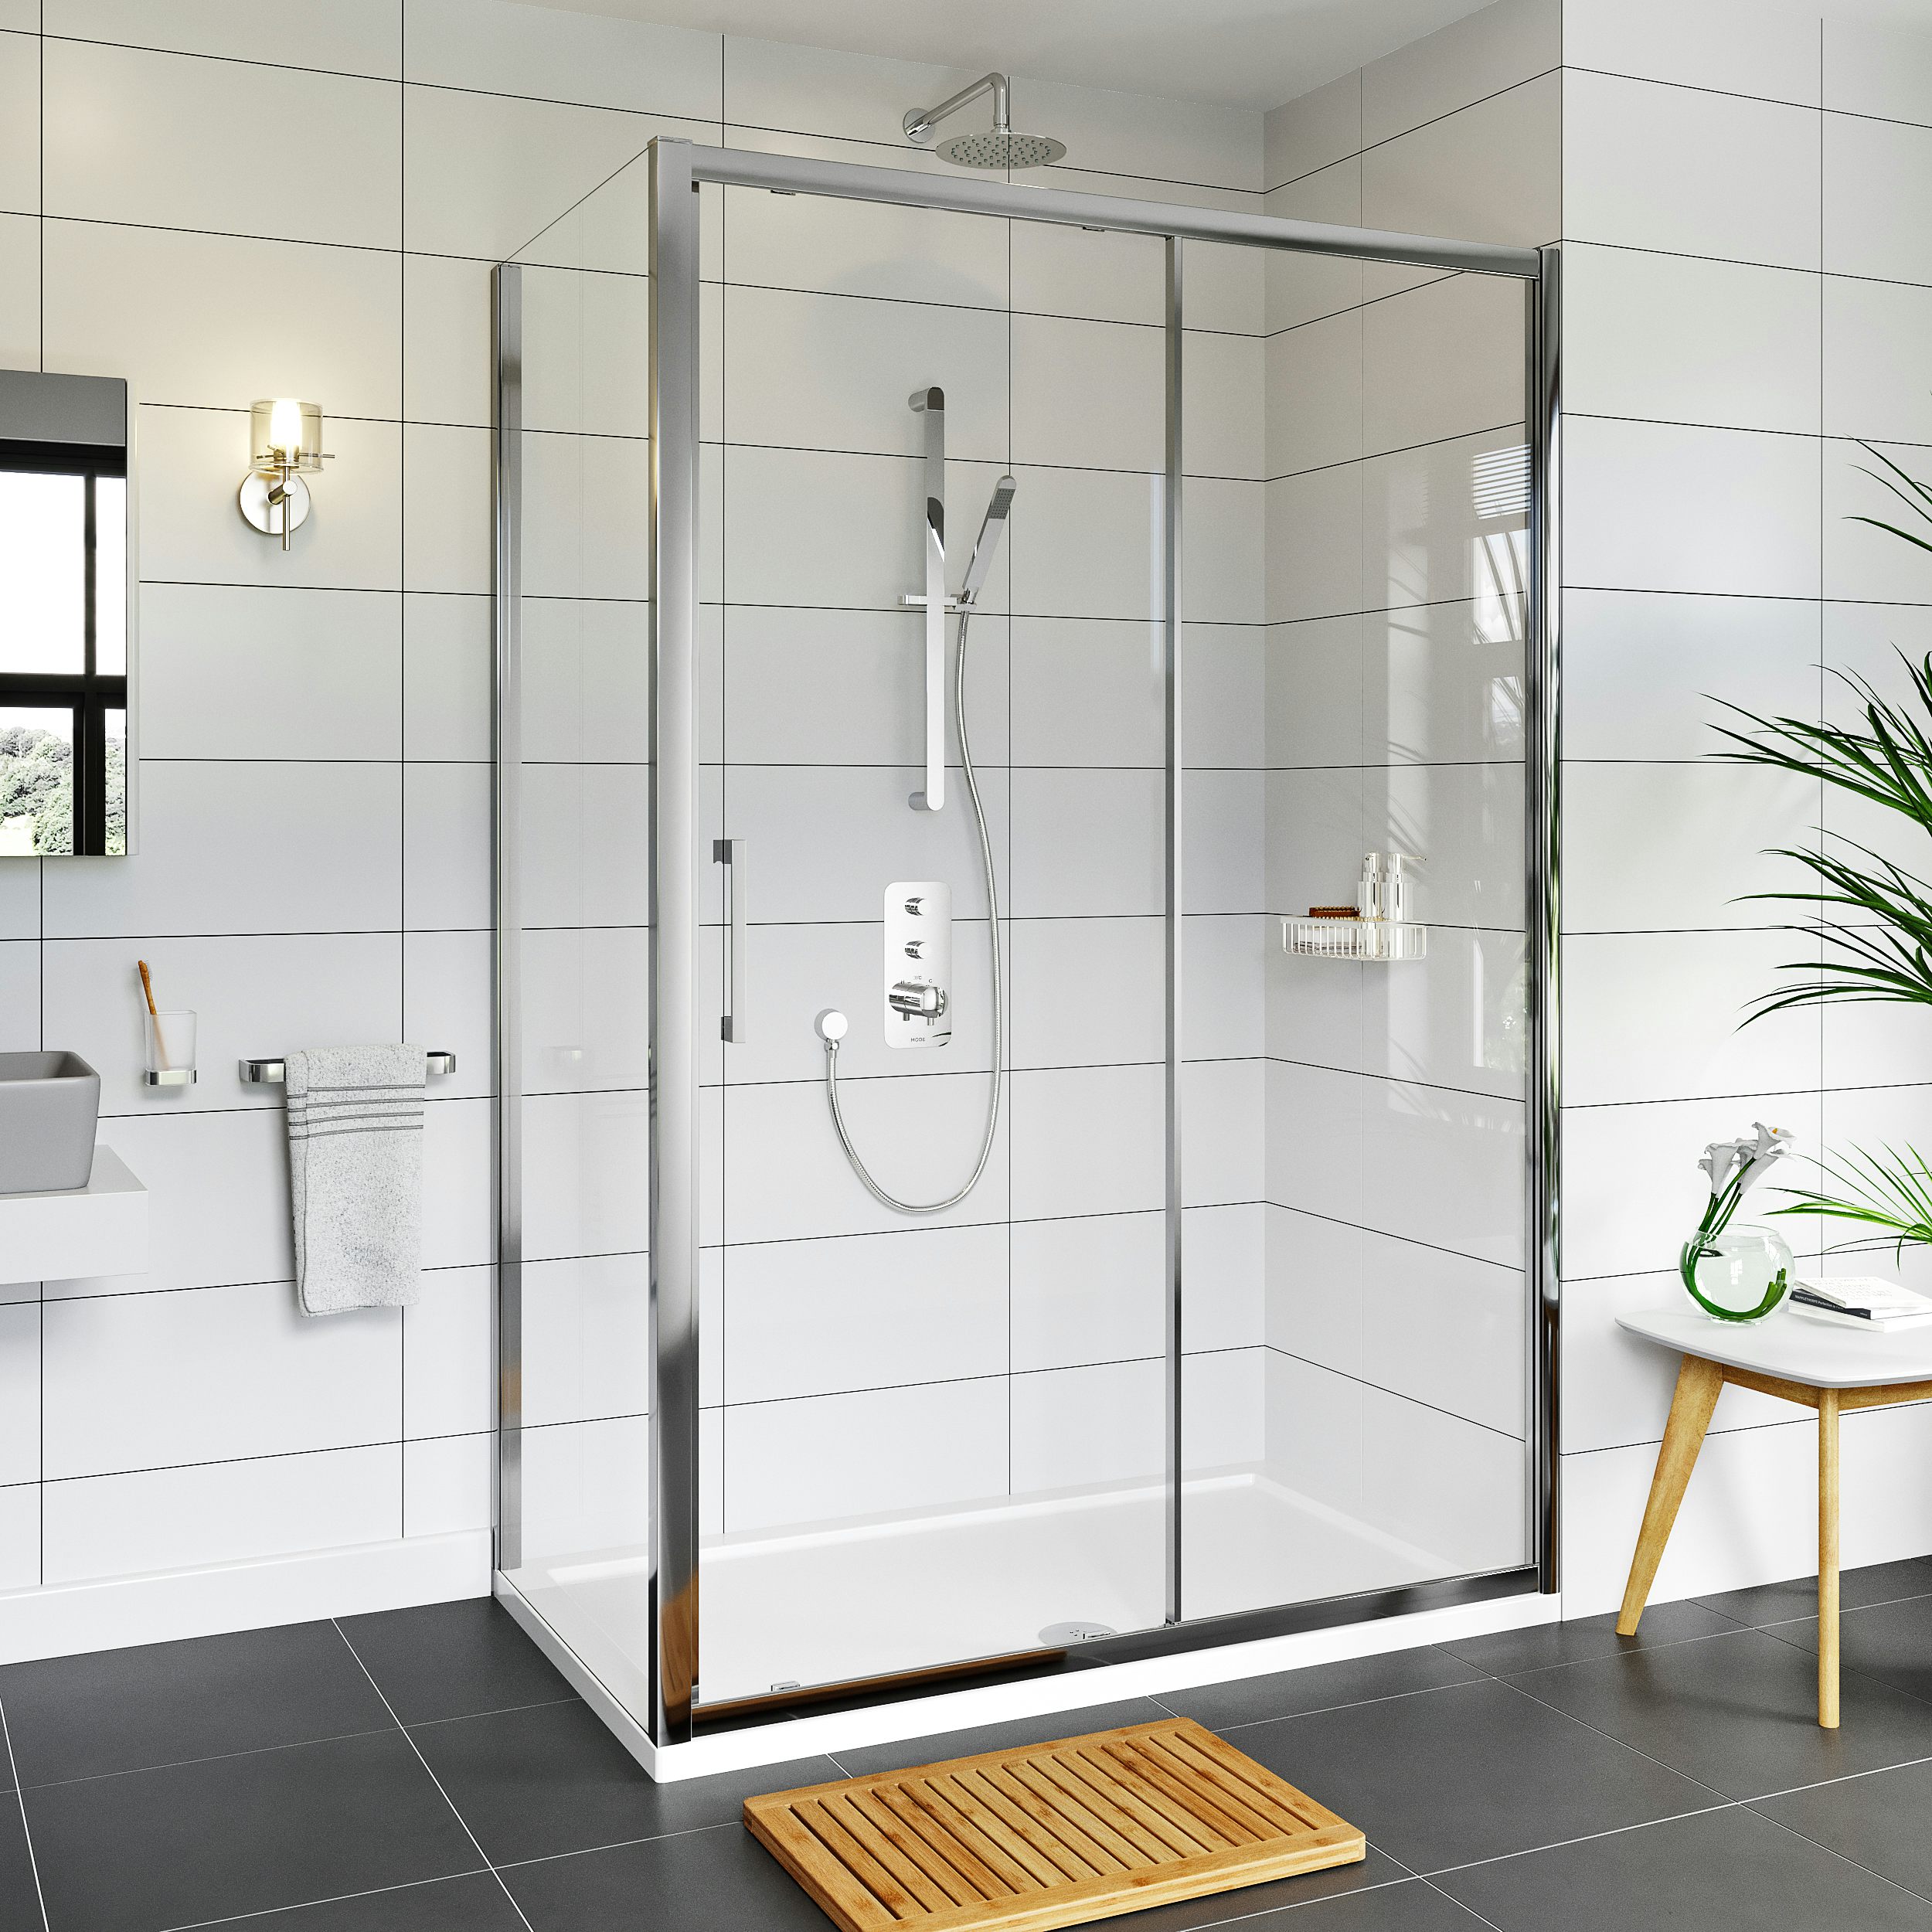
Mode Hardy 8mm easy clean shower enclosure and stone shower tray
Click here to read more about the Mode Hardy 8mm easy clean shower enclosure and stone shower tray from Victoria Plum.
victoriaplum.com
I'll be replacing the sink and toilet too, but I am keen to get the shower installed first.
The rough dimensions of the shower tray are marked out on the floor in duct tape, and the location of the shower drain is marked with the star on the piece of paper.
The black line of tape, in the centre of the photo, indicates the planned location of the new shower unit.
I will be removing the floorboards in the shower area and replacing with a single piece of 18mm marine ply.
As you can see there is a long waste pipe (outside diameter 36mm) for the sink, which has been run through the joists, and which connects to a perpendicular 42mm pipe which runs to the soil stack. There is also a 42mm waste, which was installed above the joists, for the old bath.
I originally hoped to tee the shower waste to the long pipe, but 36mm is undersized. I could still tee to it, but would have to expand the pipe to 42mm downstream of the tee.
Attaching it to the old bath waste, will either involve cutting into the joist, or raising the height of the floor under the shower, to accommodate the pipe above the joist. I would not be attaching to the 42mm pipe at the current height but would be looking to run a new 42mm pipe as close to the top of the joist as possible, and connecting to the vertical section of the 42mm pipe. I suspect that I will need to place minimum 50mm timbers across the joists and then the ply above that, to give me a sufficient drop to the vertical waste.
I have also included a shot which shows that all of the cables from the consumer unit enter the house right next to the area around the pipes, which would complicate running brand new pipes in that area.
I have a few questions that I am hoping to get some advice on, please.
1) Is raising the floor and connecting to the existing 42mm vertical waste the best option, or should I tee into the 36mm pipe, expanding it to 42mm downstream of the tee?
2) The tray is 1400x800. If I raise the floor, should I create a raised area which is exactly that size or should I go larger?
3) Can I and should I install the tray rotated 180 degree so that the waste is in the location of the orange spot?
Any advice on the above and any other thoughts would be much appreciated.


")