Hi all. I’m new to DIY-not but have been reading for a little while and have seen some excellent advice on here so glad I joined. My first post was on the thread about Focus going into administration. Our initial fears about losing the kitchen we ordered and not seeing our money back were relieved when the kitchen turned up last Saturday.
We started work straight away so I thought I’d share the project on here. It’s probably going to be slow progress compared to a lot of projects on here, mainly because I work full time so only have evenings and weekends to get stuck in along with trying to spend time with my family, but also because I’m relatively new to DIY, I’ve done the odd bit here and there but this is by far the biggest thing I’ve taken on myself.
I’d like to do as much of it as possible myself to save money and gain experience but with certain things like the electrics and gas I’ll obviously have to get someone in. Luckily our next door neighbour is an electrician.
A bit of background, we moved from Birmingham to Devon and recently moved into this lovely 1897 terraced house. It’s had a new bathroom fitted and in general is in pretty good nick with a few little things that needed sorting straight away (leaky bathroom sink & decorate our little girls bedroom). It’s a two bed with room for expansion into the loft and at the rear eventually.
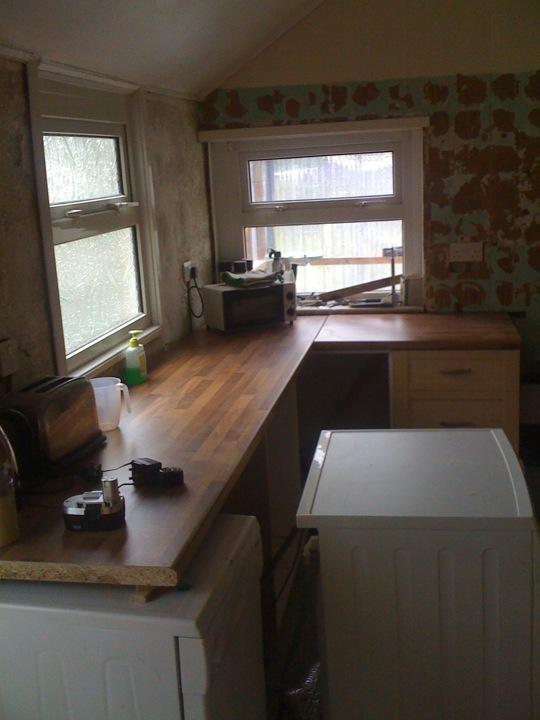
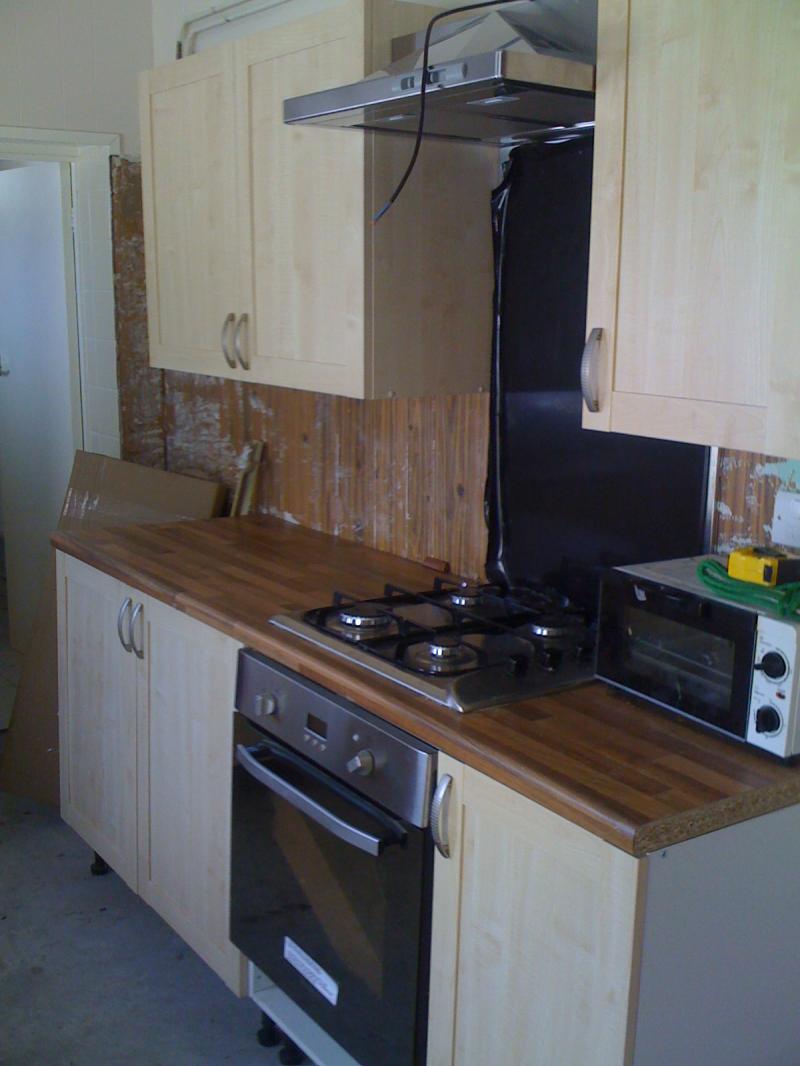
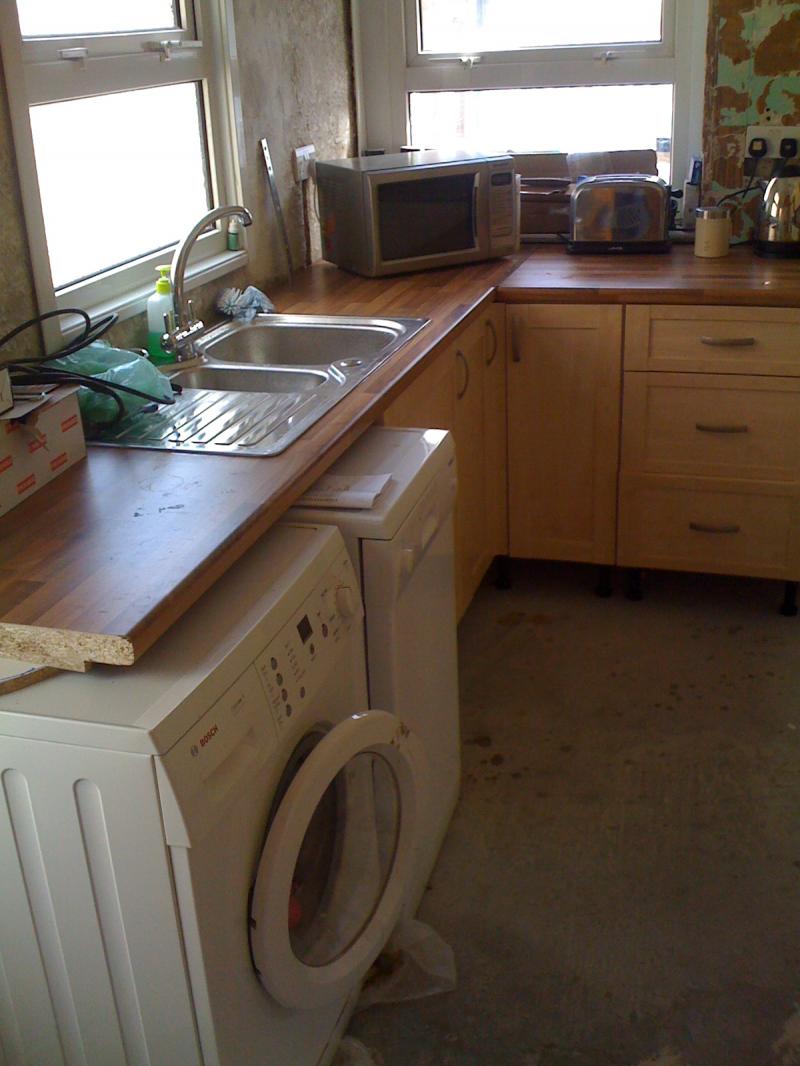
So this was the kitchen on the estate agents advert.
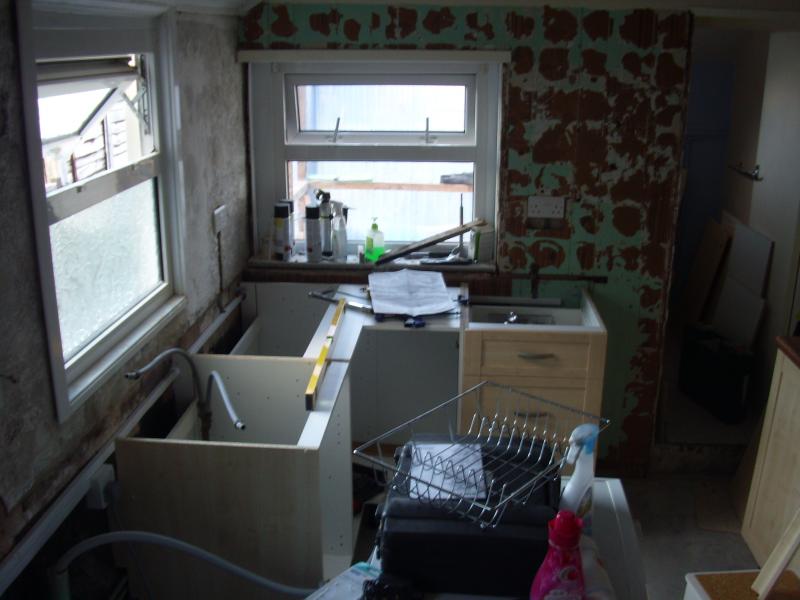
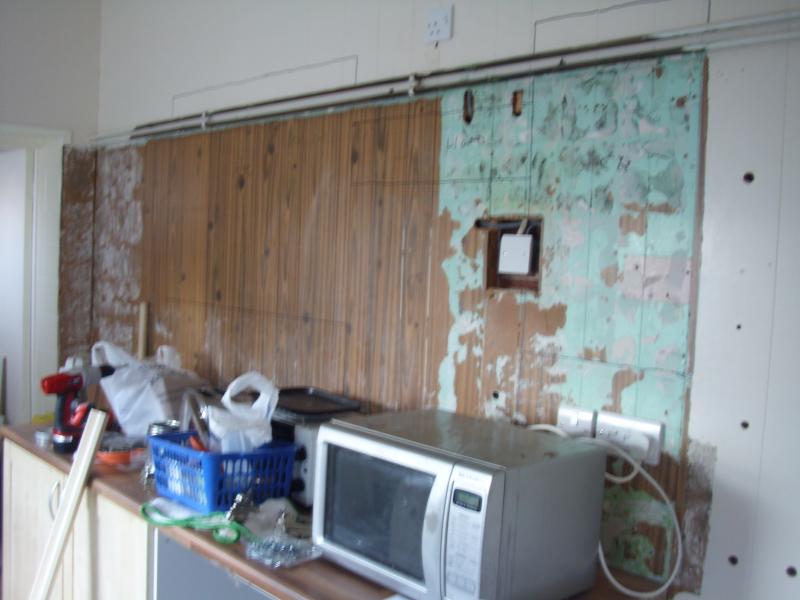
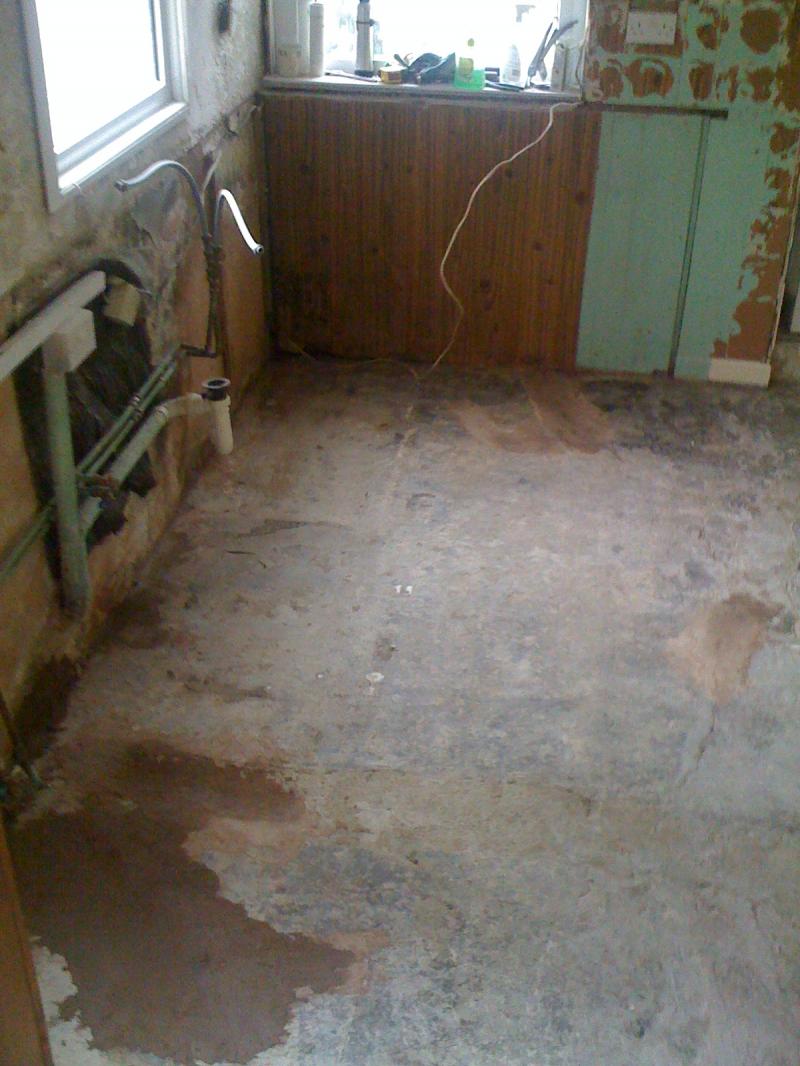
And this was it last Saturday after having fun with my new Bosch-2900-FRE on rotary stop.
Floor tiles came up dead easy.
Tile adhesive not so easy. Strangely enough, I actually had better results getting it up with a 5lb lump hammer and bolster chisel, the SDS dug in a bit but the bolster sort of lifted it off.
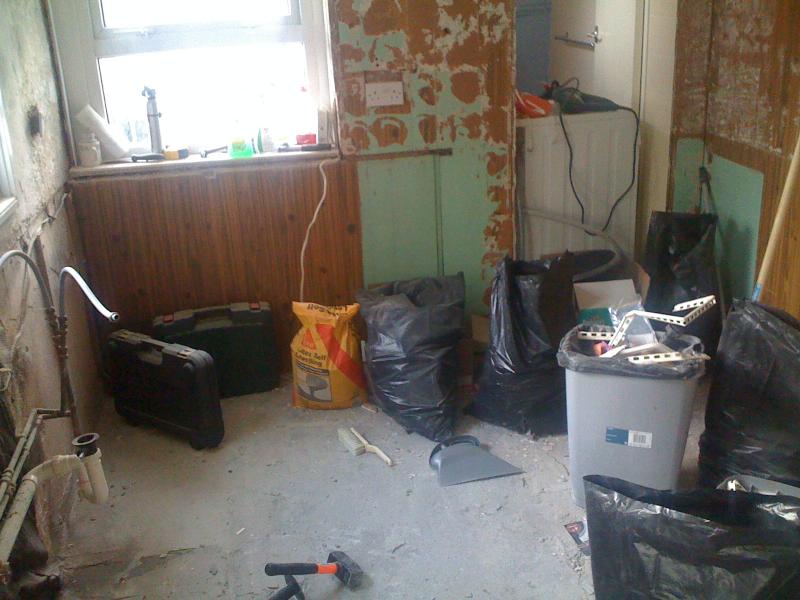
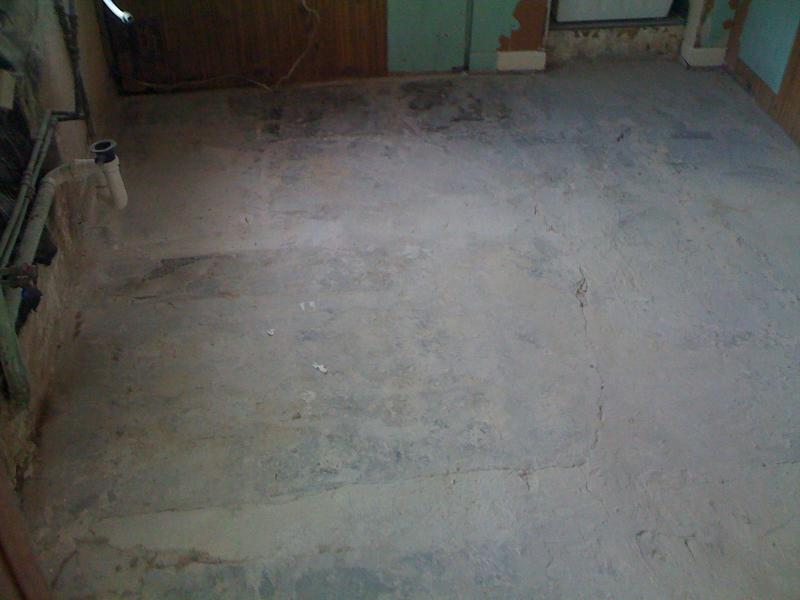
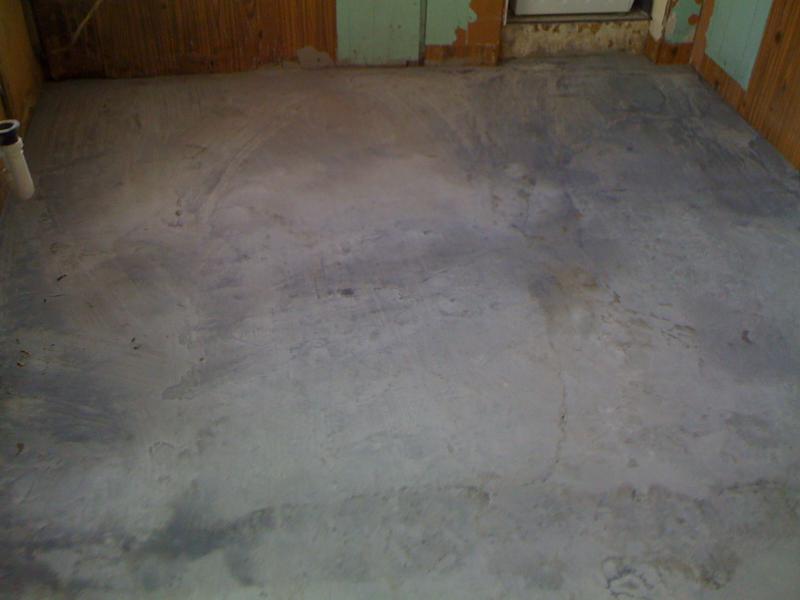
So this is the floor as it looks this morning, tonights job is to get the very last of the adhesive up around the door and any other high spots I find, give it a good sweep and mop out. Then a layer (or two?) of PVA.
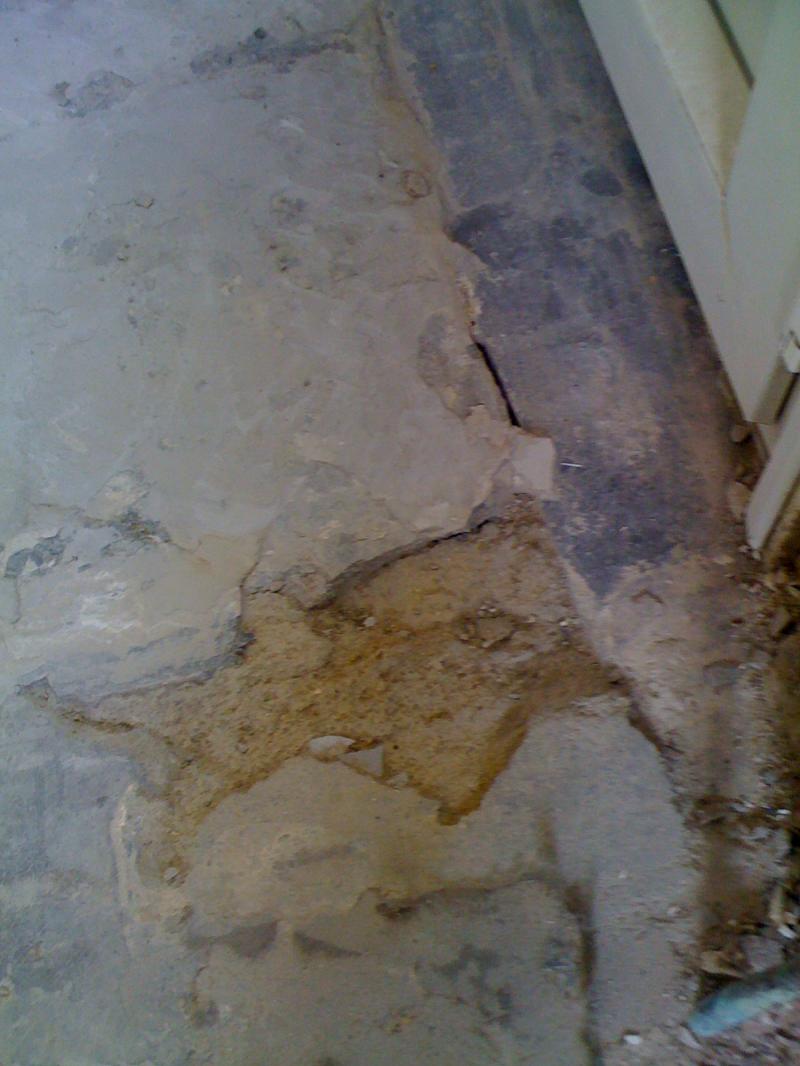
I’ve bought some Sika latex self levelling compound to level the floor out as we want to put vinyl flooring down, I haven’t used SLC before so there’s a bit of trepidation but before I actually get that far I need to do something about the holes I’ve uncovered near the door. I’m guessing the SLC isn’t designed to fill this sort of thing as it’s loose and a bit crumbly. I’m thinking it may worth be applying PVA and then using something like Hanson Sand and Cement Mortar in there. That’s about a fiver for 25kg in B&Q.
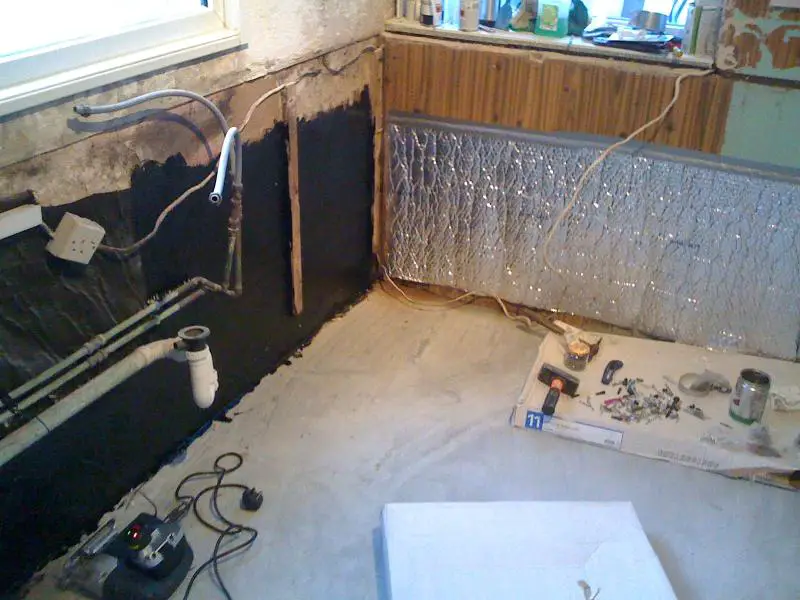
I also want to PVA the left hand wall where the crumbly old DPC sheeting was and paint it with Everbuild 901 bitumen paint. I’ve also bought some B&Q insulation roll which is plastic one side and silver the other. There’s only one baton on the wall so I’m thinking I might be able to bond it on.
Regarding my thoughts above, I’ve asked direct questions in the appropriate forums about the best course of action, as I understand I need to keep this thread to updates and photos.
Any hints and tips appreciated. Thanks.
We started work straight away so I thought I’d share the project on here. It’s probably going to be slow progress compared to a lot of projects on here, mainly because I work full time so only have evenings and weekends to get stuck in along with trying to spend time with my family, but also because I’m relatively new to DIY, I’ve done the odd bit here and there but this is by far the biggest thing I’ve taken on myself.
I’d like to do as much of it as possible myself to save money and gain experience but with certain things like the electrics and gas I’ll obviously have to get someone in. Luckily our next door neighbour is an electrician.
A bit of background, we moved from Birmingham to Devon and recently moved into this lovely 1897 terraced house. It’s had a new bathroom fitted and in general is in pretty good nick with a few little things that needed sorting straight away (leaky bathroom sink & decorate our little girls bedroom). It’s a two bed with room for expansion into the loft and at the rear eventually.
So this was the kitchen on the estate agents advert.

And this was it last Saturday after having fun with my new Bosch-2900-FRE on rotary stop.
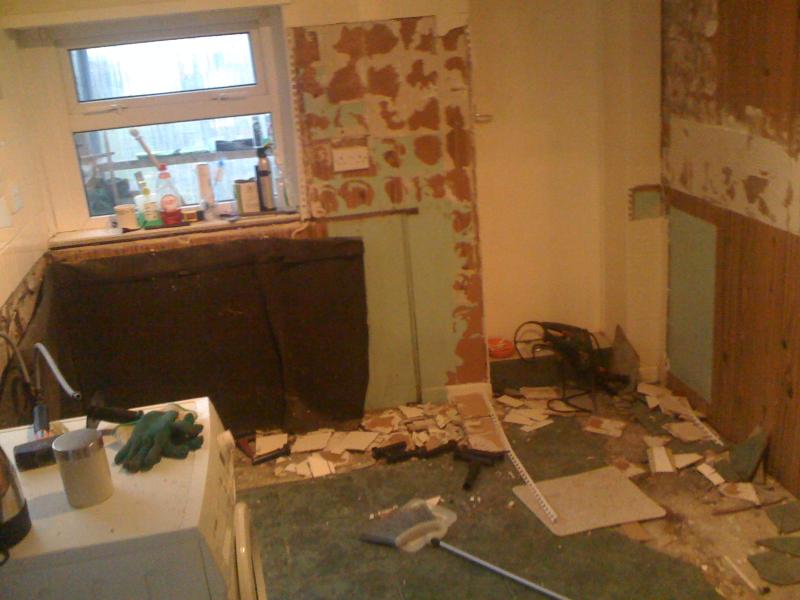
Floor tiles came up dead easy.
Tile adhesive not so easy. Strangely enough, I actually had better results getting it up with a 5lb lump hammer and bolster chisel, the SDS dug in a bit but the bolster sort of lifted it off.
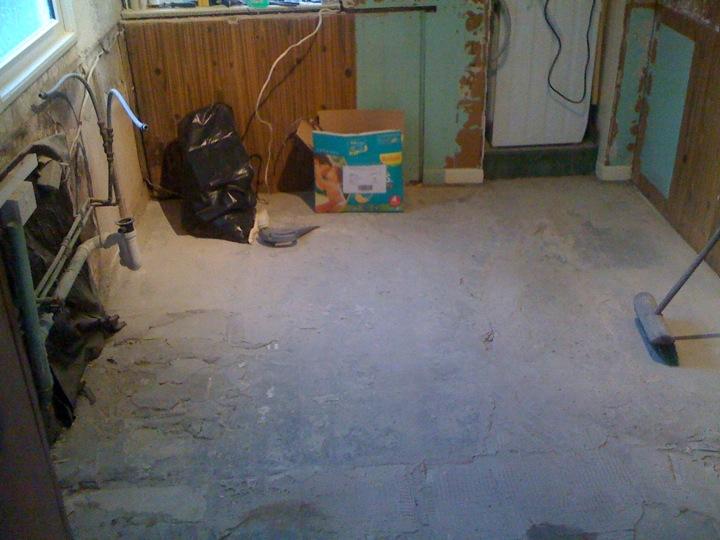
So this is the floor as it looks this morning, tonights job is to get the very last of the adhesive up around the door and any other high spots I find, give it a good sweep and mop out. Then a layer (or two?) of PVA.
I’ve bought some Sika latex self levelling compound to level the floor out as we want to put vinyl flooring down, I haven’t used SLC before so there’s a bit of trepidation but before I actually get that far I need to do something about the holes I’ve uncovered near the door. I’m guessing the SLC isn’t designed to fill this sort of thing as it’s loose and a bit crumbly. I’m thinking it may worth be applying PVA and then using something like Hanson Sand and Cement Mortar in there. That’s about a fiver for 25kg in B&Q.
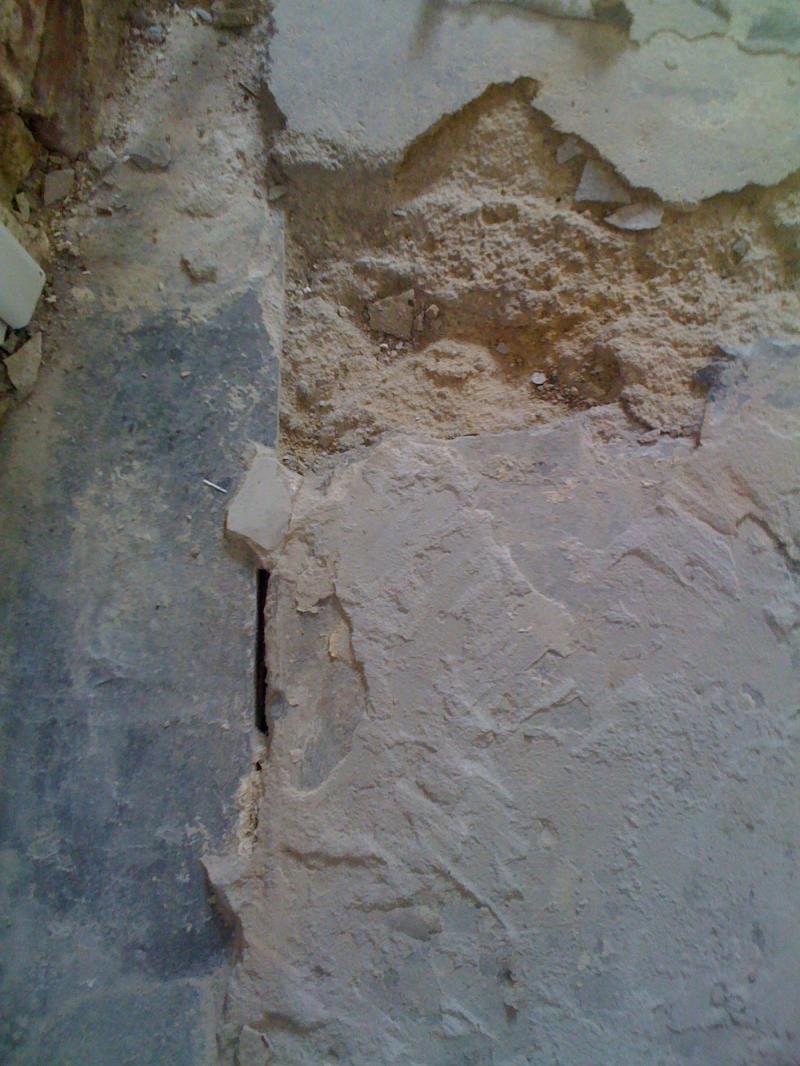
I also want to PVA the left hand wall where the crumbly old DPC sheeting was and paint it with Everbuild 901 bitumen paint. I’ve also bought some B&Q insulation roll which is plastic one side and silver the other. There’s only one baton on the wall so I’m thinking I might be able to bond it on.
Regarding my thoughts above, I’ve asked direct questions in the appropriate forums about the best course of action, as I understand I need to keep this thread to updates and photos.
Any hints and tips appreciated. Thanks.

")