Shower tray gap to wall

Joined
10 Dec 2009
Messages
711
Reaction score
15
Location
Middlesex
Country
United Kingdom
This isn't strictly plumbing but couldn't think where else to put it.

Im building out a frame that will create a recess in which a shower tray will fit into.

The tray will be installed onto a bed of tile adhesive.

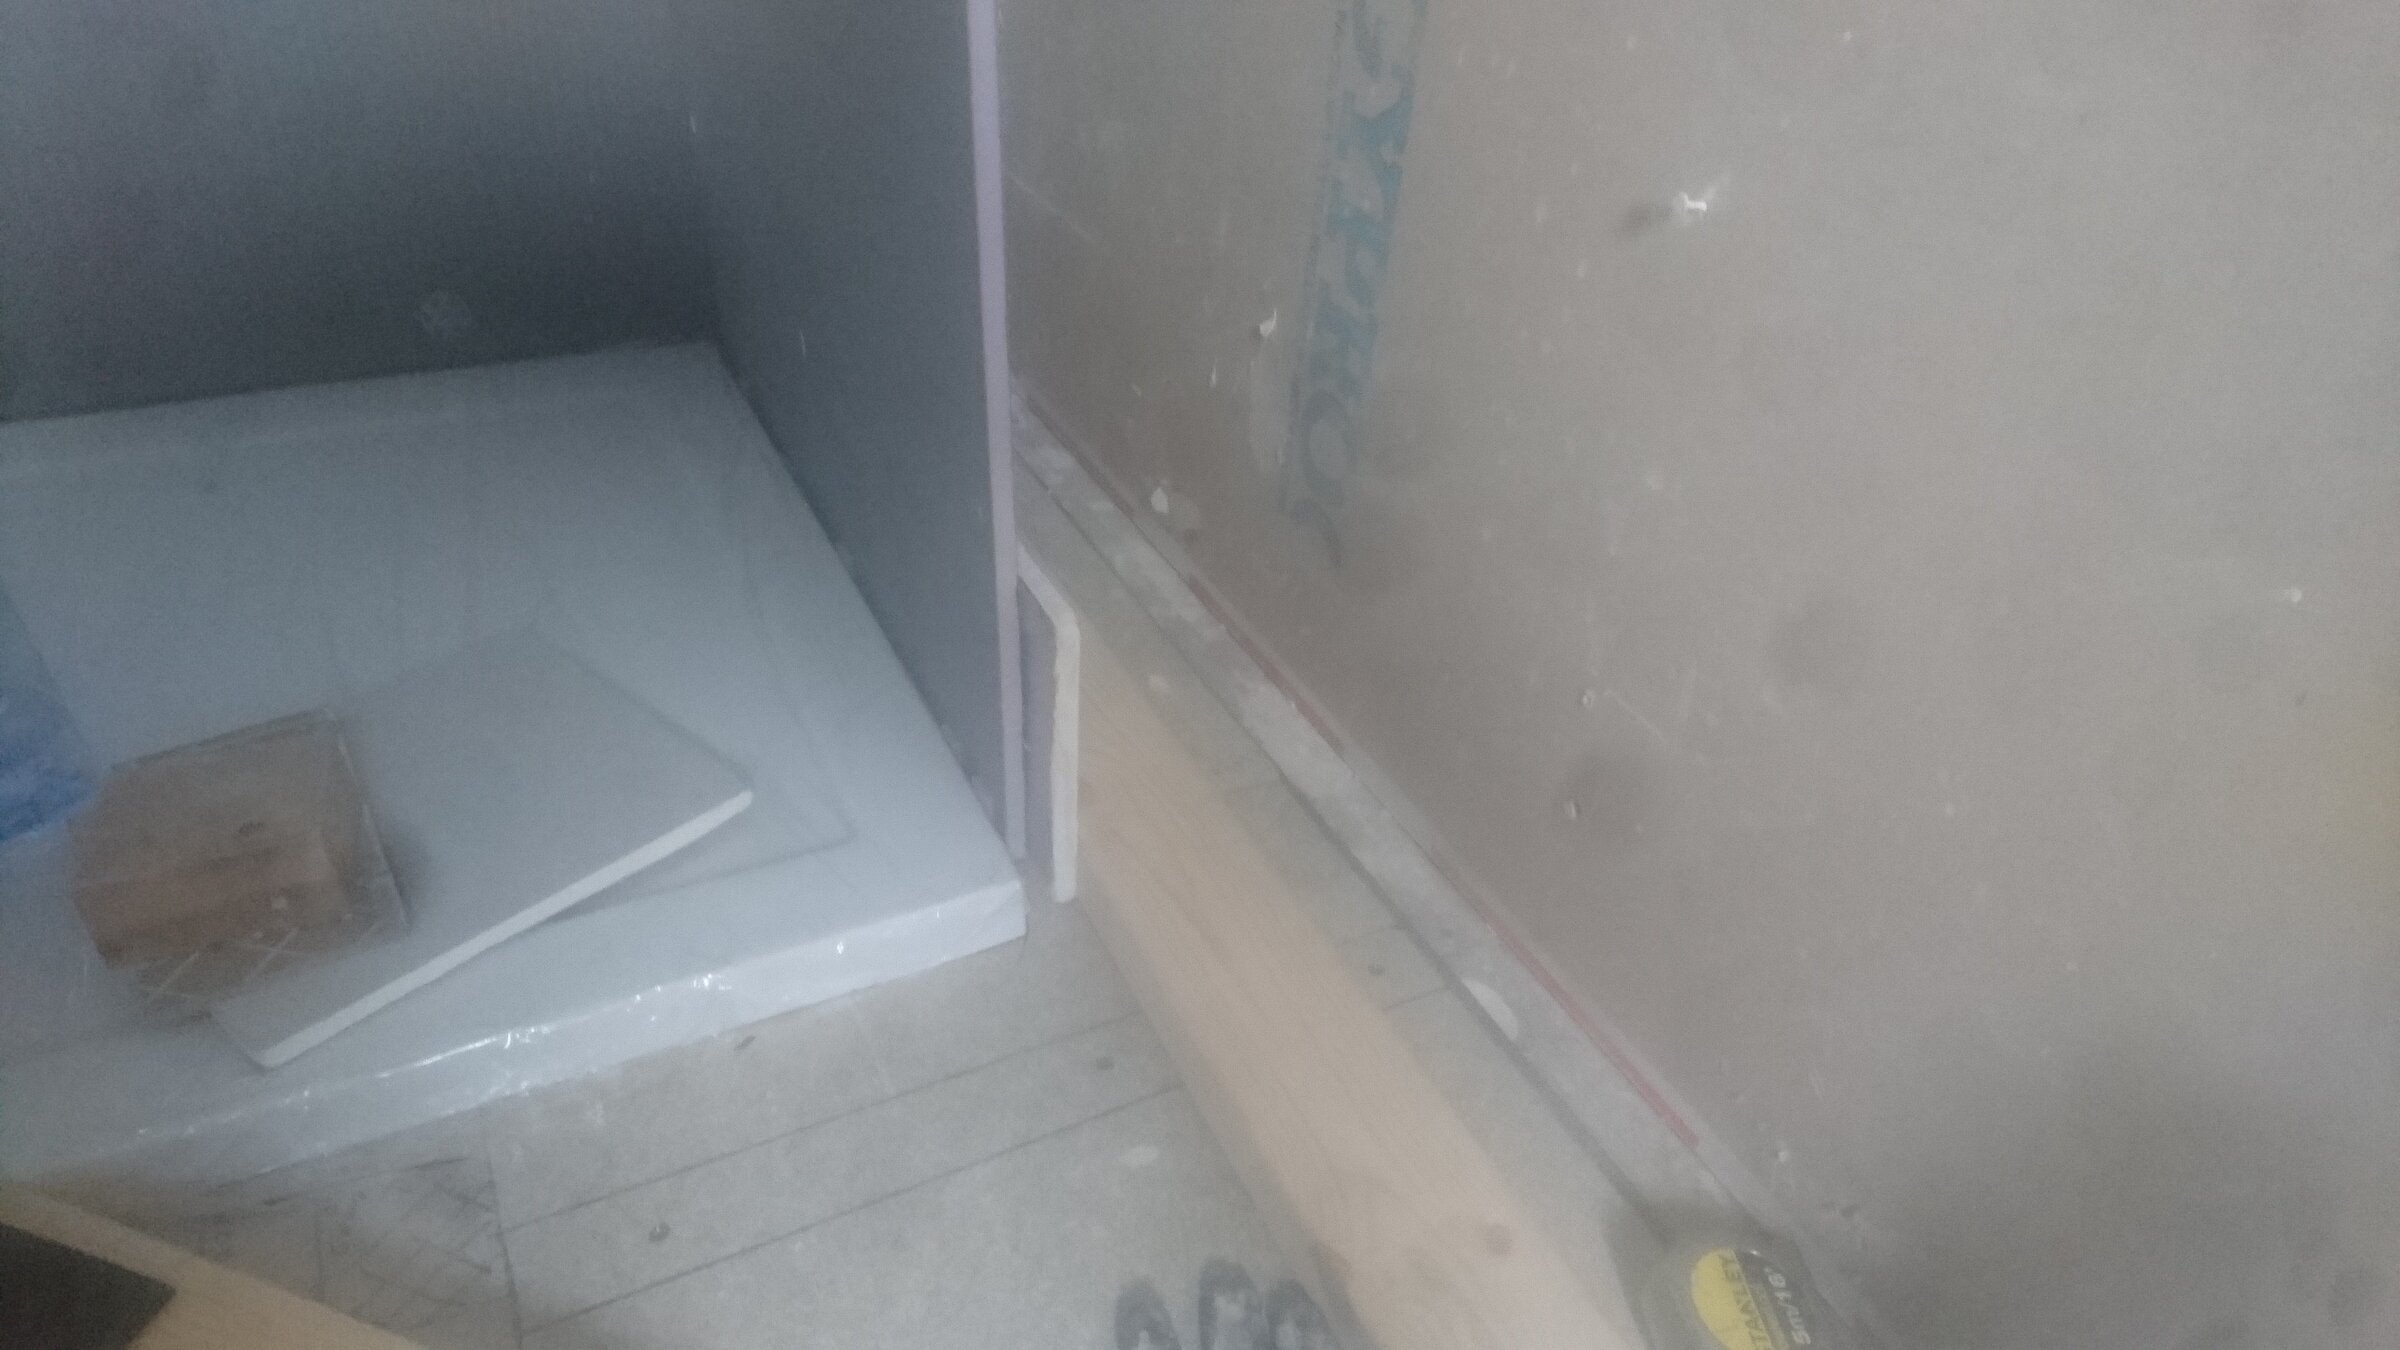
What sort of gap should i leave between the tray and the soon to be wall shown on the right hand side?
I was thinking of getting the gap as small as possible but just enough for me to fit the tray into when it comes time to install.
Then flood the gap with sealant before tiling etc in the pic ive got some 4mm wooden shims in the gap as a test
 
Sponsored Links
Hi,

I think you may be overthinking, due to your use of a frame! :)

If this were any other bathroom, the shower would go flush up against the wall.

If tanking were used, it would overlap the top of the tray and then tiles laid on top.

...so yes, as small a gap as possible and some sealant to flood the gap (and personally I would tank the wall too!).

I hope that helps! :)
 
A couple of mm less than the thickness of the tile/wall covering that you will be putting onto the wall

If tanking were used, it would overlap the top of the tray

Erm wouldn't agree, if tanking is being performed then the whole wet space should be sealed up and tanked before the tray/wall covering goes in. Floor to ceiling or plinth top to ceiling. Then a suitable waterproof strapping or silicone to seal the tray in at all wall edges and at the top edge of the tray.

Overlapping any tanking tape etc onto the tray could easily be compromised with any movement of the tray, seen it happen where the tape was pulled off the wall by tray movement and the water headed down the back and then through the ceiling below, personally I wouldn't want to take that risk.
 
Sponsored Links
Erm wouldn't agree, if tanking is being performed then the whole wet space should be sealed up and tanked before the tray/wall covering goes in. Floor to ceiling or plinth top to ceiling. Then a suitable waterproof strapping or silicone to seal the tray in at all wall edges and at the top edge of the tray.

Overlapping any tanking tape etc onto the tray could easily be compromised with any movement of the tray, seen it happen where the tape was pulled off the wall by tray movement and the water headed down the back and then through the ceiling below, personally I wouldn't want to take that risk.
I was only going by the instructions in the Mapei kit I used, where the tape is layed down onto the edge of the tray.

But, I should have been more specific, suggesting the use of a tanking kit, rather than just tanking! :)
 
Yep ... I've used that certain kit a couple of times, the one with the blue acrylic polymer, it's a pretty good kit especially if the tray's to sit on a plinth on a wooden floor. I must be honest though, I still don't ever use the tape to seal to the tray. If the tray is sitting on a concrete base that won't move then that would be the only time I would consider taping to the tray but to be honest I would then use a different system, where a tray to wall strapping would normally be used.

If a shower tray is being placed on a wooden sub floor then it will move and flex somewhat over time. If it does then I can just about guarantee that the tape would pull away from the tray at points and once the wall covering to silicone seal fails water will find its way under that tape and into the void below. I've seen it a number of times even where a bitumen based strapping has been used

The only way I found to do it properly is to stabilise the floor as much as possible, tank the whole space below the tray taping all corners and joints (seal 1), then silicone seal the tray along it's bottom edge, around every edge where the tray touches the wall and then along every top edge (seal 2), then the wall covering goes on and then sealed the wall surface to the tray (seal 3). That essentially provides a three stage seal barrier that should last the lifetime of the install.
 

DIYnot Local

Staff member

If you need to find a tradesperson to get your job done, please try our local search below, or if you are doing it yourself you can find suppliers local to you.

Select the supplier or trade you require, enter your location to begin your search.


Are you a trade or supplier? You can create your listing free at DIYnot Local

 
Back
Top