Yes I did do the coving and it looks really good. The design did get adapted slightly.
1. I screwed the battons in to the ceiling to give me the gap. I did not have a continuous line of battons though, only about 80% of each stretch was covered.
2. I ran wires under the battons. I have a largish room 5m*4m and each wall needed to be independently powered to get a continuous and consistent light effect. I also installed extra cabling for speakers.
3. I used regular coving and used coving adhesive as usual to attach it to the wall. I think it helped that there was fresh plaster with no mist coat from an adhesion perspective.
4. I cut thin strips of 3 mm ply at the distance between the ceiling and coving, and attached this to the battons to hide any gaps and improve the aesthetics (I just used an adhesive to fix them in.
5. I ran a line of caulk between the ceiling and ply to remove the gap.
6. I spray painted the ceiling, which worked well both because of the high quality finish, but also as I could get into the shadow gap with ease.
7. Lay the LED down onto the coving, stick them to the coving.
What would I do differently?
1. I didn't have pre-made wiring for for the LED lights. So I had to solder wires to the ribbon. Solder on these things is only so strong and when up a ladder trying to wire the thing up I ended up swearing a lot and breaking the solder. I was also using RGBWW LEDs which meant there were 5 wires per ribbon.
2. I tried to run string behind the gap between the coving so that I could run additional wires behind it in the future if I wanted to (I used velcro for the ply in the corners so that I could access the wires in the corner. The reality is that the string got caught in excess coving adhesive so that idea did not work. The learning is, run all the wire you may ever want behind the coving, there is limited ability to add more in the future.
3. I installed downlights in addition to the LEDs. Having ensured that I bought high power LED ribbon, we dont really use the down lights at all. I am not sure if I would not put them in if I repeated the project, but I would definitely have to think long and hard about it.
4. The LEDs are powered by 2 150w transformers. The original company I bought these from had cheap transformers designed for laptops. Whilst perfectly acceptable when being powered from a ring main, the power surge when they turn on tripped my circuit breaker. I subsequently purchased high quality units and only rarely have the issue. Luckily I rewired my house with 1.5mm lighting circuits so I can uprate my circuit breaker in the near future.
What worked really well and I would repeat?
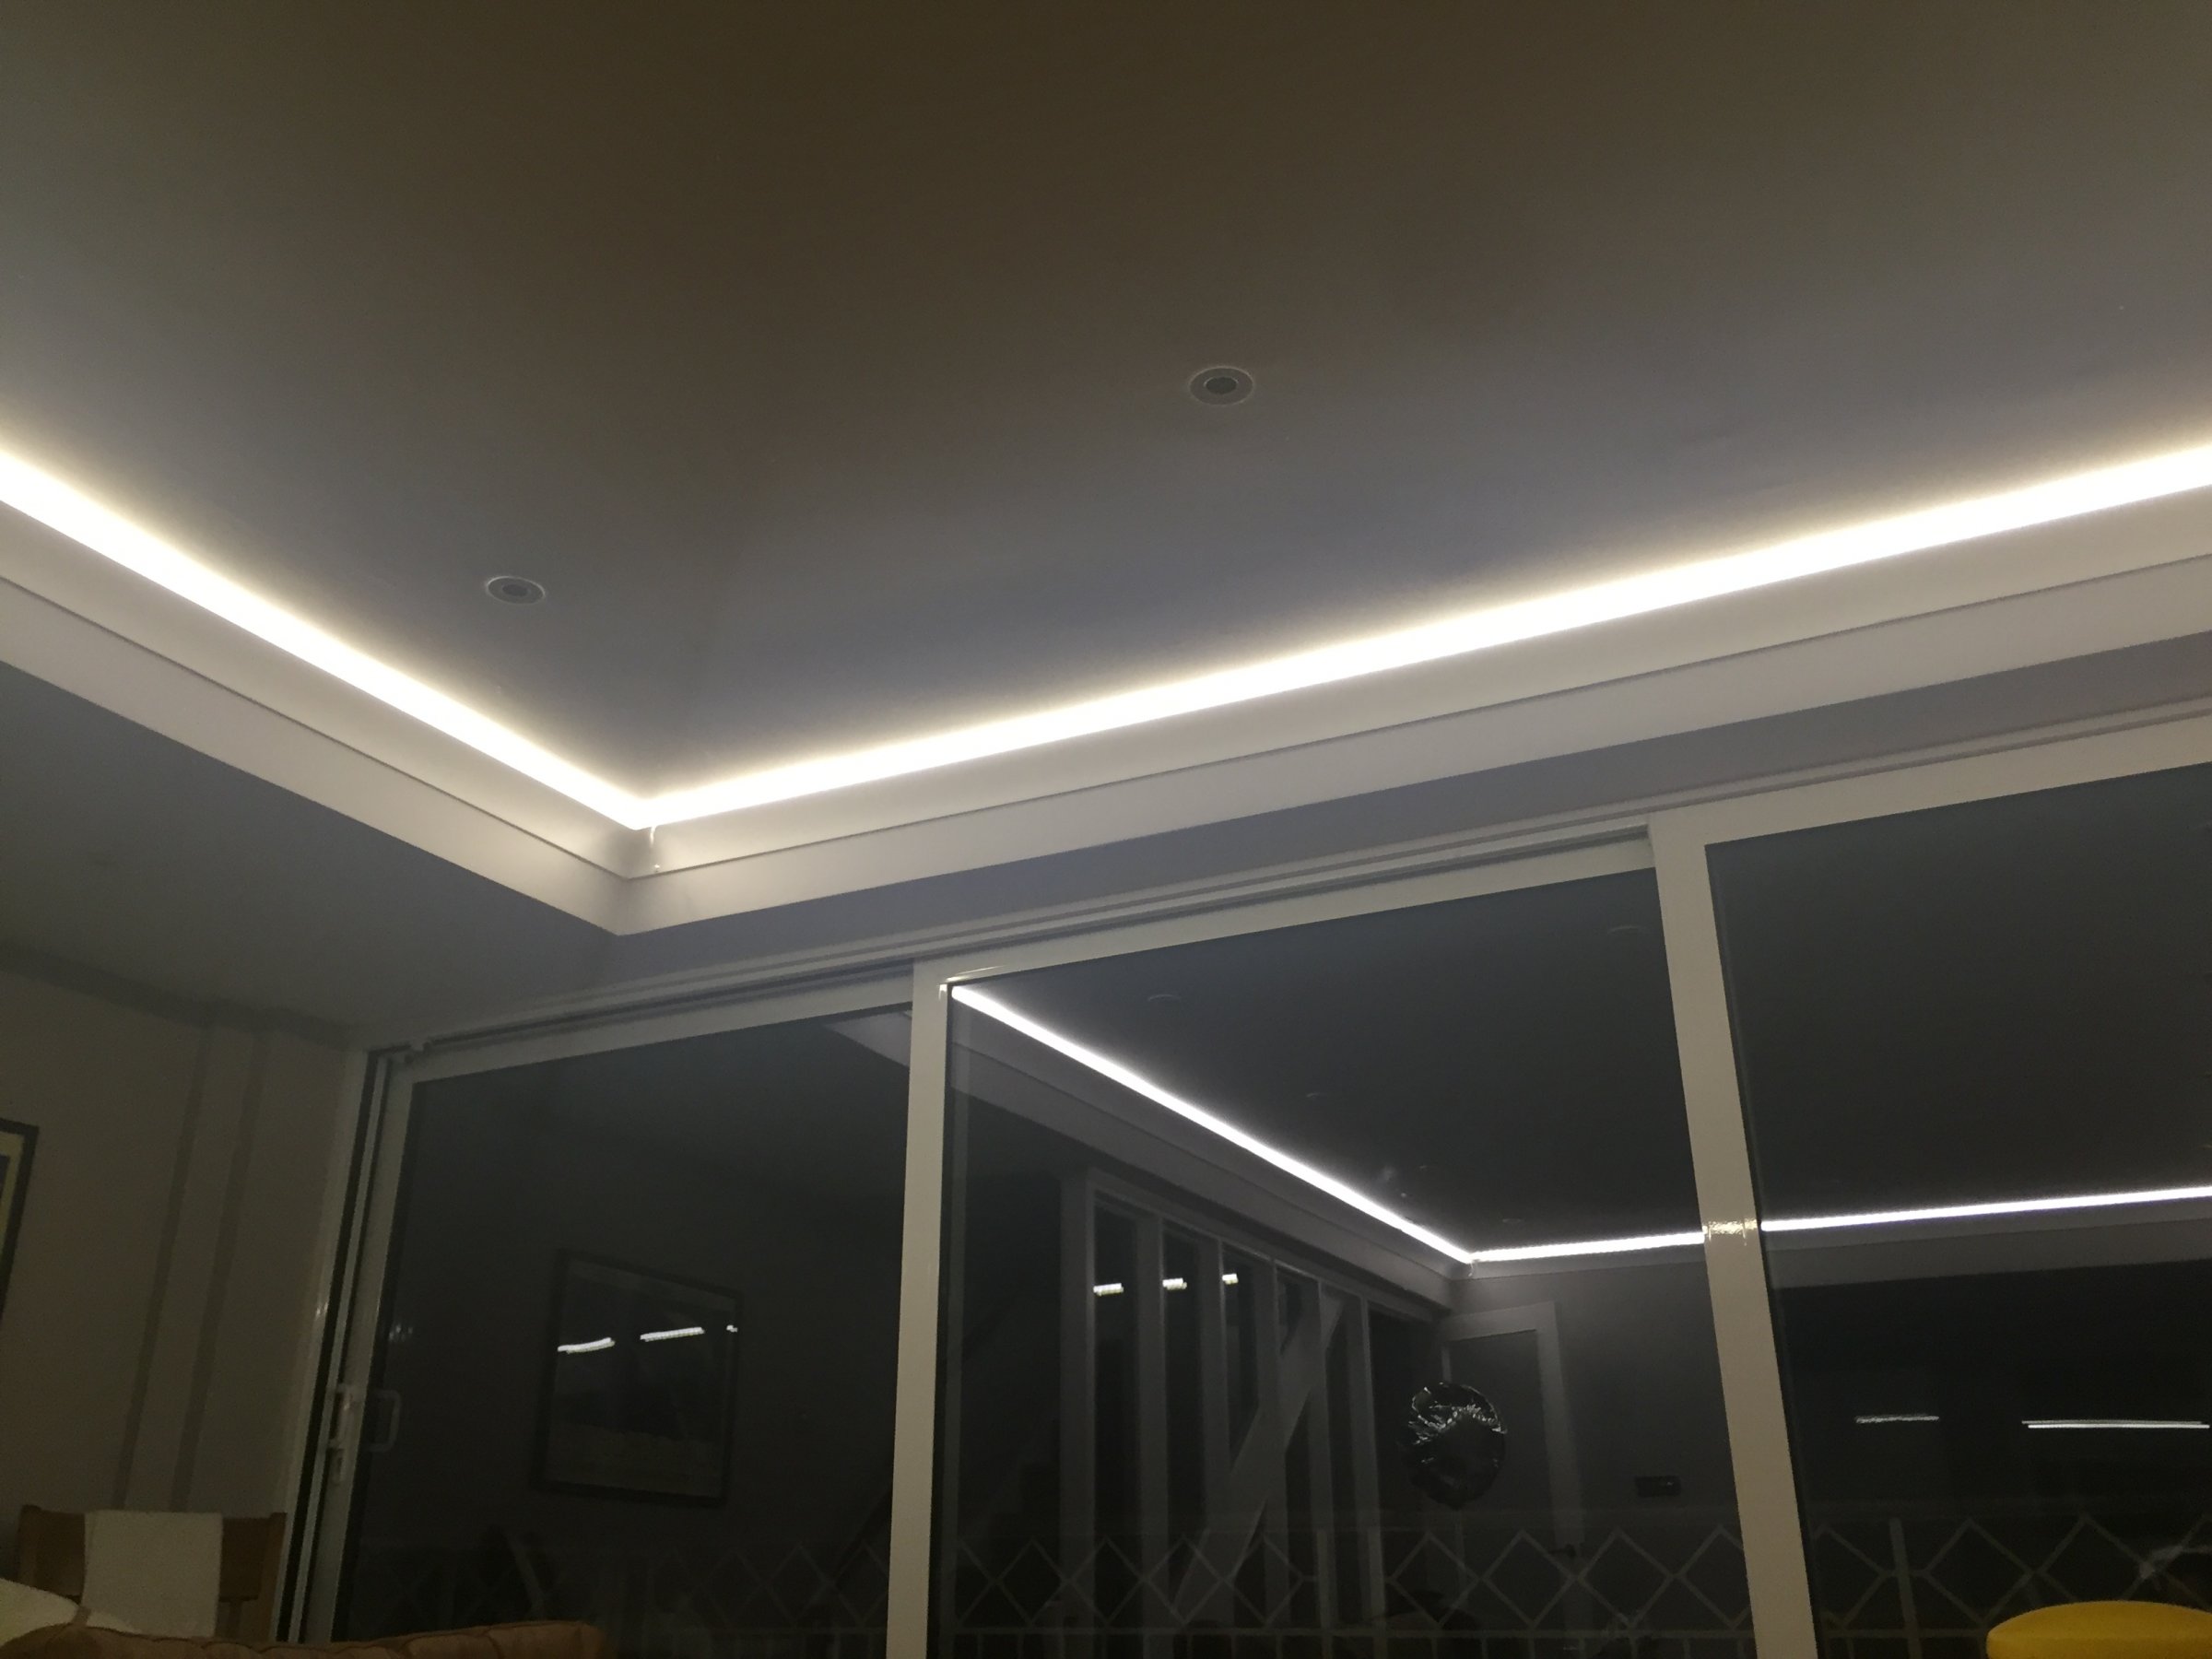
1. It looks amazing and is a real feature. Everyone comments on it when they come to the house. I have had 5 people ask for details of how I did it as they want to do it as well. It is also dirt cheap compared with what some tradesman are quoting for a similar look.
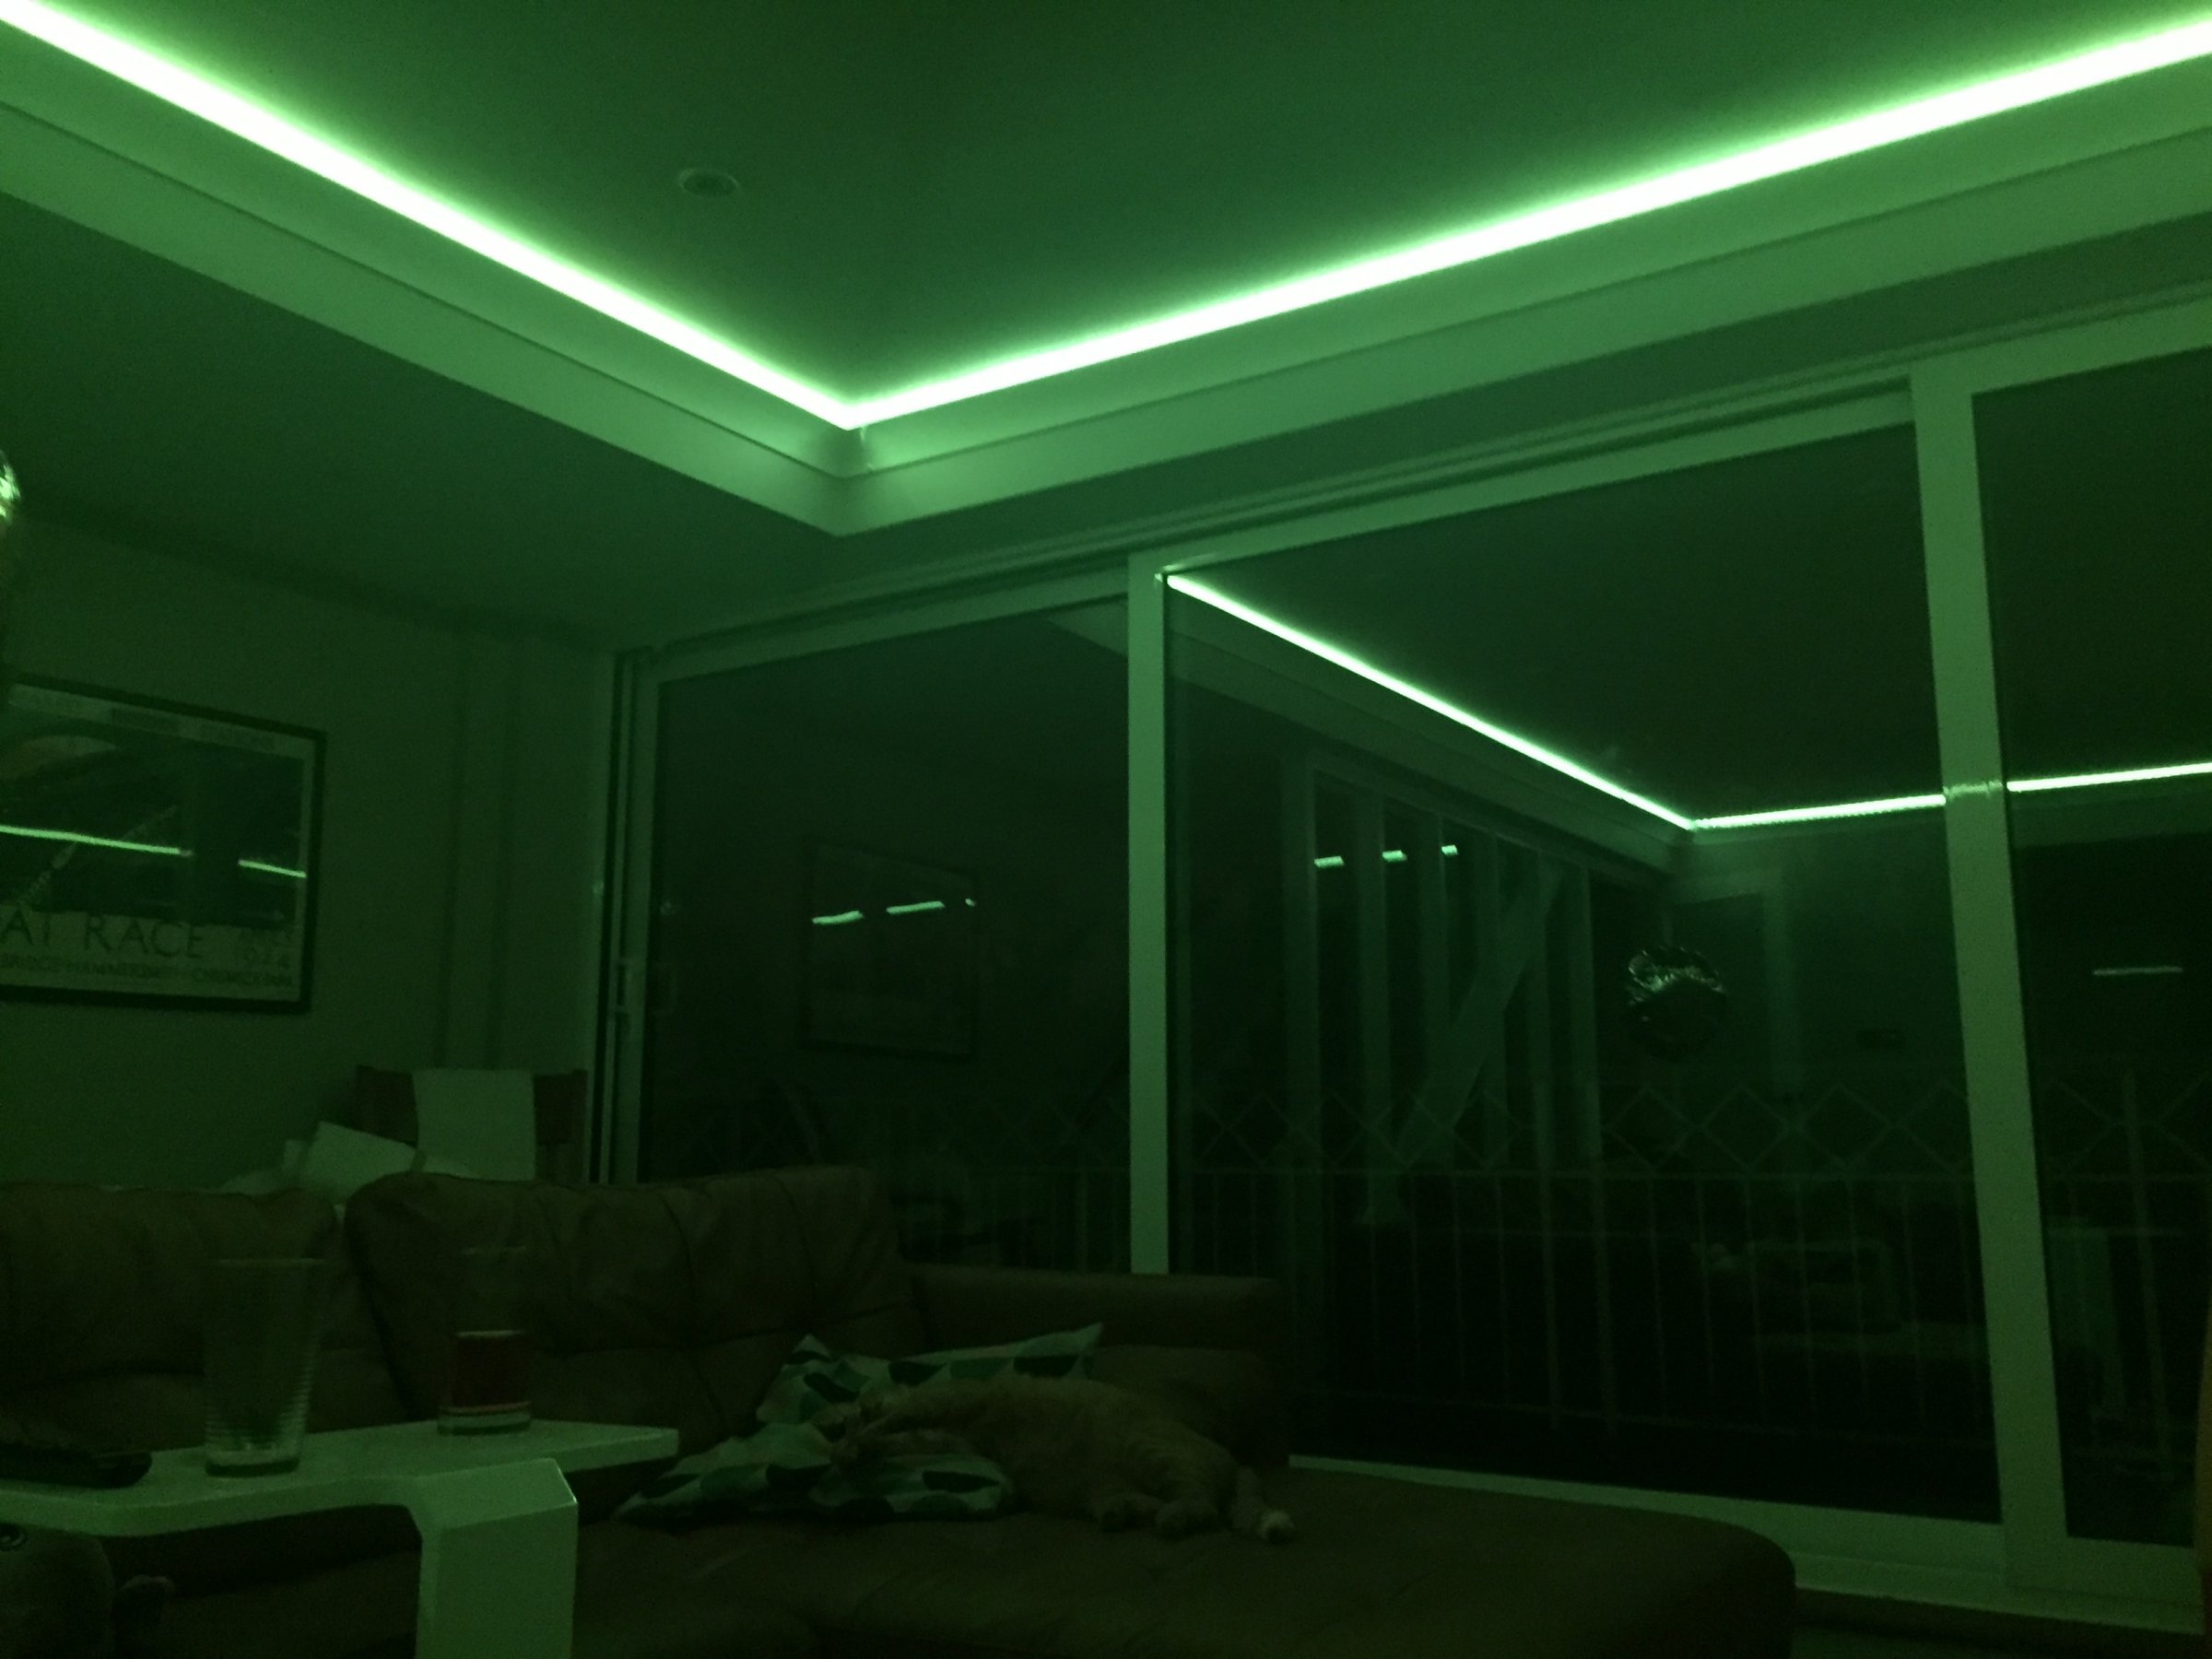
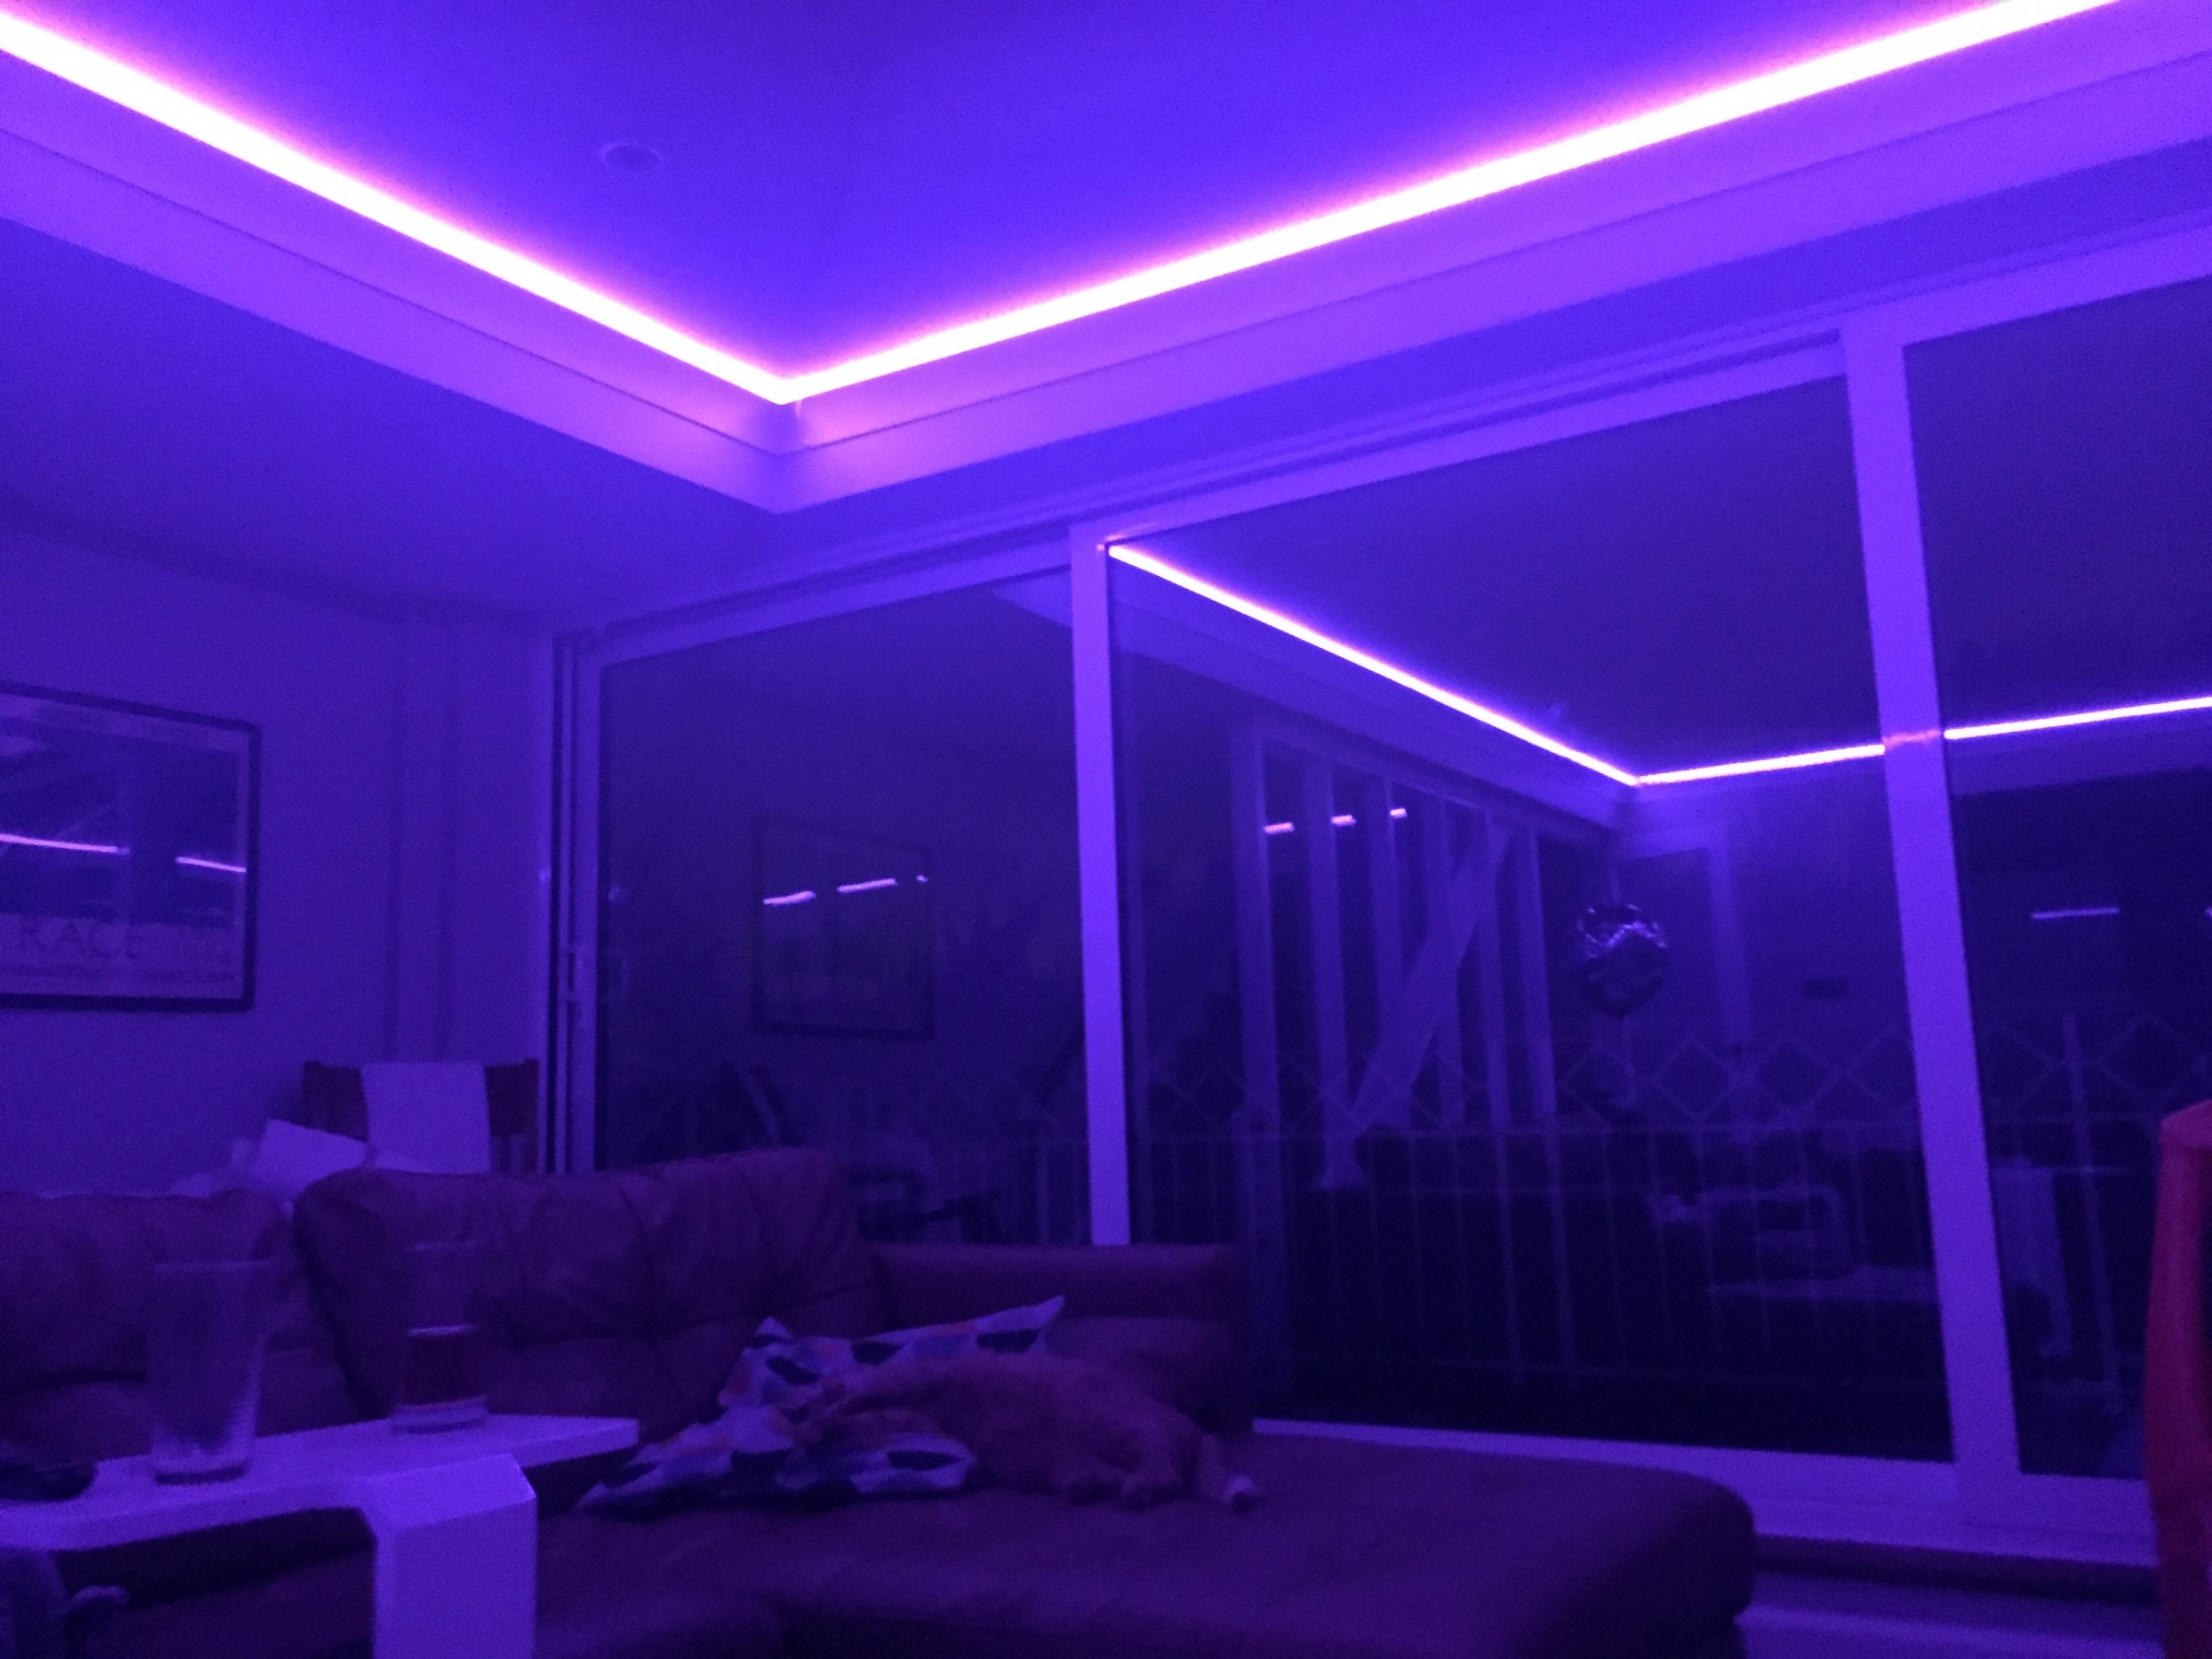
2. I purchased RGBWW ribbon and used seperate controllers for each wall. That means that each wall can be controlled independently or together or in any combination. The RGBWW ribbon also allows any colour, plus a nice Warm White similar to downlight type lighting. This is an amazing feature. Warm White is used most of the time, but my 1yr old daughter absolutely loves playing with the different colours and we sometimes use the colours when we have guests or for Halloween etc. It does not cost that much more and again adds a wow factor.
3. After a bit of research I found the same LED controller that some of the high quality UK LED retailers were selling, were less than half the price when shipped from China. Saved a packet of money, and I have had no issue with the items - I can even control the lights from my phone!
4. Make sure you buy the 5050 LEDs if you want an even line of colour. The less LEDs per meter the more spotty it looks and I think that detracts from the look.
That is about it. I hope that is useful to anyone considering this project. I was a novice at doing all this, but consider myself to be a very competent DIYer. This project is not for the faint hearted, but with the right research and planning it is easily achievable.


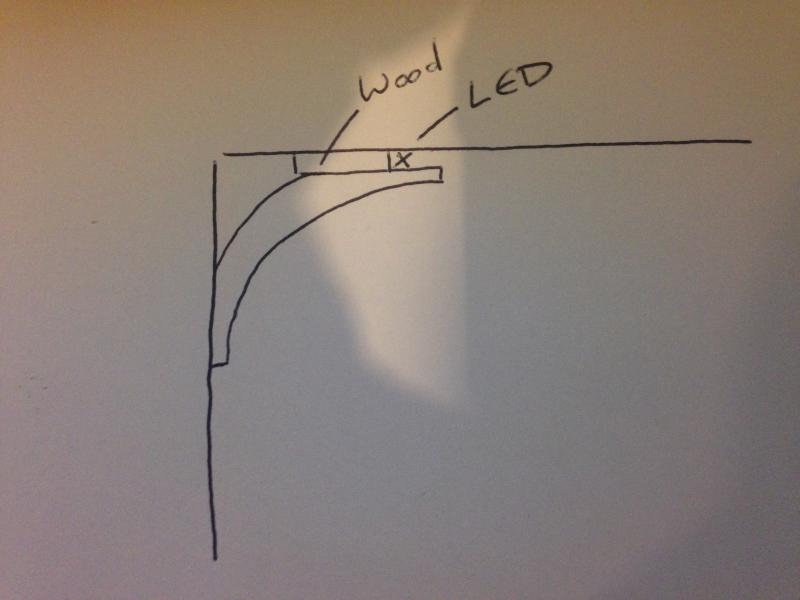

") Make the strip of wood a few mm thicker than the LED strip and that should allow you to get them in and out. Infact, I'd put the coving up without the lighting in there, then insert it later.
Make the strip of wood a few mm thicker than the LED strip and that should allow you to get them in and out. Infact, I'd put the coving up without the lighting in there, then insert it later.