Hello all.
Just wondering what you guys do to seal up the edges on mdf?
So far, I have seen:
-Undercoat primer
-wood filler
-PVA with water
THere are a lot more but I forgot what they are now..
Also, found this vid on youtube, looking at 4:31 - that stuff looks pretty amazing. What's everyones video on this?
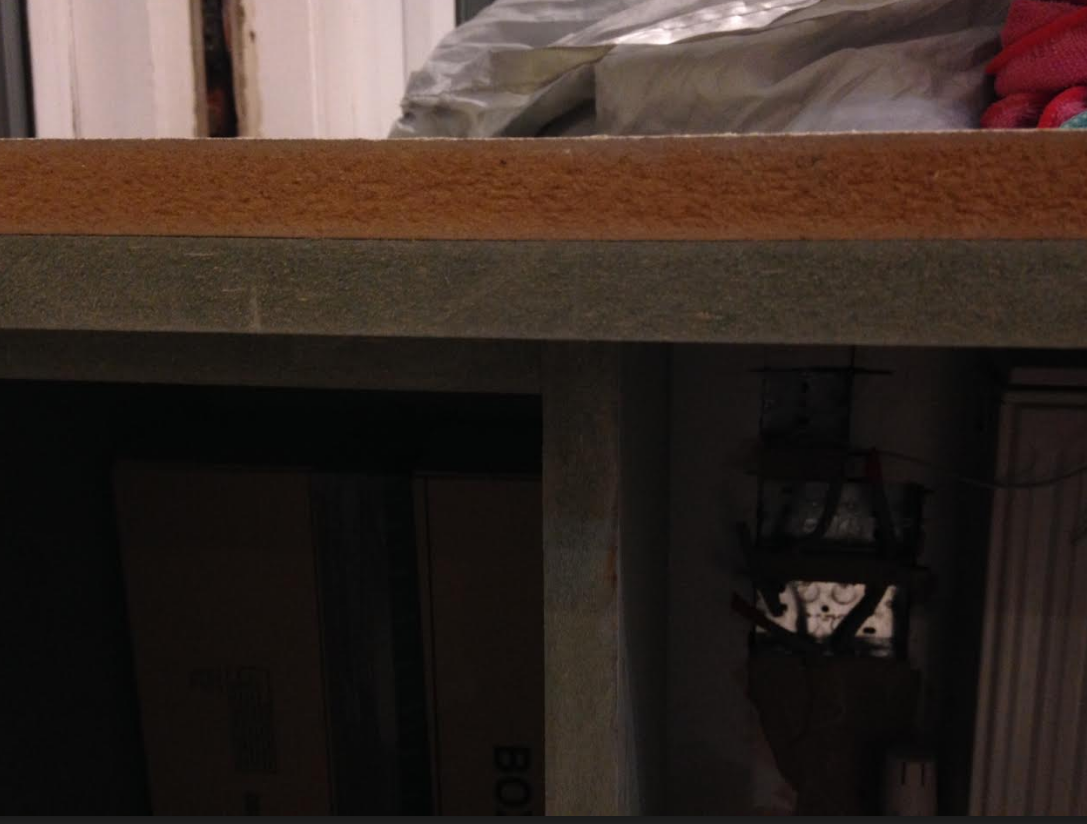
I have to say that my MDF's edge are very rough. Unlike what he was holding at 4:31
If everyone could shed some lights. then that would be great.
Just wondering what you guys do to seal up the edges on mdf?
So far, I have seen:
-Undercoat primer
-wood filler
-PVA with water
THere are a lot more but I forgot what they are now..
Also, found this vid on youtube, looking at 4:31 - that stuff looks pretty amazing. What's everyones video on this?
I have to say that my MDF's edge are very rough. Unlike what he was holding at 4:31
If everyone could shed some lights. then that would be great.