Fitting the tape for a Shower Waterproofing Kit

Joined
21 Feb 2009
Messages
174
Reaction score
0
Location
Cleveland
Country
United Kingdom
Hi,

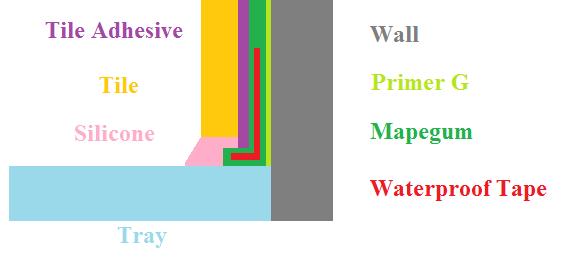
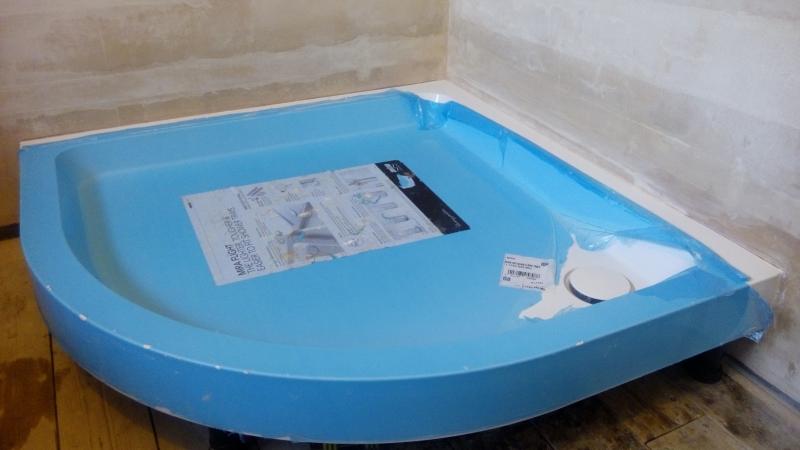
I'm about to tank the walls around our quadrant shower tray using a Mapei Shower Waterproofing Kit. Here is the tray.


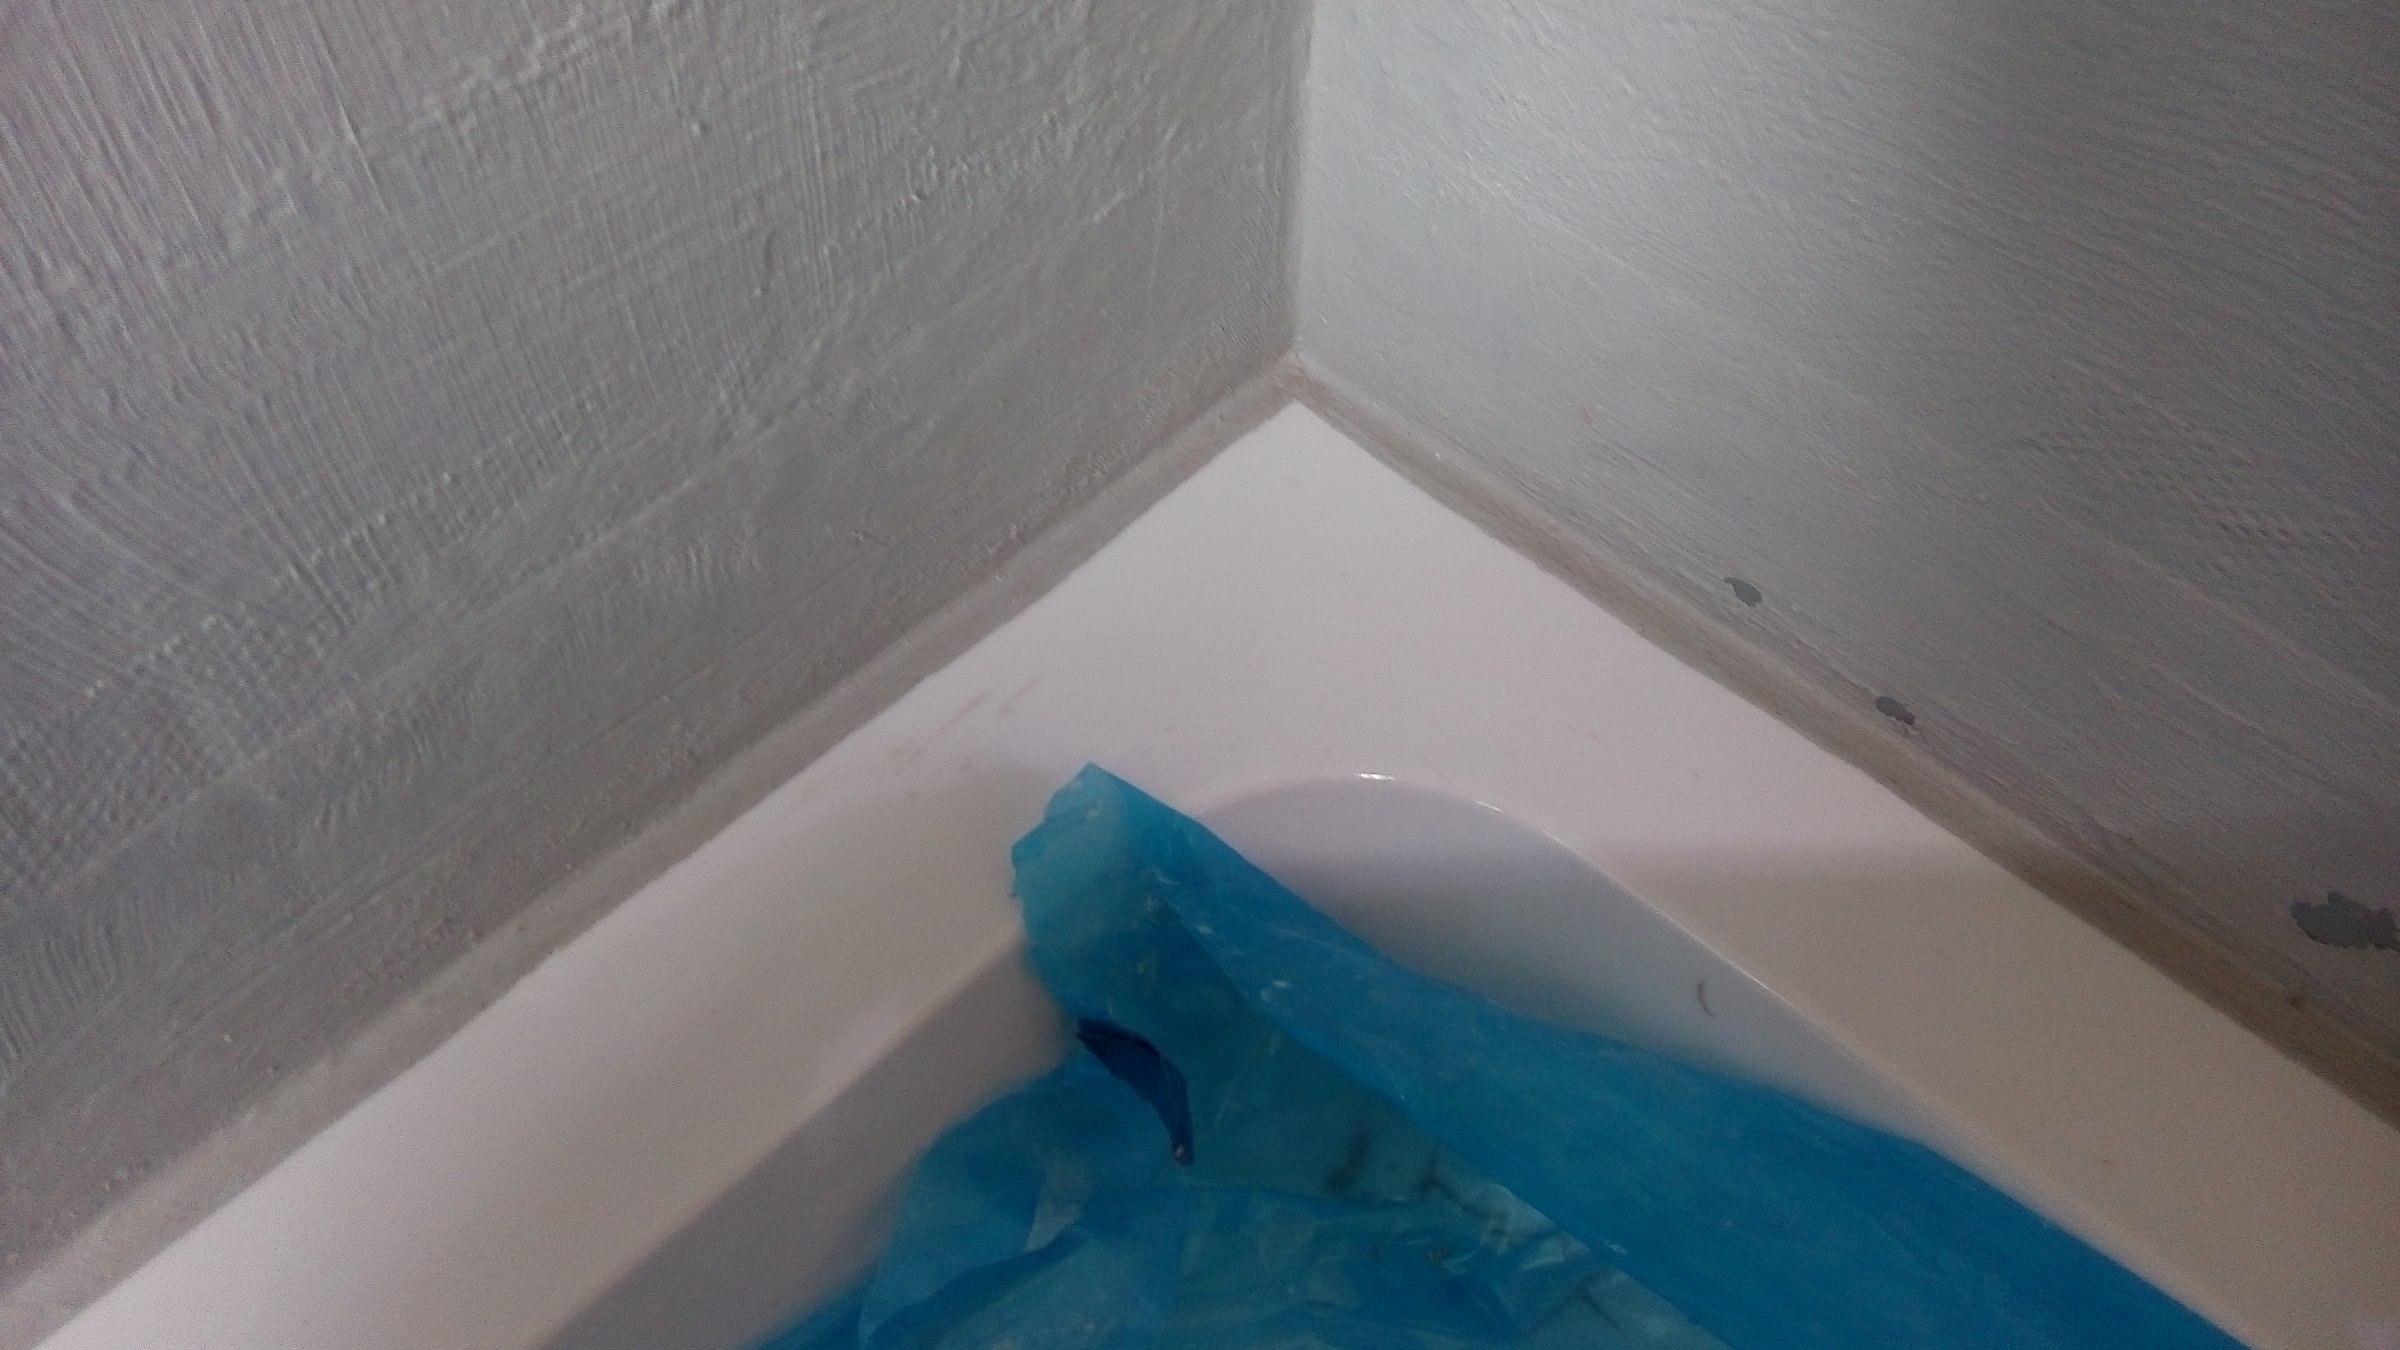
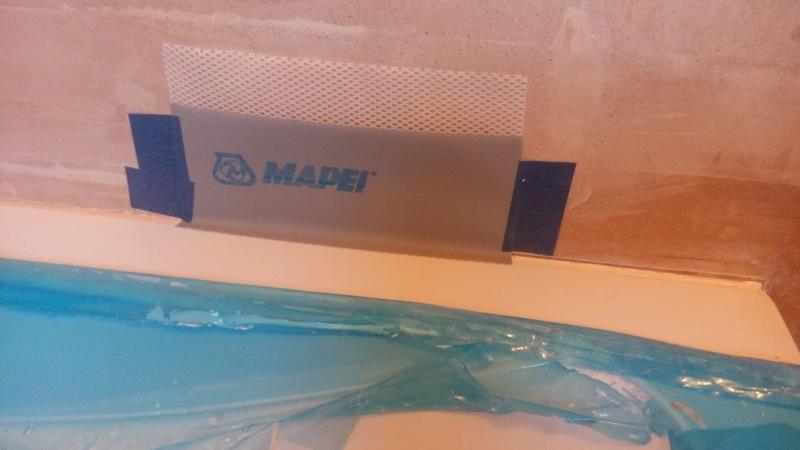
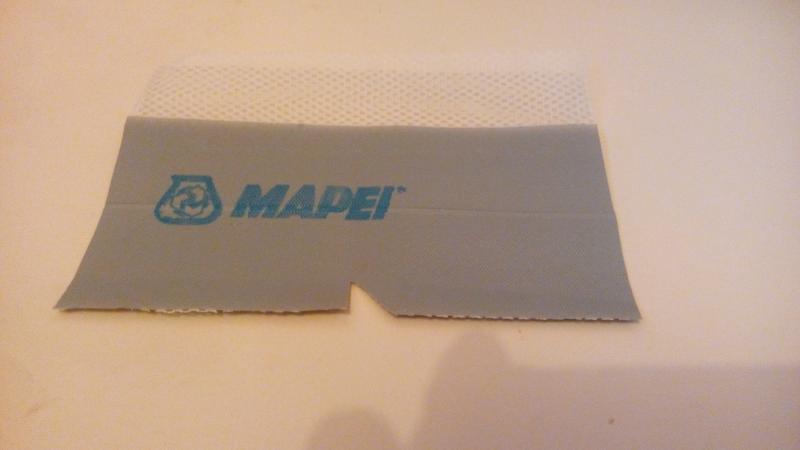
The kit came with a 10m roll of waterproof tape, I've cut a small piece off the roll for use in the photographs and I've temporarily attached it to the wall with some bits of blue masking tape.


The instructions suggest the tape slightly overlaps the tray like this.


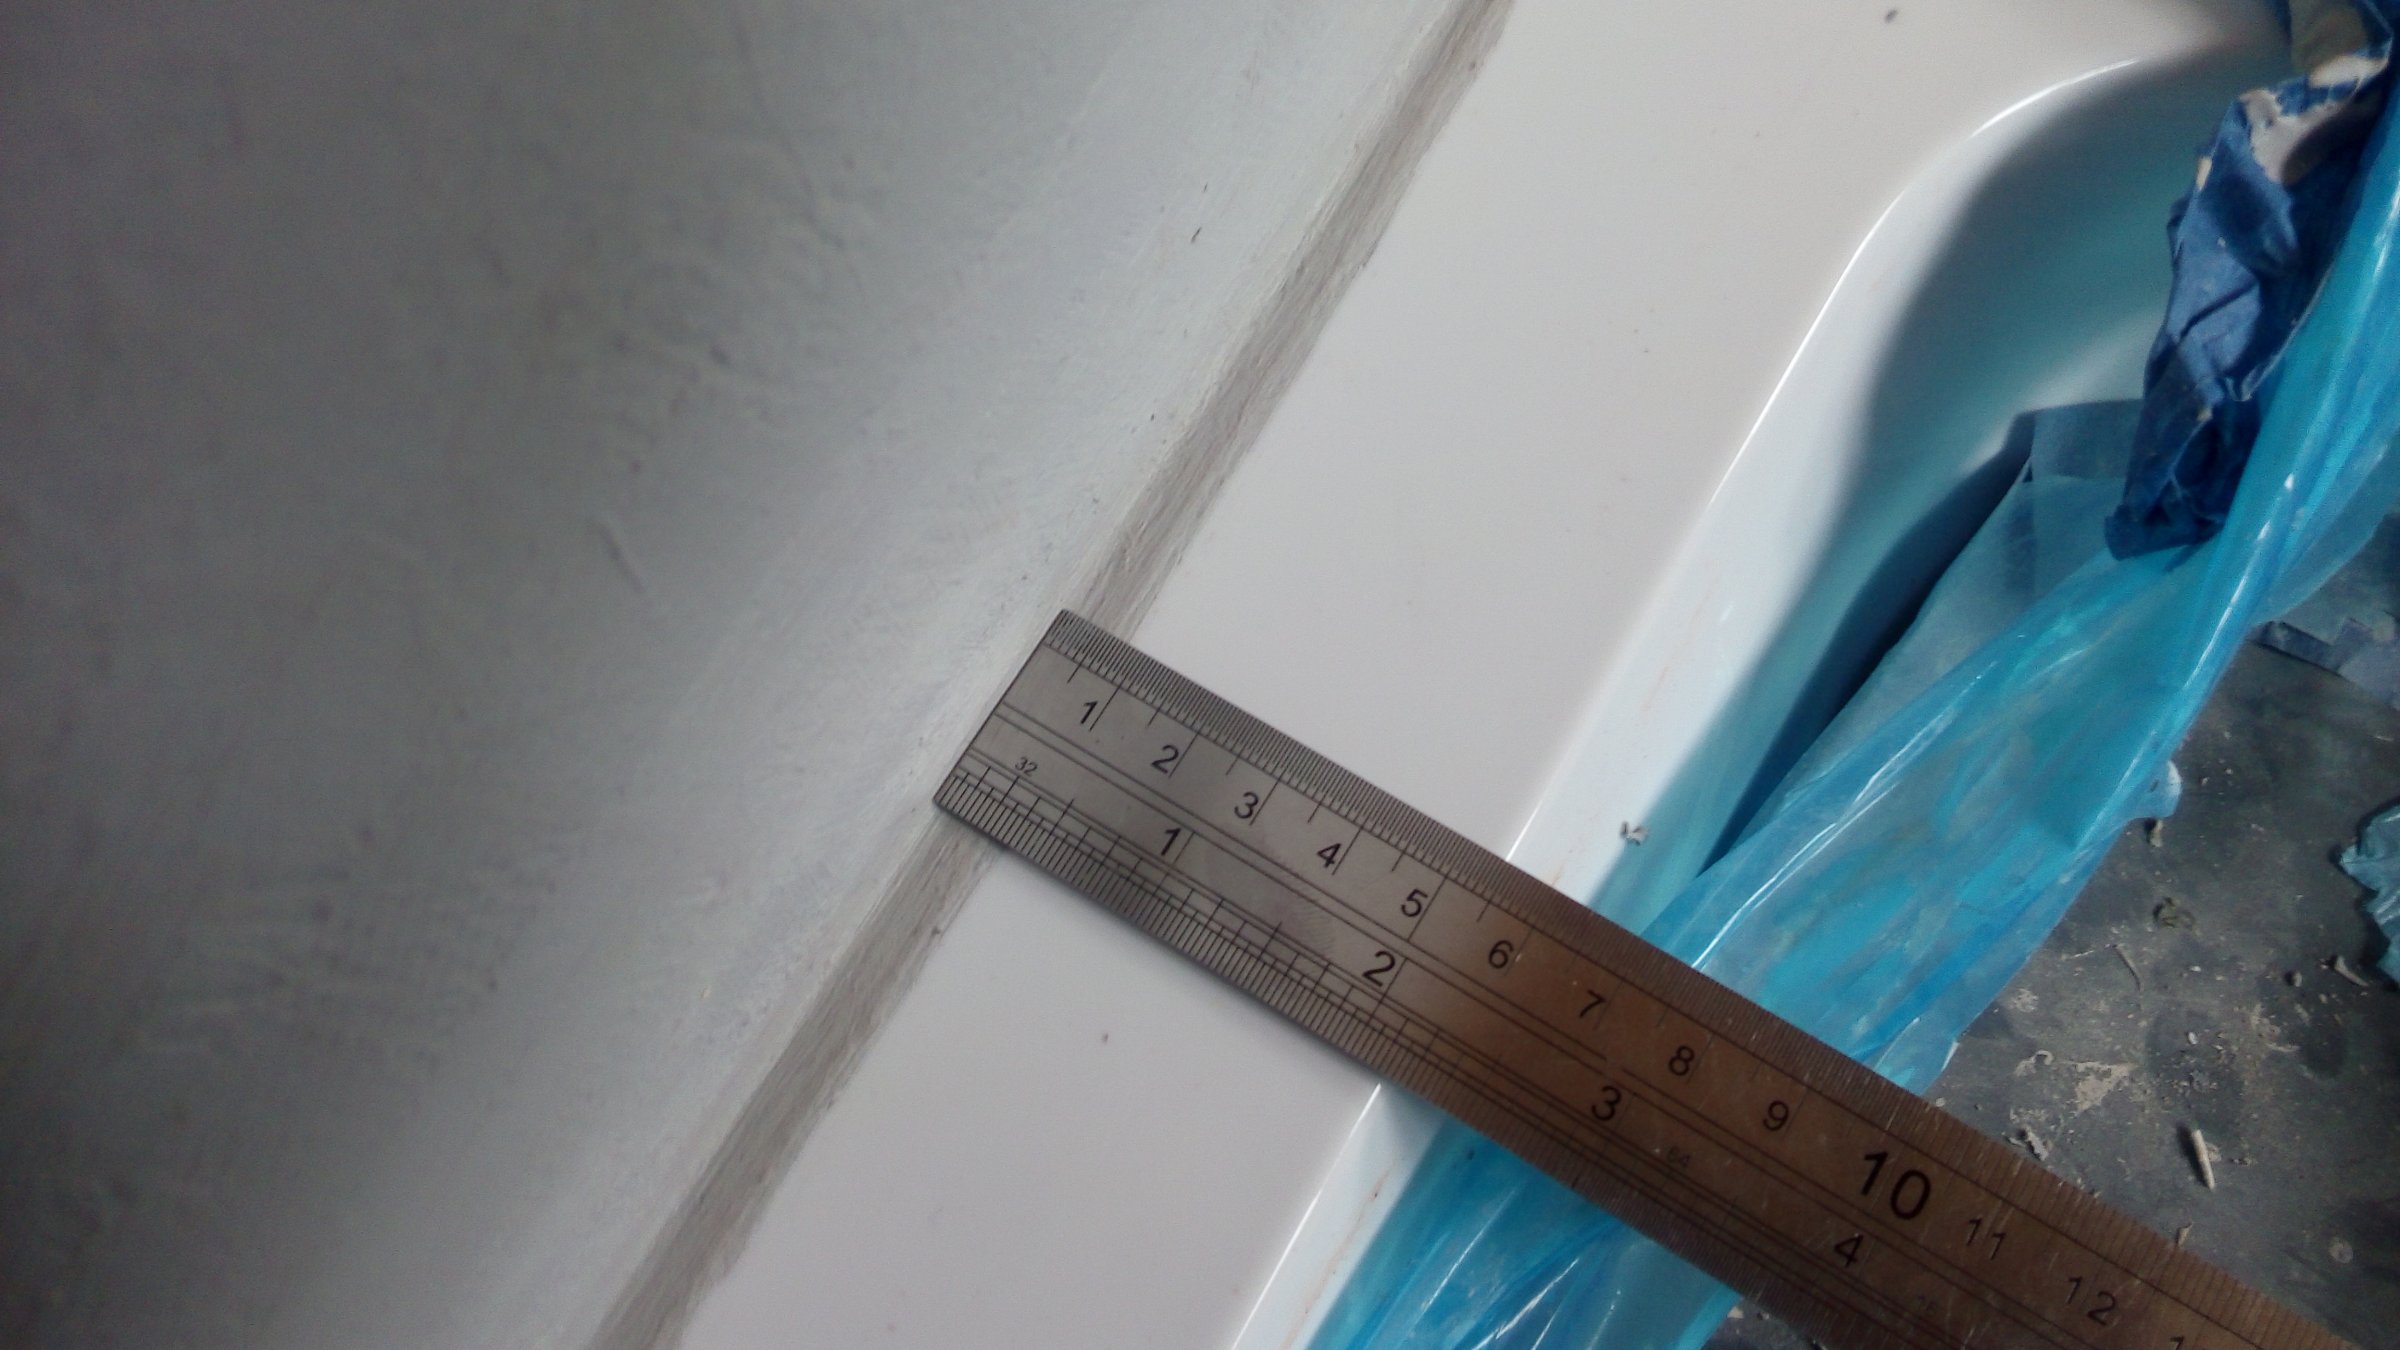
I am fine doing this until it comes to the corner, because you end up with a ruck in the tape like this


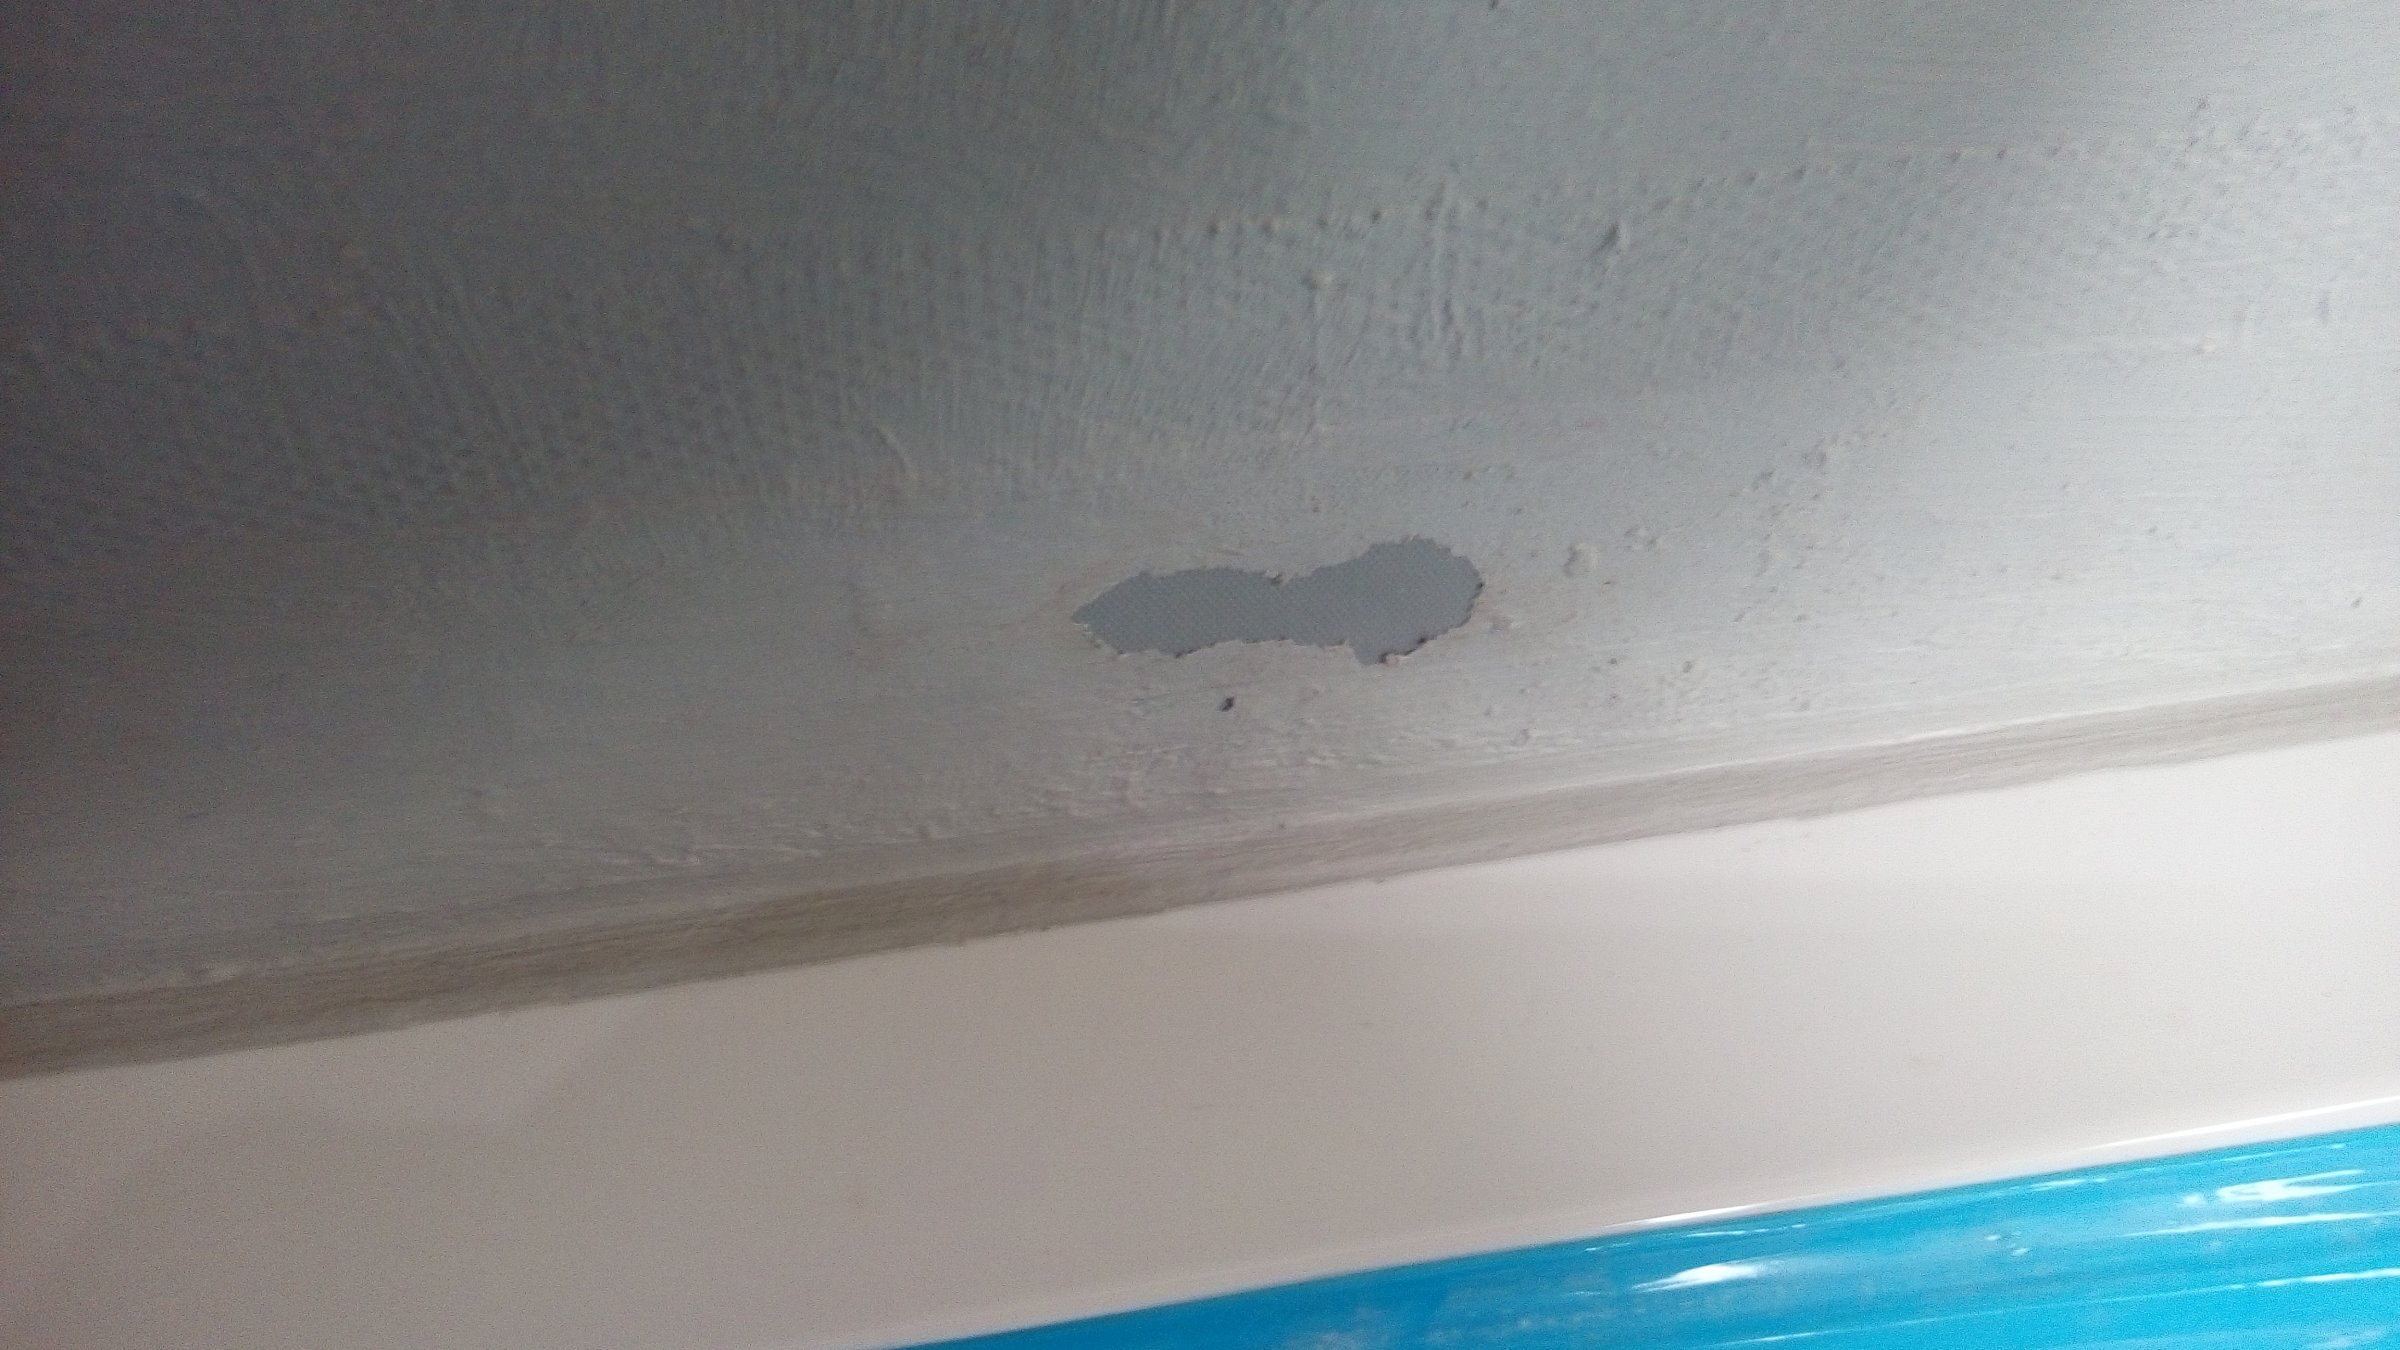
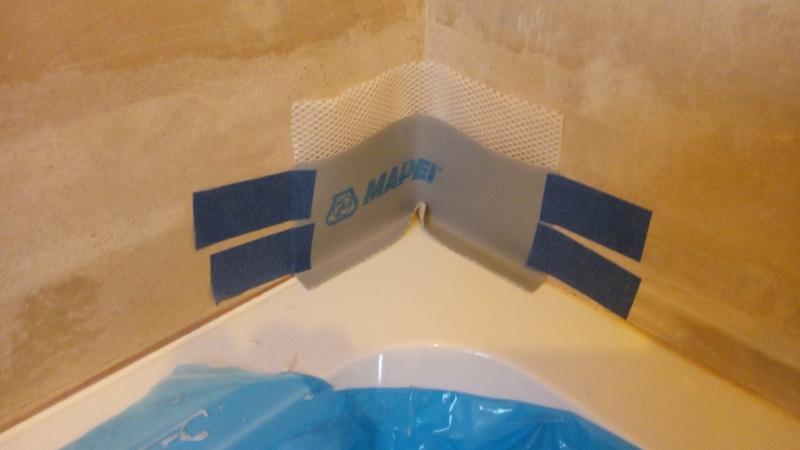
The only idea I've had is to cut a small section from the waterproof tape like this


So you end up with the corner like this


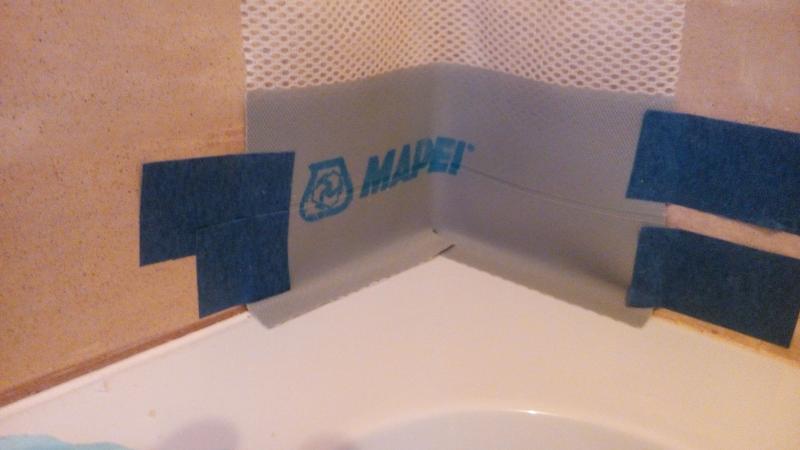
However it means there is some overlap of the tape.


So how do you guys deal with this issue? Is there a better solution?


Thanks in advance.
 
Sponsored Links
In my experience, most of these sealing tapes come away after a period of use thro exposure to expansion and contraction. Moisture & scum then finds its way below them, and lifts them even further.
I use silicone. I have never used a Mapei Kit.

Unfortunately, you have installed a shower tray that doesn't have edge fins or upstands - this will be the weak point as regards capillary action over the long term.
 
In my experience, most of these sealing tapes come away after a period of use thro exposure to expansion and contraction. Moisture & scum then finds its way below them, and lifts them even further.
I use silicone. I have never used a Mapei Kit.

Hi,

Thanks for replying, but I think you have misunderstood how this kit works. The tape actually goes behind the tiles and you still use a bead of silicone, in the gap between your bottom row of tiles and the tray.

If done correctly dampness/exposure/contraction won't be an issue. Here is a video about using this product https://www.youtube.com/watch?v=vOxmDKMWDec

My only issue is how to deal with the tape in the corner.

Thanks
 
I've not misunderstood. I know the tile goes over the tape, i never implied it didn't.
The lip of tape that seals to the rim of the shower tray or bath tub is the vulnerable part.
Expansion and contraction of the tray will eventually break the seal.

Use the method in pic 4. and push that corner into a small blob of silicone to seal the cut.
Make sure that the tape is well pushed into the inside wall corner or the tile wont go into the corner.
 
Sponsored Links
Use the method in pic 4. and push that corner into a small blob of silicone to seal the cut.
Make sure that the tape is well pushed into the inside wall corner or the tile wont go into the corner.

Unless anyone has any better ideas this is what I will do. However I won't be using a blob of silicone, I will just use an extra bit of the Mapegum paint. Adding any silicone will be almost impossible anyway, as the Mapegum still has to be wet when the tape goes over it. Because it's wet any silicone will end up being merged into the wet Mapegum.

At the end of the day the waterproof tape is covered on both sides with the Mapegum paint. The only place silicone should go is the gap between the bottom of the tiles and the tray.

Here is an magnified colour coded diagram of how I believe it all goes together, when complete.


Thanks.
 
You can buy preformed external and internal corners. Not sure if mapei sell them, but others do. I saw some on ebay, so have a search on there.

Jay
 
So how did the tape work out? Any leaks? I'm just about to do the same thing with the same Mapei kit. Do you have any tips now that you've fininshed? - Great pics and diagrams by the way!
 
So how did the tape work out? Any leaks? I'm just about to do the same thing with the same Mapei kit. Do you have any tips now that you've fininshed? - Great pics and diagrams by the way!


Hi, I haven’t actually got around to doing the tiling yet, so I can't say if it's any good or not really. Here is a picture of where I'm at.


full


I did a 7mm overlap with the tray


full


A tip I can give is to try and paint the mapegum on your walls on a mild, cool or cold day. I done it on a hot day and the mapegum was drying almost as soon as it touched the plaster (I did remember to primer-g the walls first).


Another tip is properly rough up the edges of your shower tray because the mapegum doesn't stick the tape down that well at all in my opinion.


Something else I noticed, although the mapegum sticks really well to the walls, and sticks the back of the tape to the wall ok, it hardly sticks to the front of the tape at all, you can just peel it off (very poor in my opinion).


full


I touched this bit it back up

full


My initial impression is not that good really. I am now of the opinions expressed by ree (see posts 2 and 4). I believe that after tiling if there is any breakdown in the bead of silicone between your bottom row of tiles and the tray then water will easily find its way between the tape and the tray and into your walls, hopefully I'm wrong.


Best of luck with your shower.
 
Last edited:
I Normally use the Dunlop kit and once the tape is on I will.cut and reinforce any corners the edge of the tray should be cleaned and prepared with scotchbrite as this will help adhesion
also fill all joints with flexible tile adhesive tape and then use the rubberised compound
All careful prep work helps with the final result as one can appreciate
I also prefer showers with up stands it makes it alot easier as well as having legs on them for easier less hassle fitting
 

DIYnot Local

Staff member

If you need to find a tradesperson to get your job done, please try our local search below, or if you are doing it yourself you can find suppliers local to you.

Select the supplier or trade you require, enter your location to begin your search.


Are you a trade or supplier? You can create your listing free at DIYnot Local

 
Sponsored Links
Back
Top