Fixing EML to lintels

Joined
25 Oct 2008
Messages
1,185
Reaction score
145
Location
Cheshire
Country
United Kingdom
Hi,

Struggling with fixing some EML to two concrete lintels in parallel, hoping for some advice.
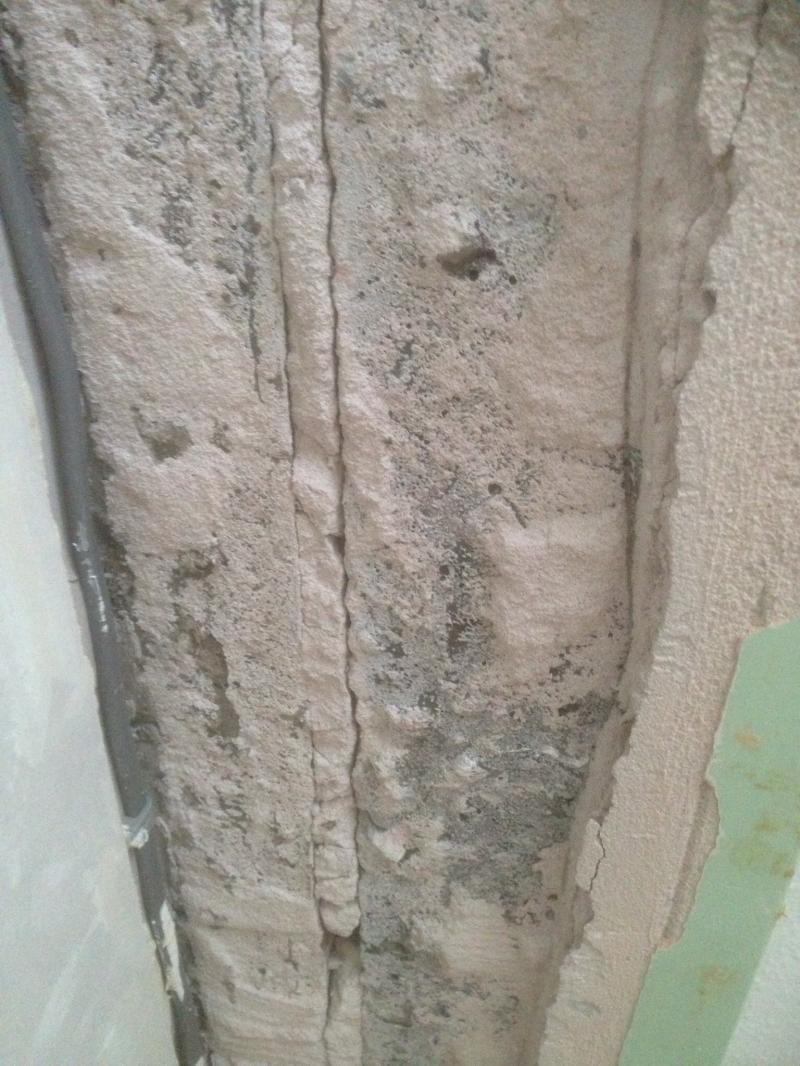
The plaster had cracked on the join between them so I want to replace the cracked bit and make sure there's some EML in the repair.

I tried masonry nails and they won't go in.
Don't really want to drill and sink screws in as seems a little overkill and may weaken the lintels.
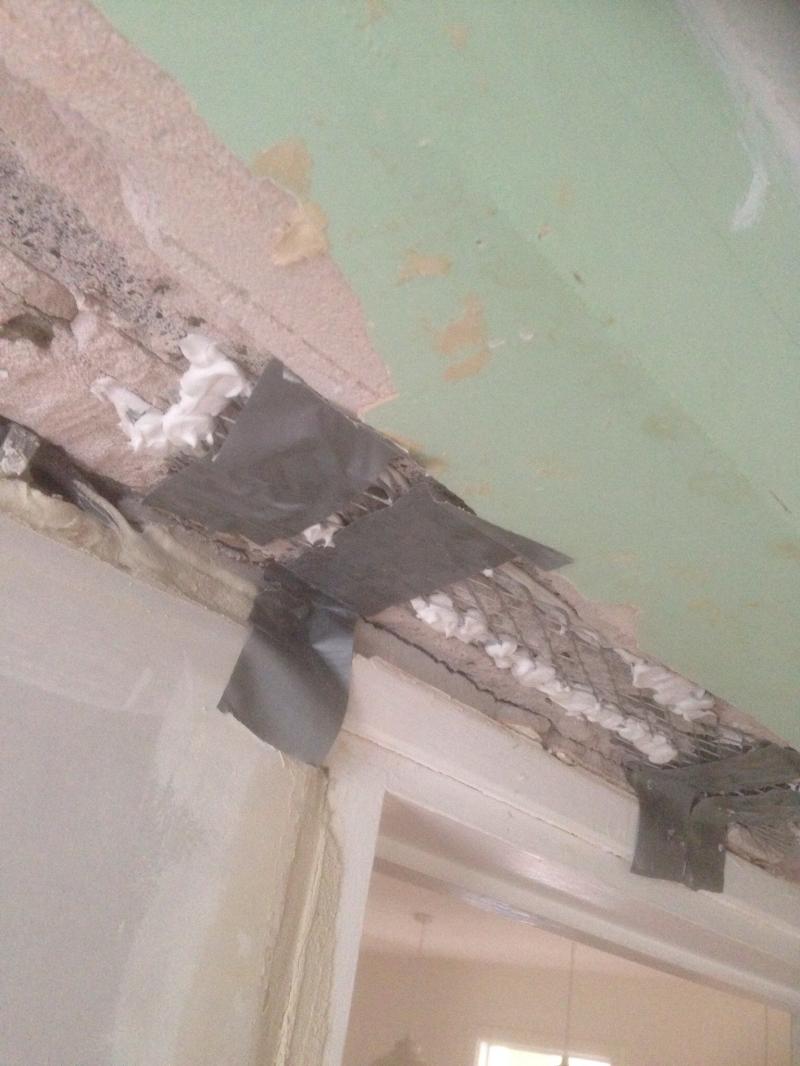
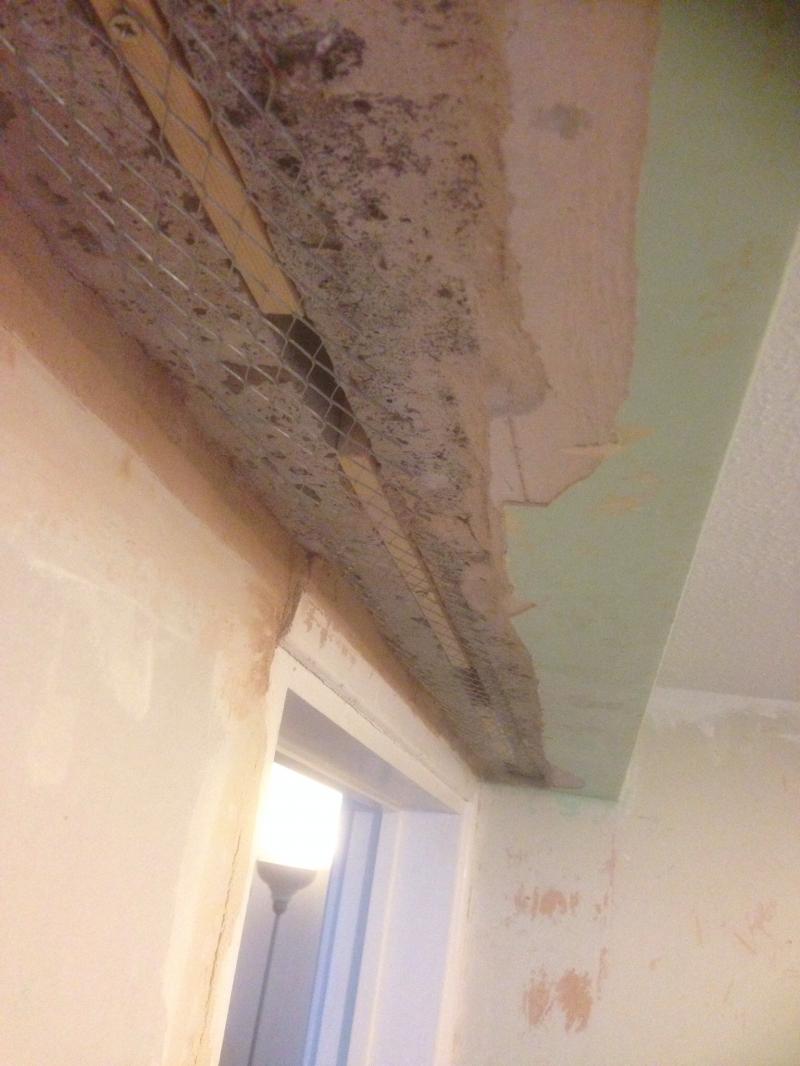
I wasn't sure if plaster dabs would hold it as the EML is a strip on a roll and quite springy.
In the end I've tried a short length and put a reasonable amount of grip fill on the lintels and used duck tape to hold it up as best I can. Not elegant!
Would be interested in better suggestions for the remainder!
Thanks
 
Sponsored Links
Hi Newbee,
How big is the gap between the 2 lintels? Any chance of a pic please. ;)
 

The gap between the lintels is about 15mm.
The mortar in the gap is very thin and breaks up if I try putting a nail in.
The area to fill is only about 120mm wide.

My attempt on part of it is below. The EML is on secure, but there must be a better way!
 
Remove the loose crumbly mortar in the gap between the lintels, and "gently" jam half a dozen or so "small pieces" of ply or plastic, even large rawl plugs,, just something to accept some screws along the length of the lintel.
When you cut the EML cut it into small-ish lengths, and kind of slightly bend it upwards, from the middle, along its length, so that when you screw it into place, the tension of the slight upward curve, will pull the EML itself upwards and tighter to the flat underside of the lintel. Hope you get my drift. Once the mesh is fixed securely, pva, bonding coat, beading if required,,, you know yerself Newb. :LOL:
 
Sponsored Links
Good advice from rc , but you could also knock some large headed nails in between the join to pull the mesh together so you can get some pva and muck on it.. ;)
 
Thought I'd put a update on this thread - probably more for completeness of future searches.


I re-did my half-job shown previously with gripfill all over it.
Pushing strips of wood in gave a good result.
They were slightly undersized, so I packed them out a bit.
I used gripfill on one, but ran out so used Bonding plaster on the others. Bonding was by far the easiest and most secure.
A little tricky to guide plaster into the gap using the toe of the trowel, but got the hang of it.
Once the plaster was set, it was then a piece of cake securing the EML to the wood.

Thanks for the help.
looks ok newb you could also have used plasterboard packed out with a bit of addy in the gap
 

DIYnot Local

Staff member

If you need to find a tradesperson to get your job done, please try our local search below, or if you are doing it yourself you can find suppliers local to you.

Select the supplier or trade you require, enter your location to begin your search.


Are you a trade or supplier? You can create your listing free at DIYnot Local

 
Sponsored Links
Back
Top