Grinding down pattresses

Joined
31 Jan 2014
Messages
179
Reaction score
4
Location
West Midlands
Country
United Kingdom
Hi,

I had my house rewired about a year ago and only just got round to having the chases plastered in. Plasterer has done a satisfactory job of plastering everything in flush, but some of the pattresses are sticking out too far (beyond the level of the original plaster). We're only talking a few mm but results in around a 1-2mm gap around the socket even when screwed in tight.

Rather than making a mess and pulling out the pattresses etc refitting then replastering again for the sake of a few mm. I wondered if it would be a worthwhile idea to use a small angle grinder or more likely dremel to grind down the edges of the pattress so they are flush.
 
Sponsored Links
You'll have to be steady with the grinder and make sure all wires are out the way, the accessory not present, and the metallic dust cleared away afterwards.

I would use my Makita filing sander; best toy ever.
 
Sponsored Links
The mechanical shock to the wall via the box vibrating while being ground back could well damage the plaster anyway.

Buy a multi tool, cut round the box in the plaster being mindful of cables and take the box out.

You might get away with dropping back box size, or you might then want to use the multi tool to cut back the rear of the wall a few mm and reset the box.

When you reset the box butter the inside edges of the wall with some bonding, as the box is set the bonding will push out and fill the gap between wall and box caused by the multi tool cut.
 
The boxes are screwed to the wall pretty firm, although as you say there will be some vibration. I should point out they are chased into a more traditional type plaster rather than modern plasterboard, it might be difficult to cut a neat hole around the box like you could do with plasterboard.

I'll give it a try though and see how far I get. It would be better to take it out and refit it a little better.

I think the boxes are already 25mm, but I'll have to double check.
 
Links in this post may contain affiliate links for which DIYnot may be compensated.
Thanks Andy, I think I see what your getting at now. I'm not sure the lugs are actually coming into contact with the back box (screw holes on the back box are quite recesssed. but I''ll check when I'm at home.
 
UT8jOmwXc0aXXagOFbXS.jpg


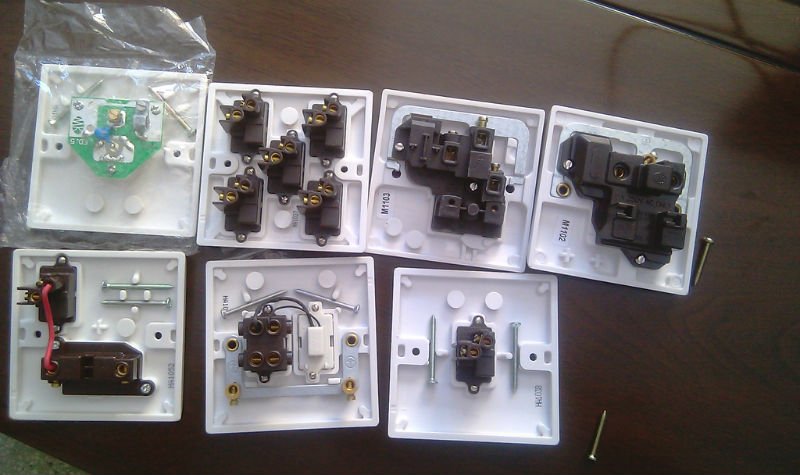
Unless I'm mistaken, Andy means remove the little bit of extra plastic between the edge of the switch and the screw hole, this will allow the witch to sit closer to the wall, with the proud of the edge sitting in your new recess in the switch

If that's not what he means, it's worth a go! Switches are cheap, plasterers are not
 
Unless I'm mistaken, Andy means remove the little bit of extra plastic between the edge of the switch and the screw hole, this will allow the witch to sit closer to the wall, with the proud of the edge sitting in your new recess in the switch
I thought he meant to remove the part of the metal back box that the bit of plastic you refer to is sitting on.
Either would work though.
 
Got it, will give it a try grinding down the plastic between the edge of the switch and the screw hole. That looks an easier way of doing it.
 

DIYnot Local

Staff member

If you need to find a tradesperson to get your job done, please try our local search below, or if you are doing it yourself you can find suppliers local to you.

Select the supplier or trade you require, enter your location to begin your search.


Are you a trade or supplier? You can create your listing free at DIYnot Local

 
Sponsored Links
Back
Top