Hammie's Loft Conversion

There were a few reasons I decided to get rid of it:

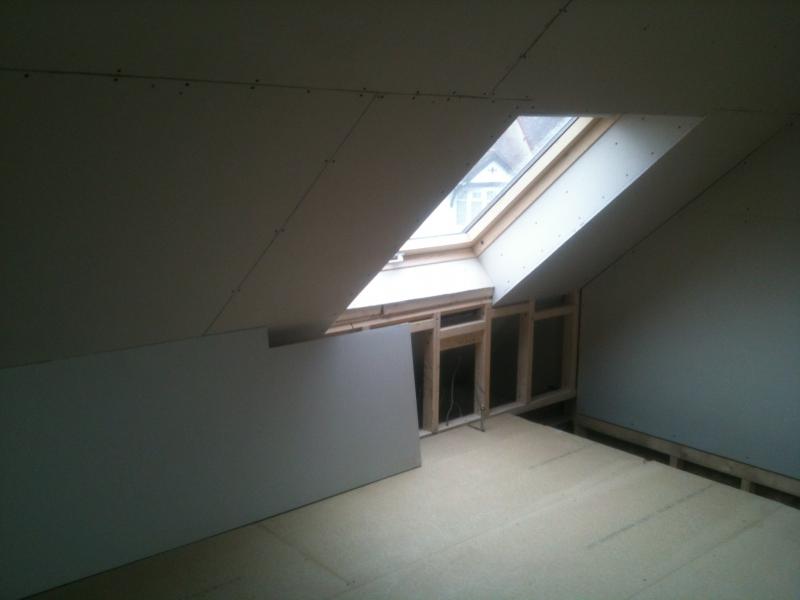
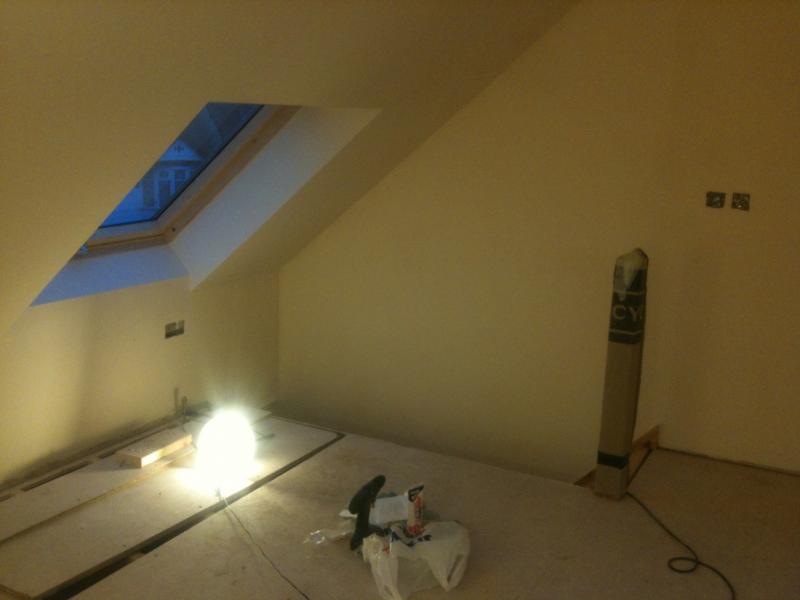
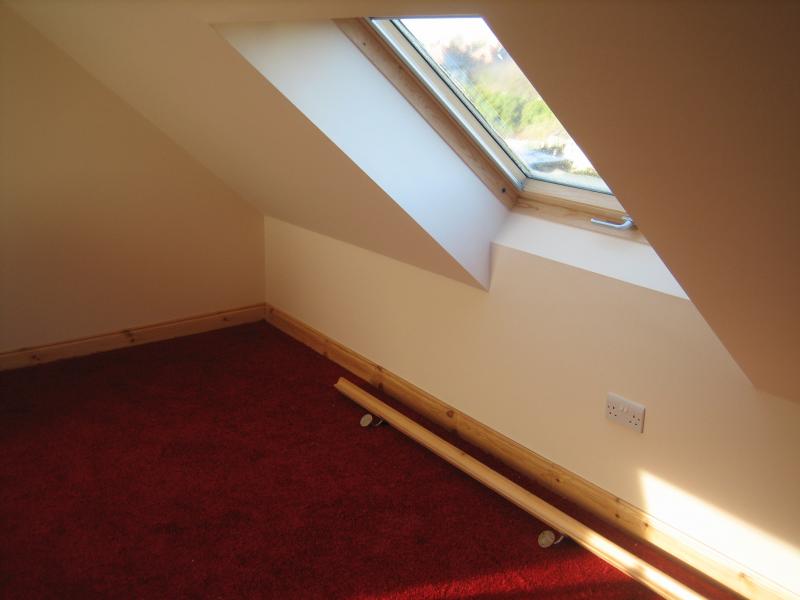
- No lintel, one could be added, but in order to get sufficient bearing width, I think either the top of the window would need dropping, or pull the RHS in.
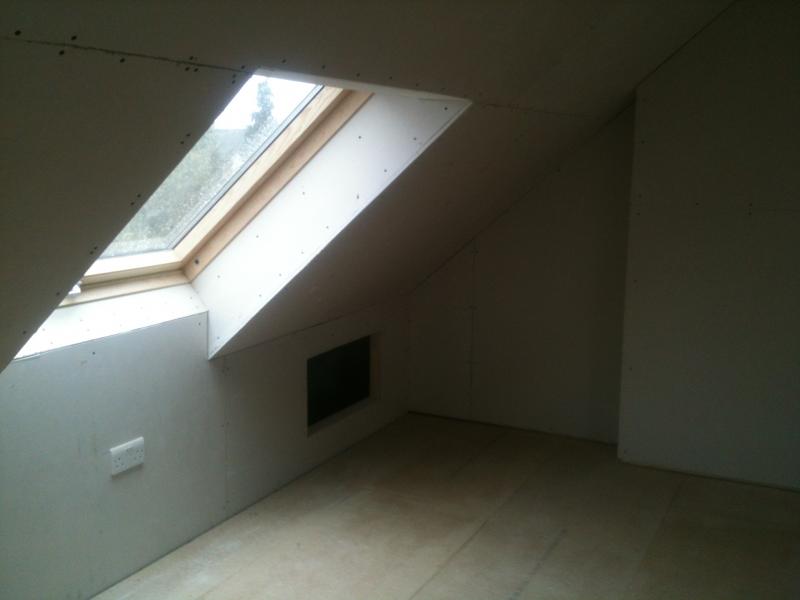
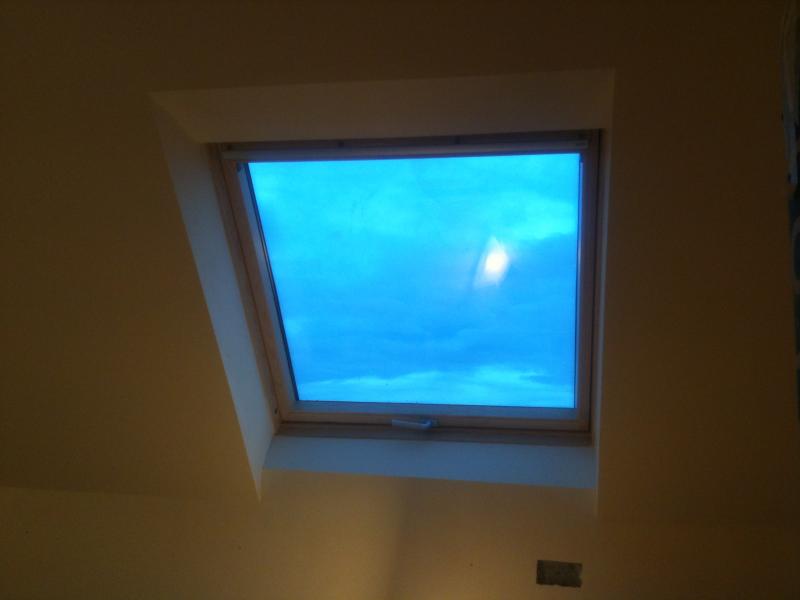
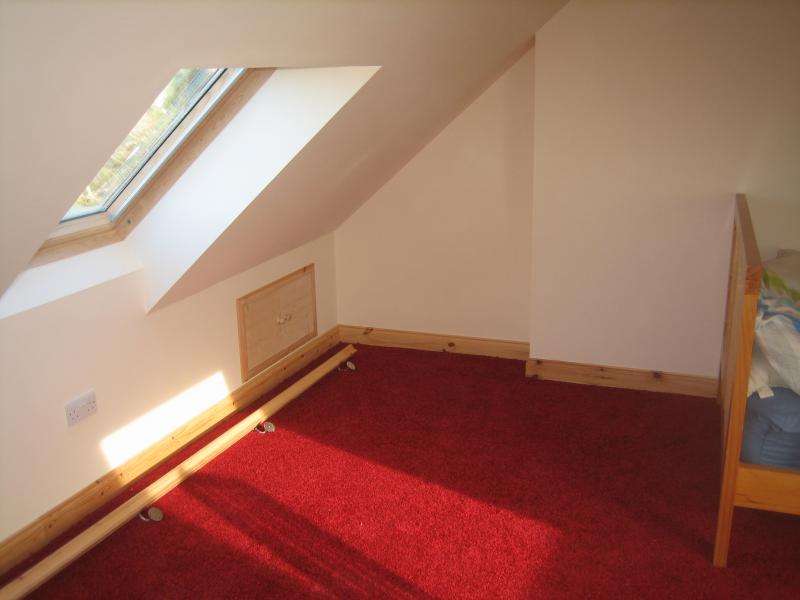
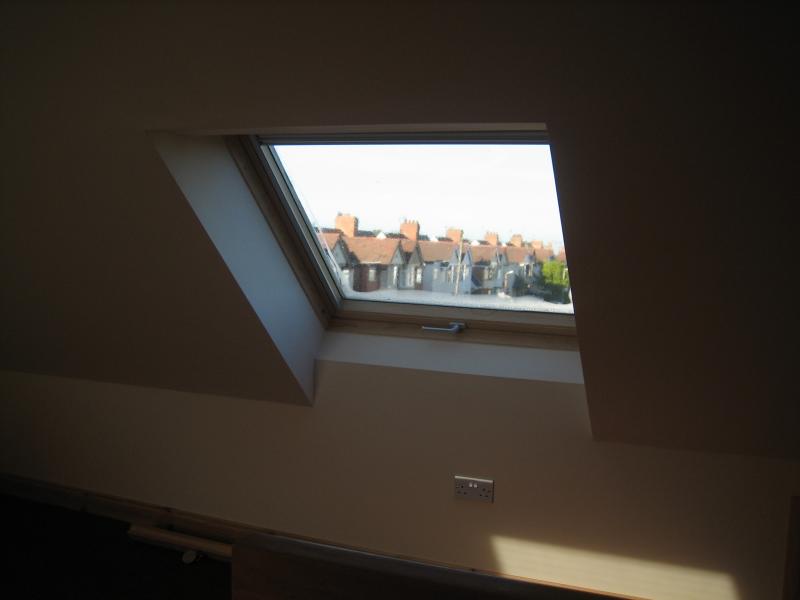
- It's a very low window, the bottom of it sits pretty much at floor height, people standing outside the shop next door can see straight up into the room so not very private. Also the regs would prevent it opening because of the height.
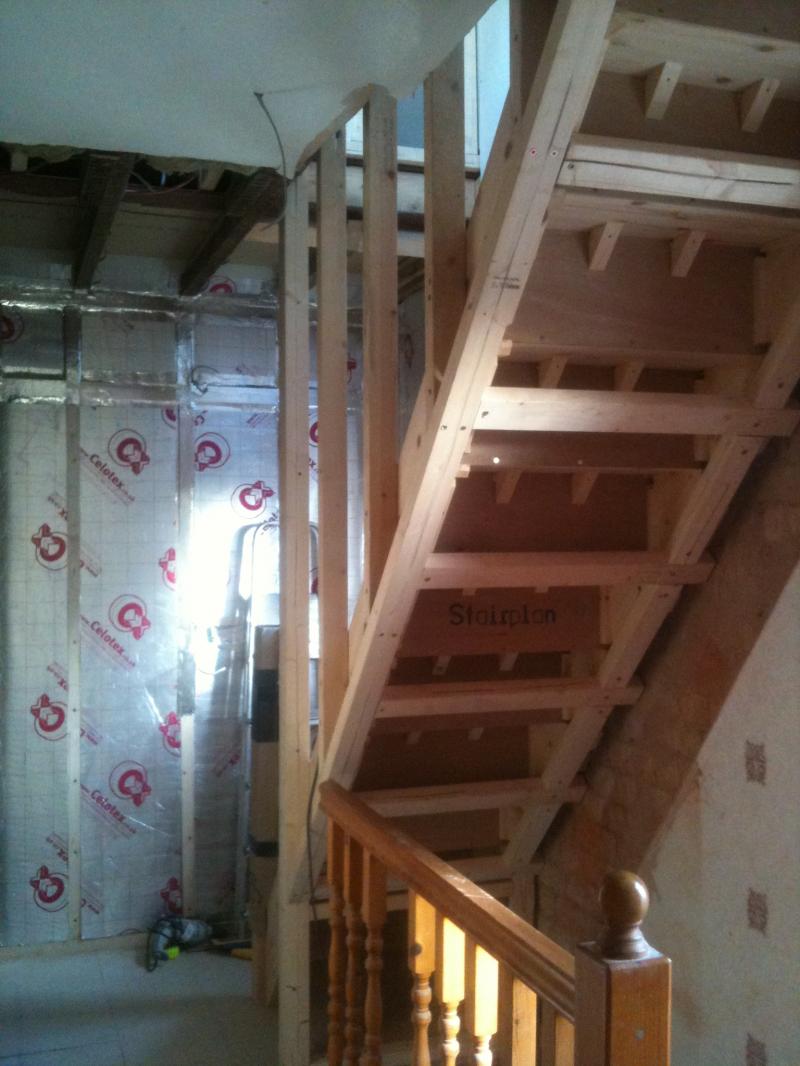
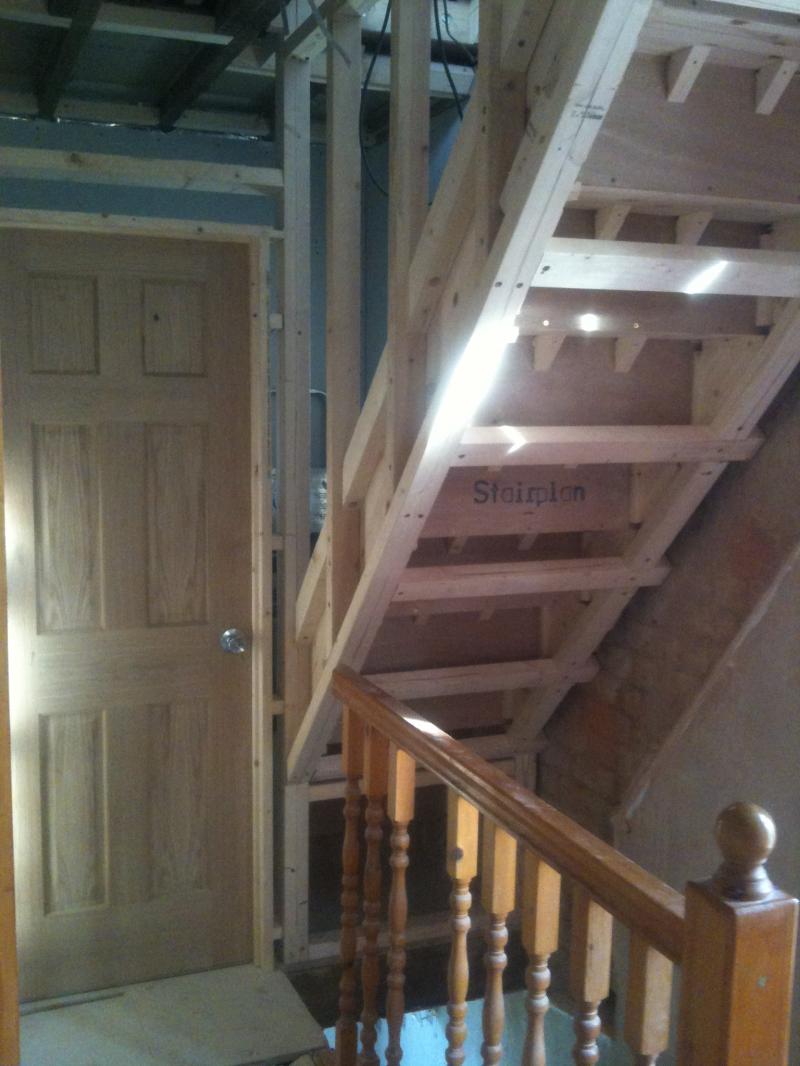
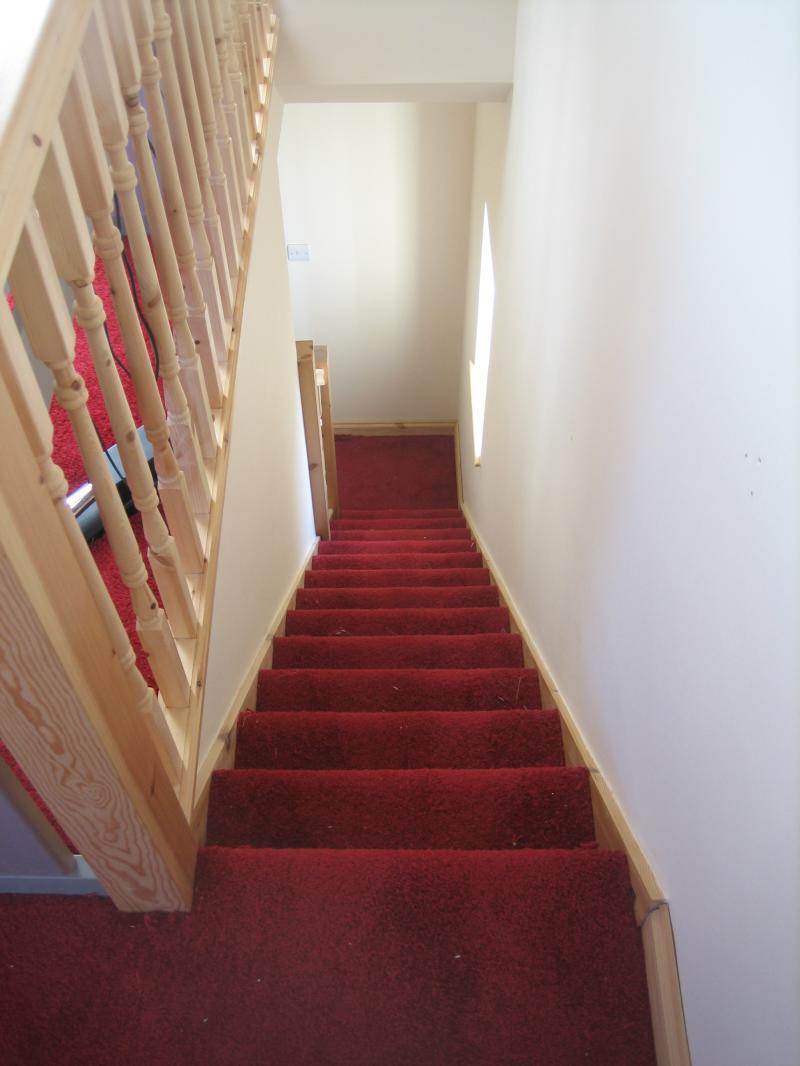
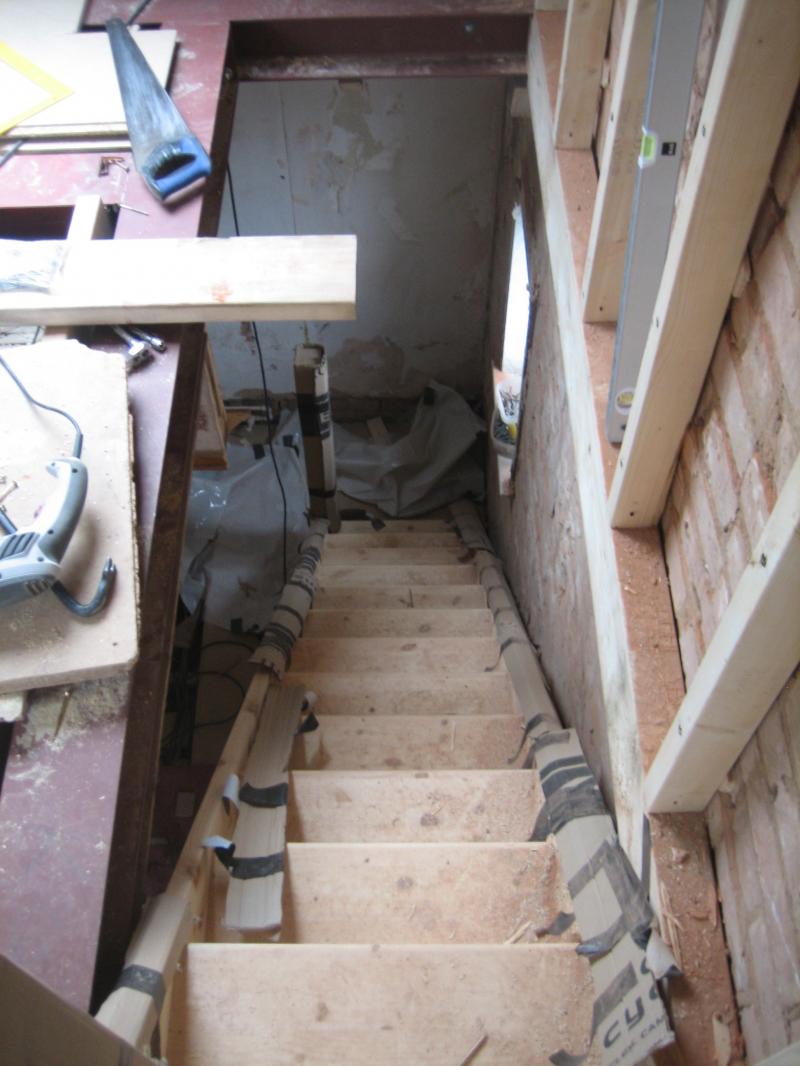
- It would interfere with the stair handrail, although I could probably have found a solution to that
- The cost of structural calcs, lintel and window didn't really justify an oddly placed non opening window


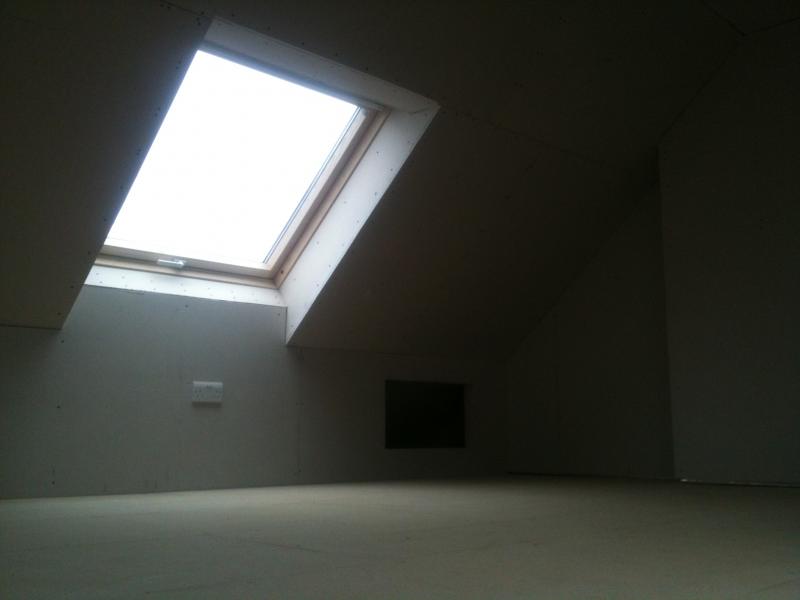
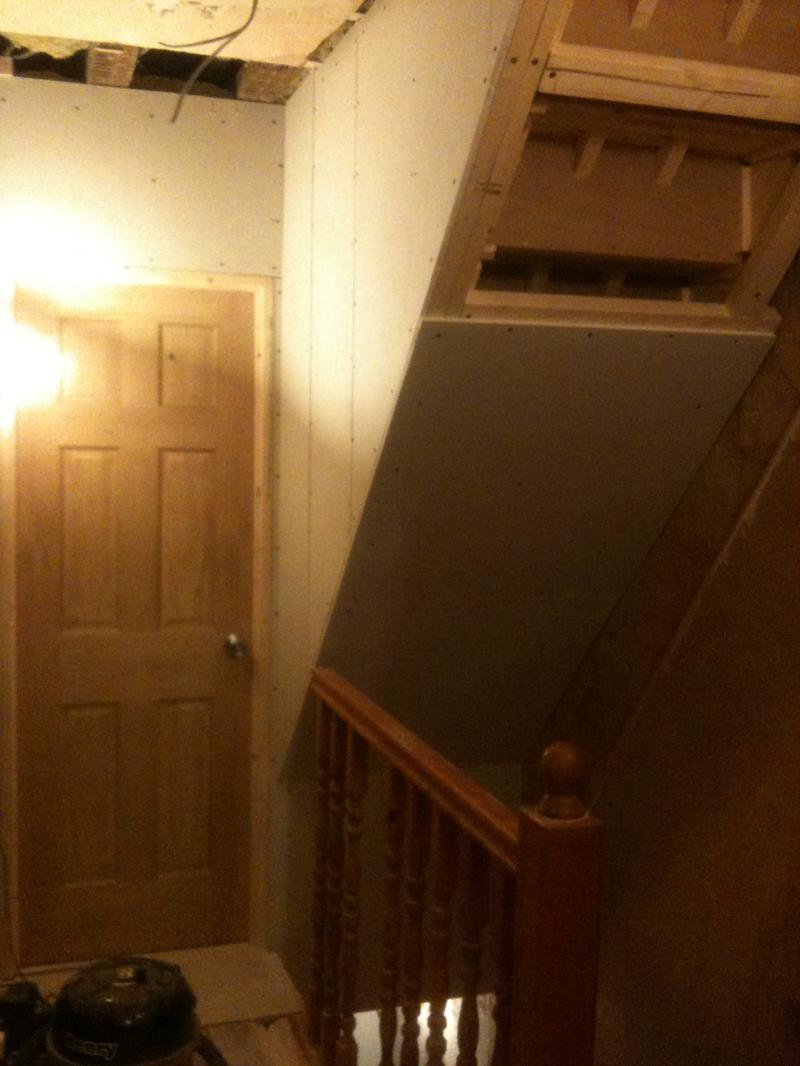
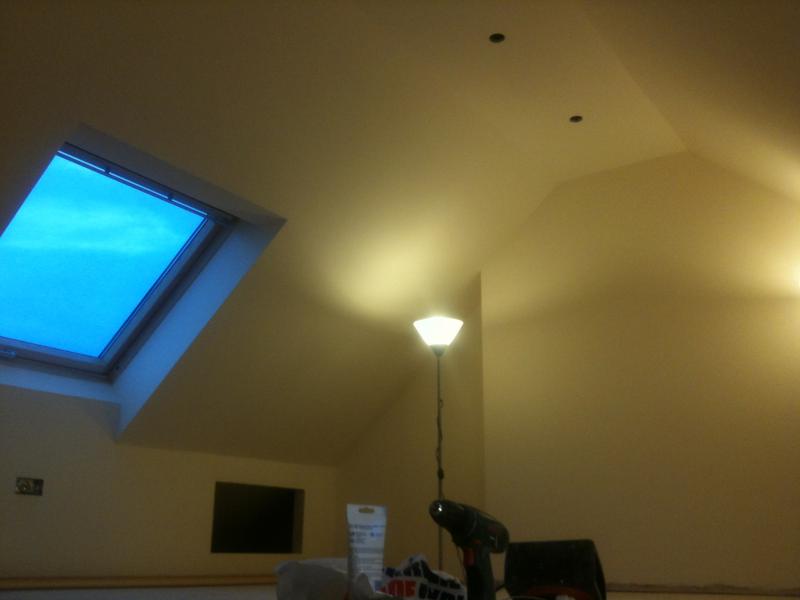
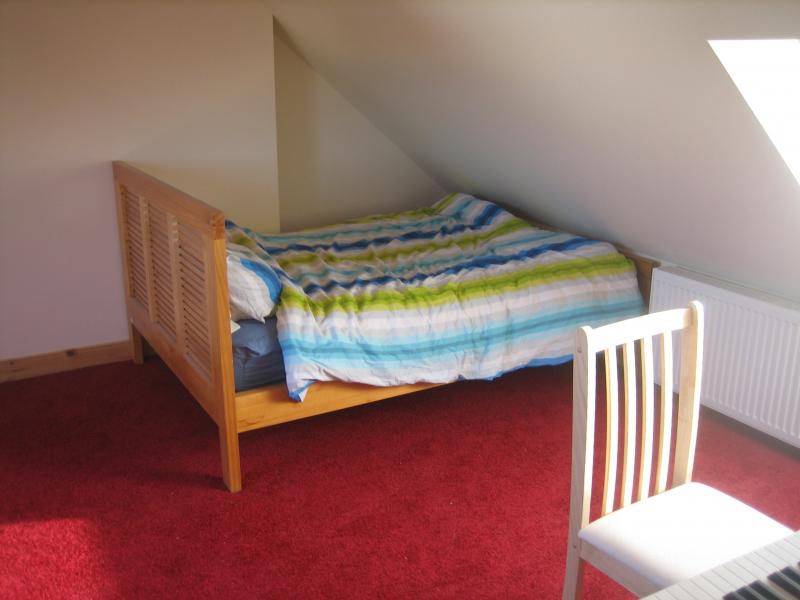
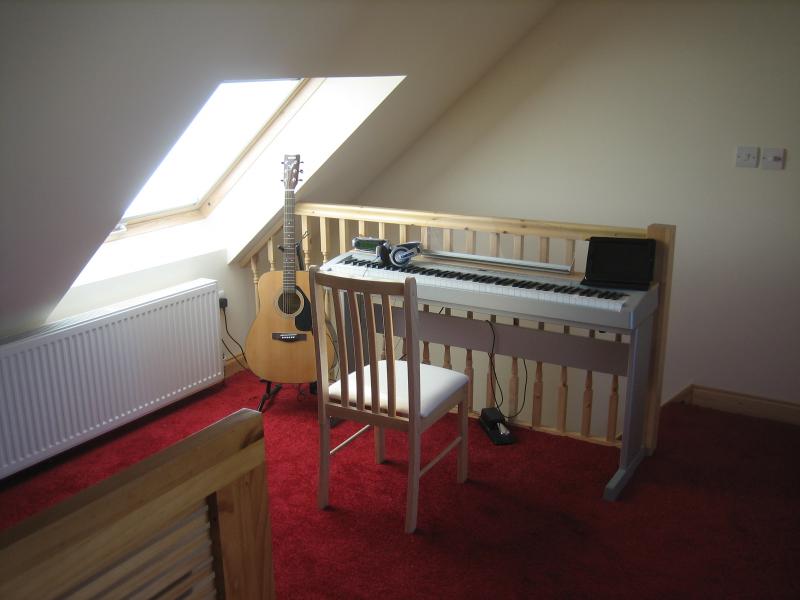
I've still got the option of putting one in, which I may do one day in the future when I've got some spare money (ha!), but it would be placed centrally and higher up. The room has plenty of light with the other two windows, and is now much more private, so I don't regret it too much.
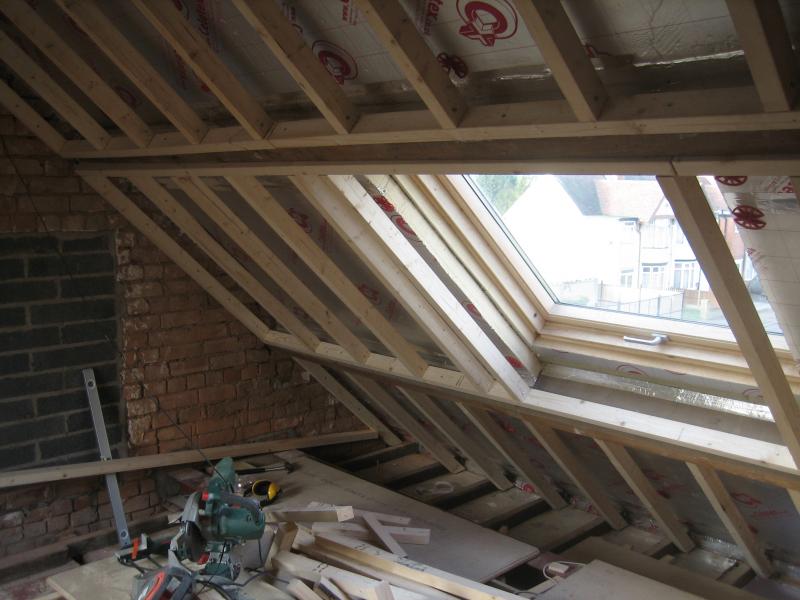
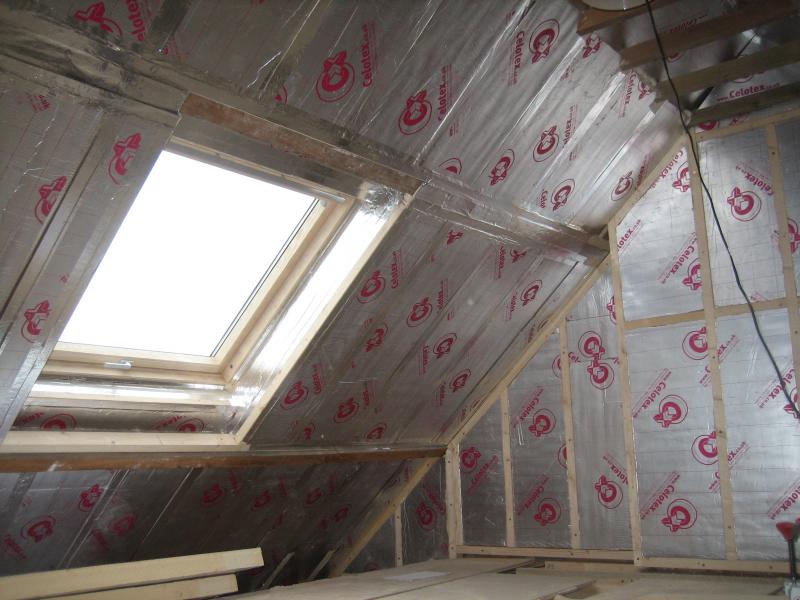
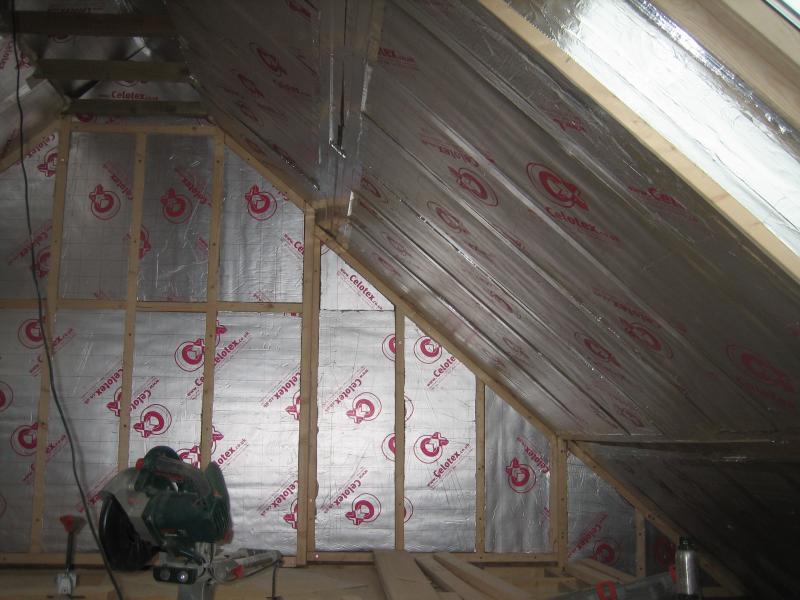
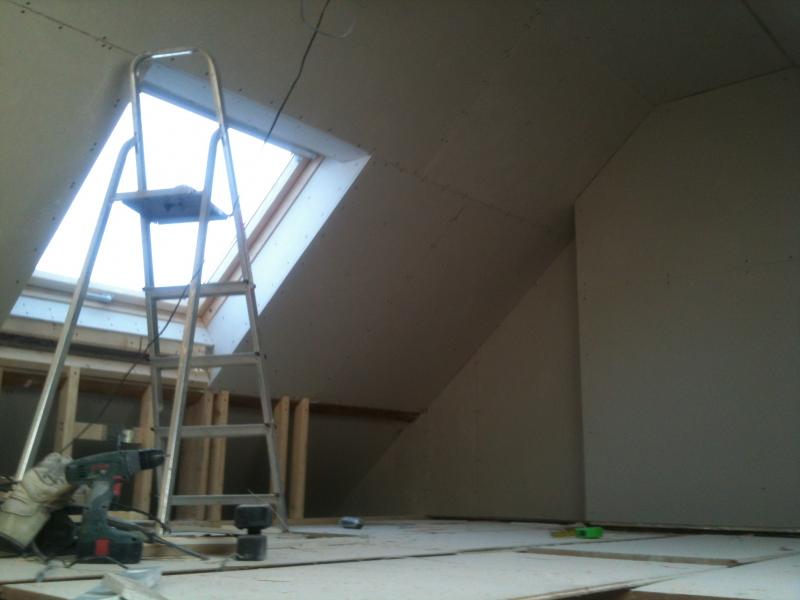
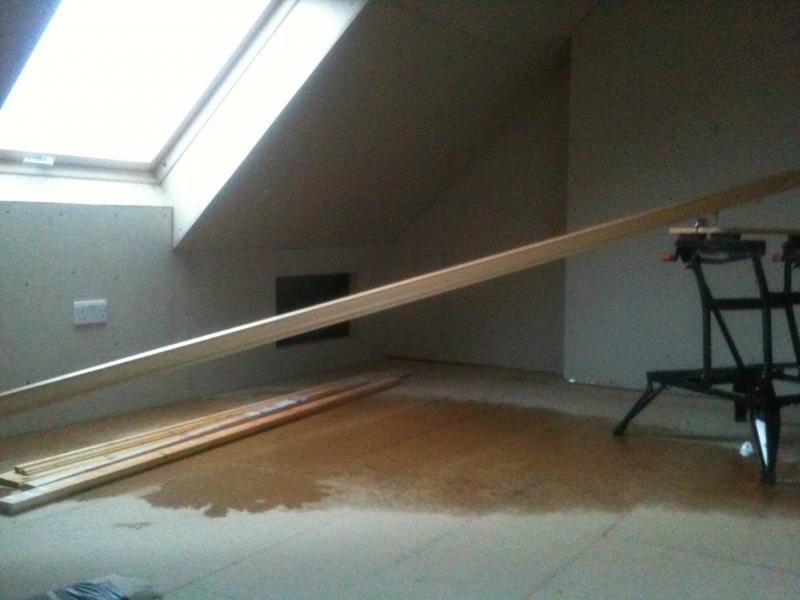
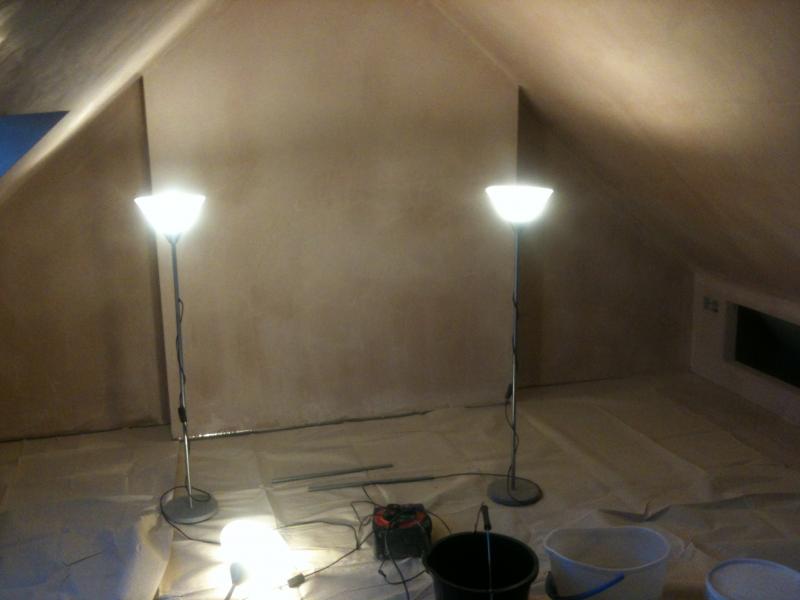
 
Sponsored Links
Lovely job Hammie.

I had my bungalow converted about 8 yrs to a dorma one. We lost a down stairs bedroom to accomadate the stairs which I have regretted for yrs.

may think about relocating them in the New YR.

Keep posting the pics.
 
Update time! Not much done during December but I'm back with it now. I decided I should do something about the bedroom ceiling first...


10 minutes later....


Floor joists are in, and ceiling studwork complete...


Landing meshed and insulation in place...


Stairs are in...


I was able to agree with BC to have a slightly steeper stair than normal (45 deg) to get the required headroom, which is still shallower than the 1st floor staircase (49 deg), and has better headroom to boot. The width of the stairs I ordered were only 1mm less than the width of the opening too, fit like a charm :) 2nd layer of roof insulation complete, and north wall insulation complete (still needs gaps filling and taping)...


I've framed up most of the south wall now, this is how far I've got as of today...


I should have the studwork and insulation complete in a week or 2, then it's on to flooring and plasterboarding, feel like I can finally see the end of this project on the horizon! More updates soon...
 
Looking good. I can appreciate how hard and long a job it takes when doing it by yourself. The insulation was the bit I detested most sawing all that foam. So your by that.

The stair you probably already realised but just in case. The minimium width will be your narrowest point ( normally the handrail to wall ) but you need 40mm clear on the other side of your ballustrade clear for your hand to run up the ballustrade. Its just something to remember before boarding the other side. I reckoned I had enough room until I attached the ballustrade. :rolleyes:
 
Sponsored Links
Long time no update! Work has been keeping me busy so progress in the loft has been slow, here's some pics of the latest developments. Sorry about the quality, these were taken on my phone since my camera has gone walkabout (probably gone and built it into one of the walls!)...

Dwarf wall studwork in place...

Plasterboarding begins...

Some random pics...

Plasterboarding upstairs complete...

The landing studwork, doors, insulation and plasterboarding progresses...

Word of warning, always close your skylights before you go to work, otherwise this happens. Doh!

Plaster skim complete...

Painting complete (today)...

Phew, there we are, only things left to do are:

- Get the electrics wired up
- Fit a half newel, handrails and spindles
- Fit the skirting boards
- Fit the door wood mouldings
- Hook up the radiator

I should be able to get the final inspection done in a few weeks, it's been an epic job and I'm extremely pleased with how it's turned out, I can honestly say if I did it again I wouldn't change a thing :)

Watch this space for a final update very soon!
 
Well I'm finally there, the room is now carpeted and inhabited! Building control made their final visit a couple of weeks ago and gave it the thumbs up, the inspector was very happy with the build and found no faults. Here's a few pics....


Since cost info on loft conversions seems pretty scarce, I thought I'd share with you how much I spent, I didn't put a great effort into finding deals so you could likely knock a bit off these prices with a bit of effort...

Plans and Structural Calcs - £350
Building Control Submission - £241
Building Control Inspections - £344
2 x Velux S06 Top Hung Windows - £832
2 x Velux Flashing - £183
Celotex Insulataion - £1051
Floor Joists - £220
Stairs - £620
Structural Steelworks - £3190
Bricking up old side window - £440
Rockwool Insulation - £150
Chipboard Flooring - £132
Plasterboard - £140
Electrics - £200
Plastering - £350
Lights - £200
Radiator - £100
4 x Fire doors - £528
Door Hanging - £200

Note this is just a list of the major costs I have to hand, it's missing several big costs like timber (I reckon I've used in the region of 1km!), I have a huge stack of reciepts to go through and add up the actual cost, I'll update when I get round to it.

Next job is to finish the rest of the house, which is only 3-4 weeks of completion (only skirting, painting and carpeting left), then I'm building bespoke furniture for the attic since absolutely no standard stuff will fit!

I'd just like to say thanks to everyone on these forums, I'd have been lost without you and almost certainly wouldn't have taken on such a bonkers project without getting inspirations from many of the other projects on here. For anyone reading this thinking of doing something similar yourselves, do it! You'll regret taking it on half way through but push through to the end and you'll be incredibly happy you did it :D

Hammie
 
Thanks for writing this all up, somewhat similar to one I intend to embark on although will be starting from scratch.

Would be interested to know who you used for the steels, that's the one part I'm struggling on
 
Unfortunately my builder sourced the steel, I think they came from a local steelworks fabricator, I'm sure there's builders on here that could recommend you some suppliers?
 
Unfortunately my builder sourced the steel, I think they came from a local steelworks fabricator, I'm sure there's builders on here that could recommend you some suppliers?

Thanks, any idea what they cost?
 
Somewhere between £1000 and £1500, not sure the exact amount the builder paid (i paid the builder £3190 to purchase and install the steel). That was for 5 lengths of universal column (approx 6m long each, 150mm x 30kg/m I think), one of them had a couple of clevis' welded on the ends.
 
Somewhere between £1000 and £1500, not sure the exact amount the builder paid (i paid the builder £3190 to purchase and install the steel). That was for 5 lengths of universal column (approx 6m long each, 150mm x 30kg/m I think), one of them had a couple of clevis' welded on the ends.

Thanks again, did you also have to put padstones in? My steels will be a bit bigger, 7.8m and 307mm *150mm (not sure how big your height on the steels was)

How long did it take the builder to put them in? Was there much disruption to the roof?
 
No padstones were required in my case, the brickwork had sufficient compressive strength to situate the steel directly on them (with a bit of shimming), you'd need calculations to verify though. My steels were universal columns so roughly 150 x 150.

The steels had no affect on the roof at all, the builders knocked holes in the rear gable wall, and holes through the inner leaf of the front gable wall (I.e. only half way through the wall), they brought the steel through the window and through the holes in the rear gable wall, then pulled them back to place them in the holes in the front gable wall. Doing this meant the roof was untouched and they didn't need to patch any external holes in the front gable wall, the rear gable wall faced next door so no one can see the marks on that side. Think it took 2 days to put the steels in.
 
What an excellent thread! Well documented and and photographed, informative and logically presented.

I am at the start of the process and currently have more questions than answers but I will definitely be using this thread as a point of reference.

I don't know what your trade is but I think that you would be hard pushed to get a better job done anywhere, well done.

Will.

I just did my loft Will.

Check my pics in my Loft album.

This thread is great and wish I had made notes like on here.
 

DIYnot Local

Staff member

If you need to find a tradesperson to get your job done, please try our local search below, or if you are doing it yourself you can find suppliers local to you.

Select the supplier or trade you require, enter your location to begin your search.


Are you a trade or supplier? You can create your listing free at DIYnot Local

 
Sponsored Links
Back
Top