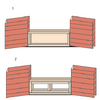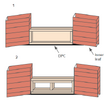

Scratching my head on how to appropriately finish the splayed cavity wall of my patio doors (See below).
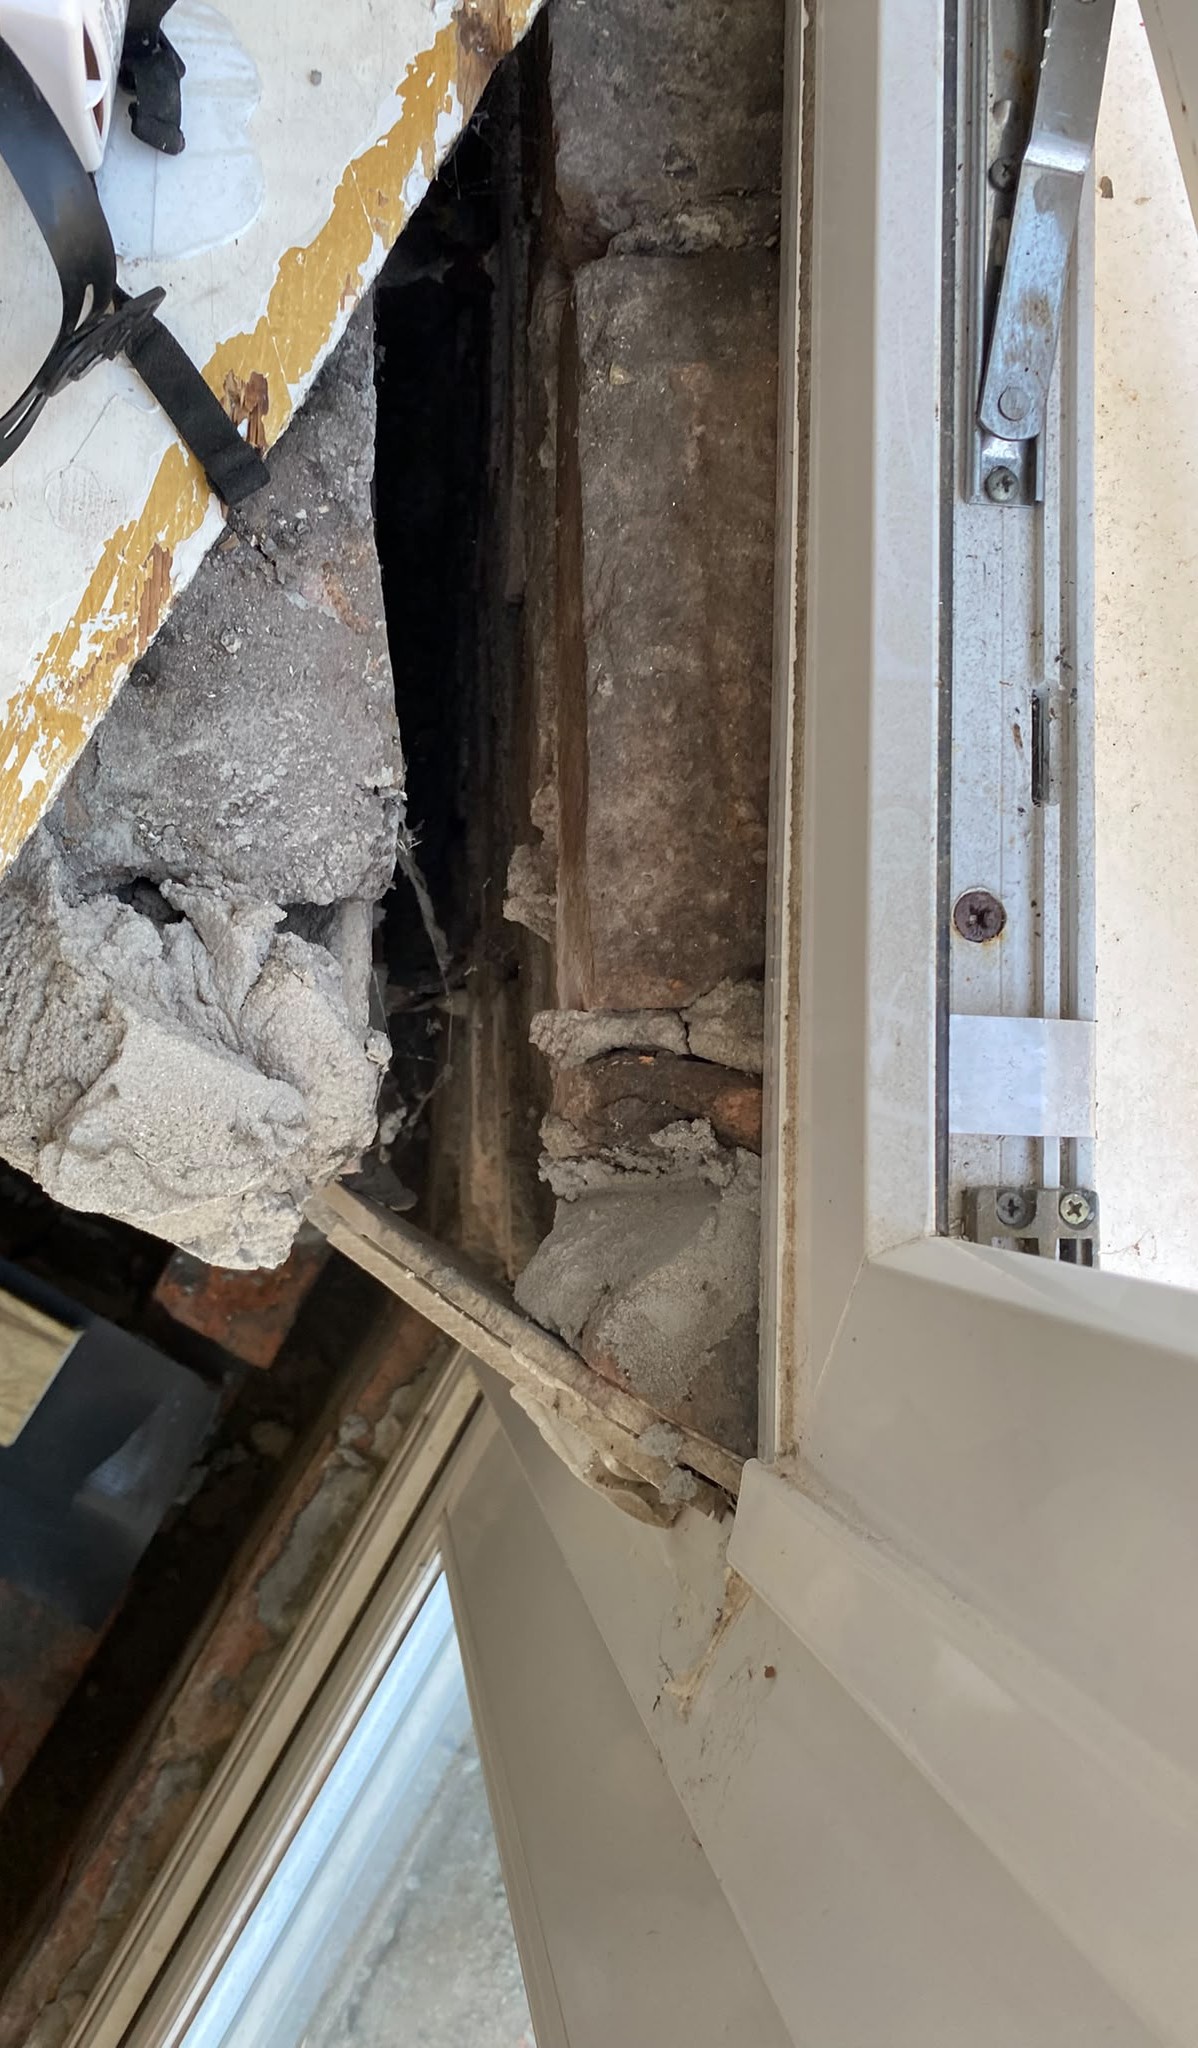
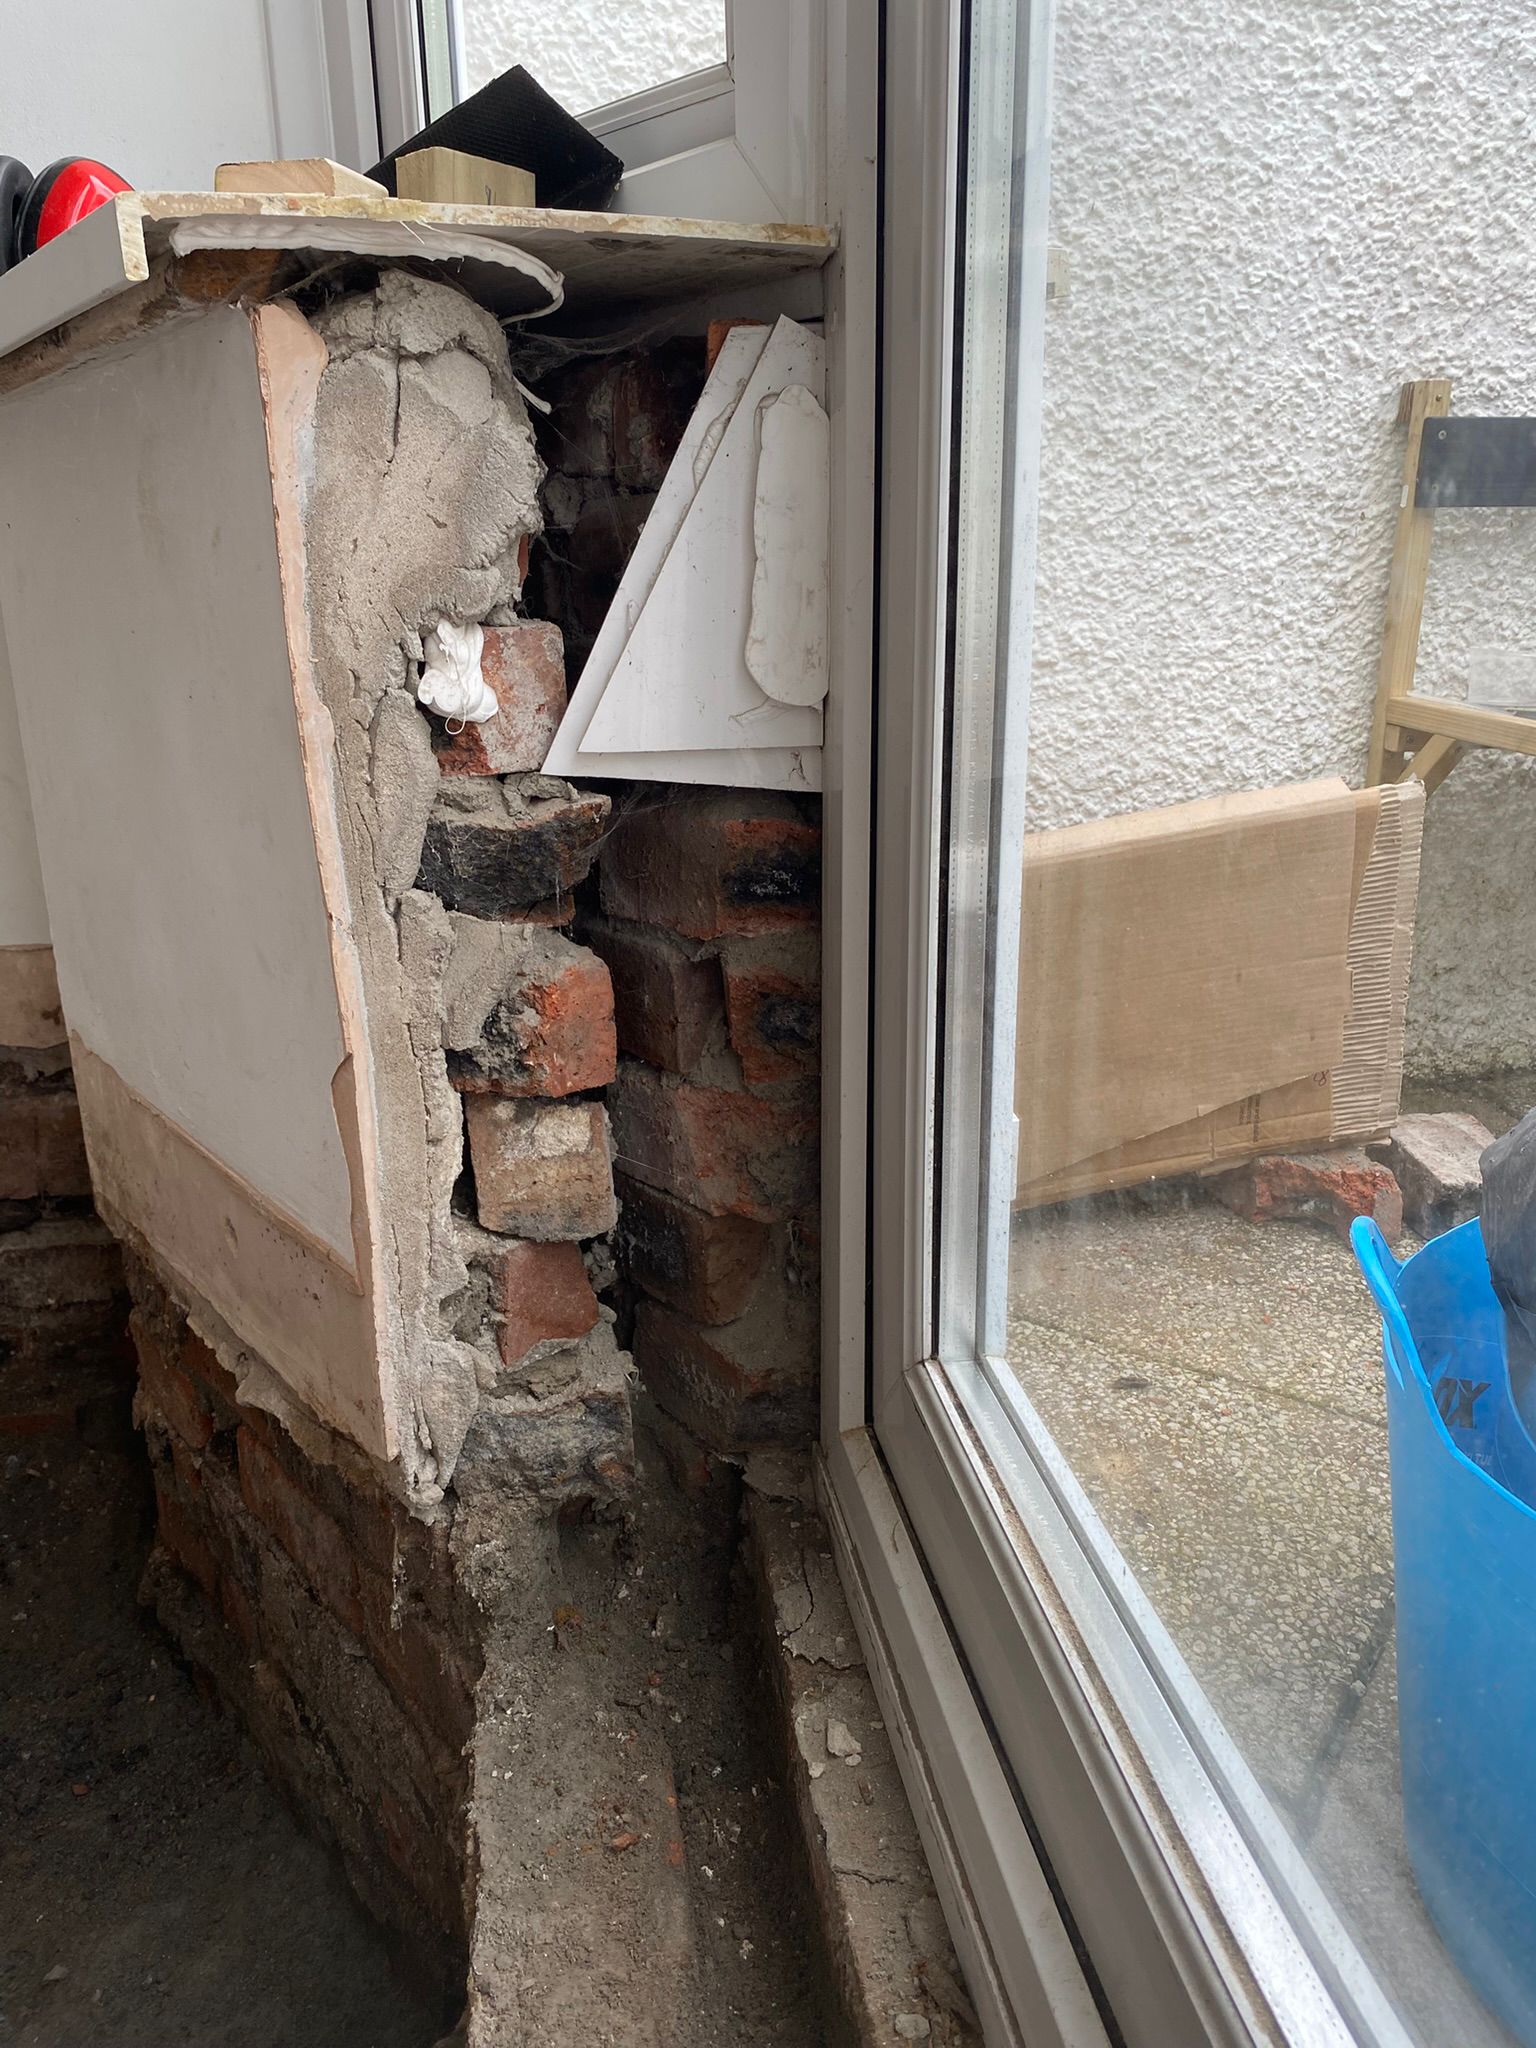
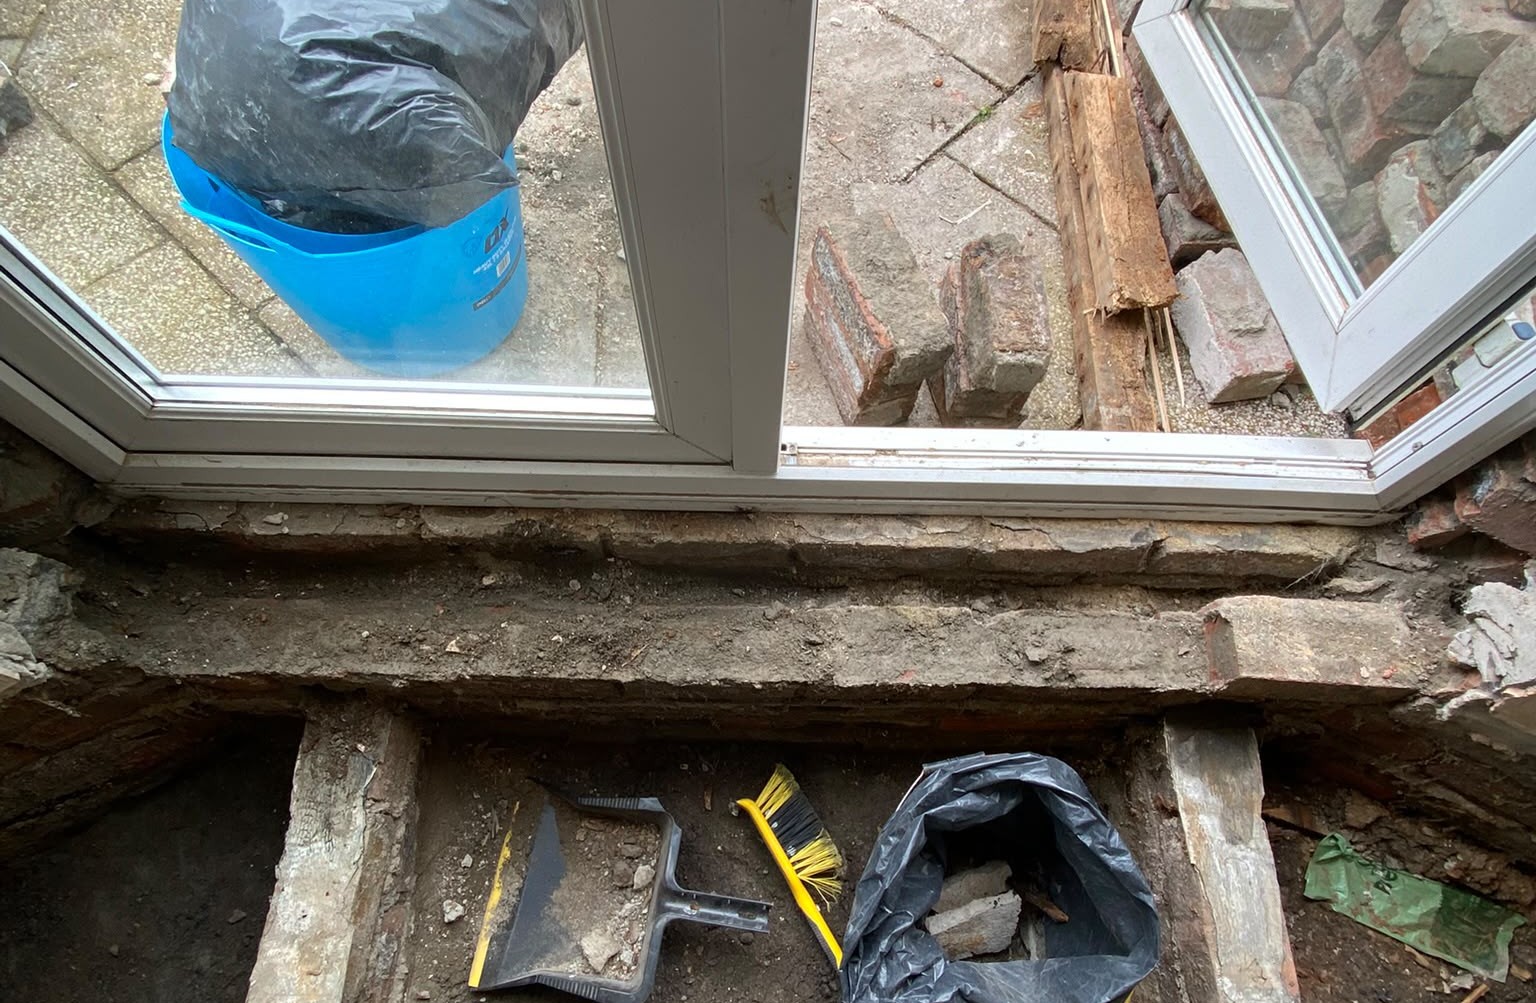
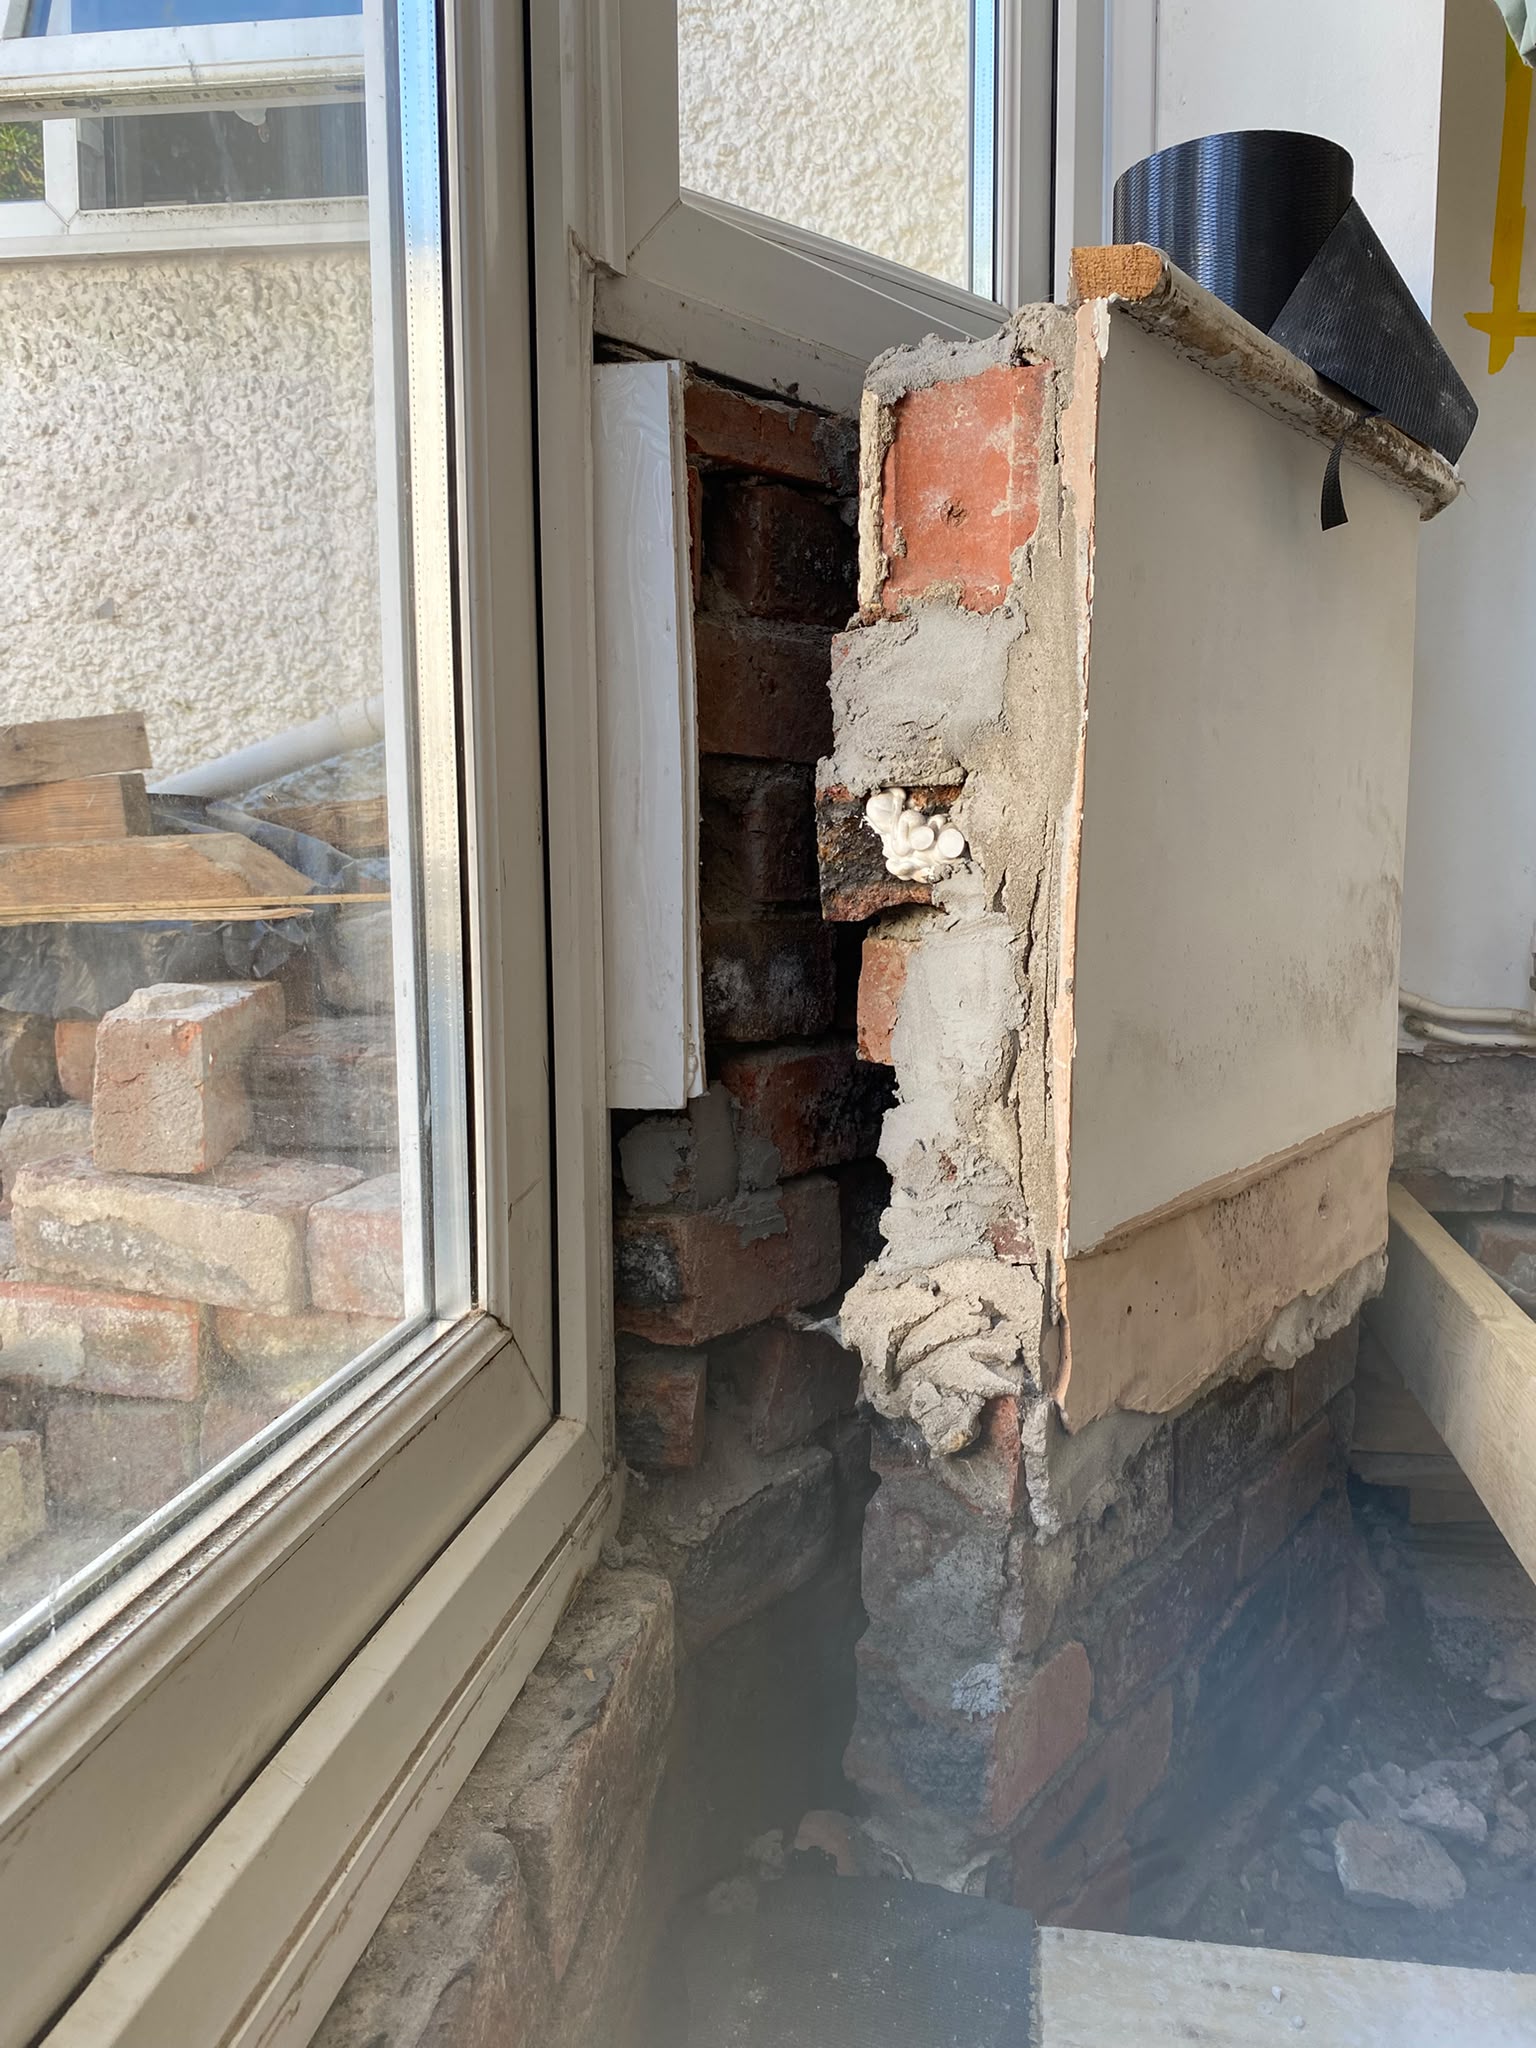
I want to close cavity along its opening, and not block cross flow of air. The opening ranges from 50 to 60 mm. Originally, uPVC was installed on the upright reveal, and a lipped window sill that was not sealed. There were points where the cavity vented into the living space. A wood board was placed on top of the exterior and interior wall, over the cavity, with no moisture protection and was rotted. The whole space had significant damp issues which have been rectified.
Is it sufficient to wedge fit PIR, and close gaps with expanding foam. I have PIR of suitable thickness on hand. Am I right in thinking:
- Some sort of moisture protection is not needed for wedge fitting the PIR? I will aluminium tape exposed PIR.
- the space behind the PIR is open and freely vented into the suspend floor space and external wall vents
- the cavity has been cleared.
Or, Would really be a lot easier to get cavity closers? I presume, saving me a lot of hassle.
Afterwards, I assume my best option is to dot and dab plasterboard to cover the upright reveal? on this part, does the PB tuck in between the PVC door frame and masonry, with space so it does not butt up against the exterior leaf?
- I would need to take back some of the mortar on the reveals for space to dot and dab, and to try to meet the plaster corner.
I want to close cavity along its opening, and not block cross flow of air. The opening ranges from 50 to 60 mm. Originally, uPVC was installed on the upright reveal, and a lipped window sill that was not sealed. There were points where the cavity vented into the living space. A wood board was placed on top of the exterior and interior wall, over the cavity, with no moisture protection and was rotted. The whole space had significant damp issues which have been rectified.
Is it sufficient to wedge fit PIR, and close gaps with expanding foam. I have PIR of suitable thickness on hand. Am I right in thinking:
- Some sort of moisture protection is not needed for wedge fitting the PIR? I will aluminium tape exposed PIR.
- the space behind the PIR is open and freely vented into the suspend floor space and external wall vents
- the cavity has been cleared.
Or, Would really be a lot easier to get cavity closers? I presume, saving me a lot of hassle.
Afterwards, I assume my best option is to dot and dab plasterboard to cover the upright reveal? on this part, does the PB tuck in between the PVC door frame and masonry, with space so it does not butt up against the exterior leaf?
- I would need to take back some of the mortar on the reveals for space to dot and dab, and to try to meet the plaster corner.