

Hi,
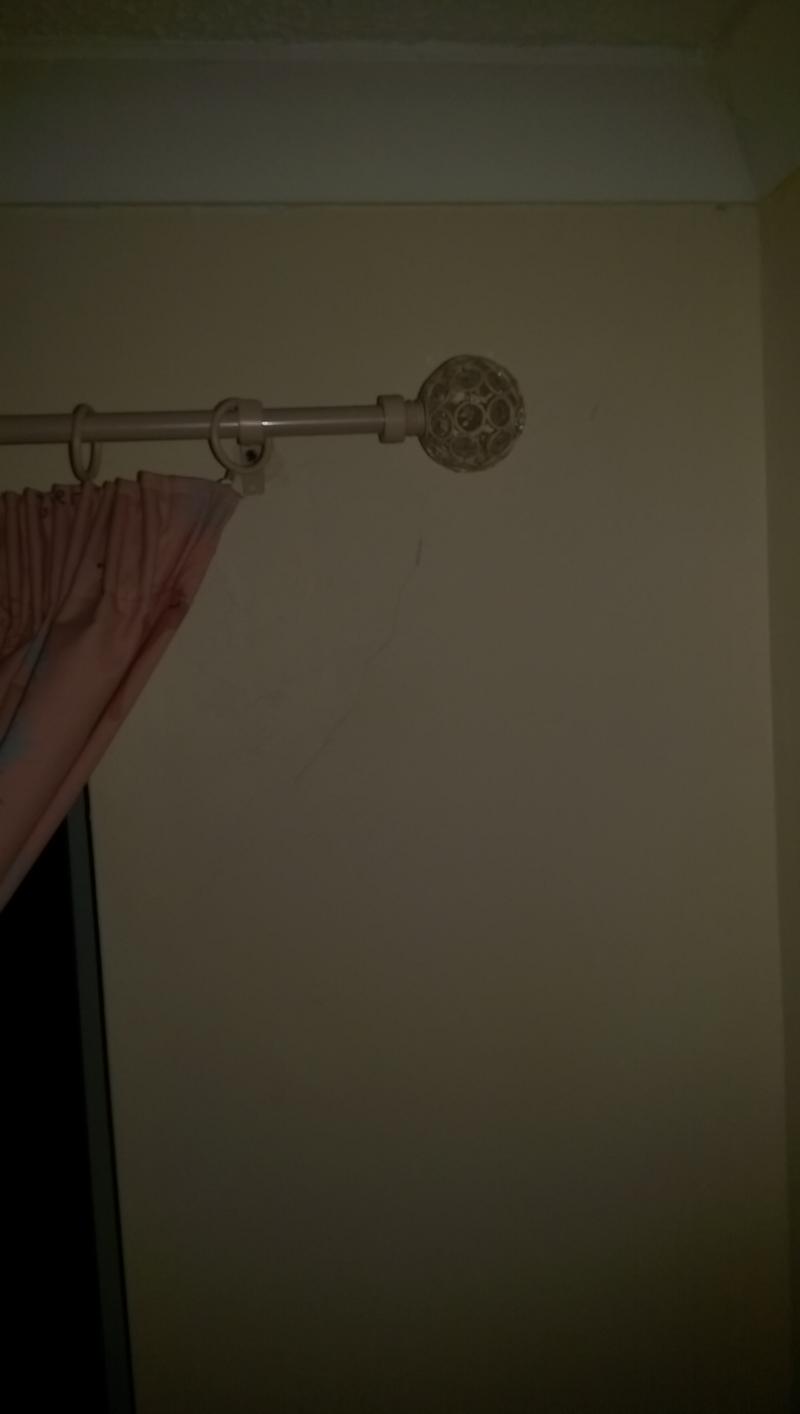
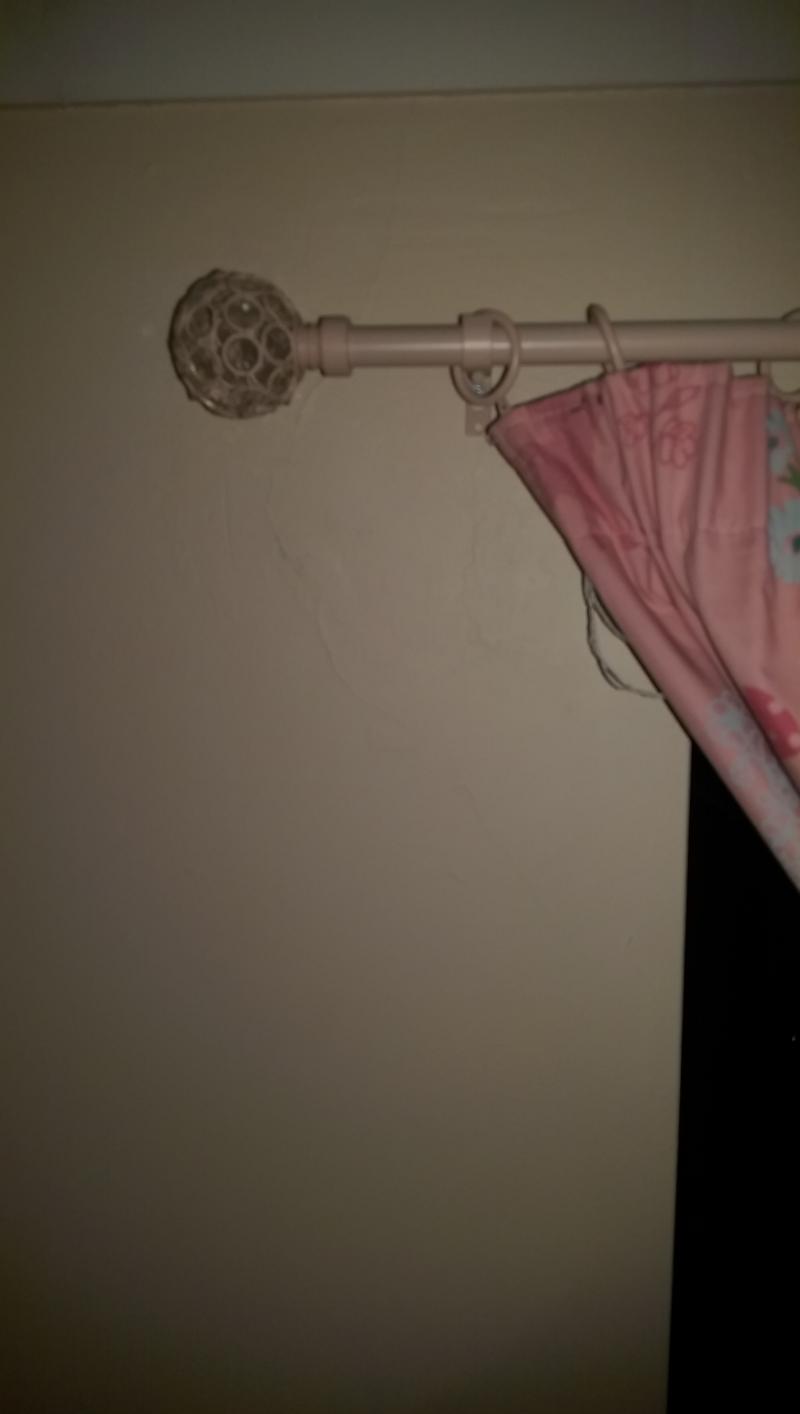
We have a 1960's semi, been in 18 months. Have noticed over the last 12 months (since a repaint) that there are hairline cracks (you have to squint to see them on the photos) around each end of a boot lintel on the inside wall. The window recess is 5 ft wide, and is an upstairs bedroom window on a south facing gable end, with cavity walls. The gable covers this bedroom and the bathroom next to it, so the window does not sit centrally under the gable.
I've read about boot lintels rolling due to only being held by the inner leaf, could this be what I'm looking at here? There are no signs of cracks externally in the same place having hung out of the window and had a look. The dining room window, which is the same size and directly below this room is NOT showing any sort of cracks, having recently re-papered and taken back to plaster before xmas.
Some other areas on this particular south facing wall have already been attributed to thermal expansion by the surveyor prior to house purchase.
Should I just rake out and fill with clear silicone, or do I need someone in for a proper look? (First house purchase and not massively clued up on cracks)
Any replies greatly appreciated....
")