Making ledge and brace doors

Joined
10 Mar 2014
Messages
9
Reaction score
0
Location
Dorset
Country
United Kingdom
Hi
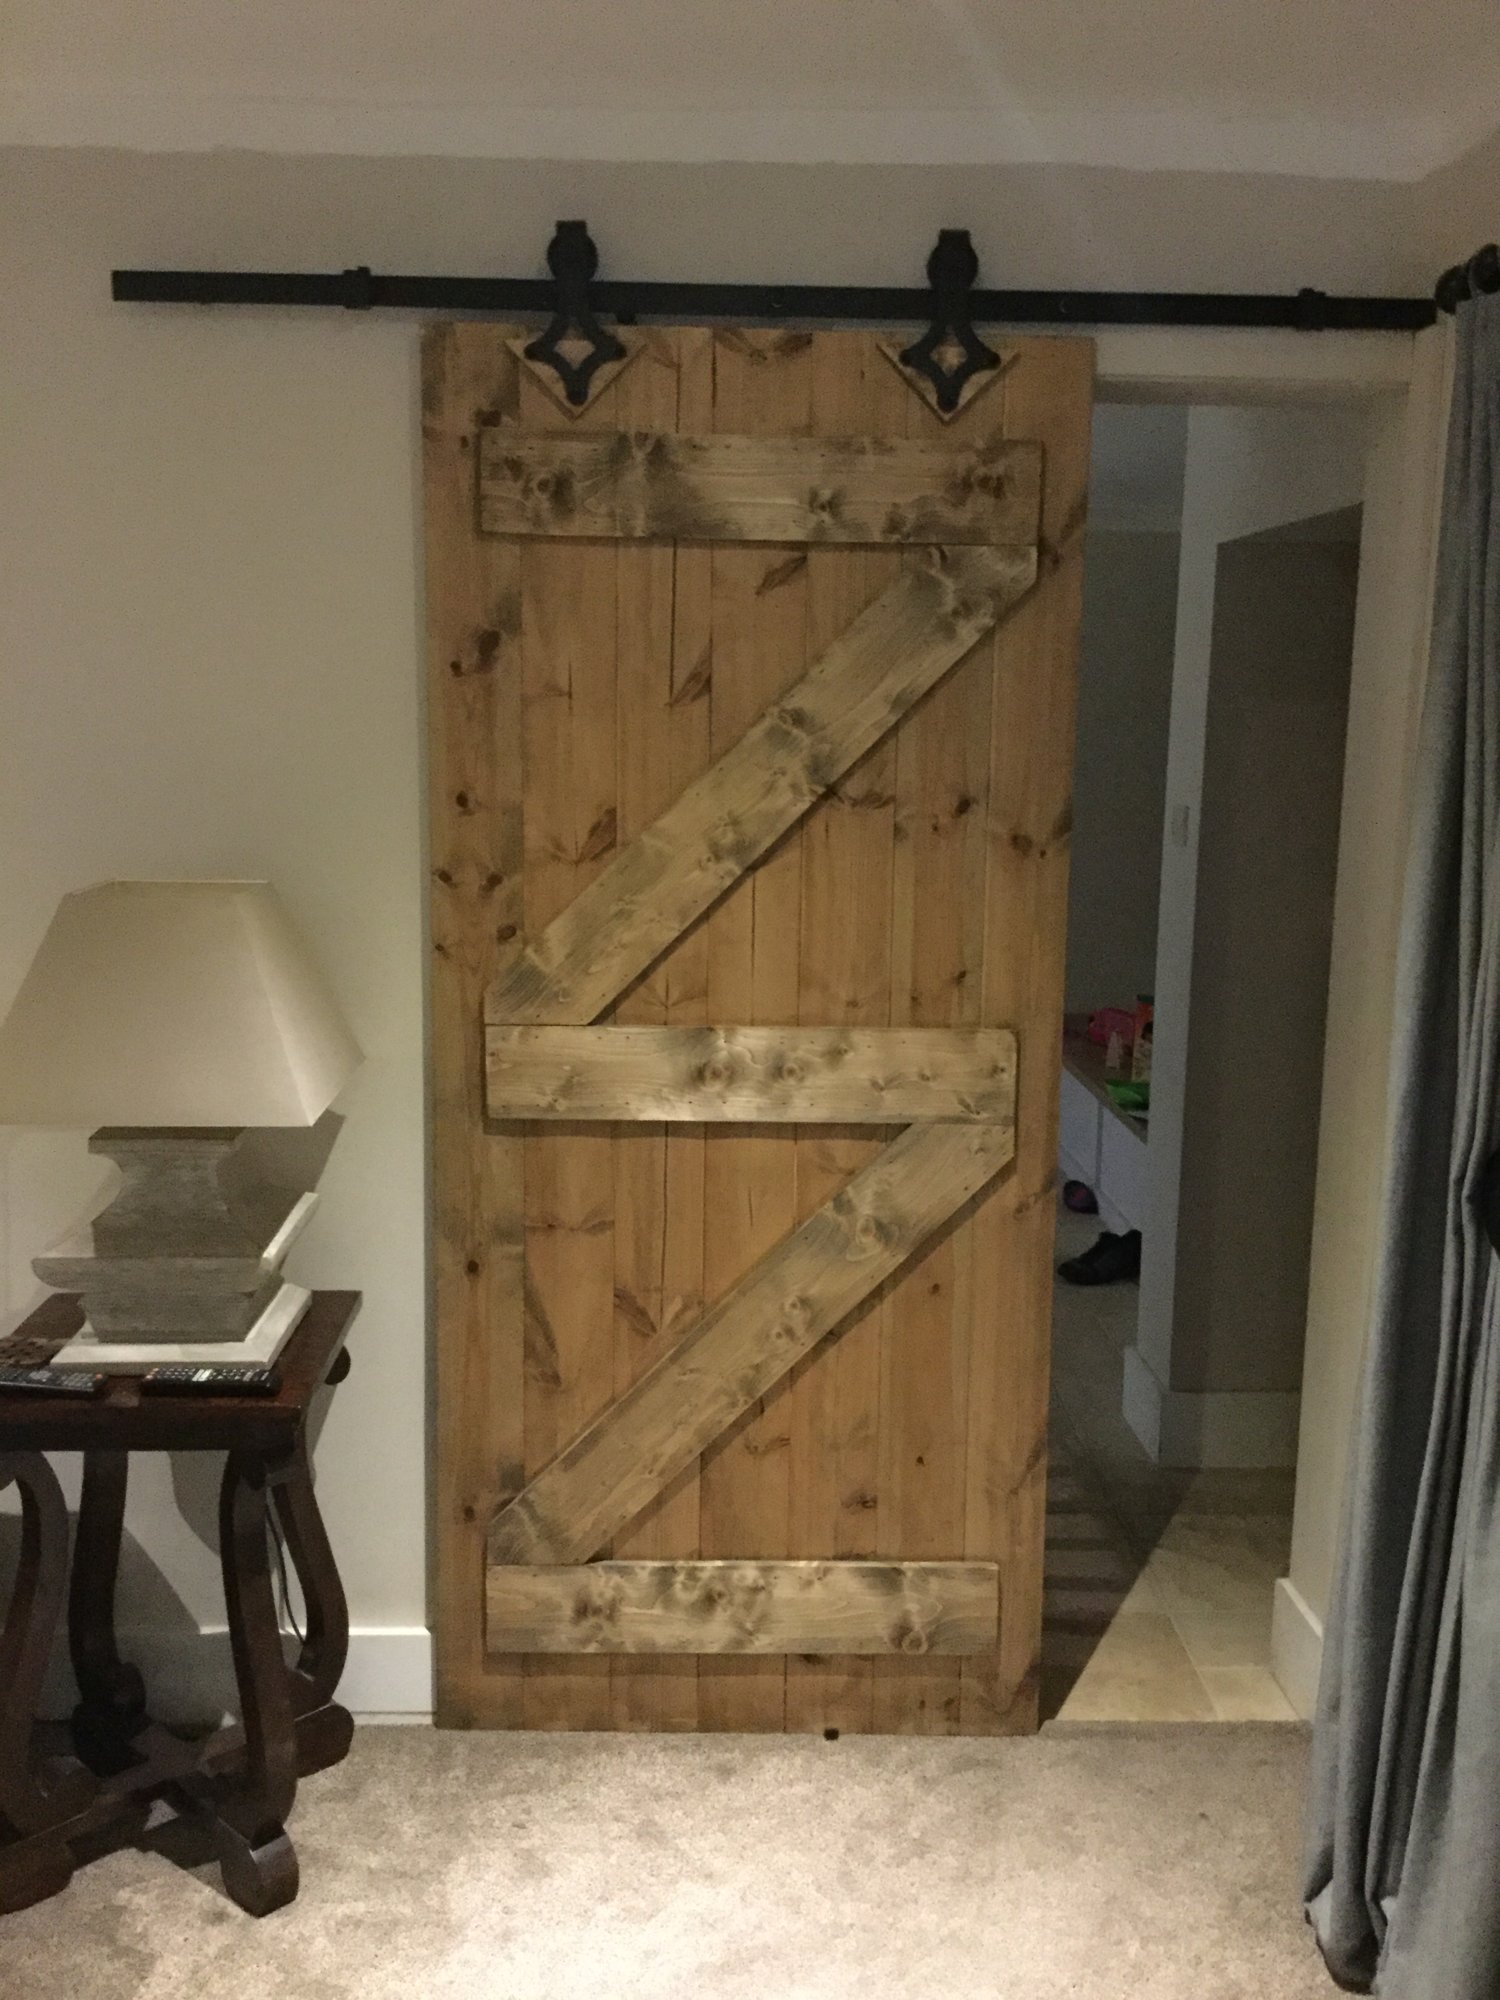
We're doing up an old cottage that has some low and narrow doorways (most are barely 6' high). We can't buy ready made doors from a DIY store or builders' merchant as they would all be too big to cut down so I've been thinking of trying to make some ledge and brace doors.

I've read through a couple of old threads on the subject but wanted to check a few things:
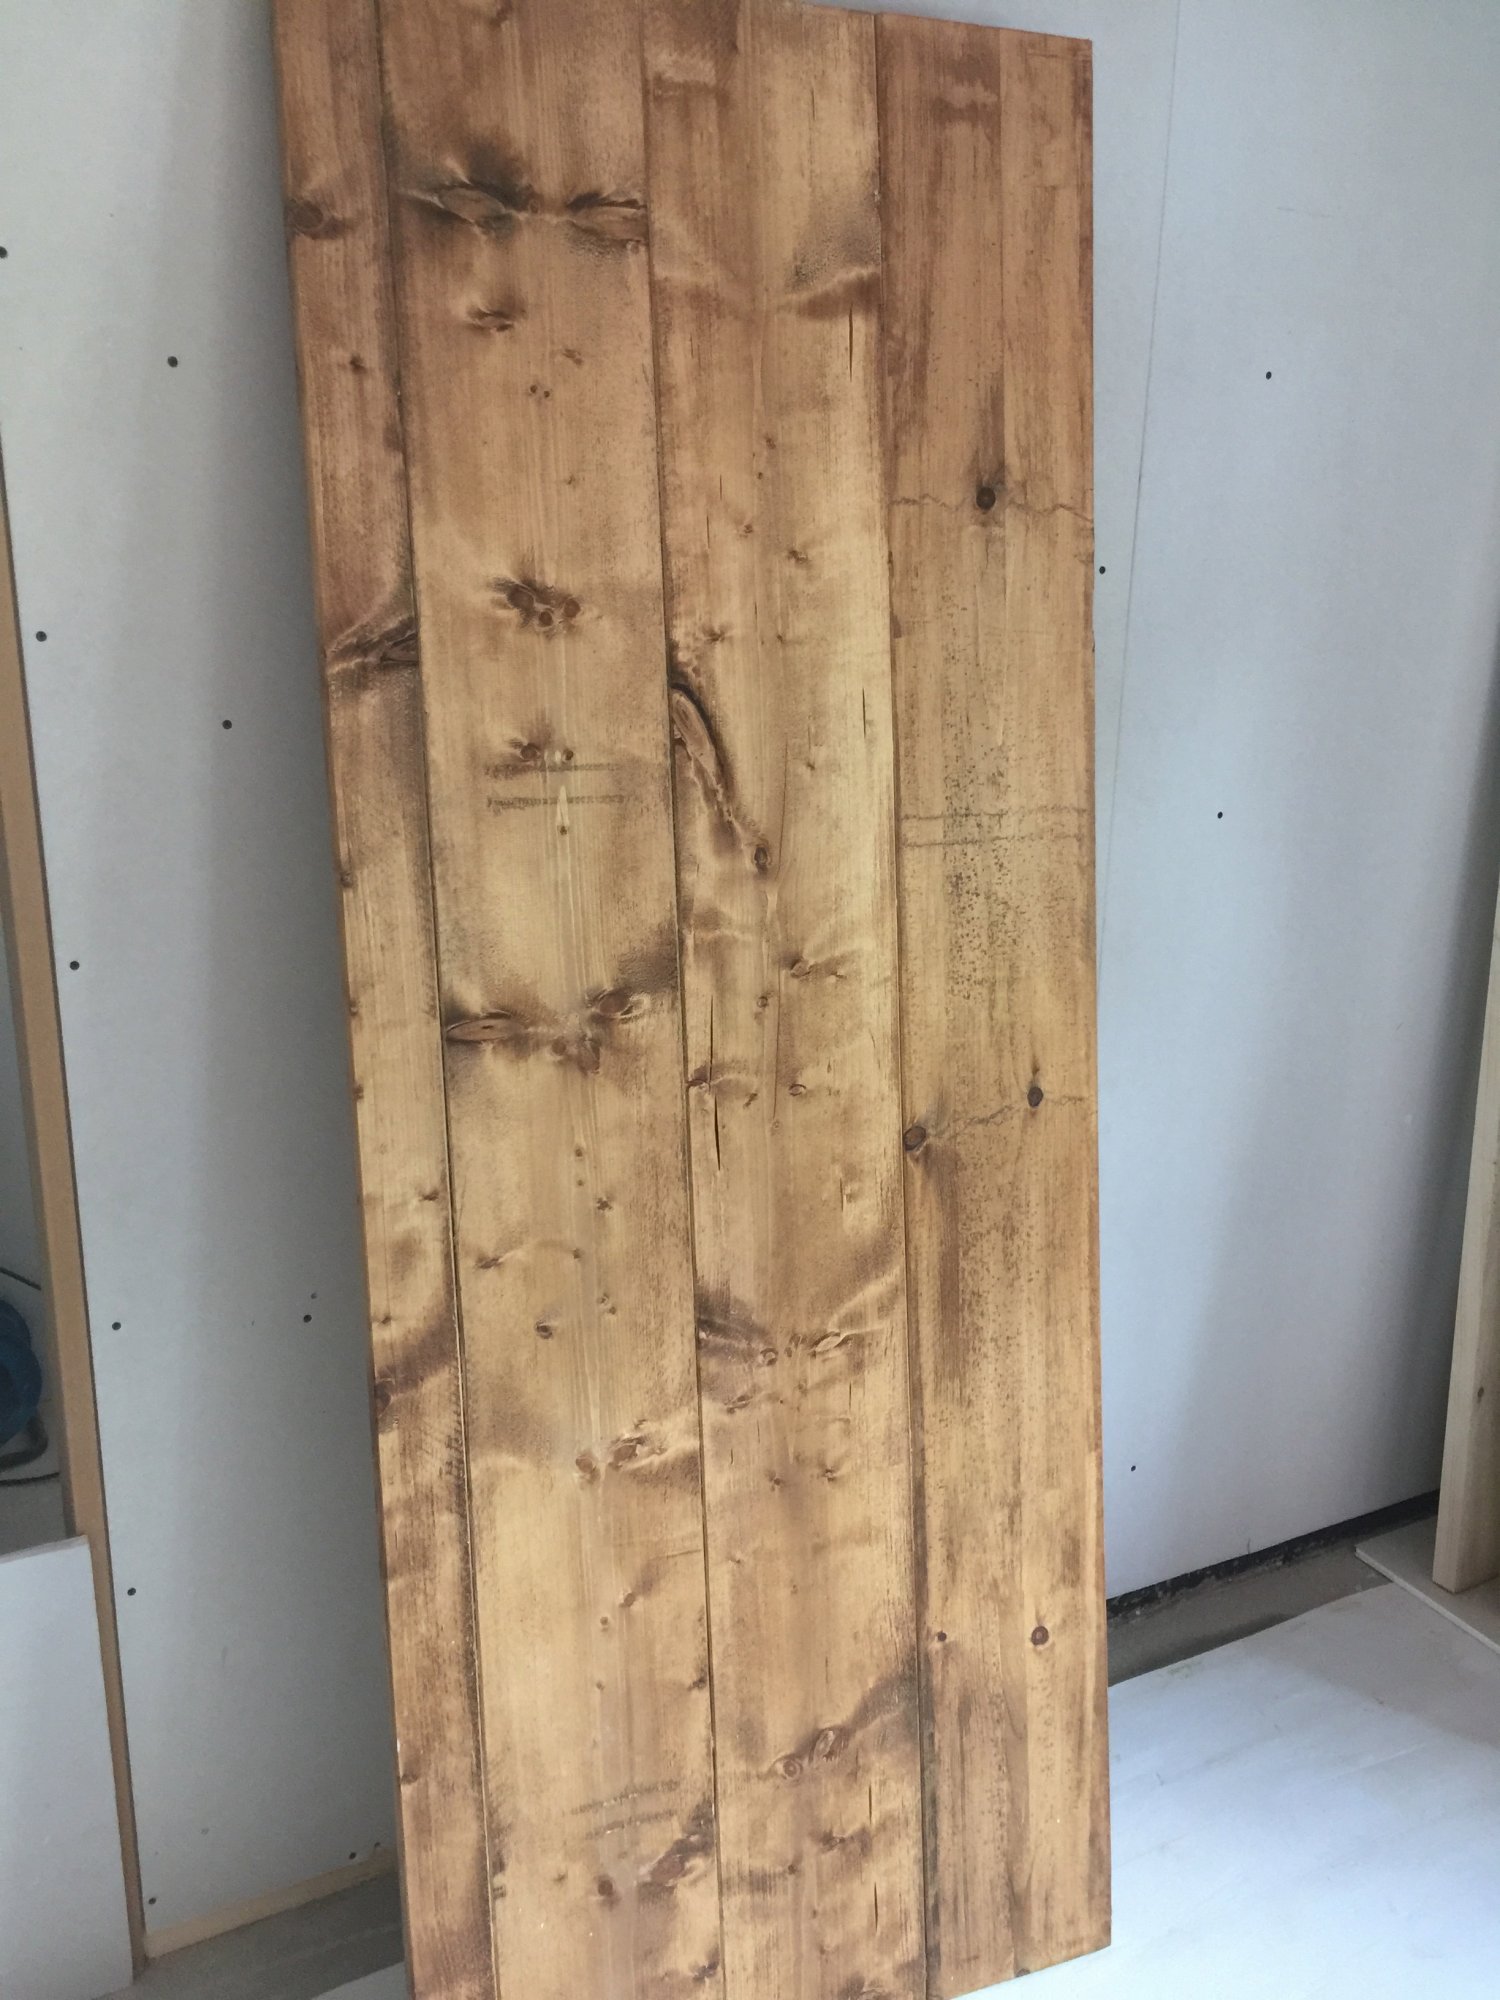
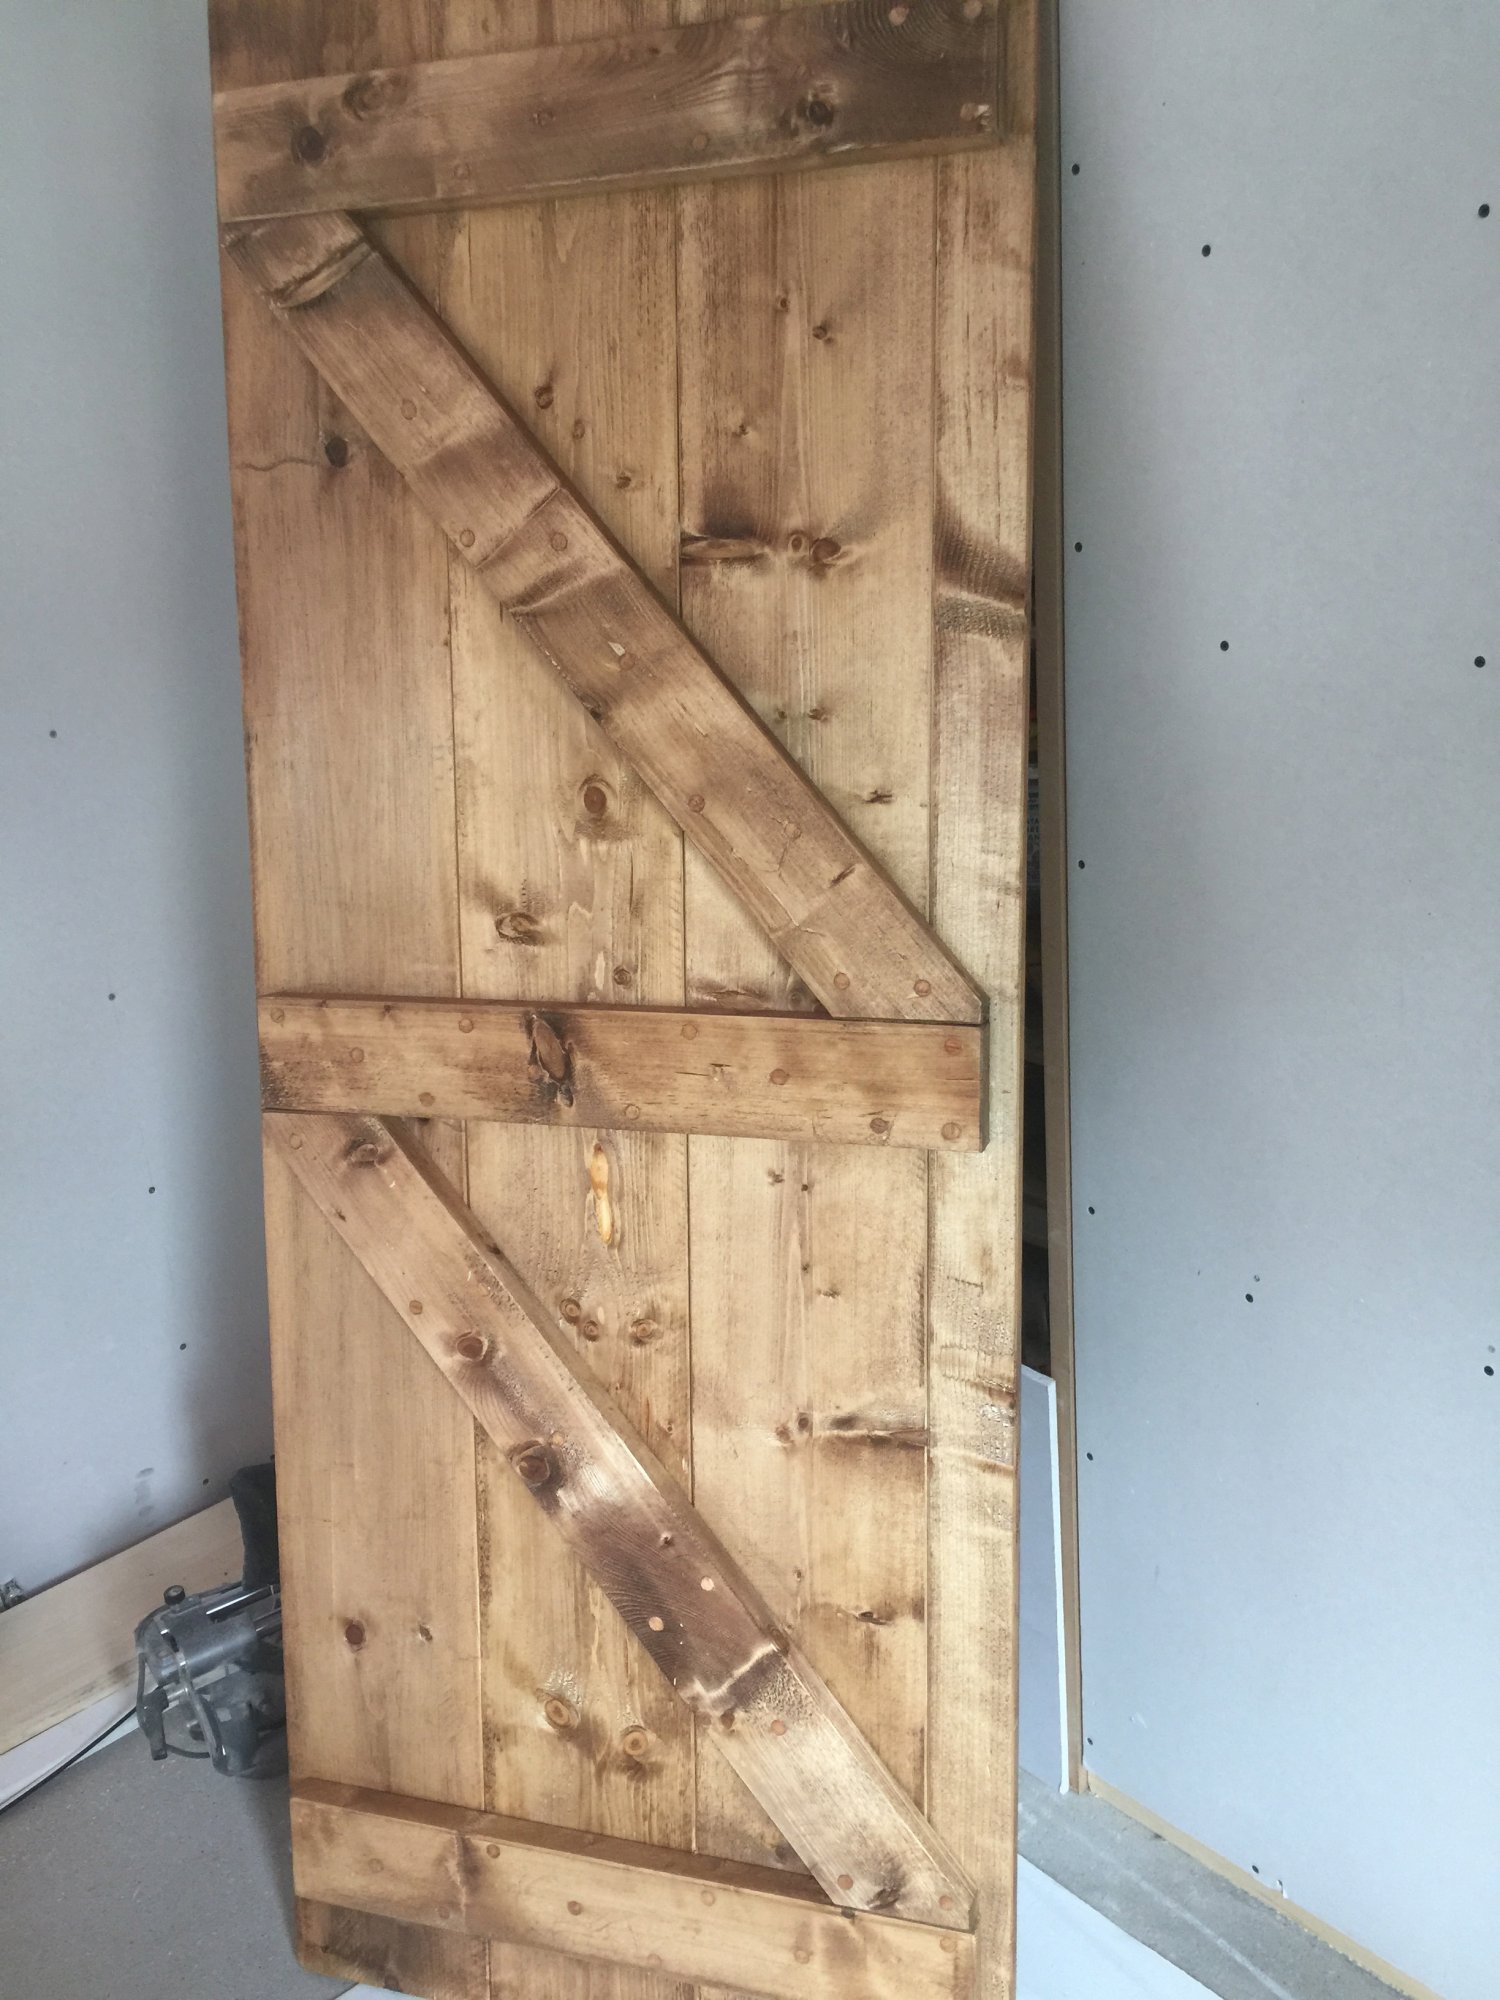
  • Is there any optimum size for the T&G to use? (How thick and how wide should boards be?)
  • Size for brace timbers?
  • Is it best to keep the timber inside the house for a few days/weeks before doing anything with it?
  • We want to wax or polish the wood afterwards and don't want too many nail/screw heads showing - particularly not going rusty! Any suggestions on best way of fixing braces.
  • From previous posts I get the idea that it's best NOT to glue the T&G and to NOT jam the T&G too tight so it has room to move - is this correct?
Any advice and suggestions much appreciated as I've not tried this before. (Including if there's a cheaper/simpler option for internal doors!)

Cheers.
 
Sponsored Links
Ledged and braced doors were never really made to any set plan. The planking was often just T&G flooring, which in a lot of Victorian houses I've worked on was ex-1-1/2in (so 1-1/8 to 1-1/4in finished = 28 to 31mm thick) softwood in widths of 8 to 12in. You do see 1in (finished) flooring as well, but never much less than that. The wider the planks the quicker they were to make. Picking boards which are as near to quarter sawn as possible is better for stability on these doors. On ones I've seen braces and diagonals were often slightly thicker at about 1-1/2in finished x 7 to 8in or so wide. Later/fancier doors were sometimes made with a bead detail worked by the tongue, but as this required extra hand work it's not common on earlier doors (later on, from the 1870s onwards, there were machines capable of doing this, so the detail became cheaper to produce)

We want to wax or polish the wood afterwards and don't want too many nail/screw heads showing - particularly not going rusty! Any suggestions on best way of fixing braces.
And there's the rub. T&G doors were always made by nailing them together. Screws were far too expensive in the Victorian period and their use reqires the making of oval slots to accommodate expansion. Older doors are often nailed together with cut clasps, more modern examples (from the turn of the 20th Century and later) use oval nails. The nail heads are punched under the surface, and the nails are long enough to protrude out the back of the ledges by about 4 or 6mm when sunk at the face side. These protruding ends are clenched over with a hammer and flat punch then sunk under the surface, in effect "riveting" the door parts together. The holes on both sides are then filled with linseed putty. That's how these were done because they are fundamentally the cheapest of the cheap doors to make. I doubt there's a cheaper way to make doors in solid wood.

From previous posts I get the idea that it's best NOT to glue the T&G and to NOT jam the T&G too tight so it has room to move - is this correct?
As I stated above you tried to pick out a board sawn as near to the quarter sawn as you can (rift sawn logs often have quite a few suitable planks) because they will cup across the width a lot less over the seasons (however the grain will be less interesting, not that it would matter as you were generally aiming to produce a painted door). If making exterior doors in wet (autumn/spring) months the boards need to be fixed together quite tightly because they already be at maximum size but will shrink during the hot summer months, whereas if you are making these doors in the warm, dry summer months you need lay the planks slightly loose to allow for them swelling in the wetter months. Interior doors in centrally heated houses should be acclimatised (in wet months) and nailed together the same way as you would nail an exterior door together in summer. It's also worth noting that using nails permits the timbers to move somewhat more than screws which tend to lock components rigidly together (hence the need for screw slots as opposed to pilot holes - to accommodate movement). Despite modern flawed thinking on the subject nails and screws serve different purposes and in traditional carpentry they are rarely interchangeable
 
Last edited by a moderator:
Thanks for that - I may be being a bit slow but what's "quarter sawn"?
 
Plainsawn Riftsawn Quartersawn 001_01.jpg


Basically most softwood is converted from timber boles (trunks) by sawing "through and through" or what is also called plain sawn. That means that every trunk yield one or two true quarter sawn boards (where the rings run face to face when viewed at the end of the plank - top two examples in the diagram below) with 2 to 4 more boards which will be nearly quarter sawn. True quarter sawing isn't employed much these days and rift sawing (which gives a very stable board) is even less common due to high wastage. To get appropriate boards (i.e. either quarter sawn or straight grained) it will mean trying to get a timber yard to co-operate with you - and that isn't always easy. In trade terms you'd normally have started out with a house-sized stack of T&G flooring and would simply pick-out the best boards for your doors and nailed the rest down as flooring

Plainsawn Riftsawn Quartersawn 001_02.jpg
 
Last edited by a moderator:
Sponsored Links
Modern redwood is all from planation stock, which means small trees.

Generally 25mm boards like 25 x 150, 25 x 200 etc are cut from 'sideboards' - itll be good grade, say grades 1 to 4 or better, but it will all be tangential, with a smiley face on the end grain. And it will always cup.

You might get floorboards say from 5ths with more knots that could be radial cut, but not that likely.

For T&G doors that are internal, you can most likely butt the boards tight as they will shrink. ex 32mm stock is ok for ledges. For ease I would suggest screwing them together and plugging the screw heads (plugit dowel do cheap plugs just 6mm thick for ganging down flush).

Ive generally been disappointed with softwood T&G because of the high shrinkage -you could mitigate that by leaving in the house for a fair while to dry out.

My choice would be to buy solid oak T&G door kits. Try county hardwoods nr Taunton. they do kits with a bead that you bang in to hide screws.

https://www.countyhardwoods.co.uk/product/oak-multi-board-door-kit/
 
There's the option of using reclaimed boards, or new boards re-sawn from old joists. Greater stability.
 
If you want a chunky look then you could use scaffold board seconds, but require seasoning before use to avoid warping.
 
If you want a chunky look then you could use scaffold board seconds, but require seasoning before use to avoid warping.
And shrinkage. I made a garden table top from new scaffold boards, and after a year gaps of 3/8" had opened up between them.
 

DIYnot Local

Staff member

If you need to find a tradesperson to get your job done, please try our local search below, or if you are doing it yourself you can find suppliers local to you.

Select the supplier or trade you require, enter your location to begin your search.


Are you a trade or supplier? You can create your listing free at DIYnot Local

 
Sponsored Links
Back
Top