Quick metal fronted sockets in skirting board query

Joined
13 Oct 2008
Messages
123
Reaction score
2
Location
Hertfordshire
Country
United Kingdom
Hi all,

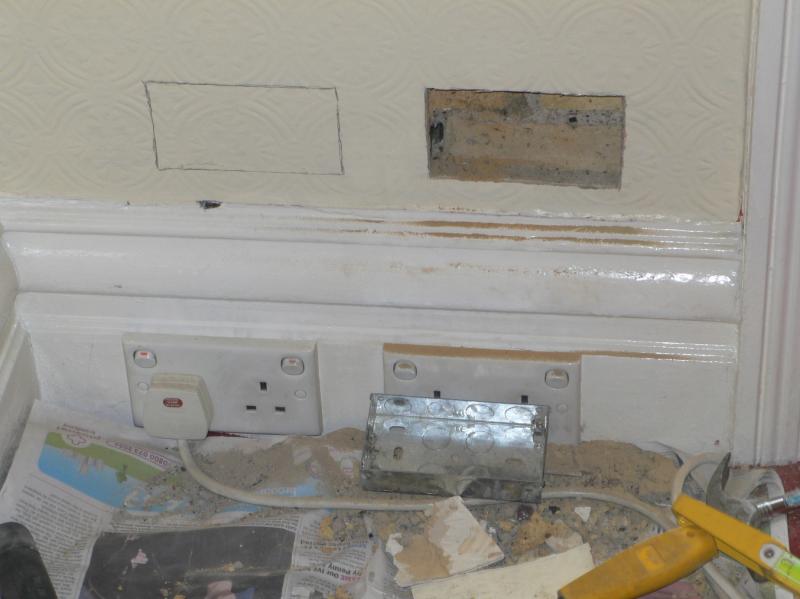
The house I'm in (old victorian house) has existing sockets in the skirting board- plastic fronts sitting on metal back boxes (the metal back boxes are fairly 'flush' with the wood surface).

I've read quite a few posts on here about this and it seems that as long as there is enough room below the sockets this should be fine under various regs. I have 6cm-7cm clearance from the bottom of the socket so think this should be fine for moulded plugs. Also the wiring is grey sheathed, black and red style coloured so I assume that indicates the rewiring wasn't donkey's years ago?

Therefore I just want to change the socket front.

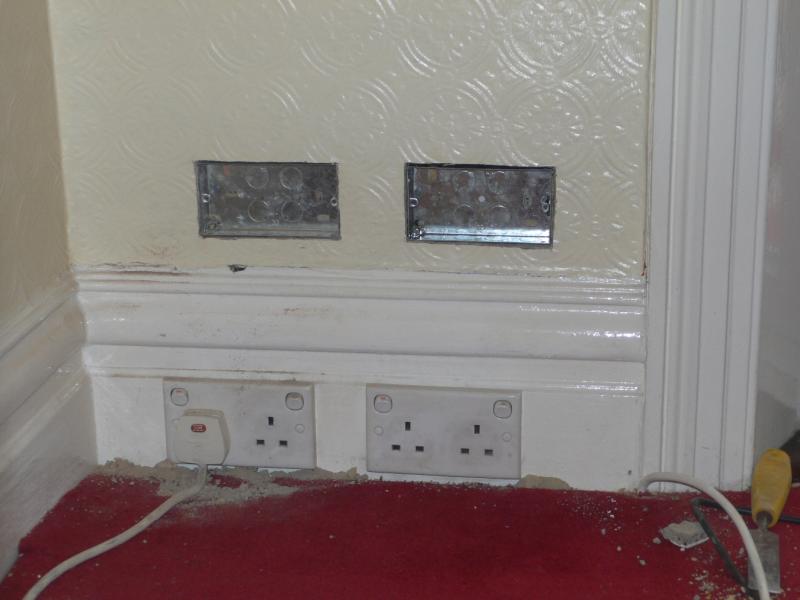
I've seen this question asked a few times but often without reply (probably becuase it's so obvious to you all) - but the is no (electrical/earning etc) issue with mounting metal style socket fronts (chrome/satin chrome) on these on a skirting board.

The second query, is for a 'flush' surface mounted style (I've seen some screwless crabtree ones) how far back does the metal back box need to be? The couple that I have checked seem to have the edge lined up with the surface of the wood and I'm not sure if it actually needs to be sunk back a bit further?

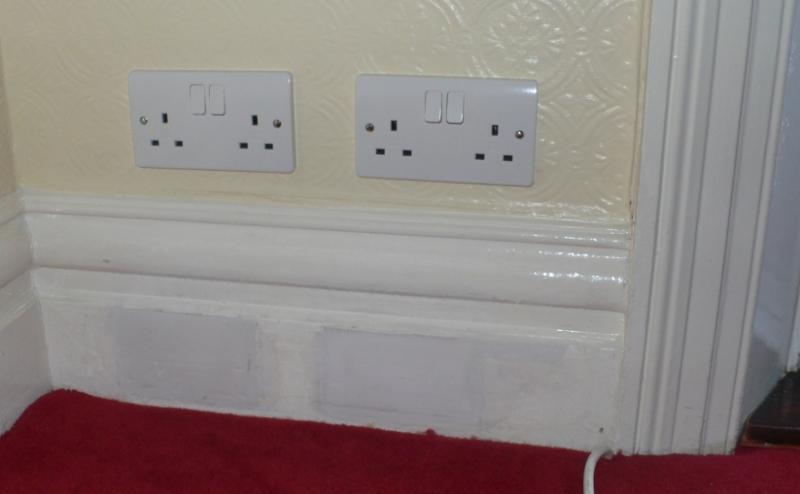
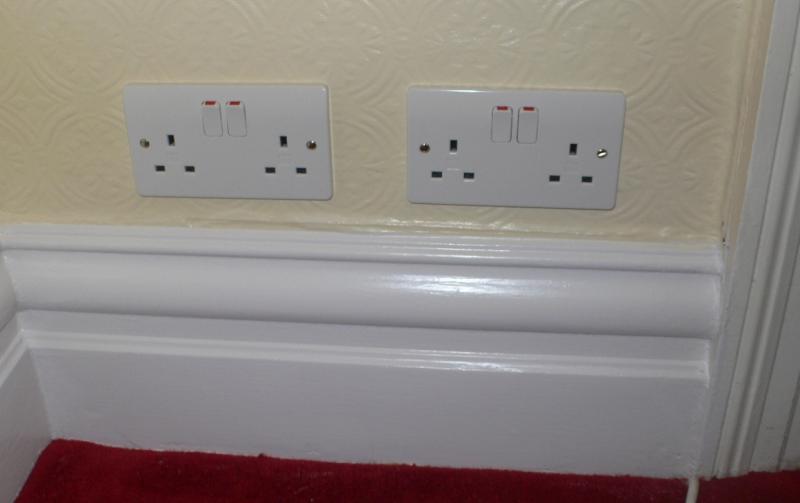
Just trying to guage my options so can have a rough idea of cost in terms of material options and work need to sort!

Ta for help!
 
Sponsored Links
They may need to be recessed further, and they may need to be deeper boxes, as the "works" on flat-plate accessories protrudes further into the box.
 
Most flat plates need 30mm+ of depth in the back box due to the flat plate having more 'gubbins' behind it.

Sockets in skirting is very old hat, but provided a plug can fit in and not foul on the carpet / floor it is acceptable. However most home surveys come move time will highlight the sockets in skirting as a issue.

Metal plate sockets make the need of decent earthing all the more important. When you remove the old sockets make sure (or add in) an earth strapper between the back box and the socket earth.

So on a normal ring circuit you will have the earth in and out from the cabling AND a 3rd earth between the socket earth and the back box stud. The 3rd earth is the strapper and needs to be 1.5mm earth cable or the earth core from some TE 2.5mm with grn / yellow sleeving.

I changed some last year, here's some pictures:-


Ta for the info on the extra earthing link, don't think they have that at the moment.

They are deep boxes, defo more than 25mm, I'd have to recheck if they are 35mms or more, but sounds like fitting flush screwless ones could be an issue...

Will have to do more checking when home.
 
Sponsored Links
If i remember correctly from the original thread those pics are from the cable(s) going under the carpet were for speakers.
 
That cable is for speakers, it's twin 2.5mm flex, there's 3 sets (front, back and morning room) going back to a QED speaker switching box.

There's 3m of spare in the sub floor void so we can put them out the french doors for BBQ sounds :D

Danny well done for remembering.
 
I changed some last year, here's some pictures:-....
Nice neat end result. In terms of understanding what you did, there's a crucial piccie or two missing. How did you get the cables to the boxes without more disruption to the decoration than we're seeing? Are there perhaps things happening on the other side of the wall, or what?

Kind Regards, John.
 
The cream wall is original lincrusta from 1912.

Lincrusta is similar to old floor vinyl is texture, and blank pieces were pressed at the factory to make any one of 100's of patterns. Most of which are not available to buy now.

Since the lincrusta is glued to the plaster it isn't too difficult to 'gently' chip away at the wall fabric / plaster and make routes.

The sockets in the picture had 2 vertical tunnels no more than 75mm long between the base of each back box and to about 25mm under the top skirting, beyond that there's a hollow area behind the skirting for the cables to get to the floor void. There is also 1 x tunnel between the LHS and RHS boxes to link the ring, again gentle tapping with a 1cm chisel made the route.

All back filled with bonding, no redecoration done to the cream wall, The initial cut outs for the boxes were with a dremel + 40mm diamond cutter wheel which took out the lincrusta and plaster in lovely clean back box sized lumps.

http://en.wikipedia.org/wiki/Lincrusta
 
The cream wall is original lincrusta from 1912. Lincrusta is similar to old floor vinyl is texture, and blank pieces were pressed at the factory to make any one of 100's of patterns.
I know it well, having been brought up in a house full of the stuff (up to about my head height at the time!) several decades ago, and still have some in my present house (now up to waist height :)). If/when the time comes to remove it, that can be quite a fun exercise; the glue sticking it to the wall was usually weak, but getting through 50 layers of gloss paint and the essentially waterproof lincrusta itself can be less than fun! However, if the glue is sufficiently weak (and/or the wall slightly damp), oen can sometimes pull on a corner and get the whole lot coming off in one piece. When you say 'old floor vinyl', I presume you mean 'lino' (linoleum). Like lino, lincrusta was an oil-based substance (linseed oil, I think, perhaps the reason for the 'lin' of lincrusta).

Since the lincrusta is glued to the plaster it isn't too difficult to 'gently' chip away at the wall fabric / plaster and make routes.
Even so, you were clever to do that without damaging the lincrusta at all.

In similar situations with ordinary wallpaper (or even anaglypta etc - which I guess are the modern equivalents of lincrusta), I've tried a similar approach, and usually ended up damaging the paper to some extent. I have, however, quite often successfully 'peeled back' the wallpaper (after soaking) and then reinstated it with no visible evidence after sinking a cable down to behind the skirting. Mind you, my house is part Georgian and part Victorian, and what remains of the original plaster varies dramatically, mainly at two equally problematic extremes - one I would describe as 'sand', and the other as 'reinforced concrete' (both of which react unfavourably to chisels)!

Kind Regards, John.
 
The joys of older houses...... Ours is 100 years old next month !

Offset by big rooms, high ceilings, character. One day I'll move to a Georgian box (and no doubt spend the rest of my days fixing it).

Rgds
 
The joys of older houses...... Ours is 100 years old next month !
Offset by big rooms, high ceilings, character. One day I'll move to a Georgian box (and no doubt spend the rest of my days fixing it).
Totally off-topic, but, yes, all the hassles are more than offset by all the things you mention, and more.

Ours has a partially unknown history, but even the Victorian bit is just about old enough to be the parent of yours. It started life as a fairly modest two storey Georgian cottage; it exists on maps in the late 1700s, but we don't know much more about in than that. Then, in 1893, for some reason, someone took the 1893 equivalent of a giant chain saw to it, sliced it right down the middle and then 'added' a very large 3 storey (+cellar) extension onto the remnant. In terms of floor area (or volume), this 'extension' can't be much less than 10 times that of what they were 'extending'. Goodness knows why they didn't just knock the cottage down completely and start again!

Getting fractionally more onto topic, electrically we have evidence and remnants (not still in use!!) of installations going back to the early 20th century. The earliest are probably single cables with disintegrating rubber insulation and fabric sheathing stapled directly to timbers (and buried in walls), accompanied by bare, seemingly steel,stranded 'CPCs’). Then a lot of similar cable in steel conduit (always hitting it when drilling into walls!) and, needless to say, a fair bit of lead sheathed cables. And plenty of brass and china accessories and turned wooden pattresses found discarded under floorboards. Rumour has it that there was a time when this house (on the edge of a village) was the only one in the village with an electricity supply, and I think I can believe that. During and around WWII, the house was occupied by an ‘eccentric engineer’ who filled the house with a spider’s web of thin single cables, we assume in the name of some very early manifestation of communication and/or ‘automation’ systems!

Around the 1920s, further extensions were built onto both sides of ‘the extension’, but have subsequently been sold off as separate dwellings. We have an overhead 3-phase supply (one phase serving each floor) and, as a consequence of that bit of history, the supplies to those two separate dwellings actually come from the ’service head’ (just company fuses) of the supply within our house. I guess that if one took the regs literally, it could be argued that those cables count as ‘extraneous conductive parts’ – but I doubt my neighbours (or DNO) would be too impressed if I tried bonding their supply conductors to my MET :)

End of bank holiday nostalgia mode!

Kind Regards, John.
 

DIYnot Local

Staff member

If you need to find a tradesperson to get your job done, please try our local search below, or if you are doing it yourself you can find suppliers local to you.

Select the supplier or trade you require, enter your location to begin your search.


Are you a trade or supplier? You can create your listing free at DIYnot Local

 
Sponsored Links
Back
Top