Hi
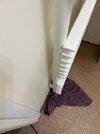
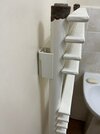
I need to remove tower rad, pls see pics. What's the best way? The 15mm copper pipes are buried in concrete floor so not much leeway and don't want to move in case goes wrong and big trouble.
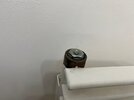
I am thinking to take of the top nuts and empty water using the pump in the first pic, hose pipe will be inserted to suck the water and then loosen valve nuts and lift the rad up of the 2 bracket. Will this work?
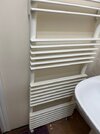
Does anyone recognise this rad, if I can buy same for straight replacement?
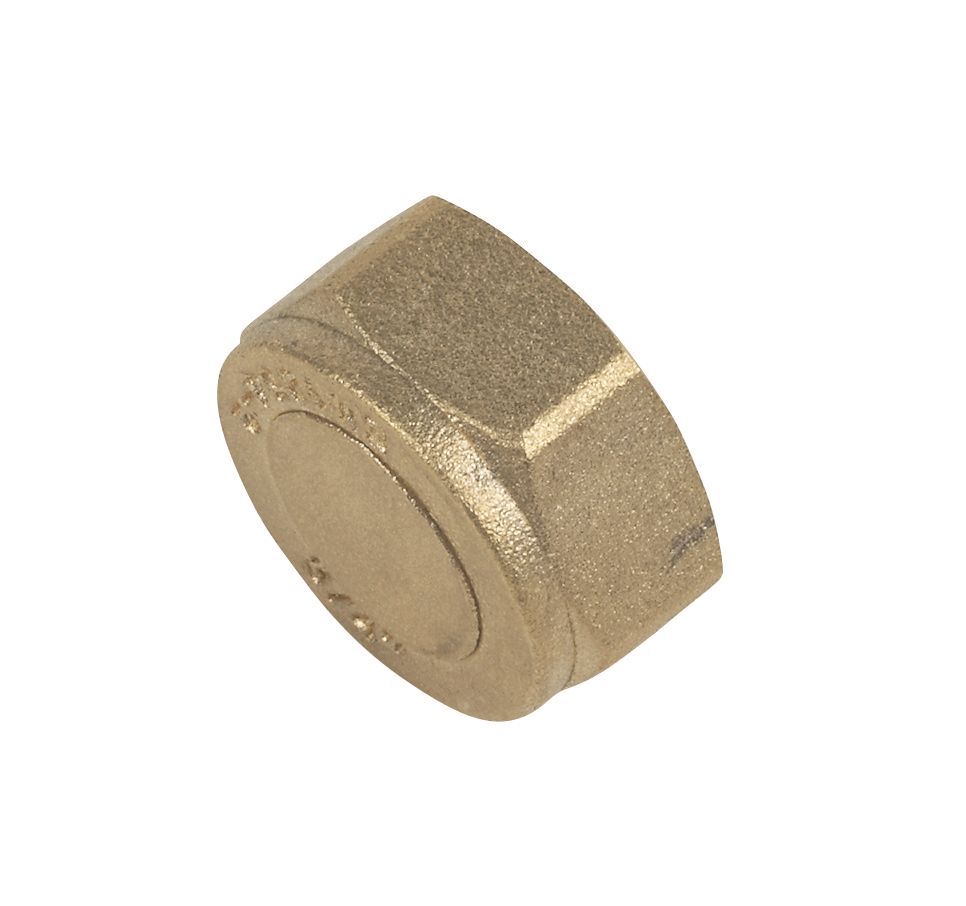
Are female 3/4" blanking cap the right size, until finish decoration?
Thanks
I need to remove tower rad, pls see pics. What's the best way? The 15mm copper pipes are buried in concrete floor so not much leeway and don't want to move in case goes wrong and big trouble.
I am thinking to take of the top nuts and empty water using the pump in the first pic, hose pipe will be inserted to suck the water and then loosen valve nuts and lift the rad up of the 2 bracket. Will this work?
Does anyone recognise this rad, if I can buy same for straight replacement?
Are female 3/4" blanking cap the right size, until finish decoration?
Thanks