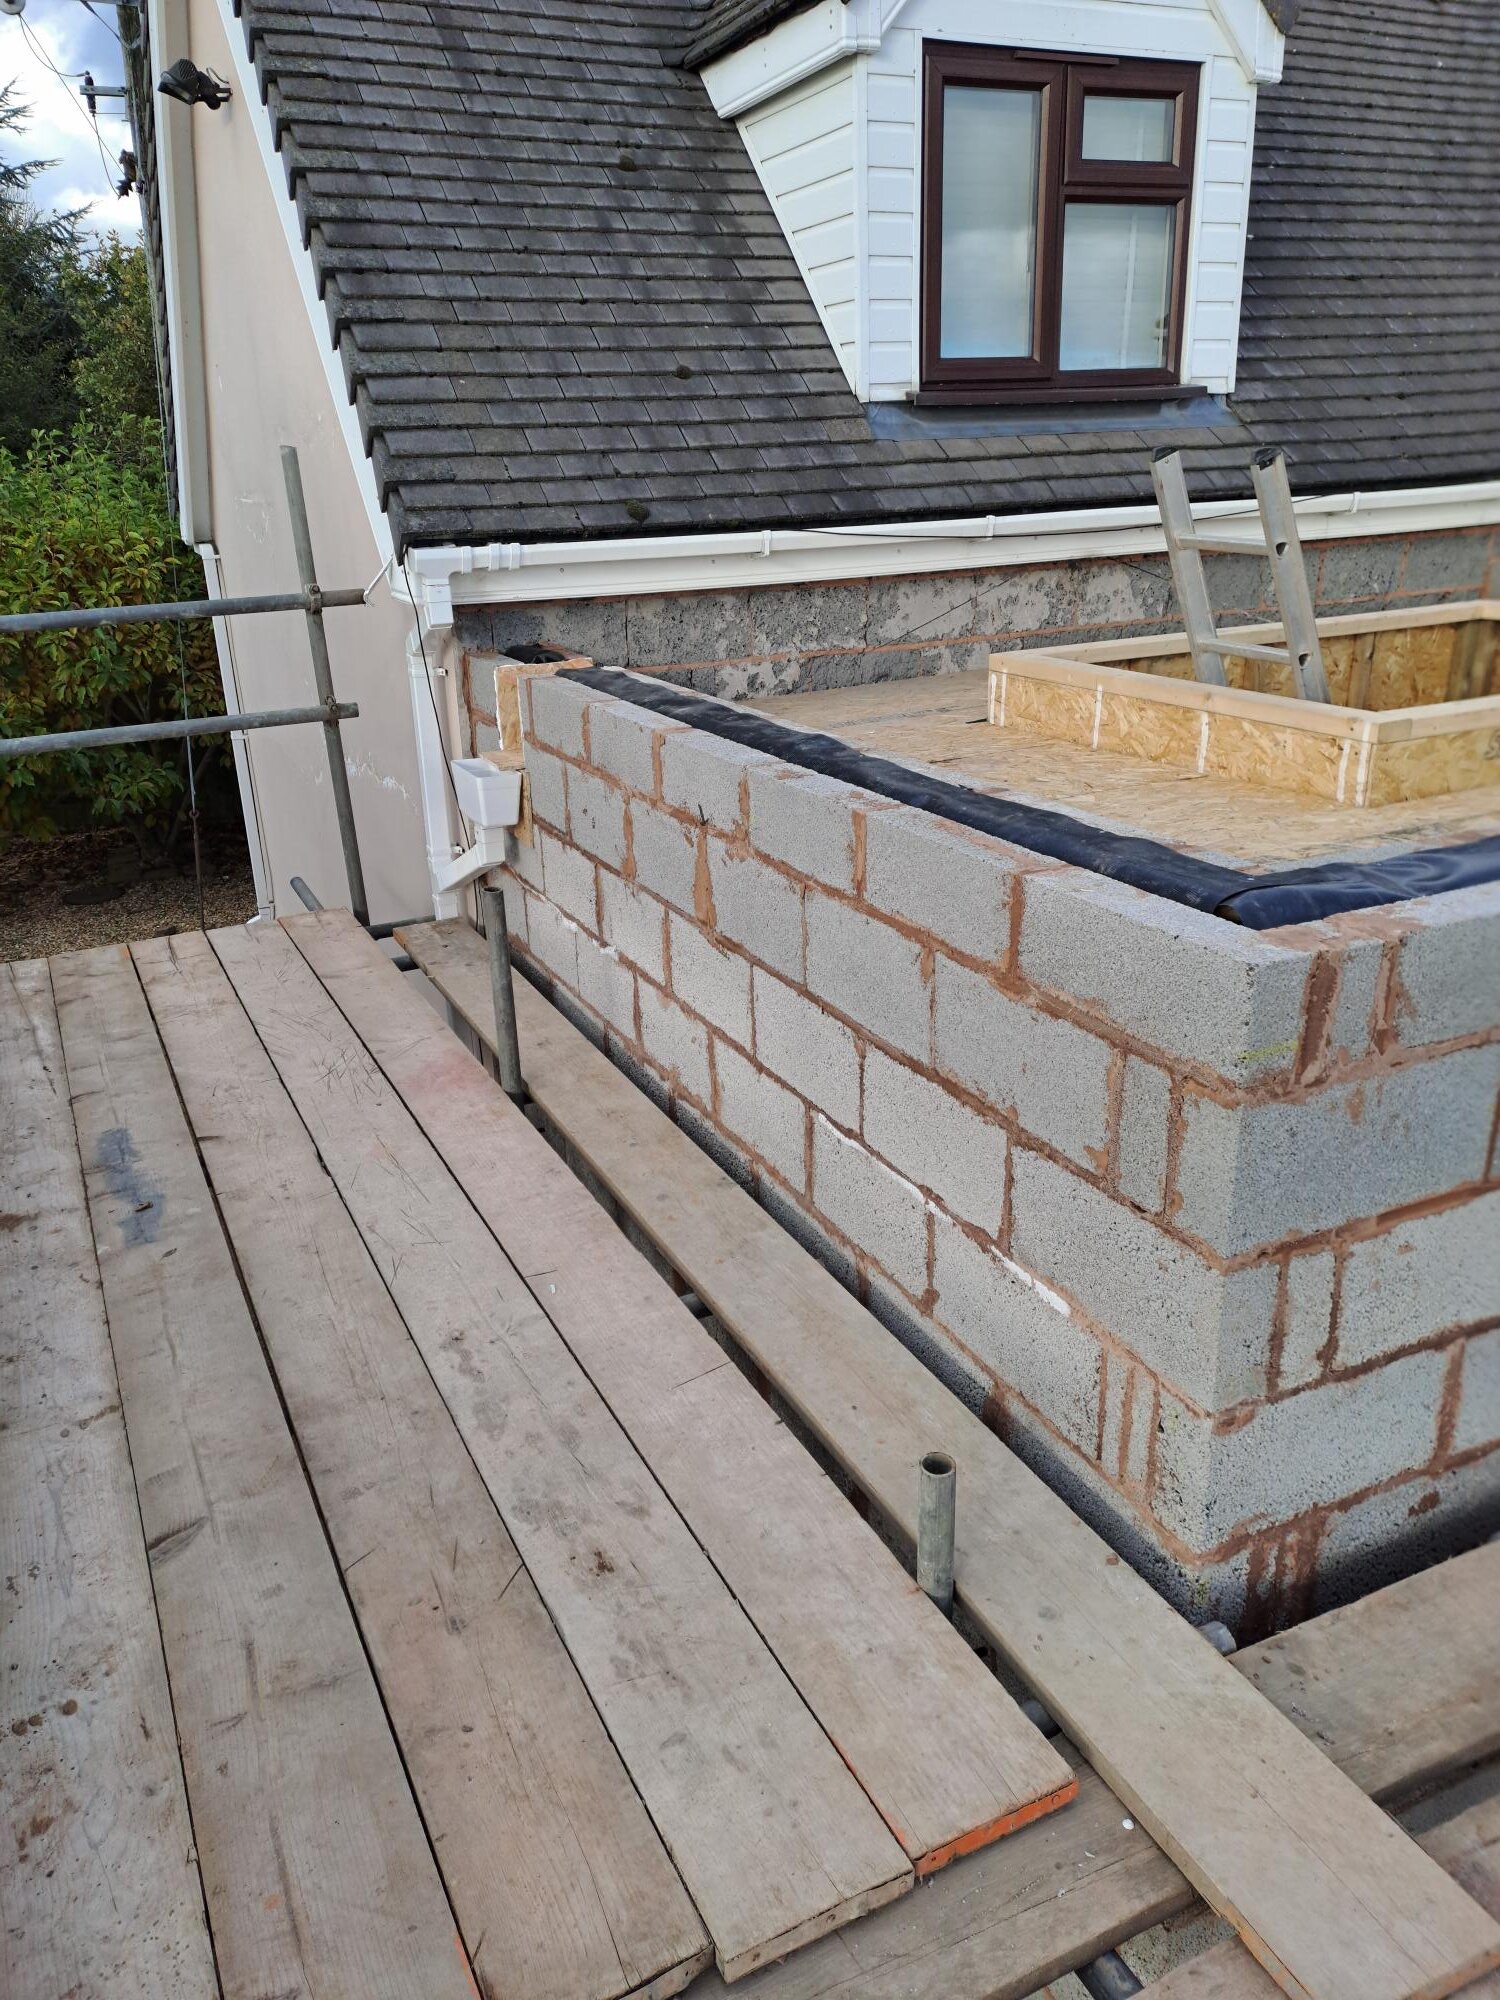
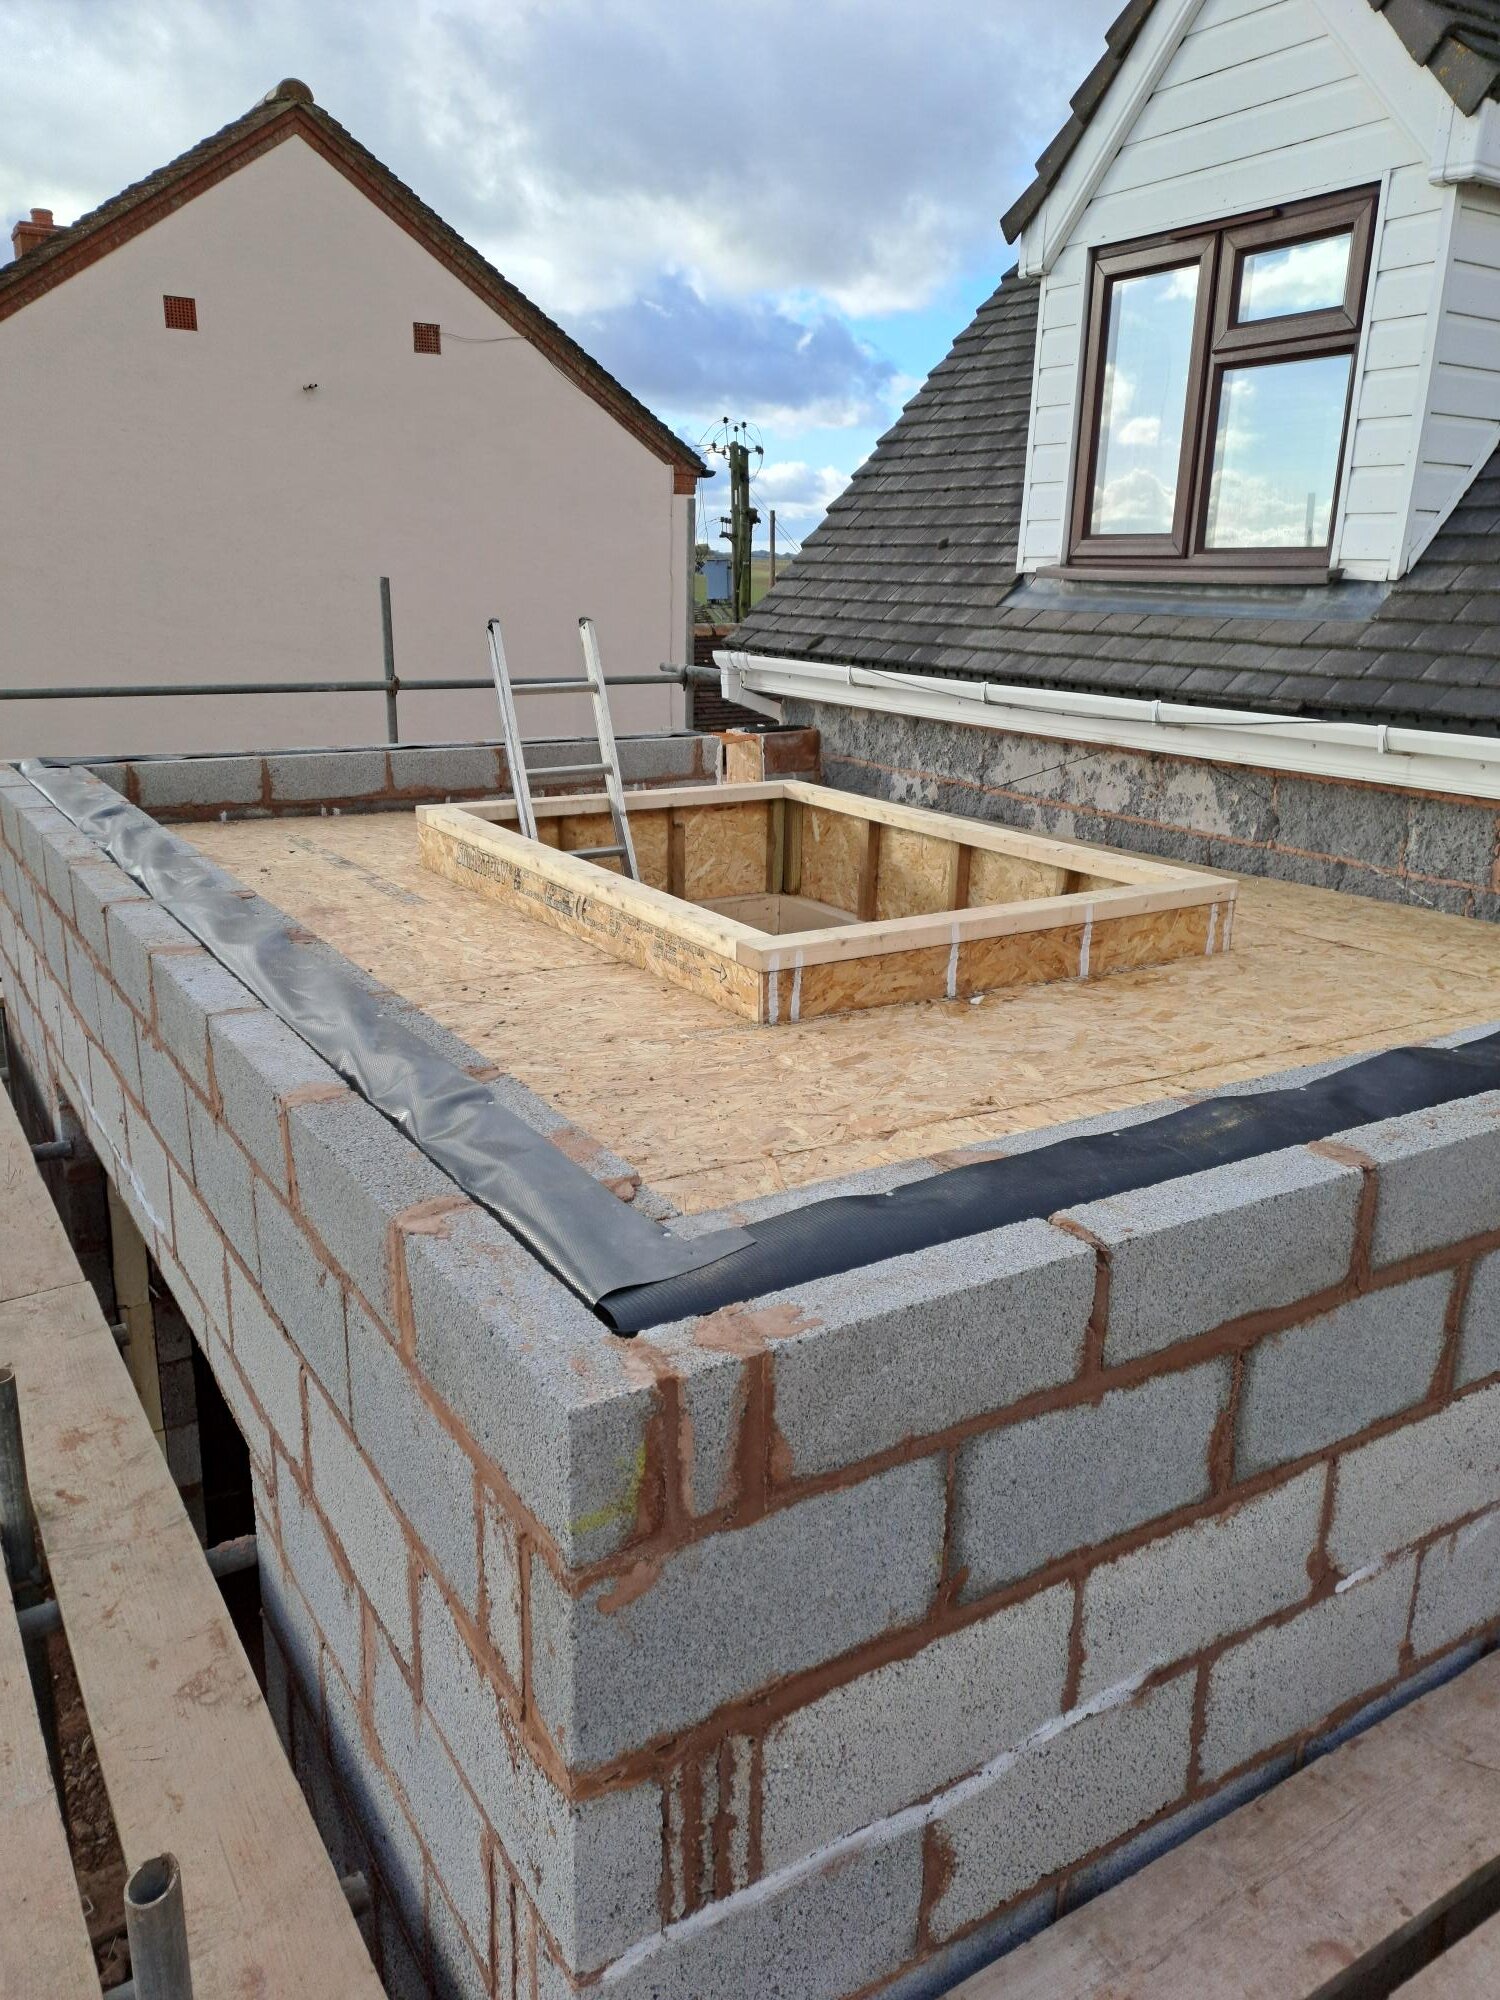
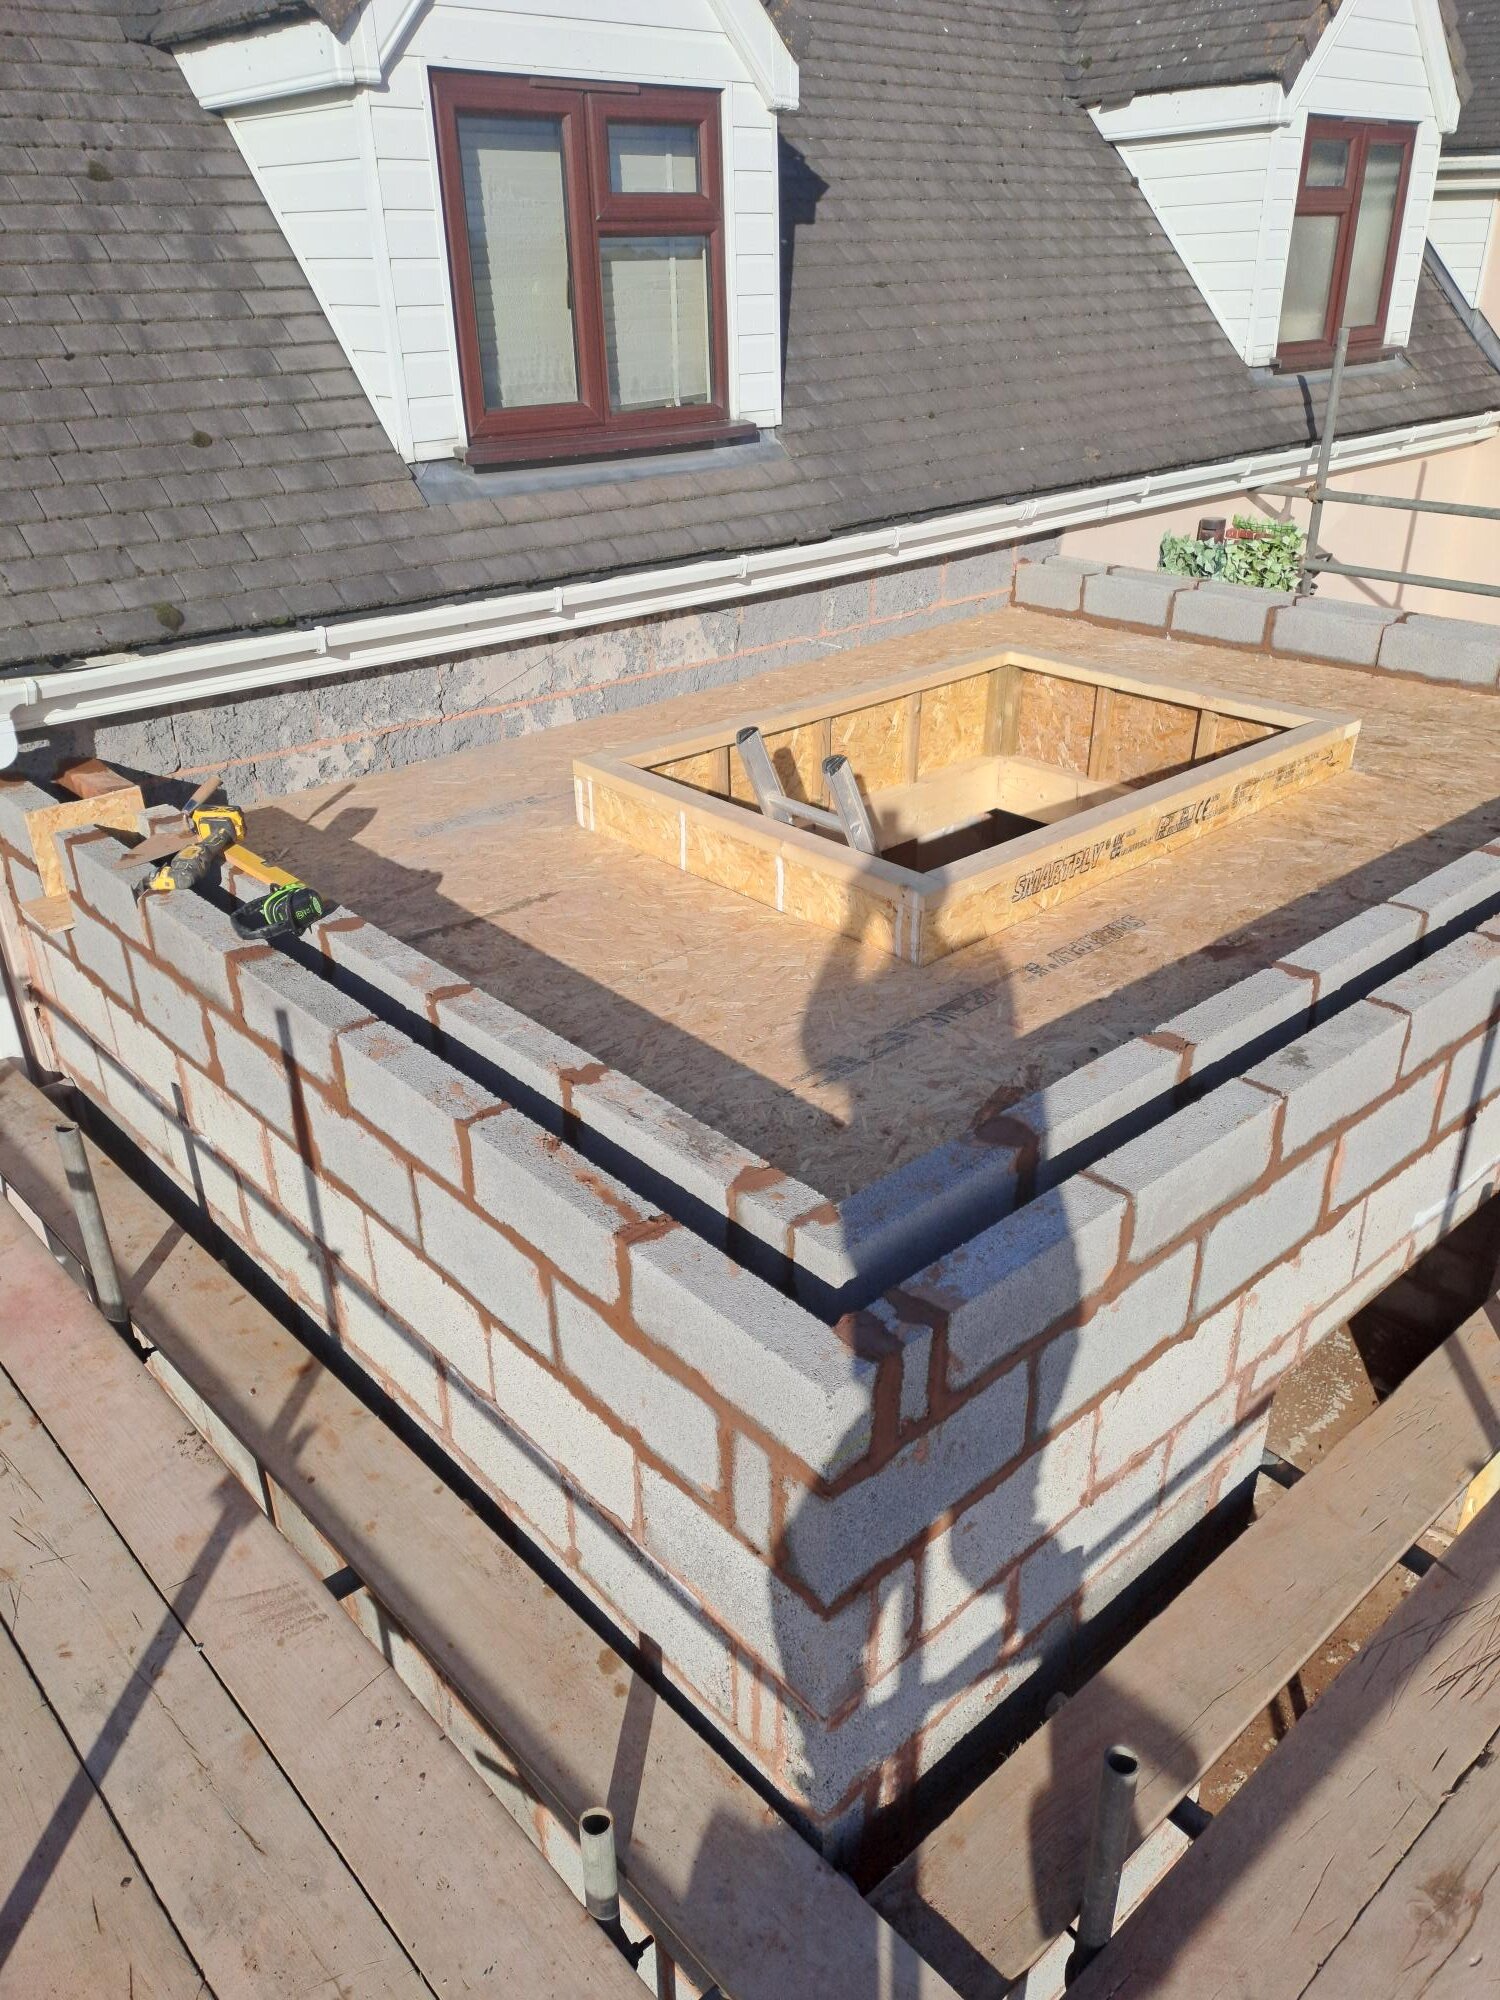
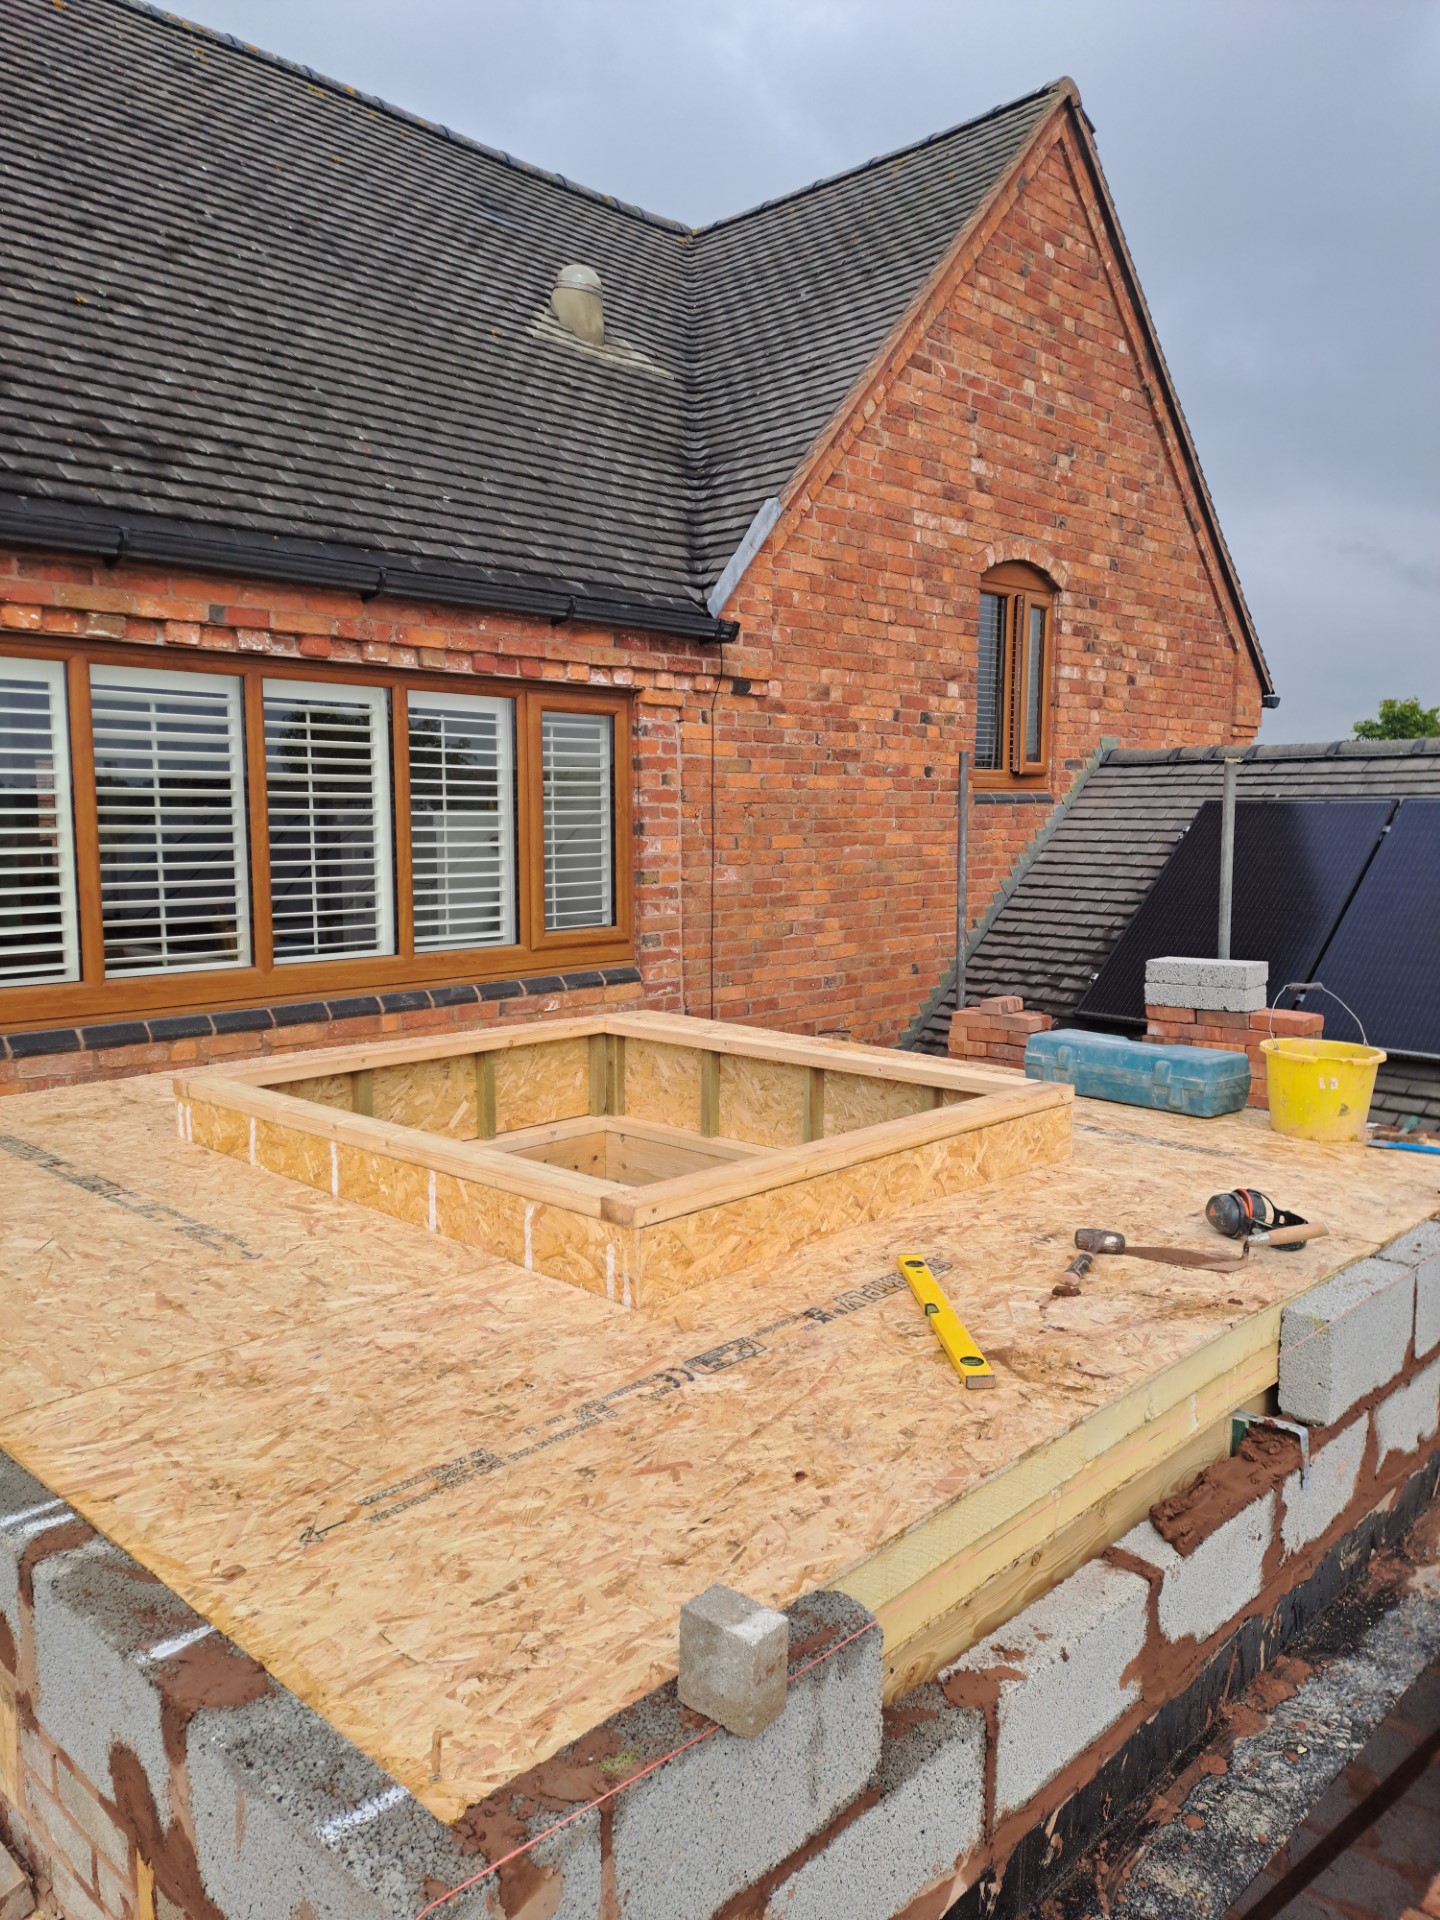
I'm building a lower ground extension, the roof of which will be a terrace with access from the ground floor. We've set out all the joists as per the engineer's design but as there will be a parapet around all sides, apart from the stairs down into the garden, the roof falls need to hit two parapet outlets. How to calculate/plan for the firrings to achieve this is puzzling me.
The joists run from the back to front of the extension and are a 2.7m span, the roof is about 9m across the back of the house. I've allowed for a 1:40 fall in the roof build up, so the firrings start at approximately 70mm. Can anyone point me in the right direction as to how to best set out the falls to ensure it hits the outlets?
The joists run from the back to front of the extension and are a 2.7m span, the roof is about 9m across the back of the house. I've allowed for a 1:40 fall in the roof build up, so the firrings start at approximately 70mm. Can anyone point me in the right direction as to how to best set out the falls to ensure it hits the outlets?
Last edited: