- Joined
- 22 Nov 2007
- Messages
- 100
- Reaction score
- 0
- Country

Hi All
I have read various 'how to' guides on tiling and have gotten the idea of what I need to do but I have one or two questions I am hoping you can help with.
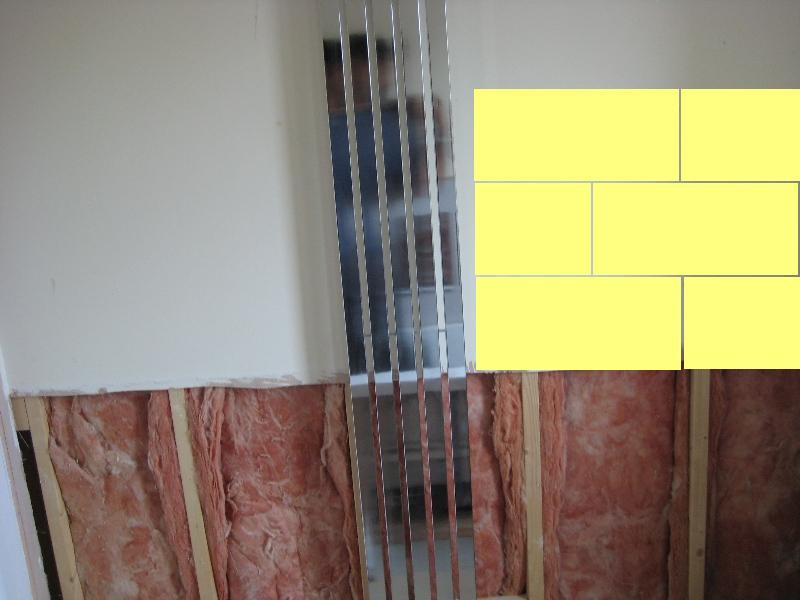
1. When marking out the tiles on the walls, should I do it on a wall with nothing on it or on the bath wall? I am asking because everywhere I read it says to make sure there is not a sliver tile anywhere if possible.
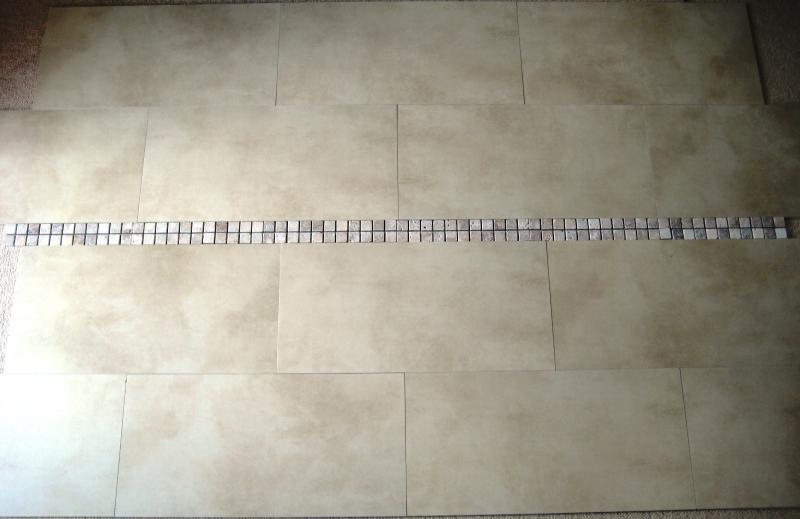
2. I am going to attempt to do a brick-bond pattern. Once I complete one wall, do I use the off cuts I will get from doing a brick bond pattern on the next wall? Or do I start from the middle of the next wall? I'm trying to figure out how to keep the tile line the same height all the way around the room.
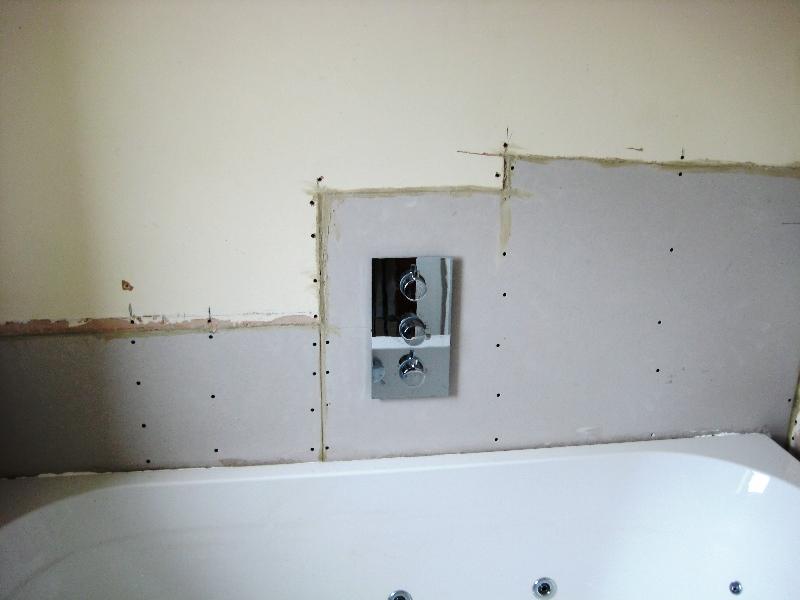
3. The bottom half of the walls are plasterboard walls which are not waterproofed or skimmed with plaster, top half have a plaster skim and a coat of matt paint (not bathroom paint). Whats the best thing to apply to the two different types of plasterboard I'll be working with?
Thanks very much")
I have read various 'how to' guides on tiling and have gotten the idea of what I need to do but I have one or two questions I am hoping you can help with.
1. When marking out the tiles on the walls, should I do it on a wall with nothing on it or on the bath wall? I am asking because everywhere I read it says to make sure there is not a sliver tile anywhere if possible.
2. I am going to attempt to do a brick-bond pattern. Once I complete one wall, do I use the off cuts I will get from doing a brick bond pattern on the next wall? Or do I start from the middle of the next wall? I'm trying to figure out how to keep the tile line the same height all the way around the room.
3. The bottom half of the walls are plasterboard walls which are not waterproofed or skimmed with plaster, top half have a plaster skim and a coat of matt paint (not bathroom paint). Whats the best thing to apply to the two different types of plasterboard I'll be working with?
Thanks very much