Vinyl tiles: corners not meeting

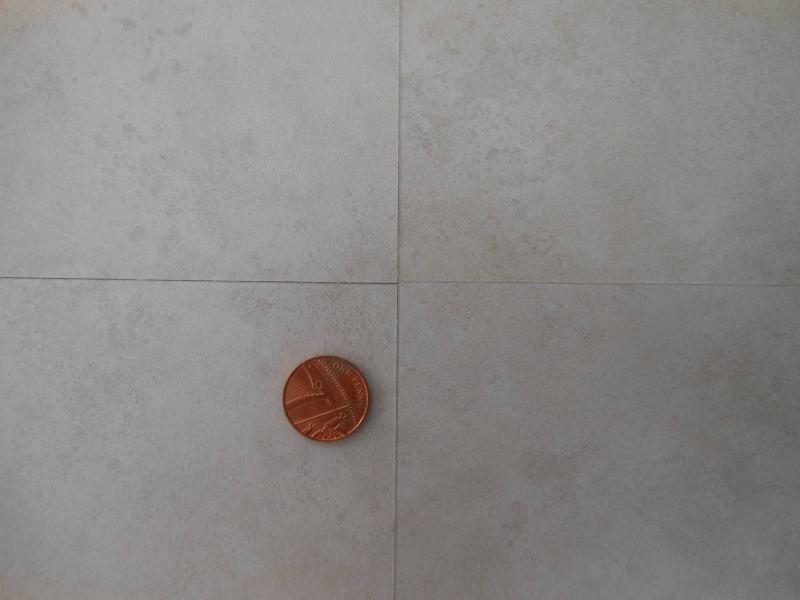
just a phrase we use for this type of flooring

your flooring is LVT - luxury vinyl tiles

also includes safety flooring (like in hospital floors etc)

basically anything made of plastic that is hard and stuck down!

.....LVT is the hardest to get spot-on due to the importance of requiring "perfect" floor prep and setting-out
 
Sponsored Links
I would say its rip up start again. I use F46 all the time and never have a problem. I put it on with a standard trowel then roll the adhesive with a pre wetted roller so the adhesive is flat which gets move grip.
Did the fitter use a 70kg roller?

No he didn't use a roller.

Now the boss has come back and lifted up everything which was sitting on the levelling compound and a little more.

A couple of things are worrying me: the boss is saying "you don't always need a roller" when the instructions say otherwise.

Also, there's an area laid on plywood where we have lips at most of the tile edges, so you'd catch your foot on them. I've had to persuade him that this needs lifting too. The tile is pale with black sides and bottom: it's obvious when there's a lip as you see the black.

Presumably this is due to inadequate pressure on the tile? I'm thinking that if he turns up without a roller I'm going to have to stop him working as he's just going to mess it up again. Is that reasonable?

Will post photos later.

Hve you paid any money? You can use a hand roller but 70kg is better. All depends on what glue. Ps glue you must roll it.
Did they feather screed the plywood, how did they fix the plywood down?
 
Have you paid any money? You can use a hand roller but 70kg is better. All depends on what glue. Ps glue you must roll it.
Did they feather screed the plywood, how did they fix the plywood down?

It's the F Ball adhesives: F46 and F48. F48 says use a 70kg roller on the tub: think the F46 said the same though it's not in the house right now.

The feathering has only been done between the levelled area in the extension (on top of cement and sand screed), and the plywood in the old part of the house (on top of floorboards).

The plywood is stapled down at very regular intervals : will check the distances.

Yes I've paid 50% of the total, which probably just about covers the materials though I'd have to check.
 
Sponsored Links
The plywood should be stapled with divergent staples, ringnails or screws every 6 inches in the middle of the the plywood and every 4" on the perimeter.
Fitting the tiles -
Room temperature should be no lower then 18*c , was this the case?
If the tiles are cold or rooms are cold the tiles sometimes don't stick as well.
Using F46 I trowel it on then roll it too as this helps the tiles stick to the adhesive. Then you roll the tiles with the 70kg roller.
Has the fitter got any qualifications?

I can't tell you if the replacement fitter (the owner) has qualifications but he owns the shop and it's a family business so I believe he's being doing it since he started work.

There were a lot of staples, and I'd say what I saw was more frequent than 4 inches or at least as frequent.

The room was very likely colder than 18 degrees though, which may explain why some of the corners, and a few edges, are still not quite down properly after the second laying attempt.

He is coming back this weekend to restick the problem tiles. I will have to warm the rooms up well.

I hope I'm not being fussy now but I'm thinking that in some places the gap is too visible between the tiles. It's still less than 1mm, but you can see a dark line, whereas in other places it looks perfect.

Will this gap become less visible with time as it fills with dust? Is there something I can put in there to make it invisible right away? Is the gap there because the room was too cold, or because they didn't use the heavy roller?

Also, the corners of the tiles are not always meeting perfectly, but generally it's _much_ better than the disastrous first installation attempt so I think I can live with it.

 
I`m sorry but your whole floor is NOT acceptable AT ALL

..........that IS THE ATTITUDE you should be taking with your supplier ....include the shouting!

Good luck (even I can do better than that!)
 
o dear.

May i suggest you recommend to the company to send there installers on this - http://floorskills.co.uk/flooring-training-courses/lvt-basic-2-day[/QUOTE]

OK, I should have made it clear.

The photos with the pennies are after the second installation. So those are the worst feature of the second installation: that we have some gaps, and yes there are some areas where the tile corners still don't meet but it's much less pronounced than before. All tiles were pulled up and refitted after the disastrous first installation.

So disregarding the earlier photos, is that still unacceptable quality? Will those gaps get less visible with time as they fill with dust (as someone said to me) or is that feature always going to be annoying me.
 
Has the floor been all ripped up and started again?
To be honest I wouldn't lay the tiles without a design strip on a big area,even if the strip is the same colour it still makes a better job.
Light tiles you might see a joint so the left picture is acceptable but the right picture isn't.
Did he use a roller 2nd time?

He used a hand roller which you use with your own body weight, not a 70kg roller as is specified on the side of the adhesive tub.

The levels are much better as they re-levelled.

I am thinking there are some gaps which are not acceptable, as you say. However can they fix that without ripping up whole sections, or the whole floor?

I can see why you say the design strip is sensible with a light tile.
 
There a a few things you can which will help like run the tip of the blade along which can sometimes push the edges together but don't always work. It depends on the tile.
I would let him fix it best he can then wait a few weeks before you pay.
If he moans then get the Polyflor brochure an say this is what you it should be like.
 
...
I would let him fix it best he can then wait a few weeks before you pay.
If he moans then get the Polyflor brochure an say this is what you it should be like.

So I'd be waiting to see if the gaps look better after they've taken some dust? Is that the reason I'm delaying the payment?

What I'd worried about is that it might be better to fill those gaps with something light grey or even white, in case they look darker when they've filled with dust.
 

DIYnot Local

Staff member

If you need to find a tradesperson to get your job done, please try our local search below, or if you are doing it yourself you can find suppliers local to you.

Select the supplier or trade you require, enter your location to begin your search.


Are you a trade or supplier? You can create your listing free at DIYnot Local

 
Sponsored Links
Back
Top