- Joined
- 19 Jun 2010
- Messages
- 36
- Reaction score
- 0
- Country

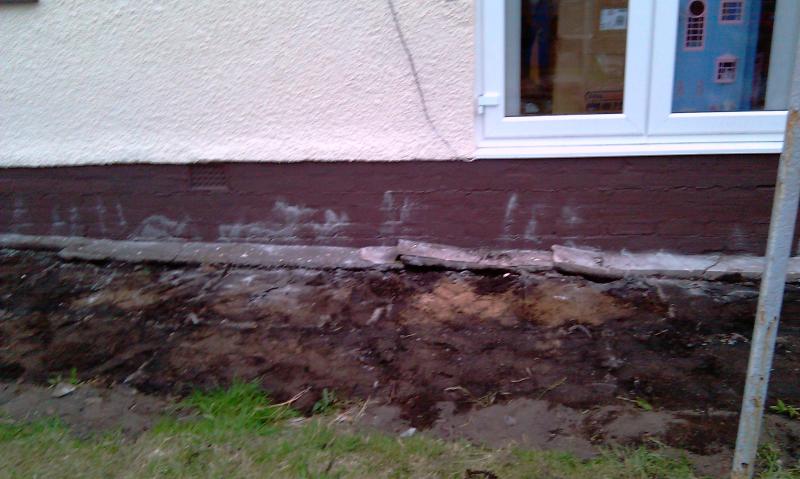
hi there i have decided to build a raised deck which will be at the level of my french doors. the area was slabbed with 3ft x 2ft (2"thick) slabs but it was on a fair old slope so first job was to lift my slabs.
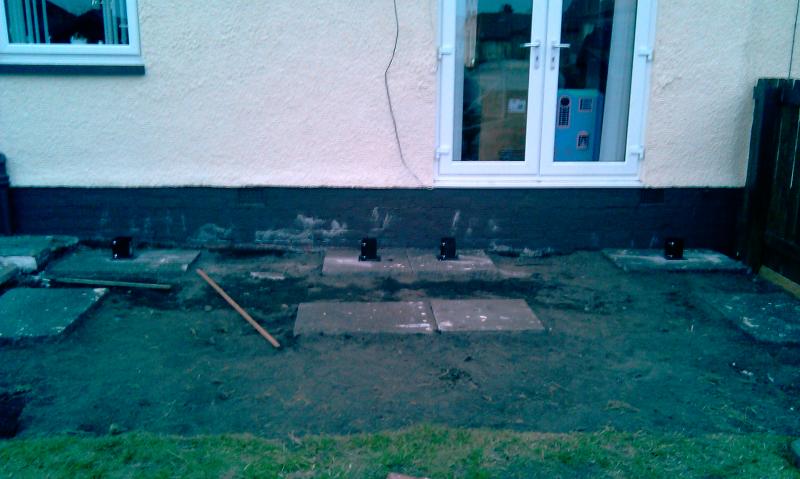
next I levelled the ground and relayed some of the slabs to act as a sound stable foundation for my posts to sit on. i also lifted an area of turf which was in front of the slabs as my deck was larger than the slabbed area. I chose to use bolt down post feet (from toolstation) as i wanted to keep my posts off the ground and also to enable me to easily renew the posts should they ever rot in the future. The post feet were held in place with sheild anchor bolts also from toolstation (12mm diameter 50mm long) these were installed because they were cheap and they made the feet a hell of a lot firmer (i could lift the slabs by the post feet with just 2 of these bolts installed). I would however say that they were probably not strictly essential since the weight of the deck itself was more than enough to hold it all to the ground.
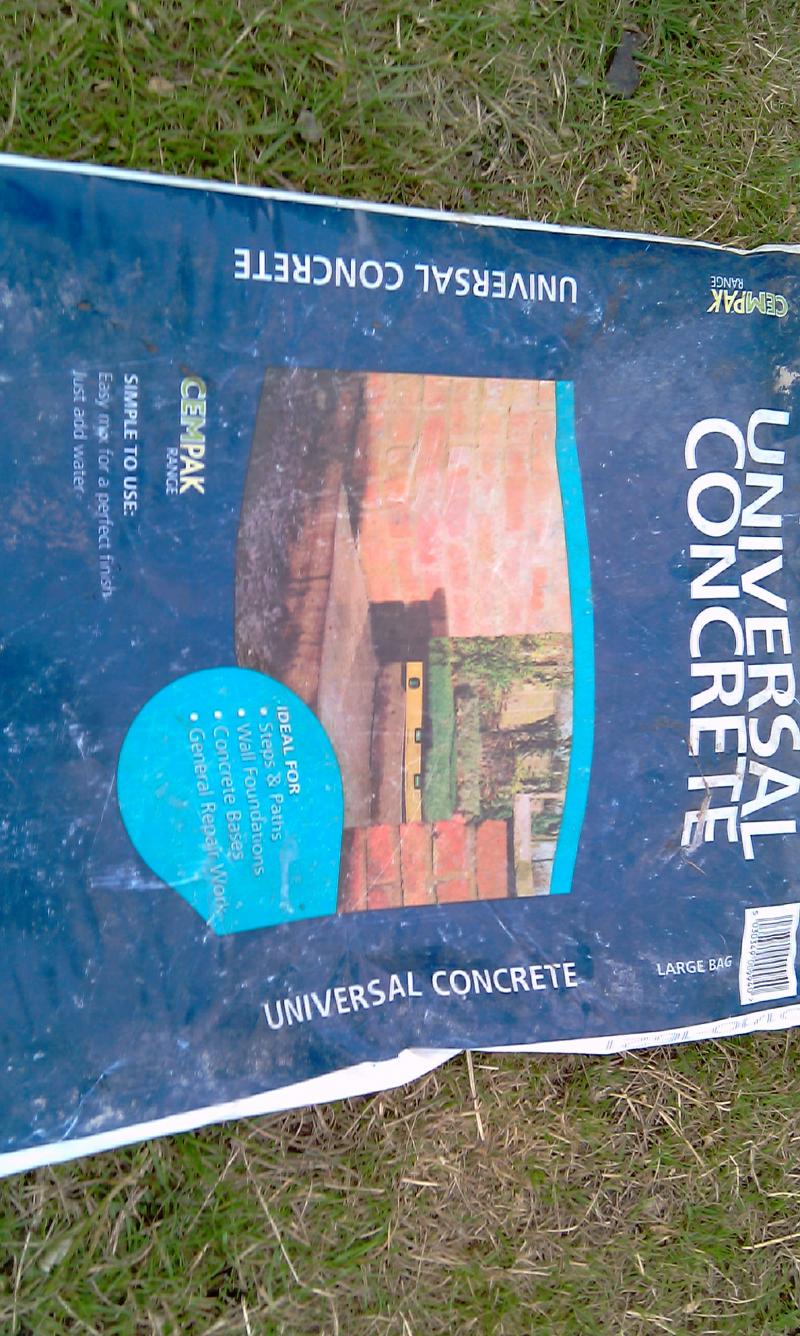
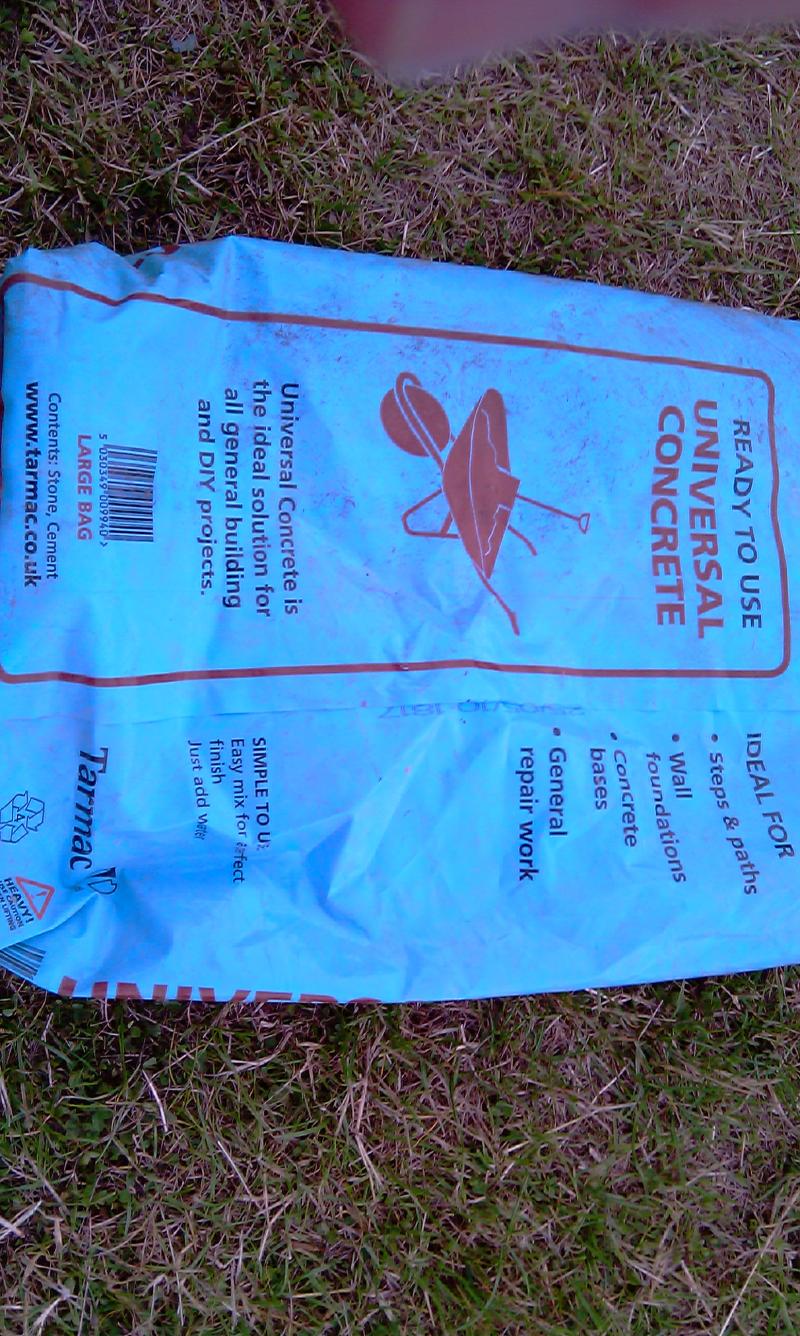
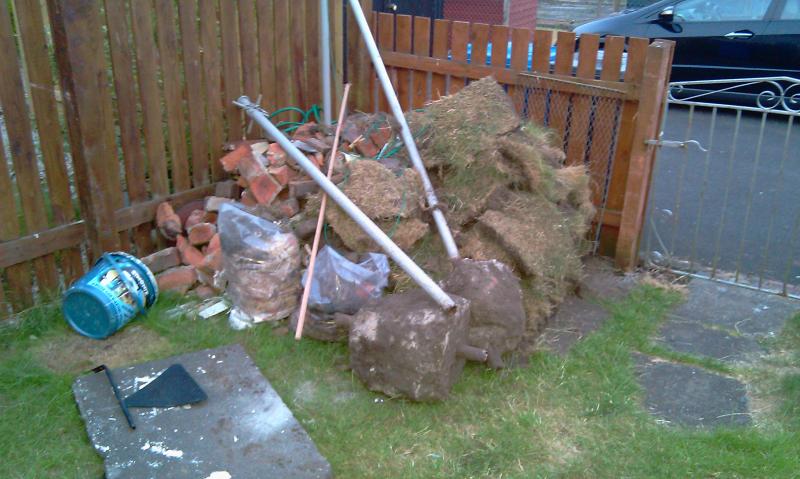
I then dug out the old clothes poles and added them to my rubble pile and then l dug 4 holes for the posts which were to be concreted in. Again i used post feet although these were of the concrete in type. i was slightly worried about these but they were solid as a rock once the ready mix concrete was set (not postcrete I tried this it was very much inferior to the ready mix concrete which i eventually used ) I will try and upload a photo of the bag of this concrete mix i used and its name etc as i would very much recommend it !!! I got it from a fencer mate of mine who works for the local council so i dont know exactly where sells it.
The posts were 4" x 4" and there were 12 of them 4 were concreted in (ready mix) and the other 8 were laid onto levelled slabs. all cut ends were treated a wood preserver. A post level was used to ensure the posts were straight and true. any posts which were not were corrected using large square steel washers as packers under the appropriate corner of the post foot then the anchor bolts were screwed down to secure the post feet. this only needed to be done on 2 of the feet since the slabs were levelled and the posts were squared before installing into the post feet.
In the pic above the posts are looking slightly off as they have not yet been bolted down.
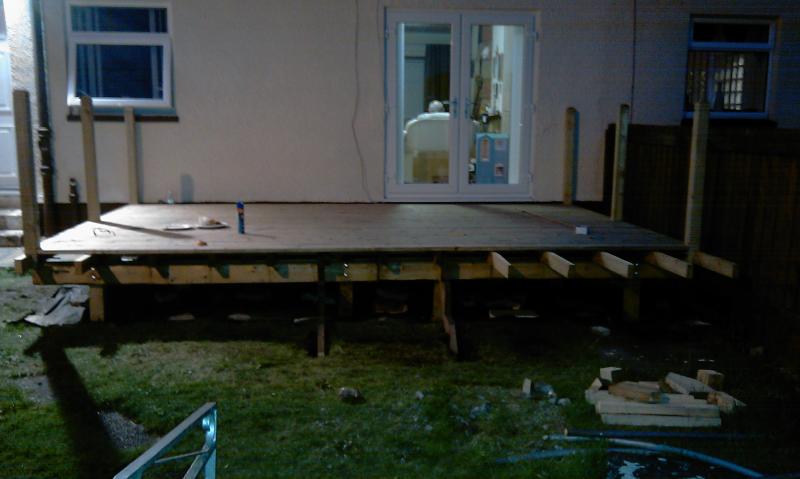
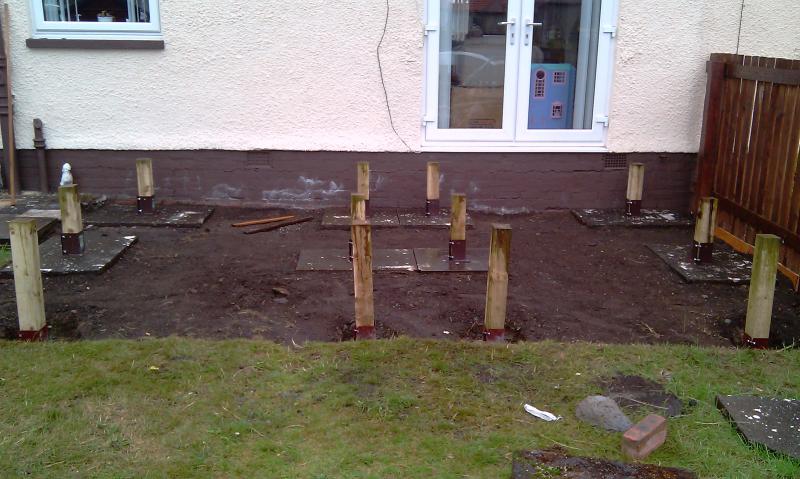
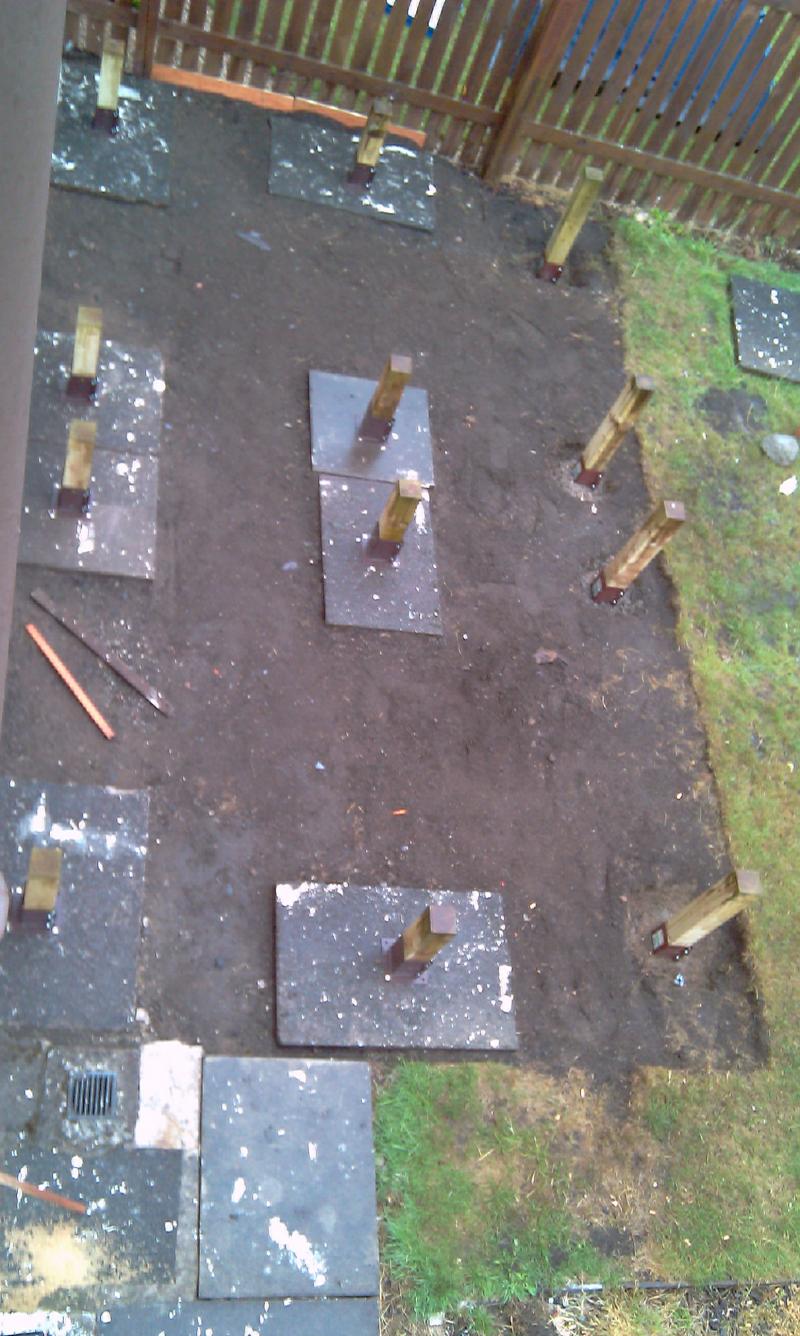
here is an arial view of my deck area. As you can see my father in law and I recently painted the exterior of the house and we weren't too carefull of splashes since i knew it was getting decked lol
now that the posts are in and secured to the slabs and tightened at the sides of the feet (holds them secure in the feet) its time to start connecting bearers to them. Im sure some may/will say I have been overkill with the bearers and bolts but hey who cares its my deck and my design and I want it to be solid and last (WHICH IT CERTAINLY WILL!!!!) so we used a 6 x 2 bearer on each side of the 4 x 4 post and held these in place with 2 x m12 bolts (220mm long) per post. the bearers were levelled along the run of the house and to each other, but we allowed a very slight run (1 : 100) down along the length of the house to allow water to run off.
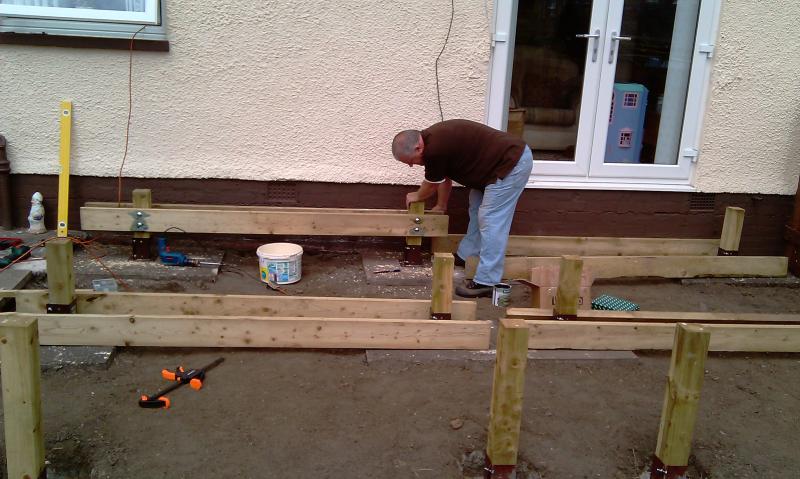
here is my father in law Arthur "the engineer" nicholls tightening the nuts on the first set of bearers.
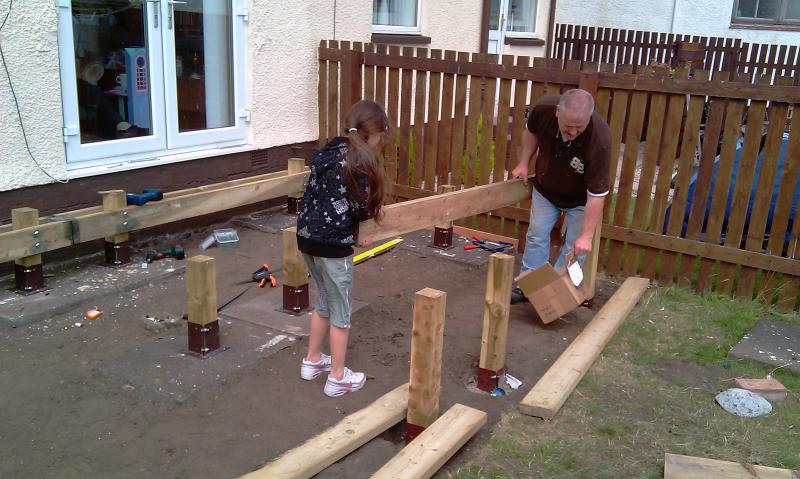
we then moved all the gear and wood off the deck area and laid the heavy duty weed suppressor fabric. my daughter rolled up her sleeves and lended a hand
we then stretched the weed supressor fabric to size and cut crosses where the posts were so the fabric was laid over the posts and then down onto the ground.
The bearers were held in place while we positioned and prepared to drill holes for them by heavy duty 350mm draper screw type g clamps (supplied by Arthur "the engineer") these are wonderfull clamps and far far better than my silverline yellow and black vice clamps which can be seen in the pic where arthur is tightening the nuts on the first set of bearers.
once the bearers were positioned leveled and where we wanted them we gunned in a 75mm screw to hold it before we drilled the 12 mm holes for the bolts.
Although I designed the deck , sub frame and figured out the structural tolerances arthur was a great help when it came to building it, providing tools and stopping me from saying " ah f**k it its close enough. The man is an absolute perfectionist lol.
One of the screw clamps i mentioned can be seen sitting on the right hand bearer in this next picture
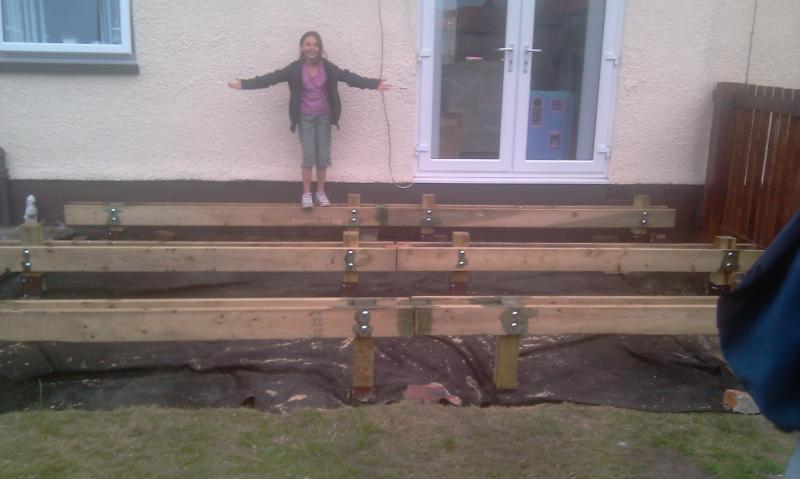
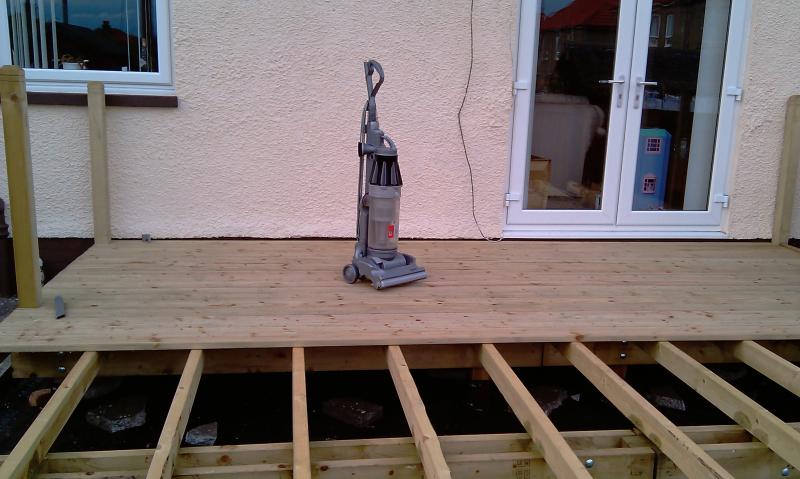
nearly done for the 3rd day now (well we have drank a lot of beer and the world cup was on while we were building it so maybe 2 days in real time lol) this is where we were on the 3rd day a solid frame built which we will now lay and screw 4 x 2 joists to and then ballustrade and deck. I will be back shortly with the next installment. here is my daughter and the deck sub frame.
next I levelled the ground and relayed some of the slabs to act as a sound stable foundation for my posts to sit on. i also lifted an area of turf which was in front of the slabs as my deck was larger than the slabbed area. I chose to use bolt down post feet (from toolstation) as i wanted to keep my posts off the ground and also to enable me to easily renew the posts should they ever rot in the future. The post feet were held in place with sheild anchor bolts also from toolstation (12mm diameter 50mm long) these were installed because they were cheap and they made the feet a hell of a lot firmer (i could lift the slabs by the post feet with just 2 of these bolts installed). I would however say that they were probably not strictly essential since the weight of the deck itself was more than enough to hold it all to the ground.
I then dug out the old clothes poles and added them to my rubble pile and then l dug 4 holes for the posts which were to be concreted in. Again i used post feet although these were of the concrete in type. i was slightly worried about these but they were solid as a rock once the ready mix concrete was set (not postcrete I tried this it was very much inferior to the ready mix concrete which i eventually used ) I will try and upload a photo of the bag of this concrete mix i used and its name etc as i would very much recommend it !!! I got it from a fencer mate of mine who works for the local council so i dont know exactly where sells it.
The posts were 4" x 4" and there were 12 of them 4 were concreted in (ready mix) and the other 8 were laid onto levelled slabs. all cut ends were treated a wood preserver. A post level was used to ensure the posts were straight and true. any posts which were not were corrected using large square steel washers as packers under the appropriate corner of the post foot then the anchor bolts were screwed down to secure the post feet. this only needed to be done on 2 of the feet since the slabs were levelled and the posts were squared before installing into the post feet.
In the pic above the posts are looking slightly off as they have not yet been bolted down.
here is an arial view of my deck area. As you can see my father in law and I recently painted the exterior of the house and we weren't too carefull of splashes since i knew it was getting decked lol
now that the posts are in and secured to the slabs and tightened at the sides of the feet (holds them secure in the feet) its time to start connecting bearers to them. Im sure some may/will say I have been overkill with the bearers and bolts but hey who cares its my deck and my design and I want it to be solid and last (WHICH IT CERTAINLY WILL!!!!) so we used a 6 x 2 bearer on each side of the 4 x 4 post and held these in place with 2 x m12 bolts (220mm long) per post. the bearers were levelled along the run of the house and to each other, but we allowed a very slight run (1 : 100) down along the length of the house to allow water to run off.
here is my father in law Arthur "the engineer" nicholls tightening the nuts on the first set of bearers.
we then moved all the gear and wood off the deck area and laid the heavy duty weed suppressor fabric. my daughter rolled up her sleeves and lended a hand
we then stretched the weed supressor fabric to size and cut crosses where the posts were so the fabric was laid over the posts and then down onto the ground.
The bearers were held in place while we positioned and prepared to drill holes for them by heavy duty 350mm draper screw type g clamps (supplied by Arthur "the engineer") these are wonderfull clamps and far far better than my silverline yellow and black vice clamps which can be seen in the pic where arthur is tightening the nuts on the first set of bearers.
once the bearers were positioned leveled and where we wanted them we gunned in a 75mm screw to hold it before we drilled the 12 mm holes for the bolts.
Although I designed the deck , sub frame and figured out the structural tolerances arthur was a great help when it came to building it, providing tools and stopping me from saying " ah f**k it its close enough. The man is an absolute perfectionist lol.
One of the screw clamps i mentioned can be seen sitting on the right hand bearer in this next picture
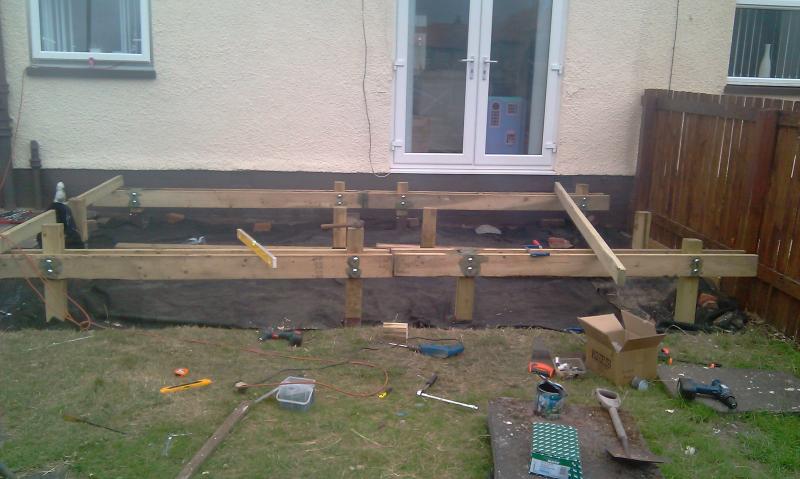
nearly done for the 3rd day now (well we have drank a lot of beer and the world cup was on while we were building it so maybe 2 days in real time lol) this is where we were on the 3rd day a solid frame built which we will now lay and screw 4 x 2 joists to and then ballustrade and deck. I will be back shortly with the next installment. here is my daughter and the deck sub frame.