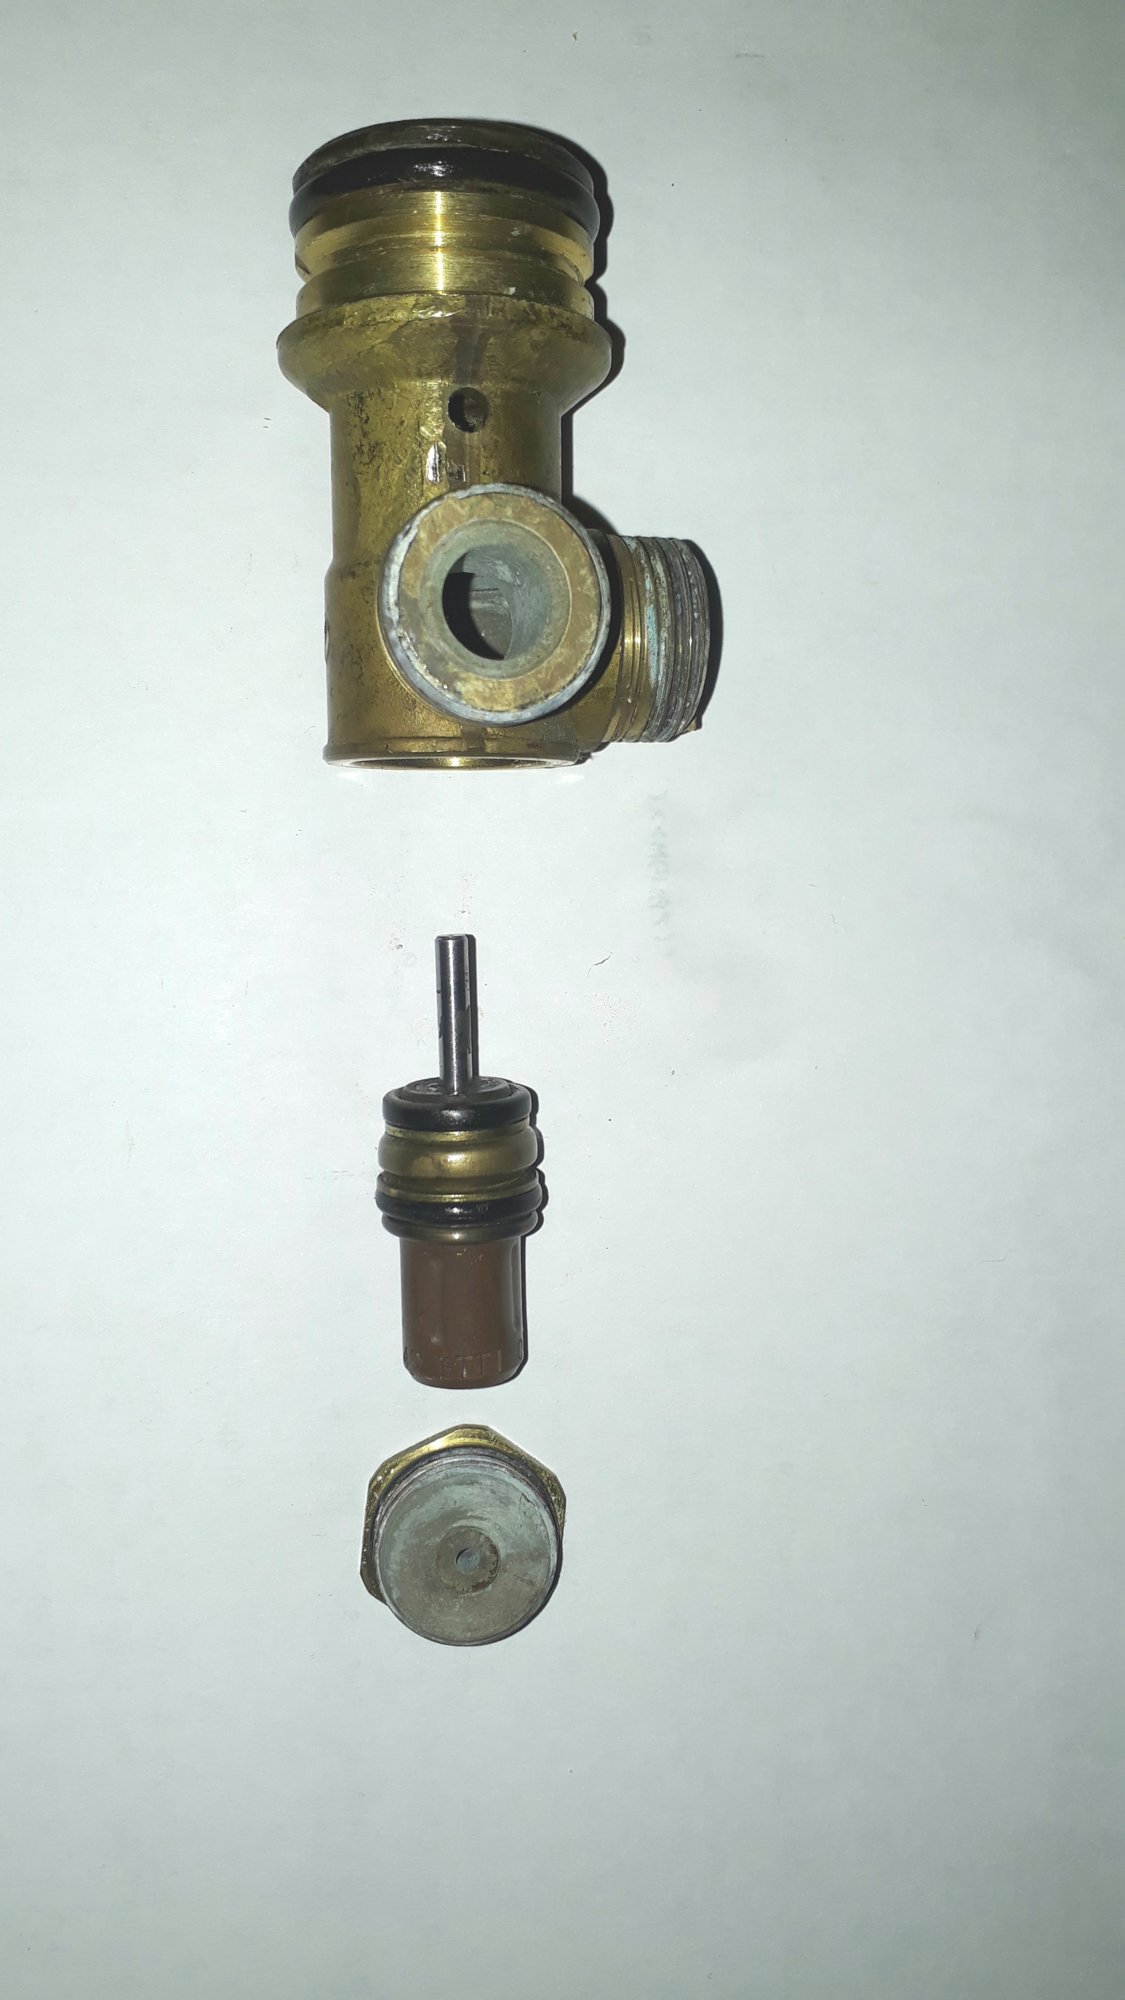
The problem with replacing the wax element is that you're relying on the 4 old O rings being servicable...and invariably they are worn and square section.
I've always bought new valves (often from ebay) and if you can remove the grub screws just replace the front section.
Anyway this is how is should be assembled...clean all O ring mating surfaces and grooves so they're spotless then grease all the O rings and grooves etc with silicon grease.
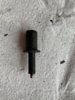
Fully assembled wax element..
Small pin in spacer bar must locate in rear section hole...
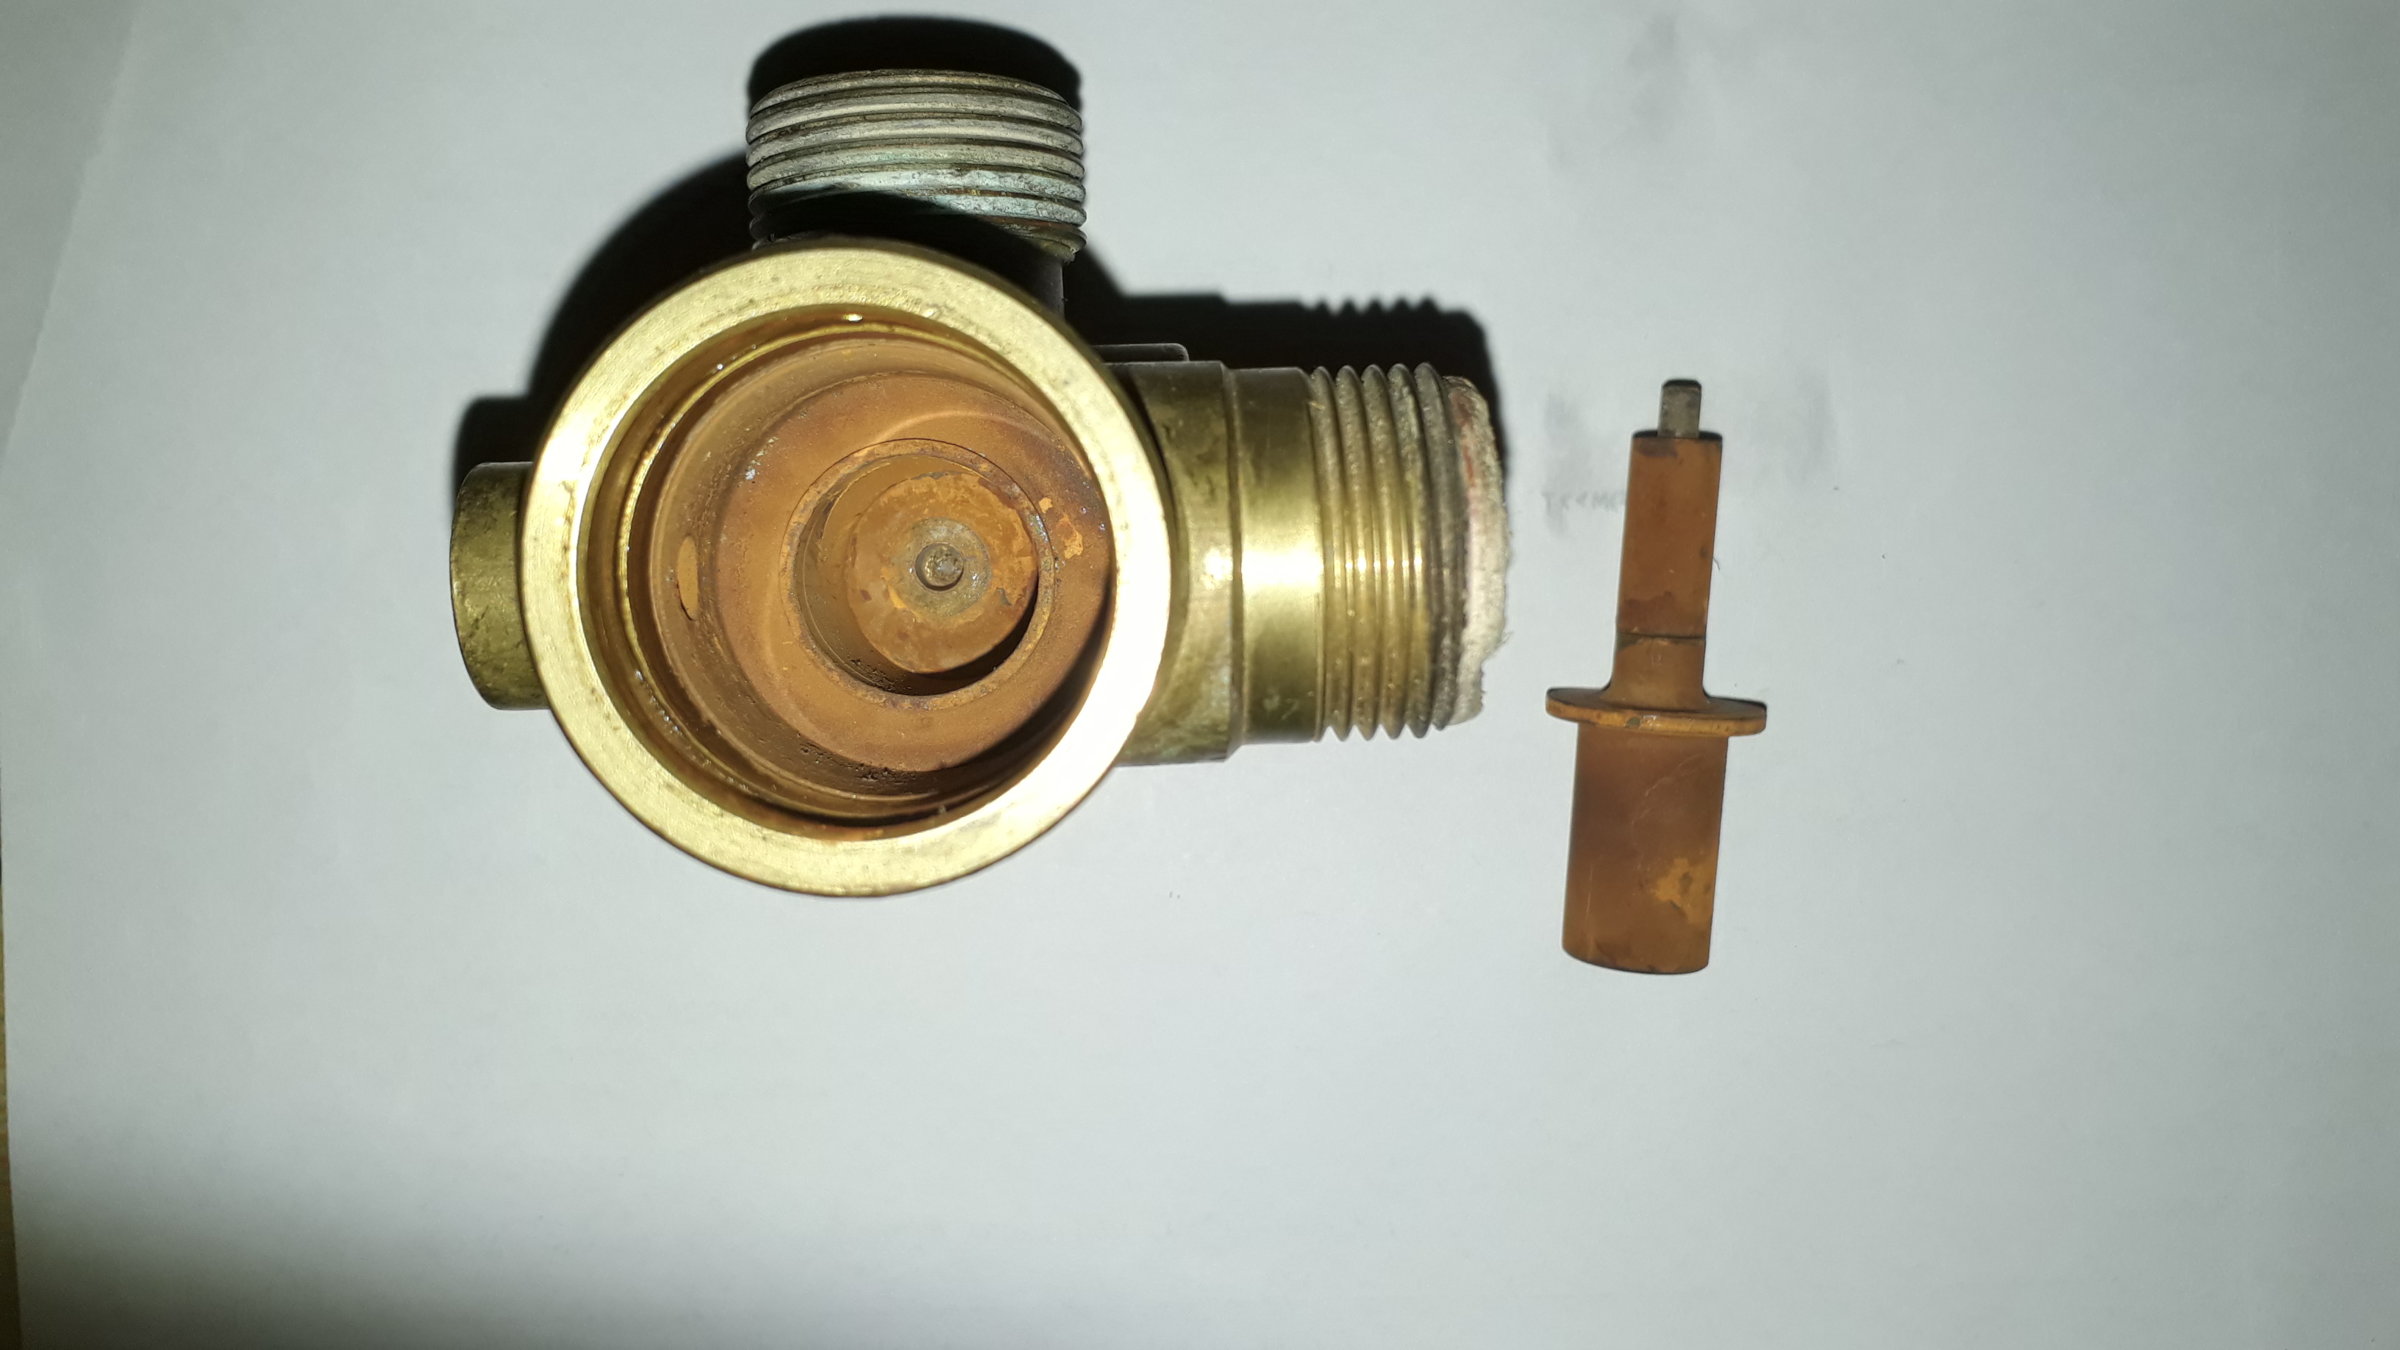
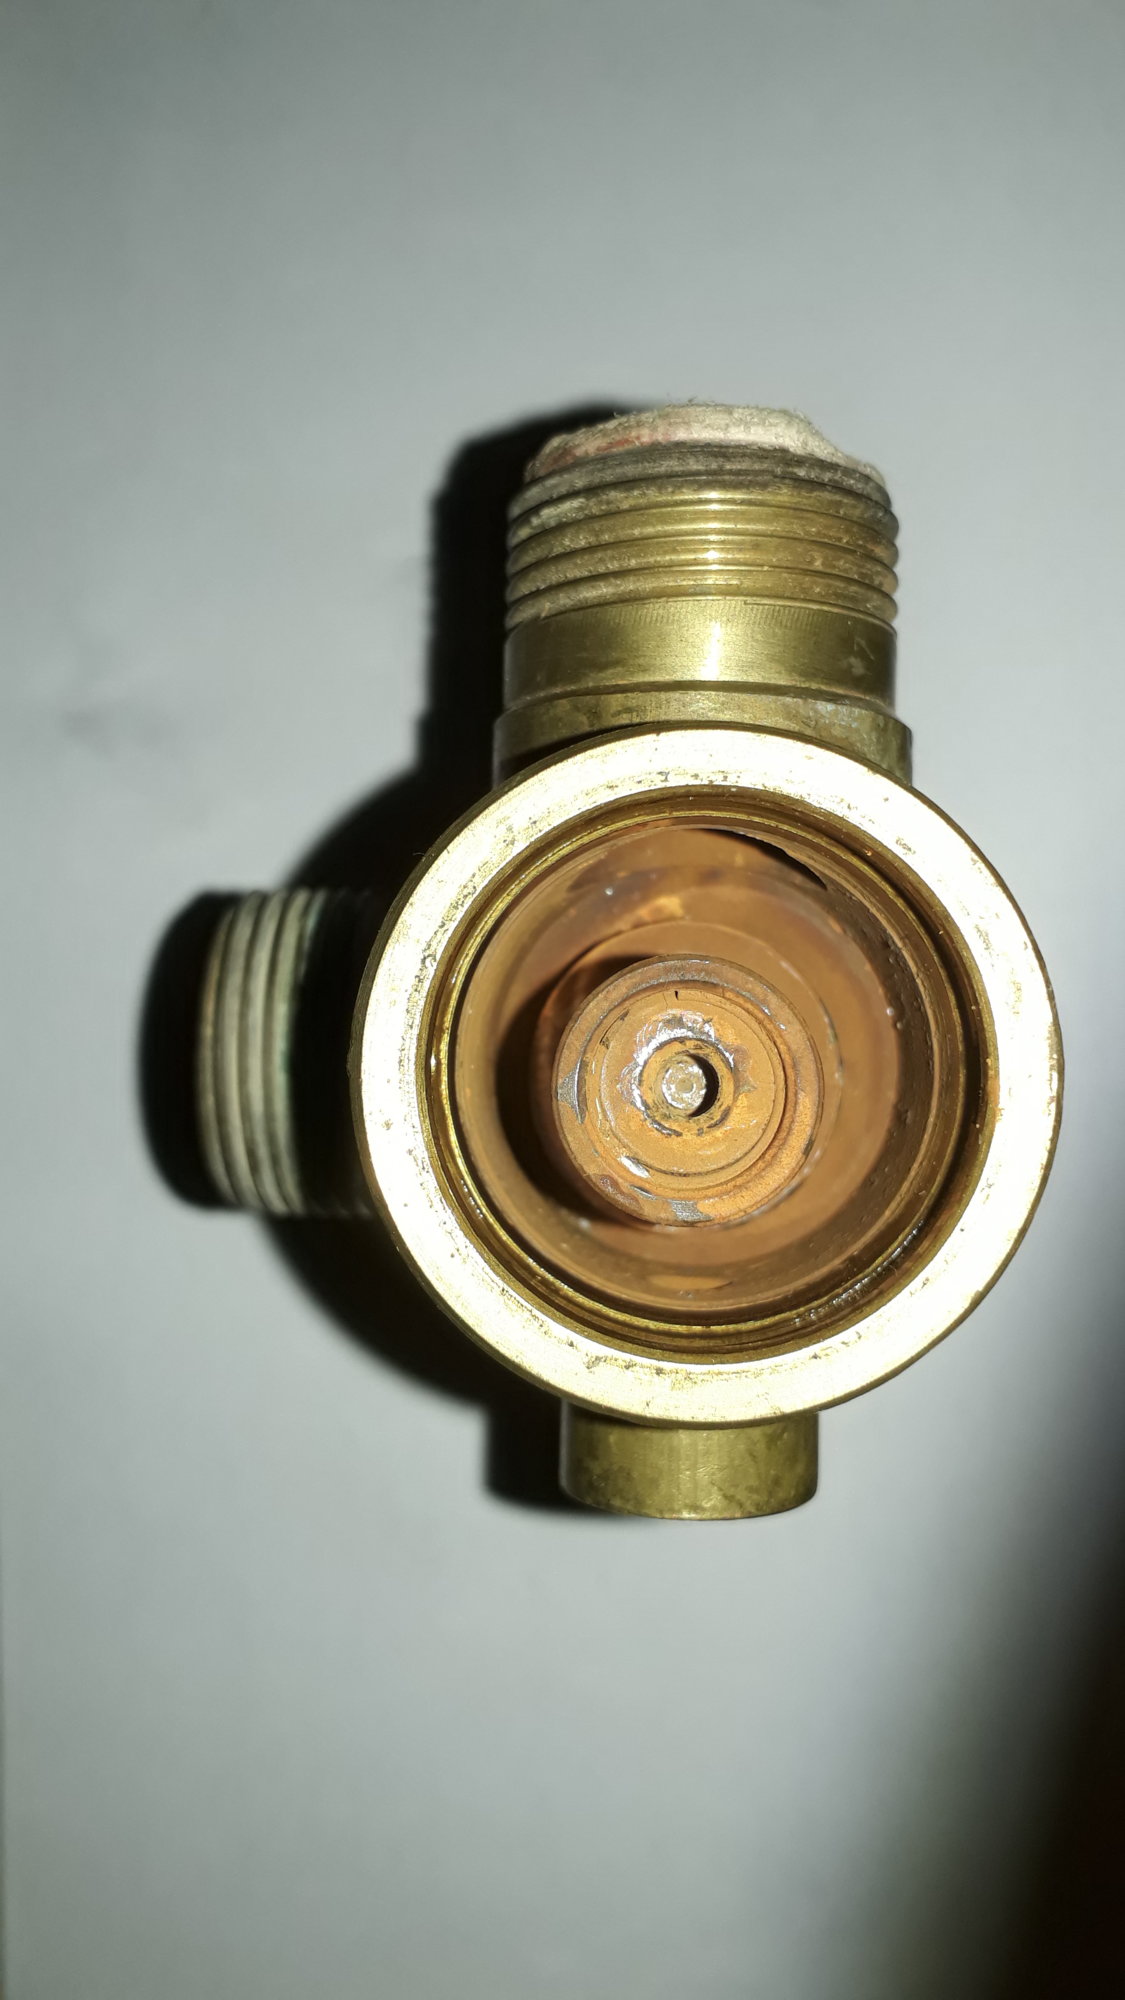
And now both parts fitted with "rim" of top hat section at the back to allow port to be sealed when wax element expands...
In hot water mode cold domestic water continually flows across the wax element via the 2 pipe connections on the front diverter section.
This keeps the wax element cold and therefore it's pin does not extend.
The boiler pump circulates primary water around the boiler heat exchanger (and through the diverter) helping to transfer heat energy to the domestic water pipe circuit inside.
In heating mode the boiler fires up and again the pump circulates primary water around the heat exchanger and through the diverter.
This time though the front section of the diverter containing the wax element gradually heats up through conduction from the rear section (containing heated primary water).
The wax in the element expands pushing the pin out and this forces the top hat section, spacer pin and rear section back towards the wall opening up the radiator circuit.
Inside the top hat section you'll also find another spring loaded mechanism to take up excessive pin movement and protecting the wax element from excessive pressure.
The Puma is a pile of junk...it has several design flaws. Rumours were that Potterton had so many warranty calls they ended up being bought out by Baxi to save them.
At one time it contributed a significant income to gas repair engineers
")