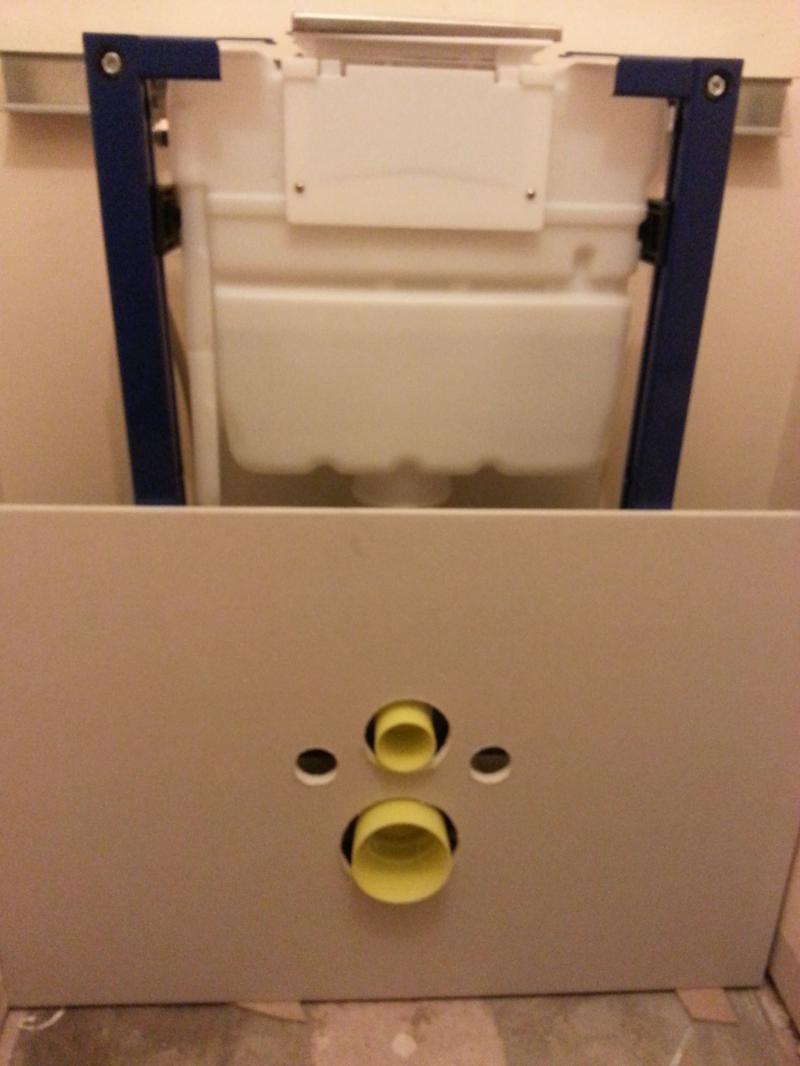
I have 12mm plasterboard ready to cut and box around
I faced mine using kitchen cabinet doors and it looks great. Also has the benefit of being removable for maintenance later if needed.

I have 12mm plasterboard ready to cut and box around
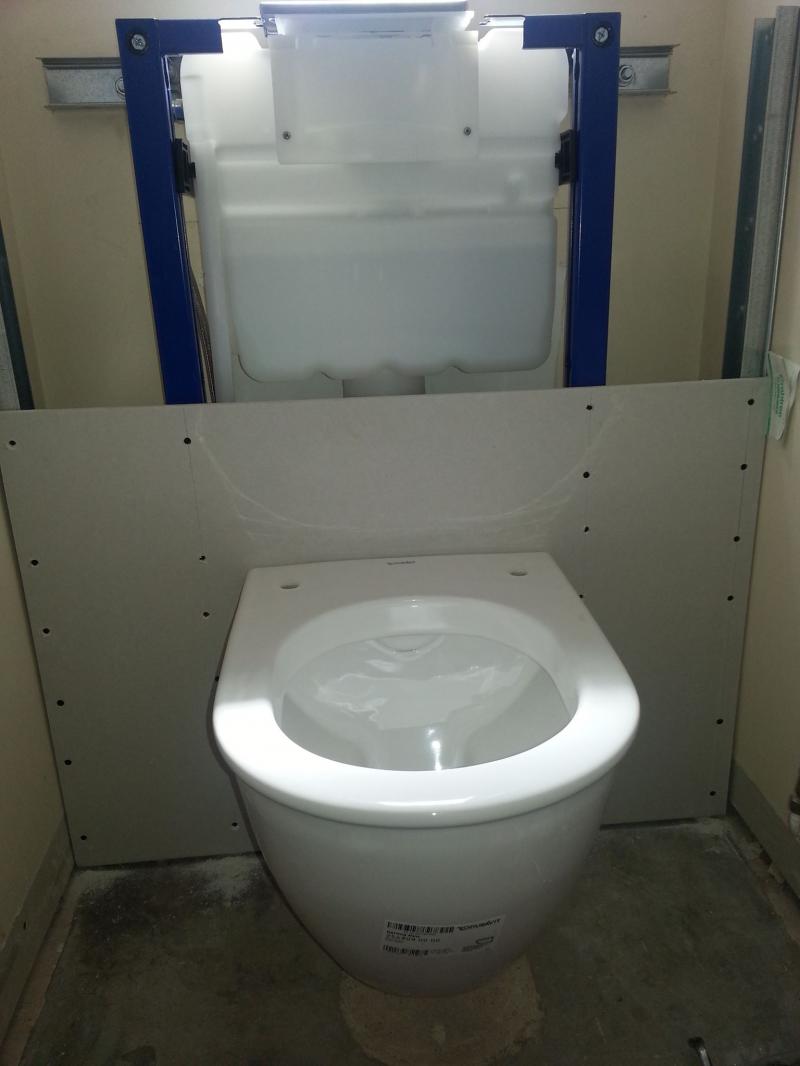
") In the meantime my Brush chromed Kappa flush plate should be arriving today
In the meantime my Brush chromed Kappa flush plate should be arriving today I can't decide whether to mount the flush plate on the top or front above the toilet. Maybe somebody can help here as I am so indecisive. Its a Kappa flushplate quite large which allows you access to the isolation valve inside the cistern if you need to isolate the water into the cistern that is. The flushplate can fit either position as there is sufficient gap above toilet lid.
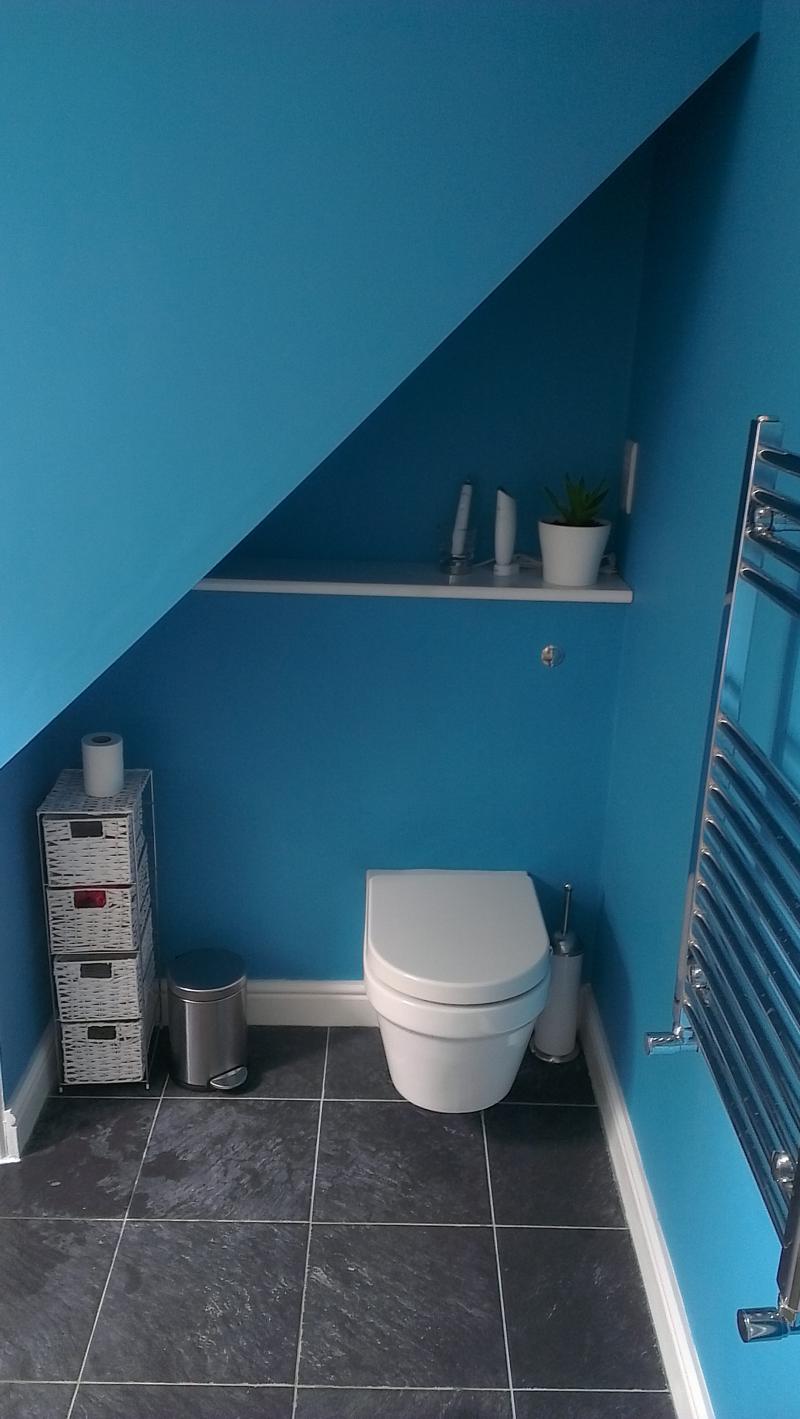
The lid on top of the cistern can then be used as a shelf. I might one day put a cabinet on the wall above the WC.If you need to find a tradesperson to get your job done, please try our local search below, or if you are doing it yourself you can find suppliers local to you.
Select the supplier or trade you require, enter your location to begin your search.
Are you a trade or supplier? You can create your listing free at DIYnot Local