3 broken loft stairs, how to fix? New Pics.

Joined
5 Sep 2007
Messages
192
Reaction score
1
Location
Ayrshire
Country
United Kingdom
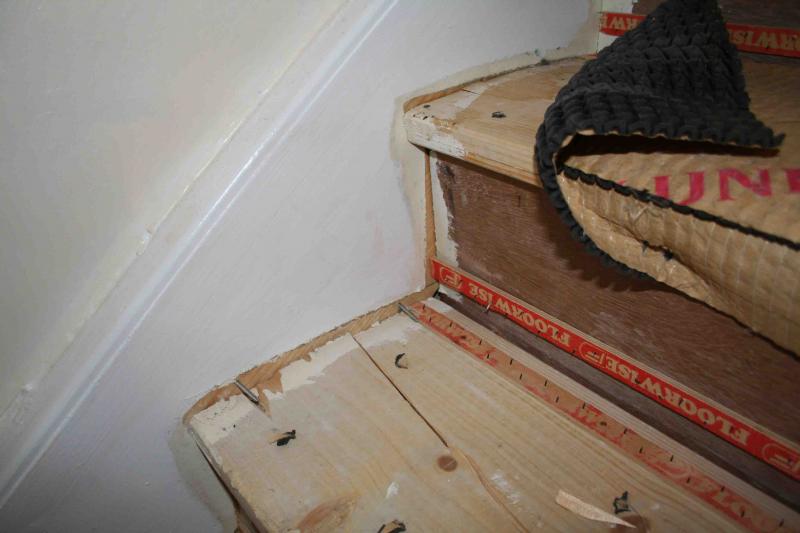
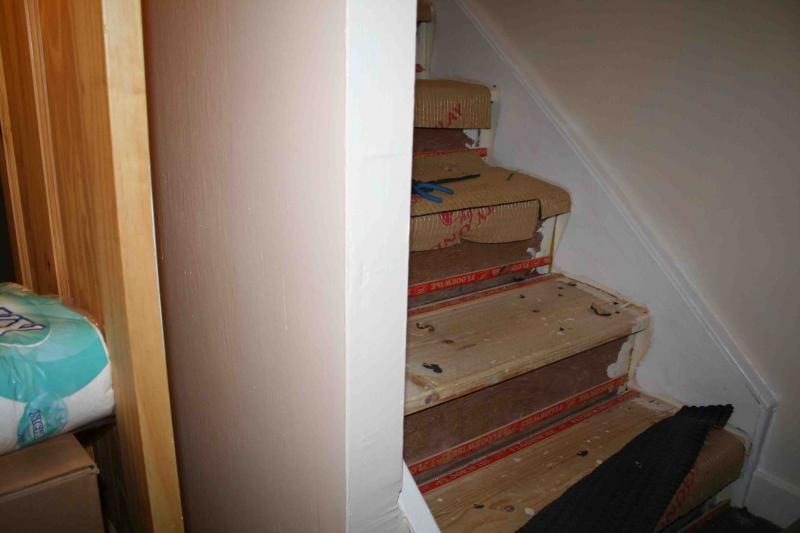
Ok i am replacing the carpet on my loft stairs and I knew I had a damaged stair but on closer inspection there are 3 damaged stairs.


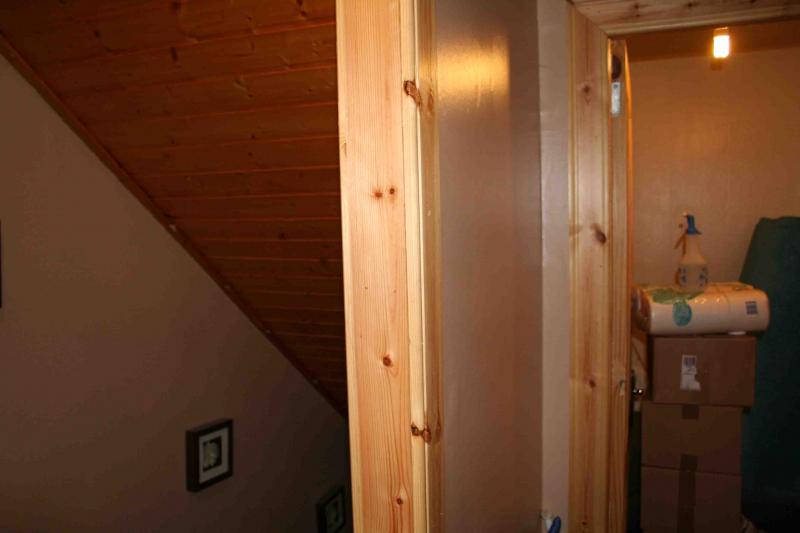
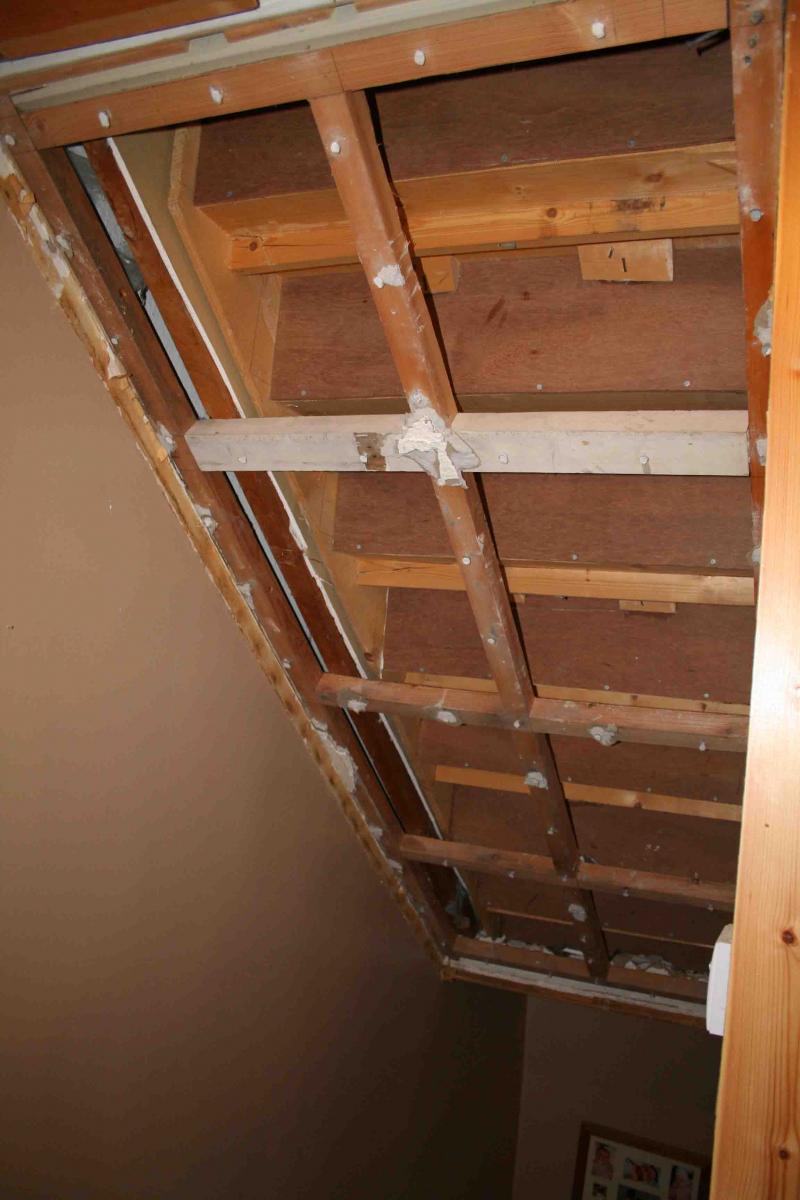
I was looking to fix them, I spoke to a joiner who was out doing some work for me and he said you would access to under the stairs to fix them. But underneath is covered with wood.


can access one side of the stairs but would have to make a hole in the wall.


so what you think, plan of action?
 
Sponsored Links
NO YOU CANNOT DO THAT,you will be making a hole in the string of the staircase,sounds like the wedges have come adrift you need as recommended to gain access to underside f staircase and reglue them back in.
 
thanks for telling me that, I took all the wood off under the stairs and found this


so what do I do now? do I make small holes on each side of the central part of wood and try and fix it from there?

or would making holes on each side of the central wood make things unstable?

what you think.

Rezarf
 
rez - looks like painted embossed wallpaper (very common years ago). It's probably stuck to a plastered surface, either lath & plaster (old house) or plasterboard - tap it to get a clue (hollow sound?). Cut small holes to gain access - warning, lath & plaster can be unstable and the whole lot might come down, also very, very dusty. Use a stab saw to cut the holes, but not right up to the timbers (maybe 50mm away), by leaving this border of original ceinling it'll give you something to anchor your ceiling repair to. Attempt your staircase repair through these holes as per gregers suggestion.

If you are going to put the wood panelling back the ceiling repair doesn't have to be brilliant but consider covering the underside with plasterboard, then painted, for 'that modern look'.
 
Sponsored Links
just took the whole lot down very messy and dusty:)

anyway here are the pics not sure if this was a job well done when the previous owner put it in but will leave that to the people who know what they are talking about.


so after I find out how to fix this I will put up a fresh plasterboard, no more wood.

Rezarf
 
look like a really high quality stair case! :eek: 
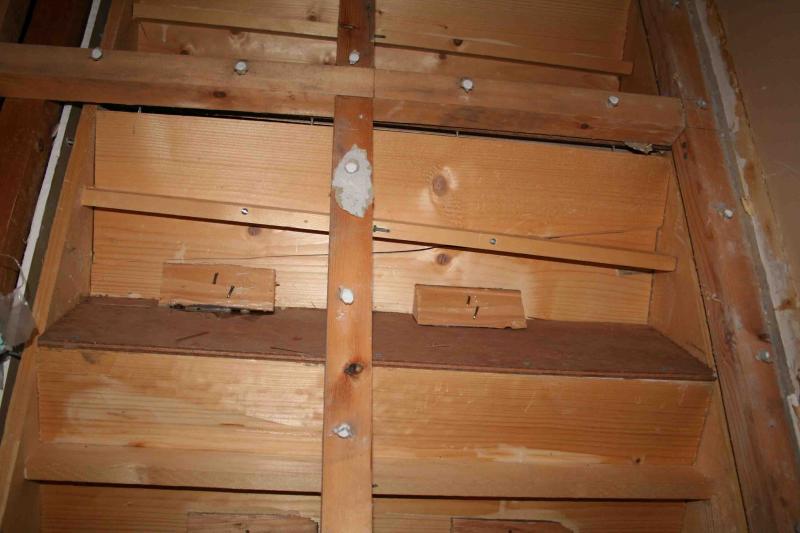
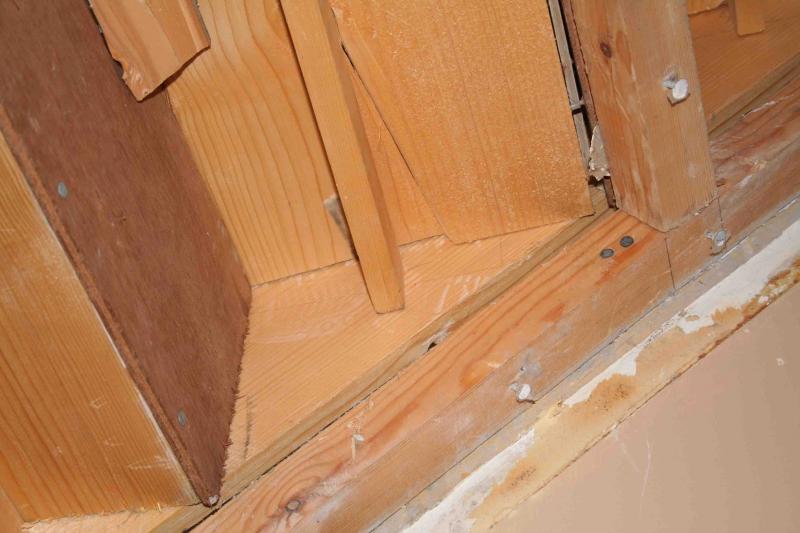
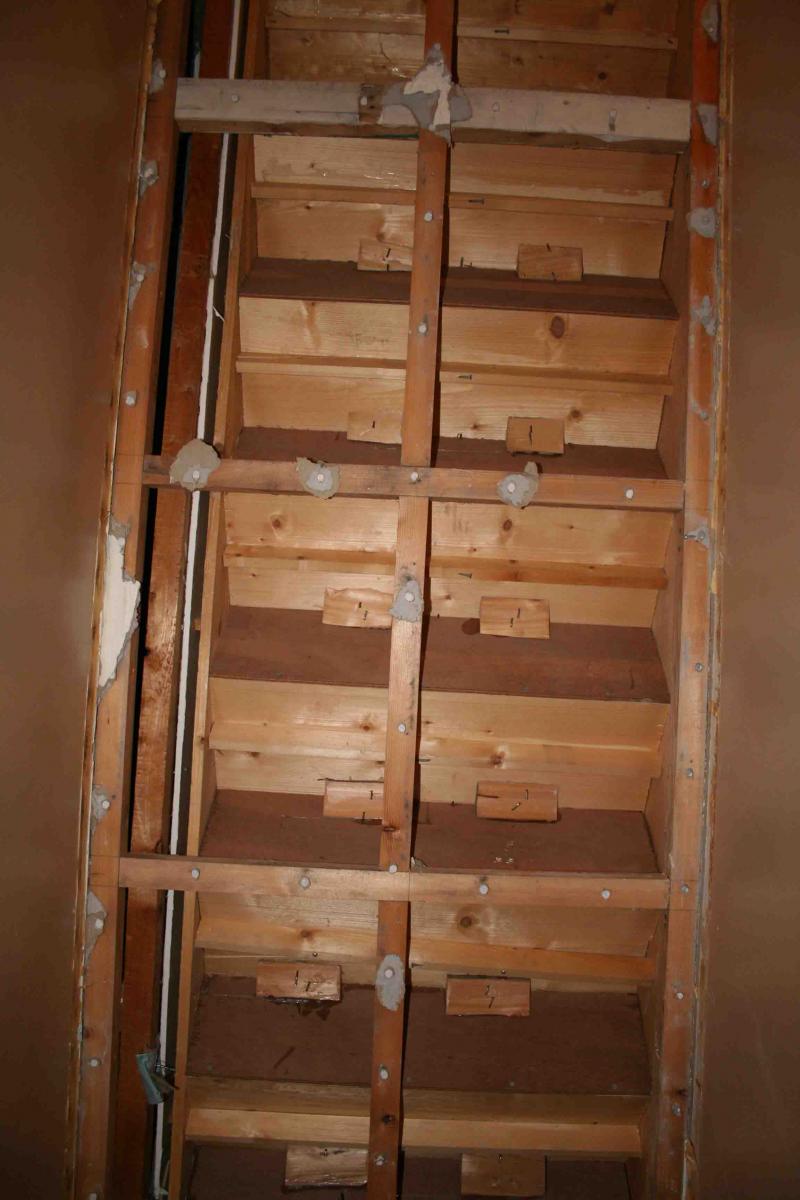
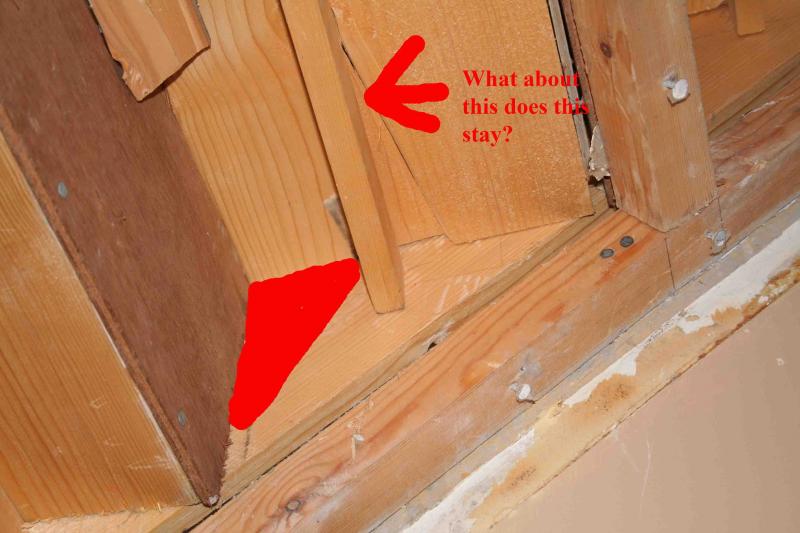
O.k your fix is to do this. You will have to screw and glue batterns to the stringers under the treads. The bigger the timber the better. Try to cut to correct shape. Like a triangle lets say 6"x6" that one side will fit against the tread and the other the riser. Next screw the risers into the tread properly ( where the felt nails are now ) Remove the broken treads ( should not be hard as they dont seem to be rebated into the stringers) Use them as a template for your new ones and router a round edge onto the front to match the old steps.

P.s get yourself a better carpet fitter next time. The underlay and gripper looks like it was put on by a child, or maybe a big shed carpet fitter!
 
so do I fit a triangle shaped bit of timber here (in red in the pic)


Also what do I do about the bit of timber under the tread?

you say screw the riser into the tread, the riser seems thin to get a screw into it without splitting it, or am I talking rubbish, just get a thinner screw and get it on target.

Its seems that everytime we need to fix or just redecorate something in this house we run into badly built or designed projects.

rezarf
 
remove the timber that your arrow goes to. And yes your red triangle is correct. Just make it bigger when you take the timber bit out, so basically your triangle will go from the front all the way to the back of the tread. If you drill pilot holes first into the timber before you screw it will stop timber cracking and make easier for you to fasten the riser. Make sure you use plenty of P.V.A glue on all joints.
 
cheers for the extra info looks like I have some job ahead of me.

thanks again, will update as I go.

Frazer
 
unelivable ehh mattysupra :eek: :eek:

you have no rebates no wedges nit surprised the staires have failed

what you actualy seem to have is treads butted up to nailed/screwed to the string and thats it

in other words you you have 2 fixings on each side of every tread but nothing i can see on the riser :rolleyes: :rolleyes:

i would insert triangles as matty says but under every tread/riser to avoid having to revisit every year or so as more collapse

i would start with fully supporting all the treads that are sound

to remove the dammages treads you will have to realease from the riser top and bottom cut down the centre of the tread front to back and pull off each half from the screws/nails securing them cutting them off close to the string and tapping them below the surface

if the riser is properly rebated into the nosing of the tread and wont detach

do 2 cuts 2 inches appart up the riser and accross the tread avoiding dammaging any componants that arnt comming out
 
thanks everyone for the advice and guide to fixing this botch job of a stair case. I have been doing lots of reading on staircases and it seems that this one is not at all like a standard stair case.

Will up date as I go.

Rezarf
 

DIYnot Local

Staff member

If you need to find a tradesperson to get your job done, please try our local search below, or if you are doing it yourself you can find suppliers local to you.

Select the supplier or trade you require, enter your location to begin your search.


Are you a trade or supplier? You can create your listing free at DIYnot Local

 
Sponsored Links
Back
Top