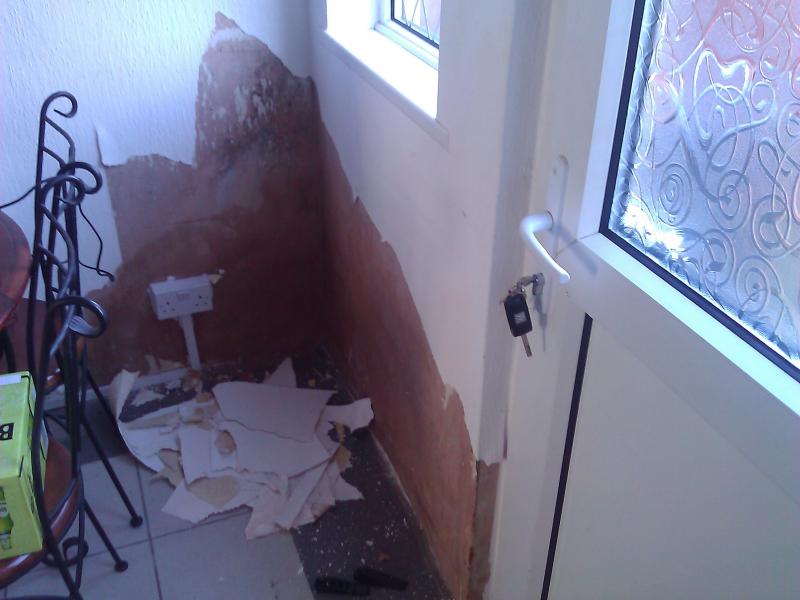
Hi, When I moved into this house, I knew there was a damp area in the corner of the kitchen, but wallpaper was hiding it. 2 years on and I've stripped all the (easily removed) wallpaper in this corner - I stopped where the wallpaper was well-stuck.
In the pictures you can see the results. The wall in the very bottom corner is sodden - wet through. You can draw an approximate triangle on the walls about a foot above this to form the soaked area. But above this is still damp - as you can see with the wallpaper I stripped. The damp area seems to go as far as the back door.
Now, a bit of thought. In the past the house has had an injected damp course, and as you cans ee the plaster there is fairly new, I think they injected from both sides - the plaster is only new up to about 900mm. The walls are solid 9 inch walls, 100 years old. Along the outside of the house are plastic plugs at floor level. They have been decayed by UV, so must be about 20 years old (And the house had significant works done in the early 90's including new heating and windows so it was probably around this time).
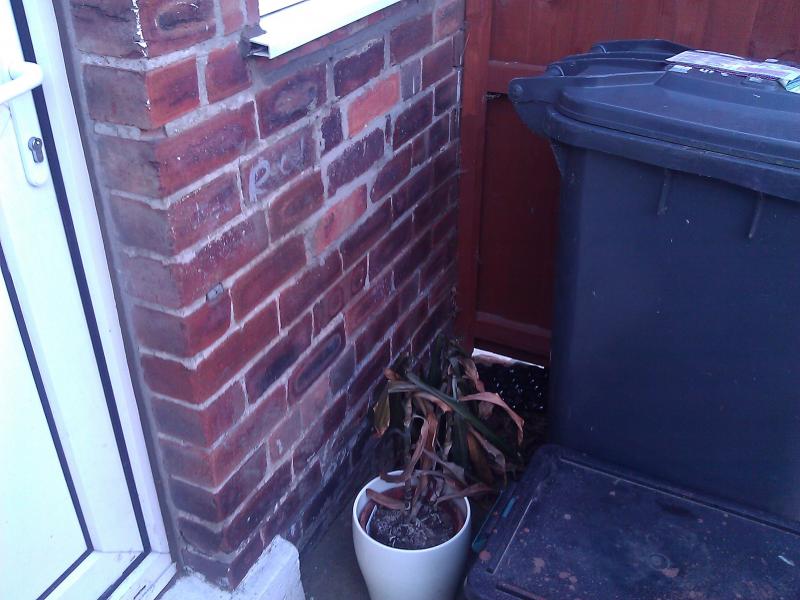
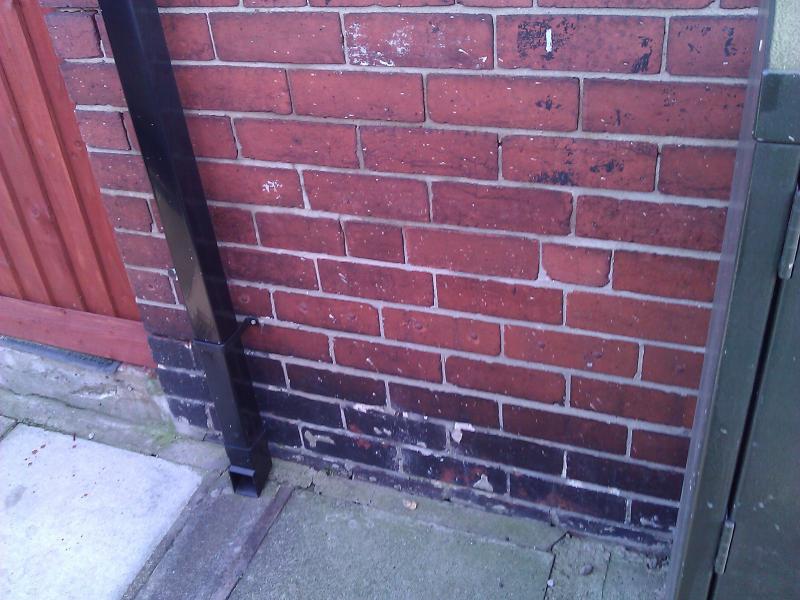
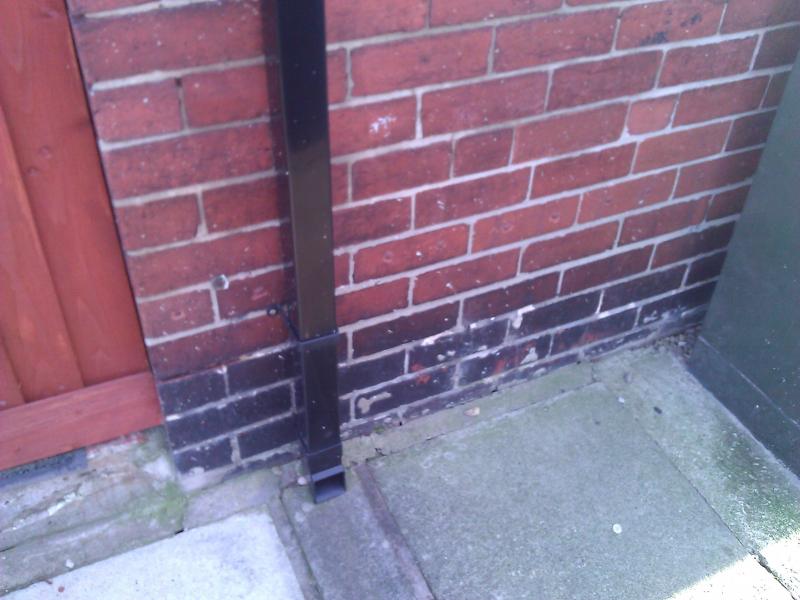
In this corner, on the other side to that socket is a public flagged pavement. The gutter downpipe comes down here and discharges onto the pavement (onto a concrete surface gutter which crosses the pavement into the road gutter). There is a shoe on the downpipe which rests on this gutter. The downpipe and house gutters were renewed a year ago. The outside of the wall doesn't appear damp, but I know its not great having the water discharged onto the ground next to the house. Its been like this (I assume) for 100 years, so I really dont think this would be causing the damp issue.
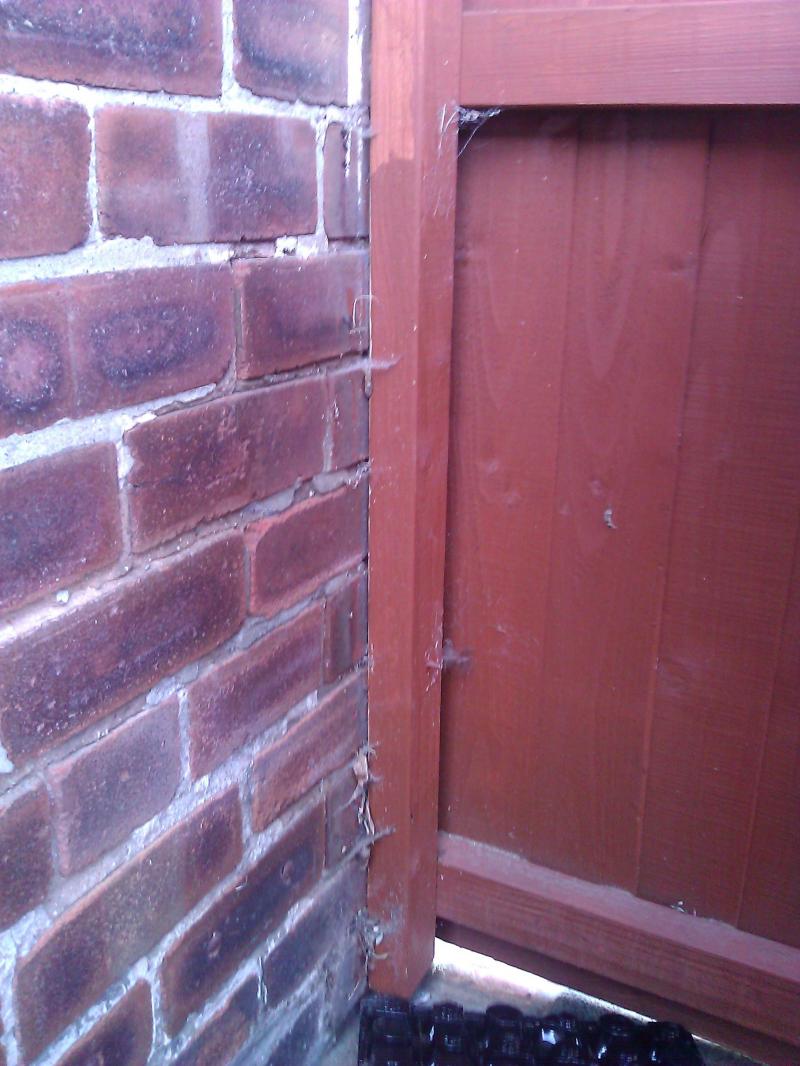
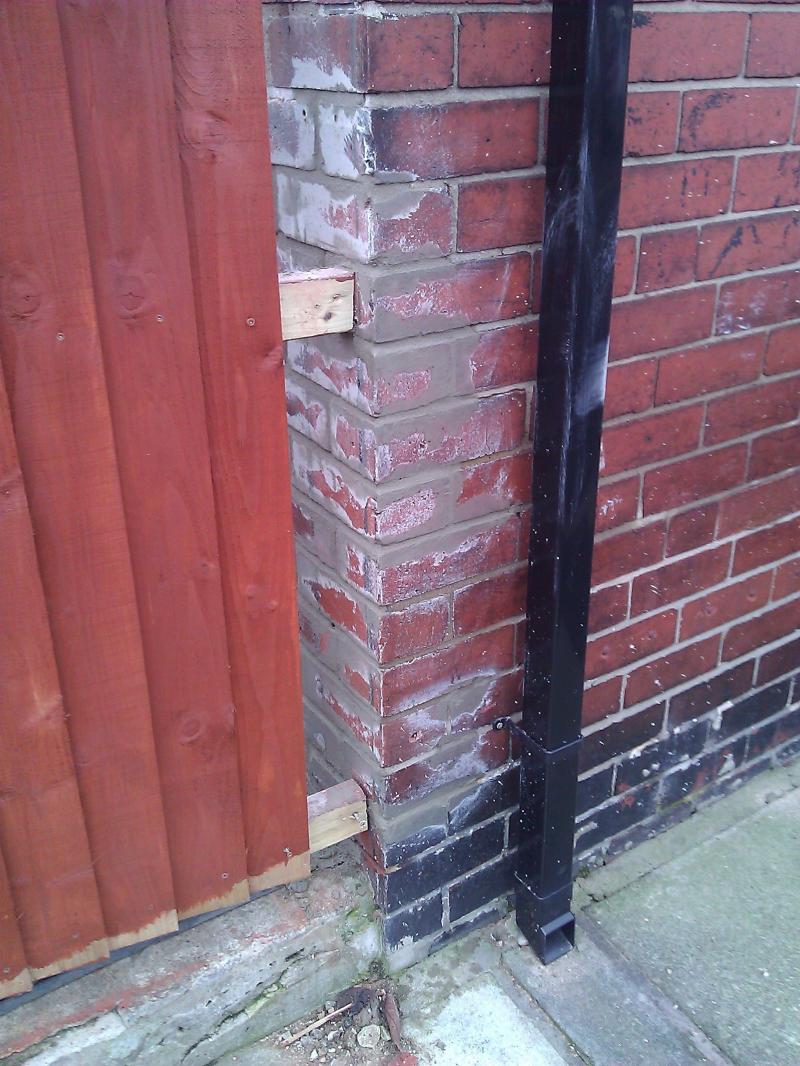
Coming off the corner of the house here, is a wooden fence. There was always one here, but I renewed it last year. The pointing needs some attention here, but not directly outside the main damp area - the area with poor pointing is a bit higher.
Sometime in the past the house has had a concrete floor laid downstairs. I dont think concrete was standard flooring material in the 1910's for semis and terraces anyway, and there is a wooden former around the base of the gas meter, which indicates that the gas meter was there first! The concrete floor level is at the injected DPC level.
This damp issue is becoming an issue now because I am replacing the kitchen soon and the washer and dryer are going in this corner!
Further along from the socket is a radiator, and I suspect this may be hiding furhter dampness.
Should I employ a damp surveyor (and will home insurance cover this?) or should I take more pro-active action, such as repointing the corner and replacing the concrete pavement gutter with a plastic one with a grill on top and sealed at the house end? (Cant remember the name).
If I were to replace the pavement gutter, am I allowed to do this? Or does the council have to do it (and agree to it)? And would it be chargeable by them?
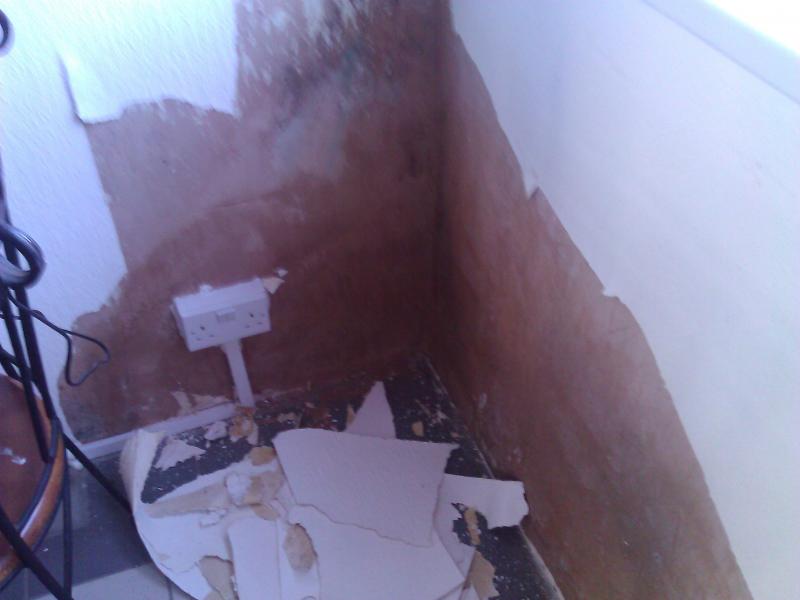
In the pictures you can see the results. The wall in the very bottom corner is sodden - wet through. You can draw an approximate triangle on the walls about a foot above this to form the soaked area. But above this is still damp - as you can see with the wallpaper I stripped. The damp area seems to go as far as the back door.
Now, a bit of thought. In the past the house has had an injected damp course, and as you cans ee the plaster there is fairly new, I think they injected from both sides - the plaster is only new up to about 900mm. The walls are solid 9 inch walls, 100 years old. Along the outside of the house are plastic plugs at floor level. They have been decayed by UV, so must be about 20 years old (And the house had significant works done in the early 90's including new heating and windows so it was probably around this time).
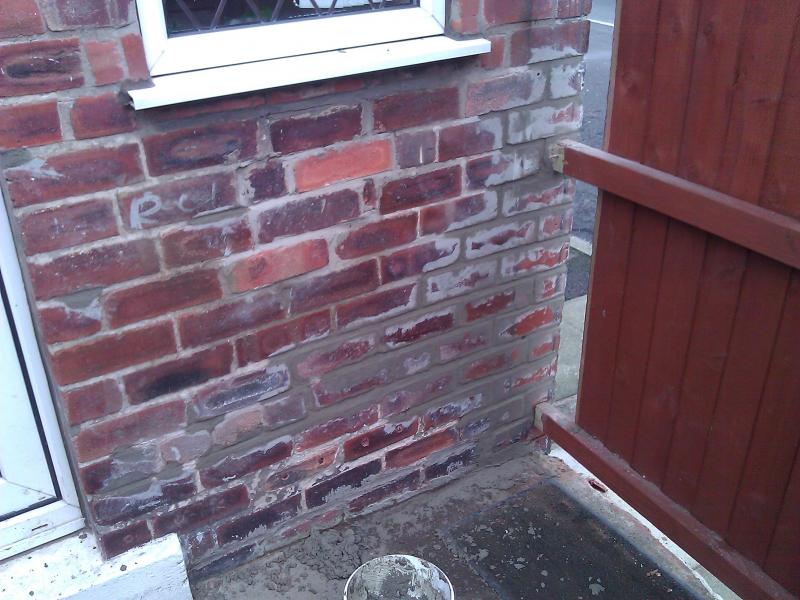
In this corner, on the other side to that socket is a public flagged pavement. The gutter downpipe comes down here and discharges onto the pavement (onto a concrete surface gutter which crosses the pavement into the road gutter). There is a shoe on the downpipe which rests on this gutter. The downpipe and house gutters were renewed a year ago. The outside of the wall doesn't appear damp, but I know its not great having the water discharged onto the ground next to the house. Its been like this (I assume) for 100 years, so I really dont think this would be causing the damp issue.
Coming off the corner of the house here, is a wooden fence. There was always one here, but I renewed it last year. The pointing needs some attention here, but not directly outside the main damp area - the area with poor pointing is a bit higher.
Sometime in the past the house has had a concrete floor laid downstairs. I dont think concrete was standard flooring material in the 1910's for semis and terraces anyway, and there is a wooden former around the base of the gas meter, which indicates that the gas meter was there first! The concrete floor level is at the injected DPC level.
This damp issue is becoming an issue now because I am replacing the kitchen soon and the washer and dryer are going in this corner!
Further along from the socket is a radiator, and I suspect this may be hiding furhter dampness.
Should I employ a damp surveyor (and will home insurance cover this?) or should I take more pro-active action, such as repointing the corner and replacing the concrete pavement gutter with a plastic one with a grill on top and sealed at the house end? (Cant remember the name).
If I were to replace the pavement gutter, am I allowed to do this? Or does the council have to do it (and agree to it)? And would it be chargeable by them?