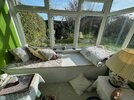
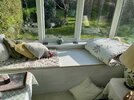
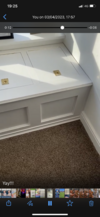
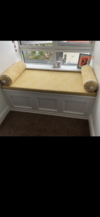
So this looks great. Nice job. Yes I’ll be making the cushion cover for mine as well, so the top will be covered too.Much the same framing as mine! Yes, just screwed into the MDF; the lid is fully supported so the hinge isn't taking any load. I also skipped the stays, sometimes it's annoying mostly it's fine. I also didn't have to be too 'pretty' about the top as I had a seat cushion made to cover it all.
There's no way I could have used a cutting service either as I was making it up as I went along
View attachment 294881
View attachment 294880
")
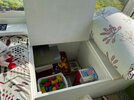
From what I can see you have two openings to the top? I may do this too to lighten the load overall.
Yes pretty much making it up as I go along too, in some ways it’s better cos it means you can be flexible in the way the finished product looks.
Thanks for your input.