My "how to"
....ok so I have to make my own garden path (on me tod). Sounds easy, huh. The main thing putting me off is hard work") , but stomping up & down the sodden garden in the ****ing rain over the winter has convinced me I need to man up & get it done. This one appeals to me:
, but stomping up & down the sodden garden in the ****ing rain over the winter has convinced me I need to man up & get it done. This one appeals to me:

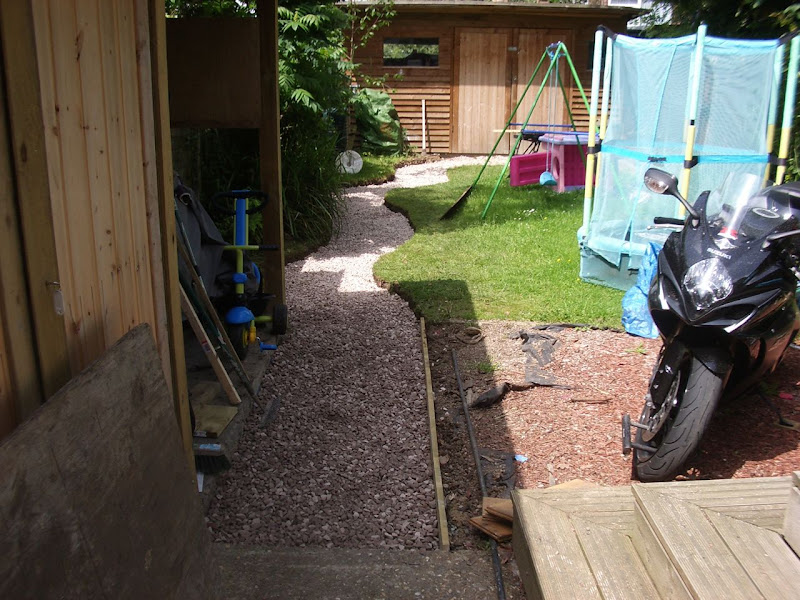
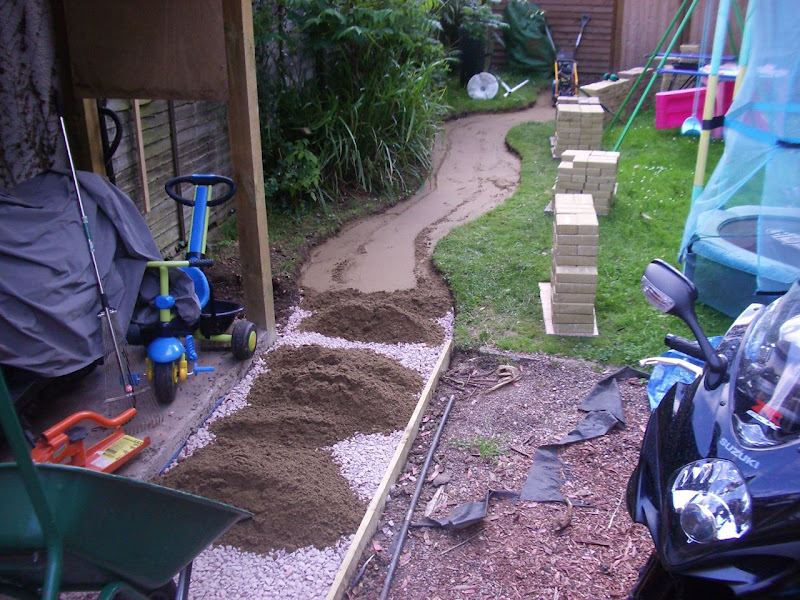
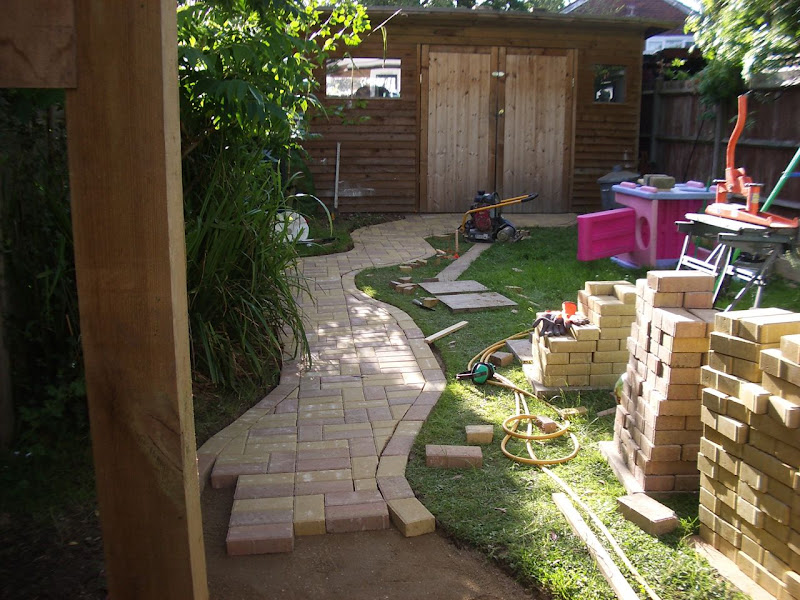
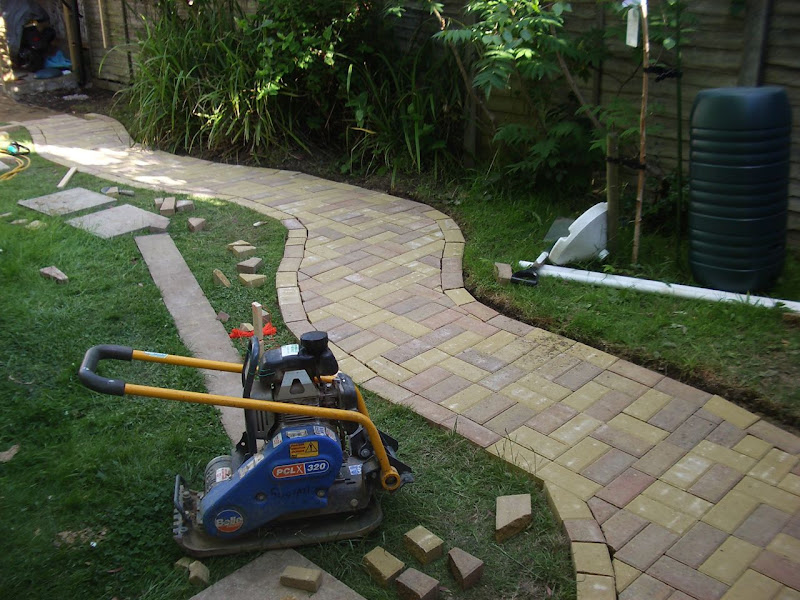
However, after much reading I have decided on the following: to dig and lay 20mm limestone chippings (prefer these as they are slightly smaller than type 1 MOT which is larger); whacker plate down; Then I will put down sharp sand & whacker plate down; Then lay my pavers (bricks). I notice there are many ways of achieving this job, and none of them are necessarily 'right'. Since it is only for me wandering up & down to the shed, sometimes whilst pushing a motorbike, it doesn't need to have the strength of a main driveway where cars are parked.
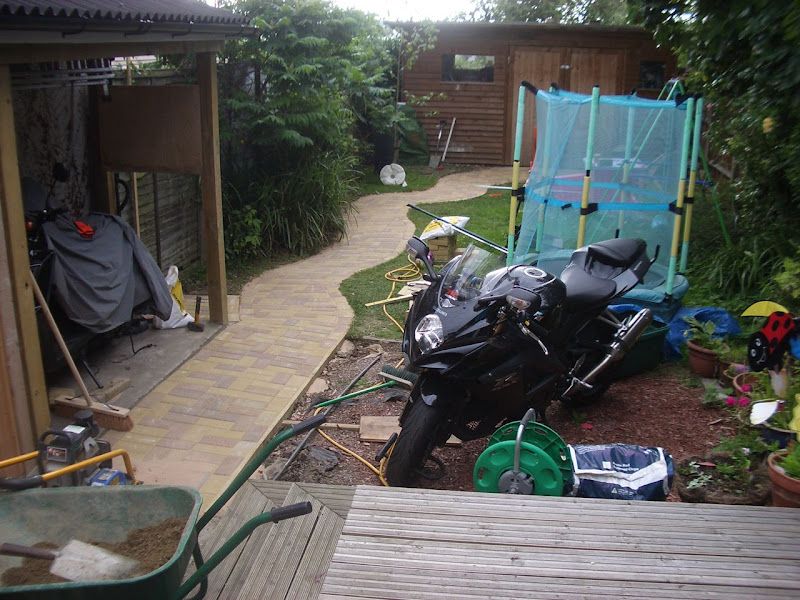
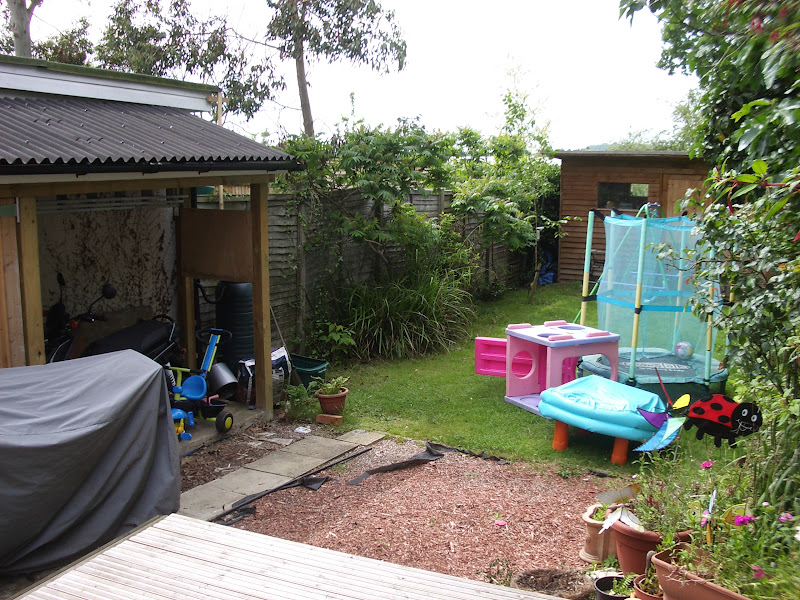
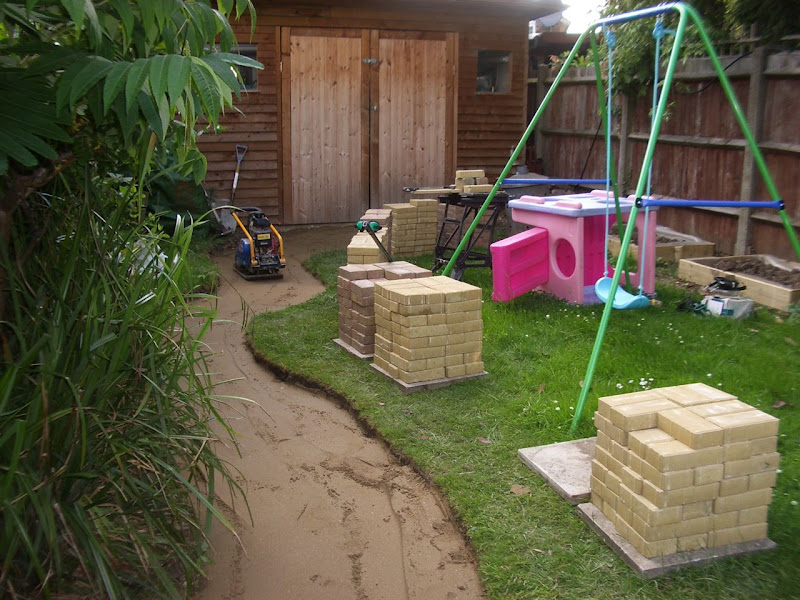
So, here's the garden. I need to go from the back of the covered motorbike to the shed.
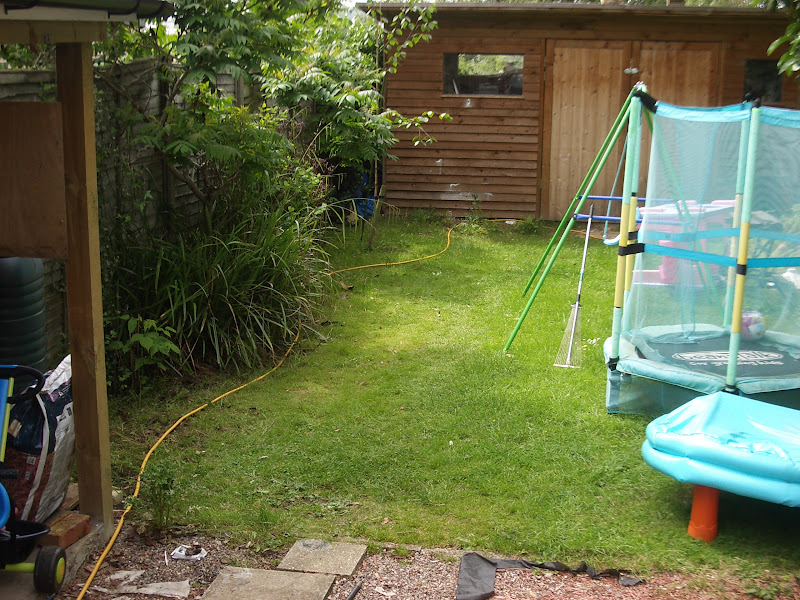
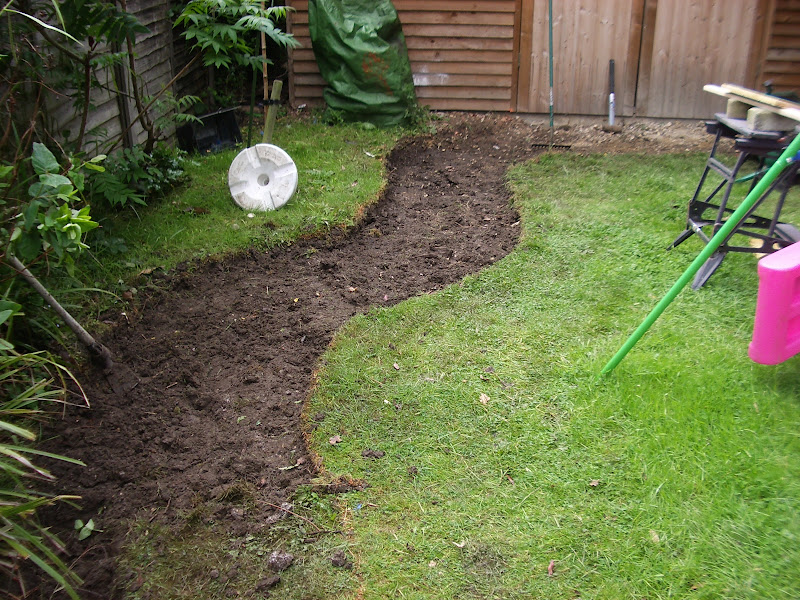
I was going to go in a straight line & curve around the tree, but when SWMBO saw the plan, she insisted on minimising land grab of the lawn, and making it curvaceous, and who am I to argue. My path is now going to be 80 cm wide - was going for 1m but the missus downgraded that. First thing I did was lay a hose out in the curved shape that I wanted the path to follow, and then I used some line marking paint (toolstation.com was the cheapest for this at 5 quid off for a can - other places are 9 quid) to mark it on the grass:
I ordered a small 3 yard skip at £156. When it turned up it was smaller than expected (even though I've hired one of these before!). They look like a toy one, and doubtful that I can fit all the earth in, but fingers crossed. One advantage is that they are low so it's easier to get the wheelbarrow up into it than a more traditional 6 yard skip

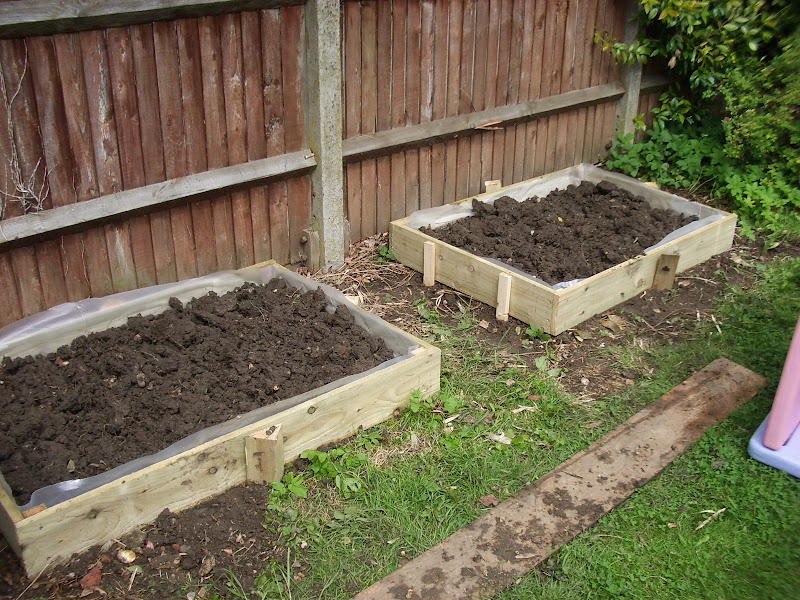
One way of using up some earth was that my missus wanted a couple of veg plots (raised beds?) for her and our daughter to plant veggies so I used gravel boards to construct two at 120x80cm each. These are to the right of the garden down near the shed (where it's sunny):
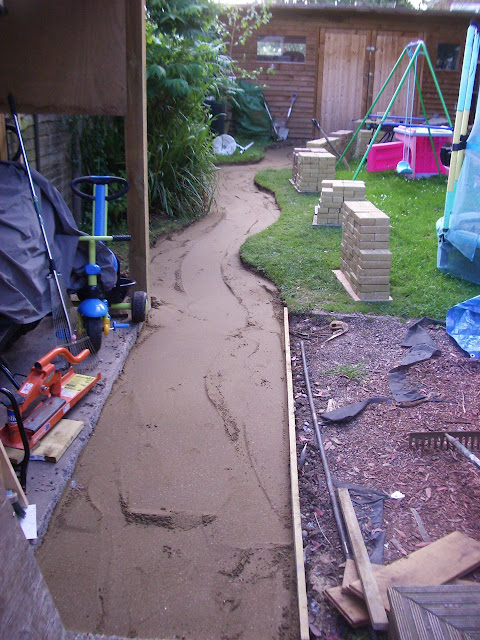
I started digging to see how much soil came out / depth etc

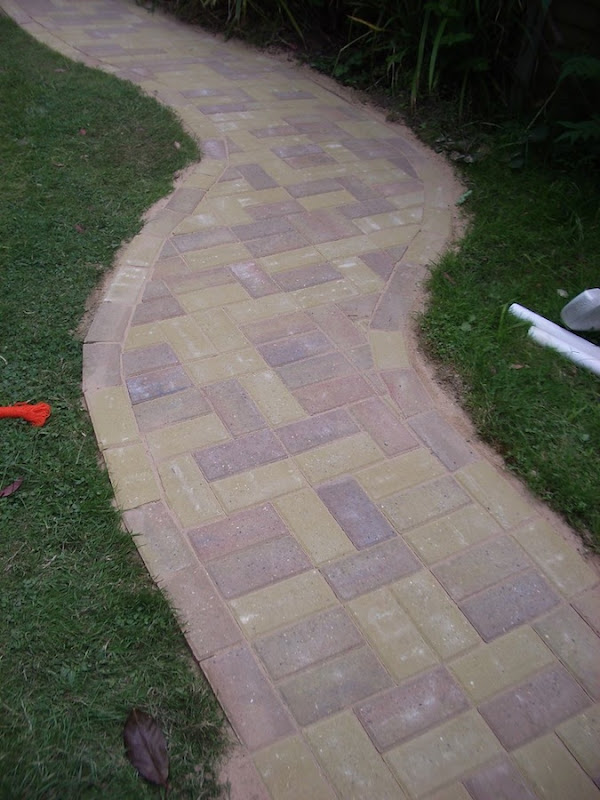
then saw sense and realised I should start at the far end near the shed and work my way up towards the house as I go. Now the hard work set in. Overall good progress is made (over a couple of days).

....ok so I have to make my own garden path (on me tod). Sounds easy, huh. The main thing putting me off is hard work
, but stomping up & down the sodden garden in the ****ing rain over the winter has convinced me I need to man up & get it done. This one appeals to me:
However, after much reading I have decided on the following: to dig and lay 20mm limestone chippings (prefer these as they are slightly smaller than type 1 MOT which is larger); whacker plate down; Then I will put down sharp sand & whacker plate down; Then lay my pavers (bricks). I notice there are many ways of achieving this job, and none of them are necessarily 'right'. Since it is only for me wandering up & down to the shed, sometimes whilst pushing a motorbike, it doesn't need to have the strength of a main driveway where cars are parked.
So, here's the garden. I need to go from the back of the covered motorbike to the shed.
I was going to go in a straight line & curve around the tree, but when SWMBO saw the plan, she insisted on minimising land grab of the lawn, and making it curvaceous, and who am I to argue. My path is now going to be 80 cm wide - was going for 1m but the missus downgraded that. First thing I did was lay a hose out in the curved shape that I wanted the path to follow, and then I used some line marking paint (toolstation.com was the cheapest for this at 5 quid off for a can - other places are 9 quid) to mark it on the grass:
I ordered a small 3 yard skip at £156. When it turned up it was smaller than expected (even though I've hired one of these before!). They look like a toy one, and doubtful that I can fit all the earth in, but fingers crossed. One advantage is that they are low so it's easier to get the wheelbarrow up into it than a more traditional 6 yard skip
One way of using up some earth was that my missus wanted a couple of veg plots (raised beds?) for her and our daughter to plant veggies so I used gravel boards to construct two at 120x80cm each. These are to the right of the garden down near the shed (where it's sunny):
I started digging to see how much soil came out / depth etc
then saw sense and realised I should start at the far end near the shed and work my way up towards the house as I go. Now the hard work set in. Overall good progress is made (over a couple of days).


")