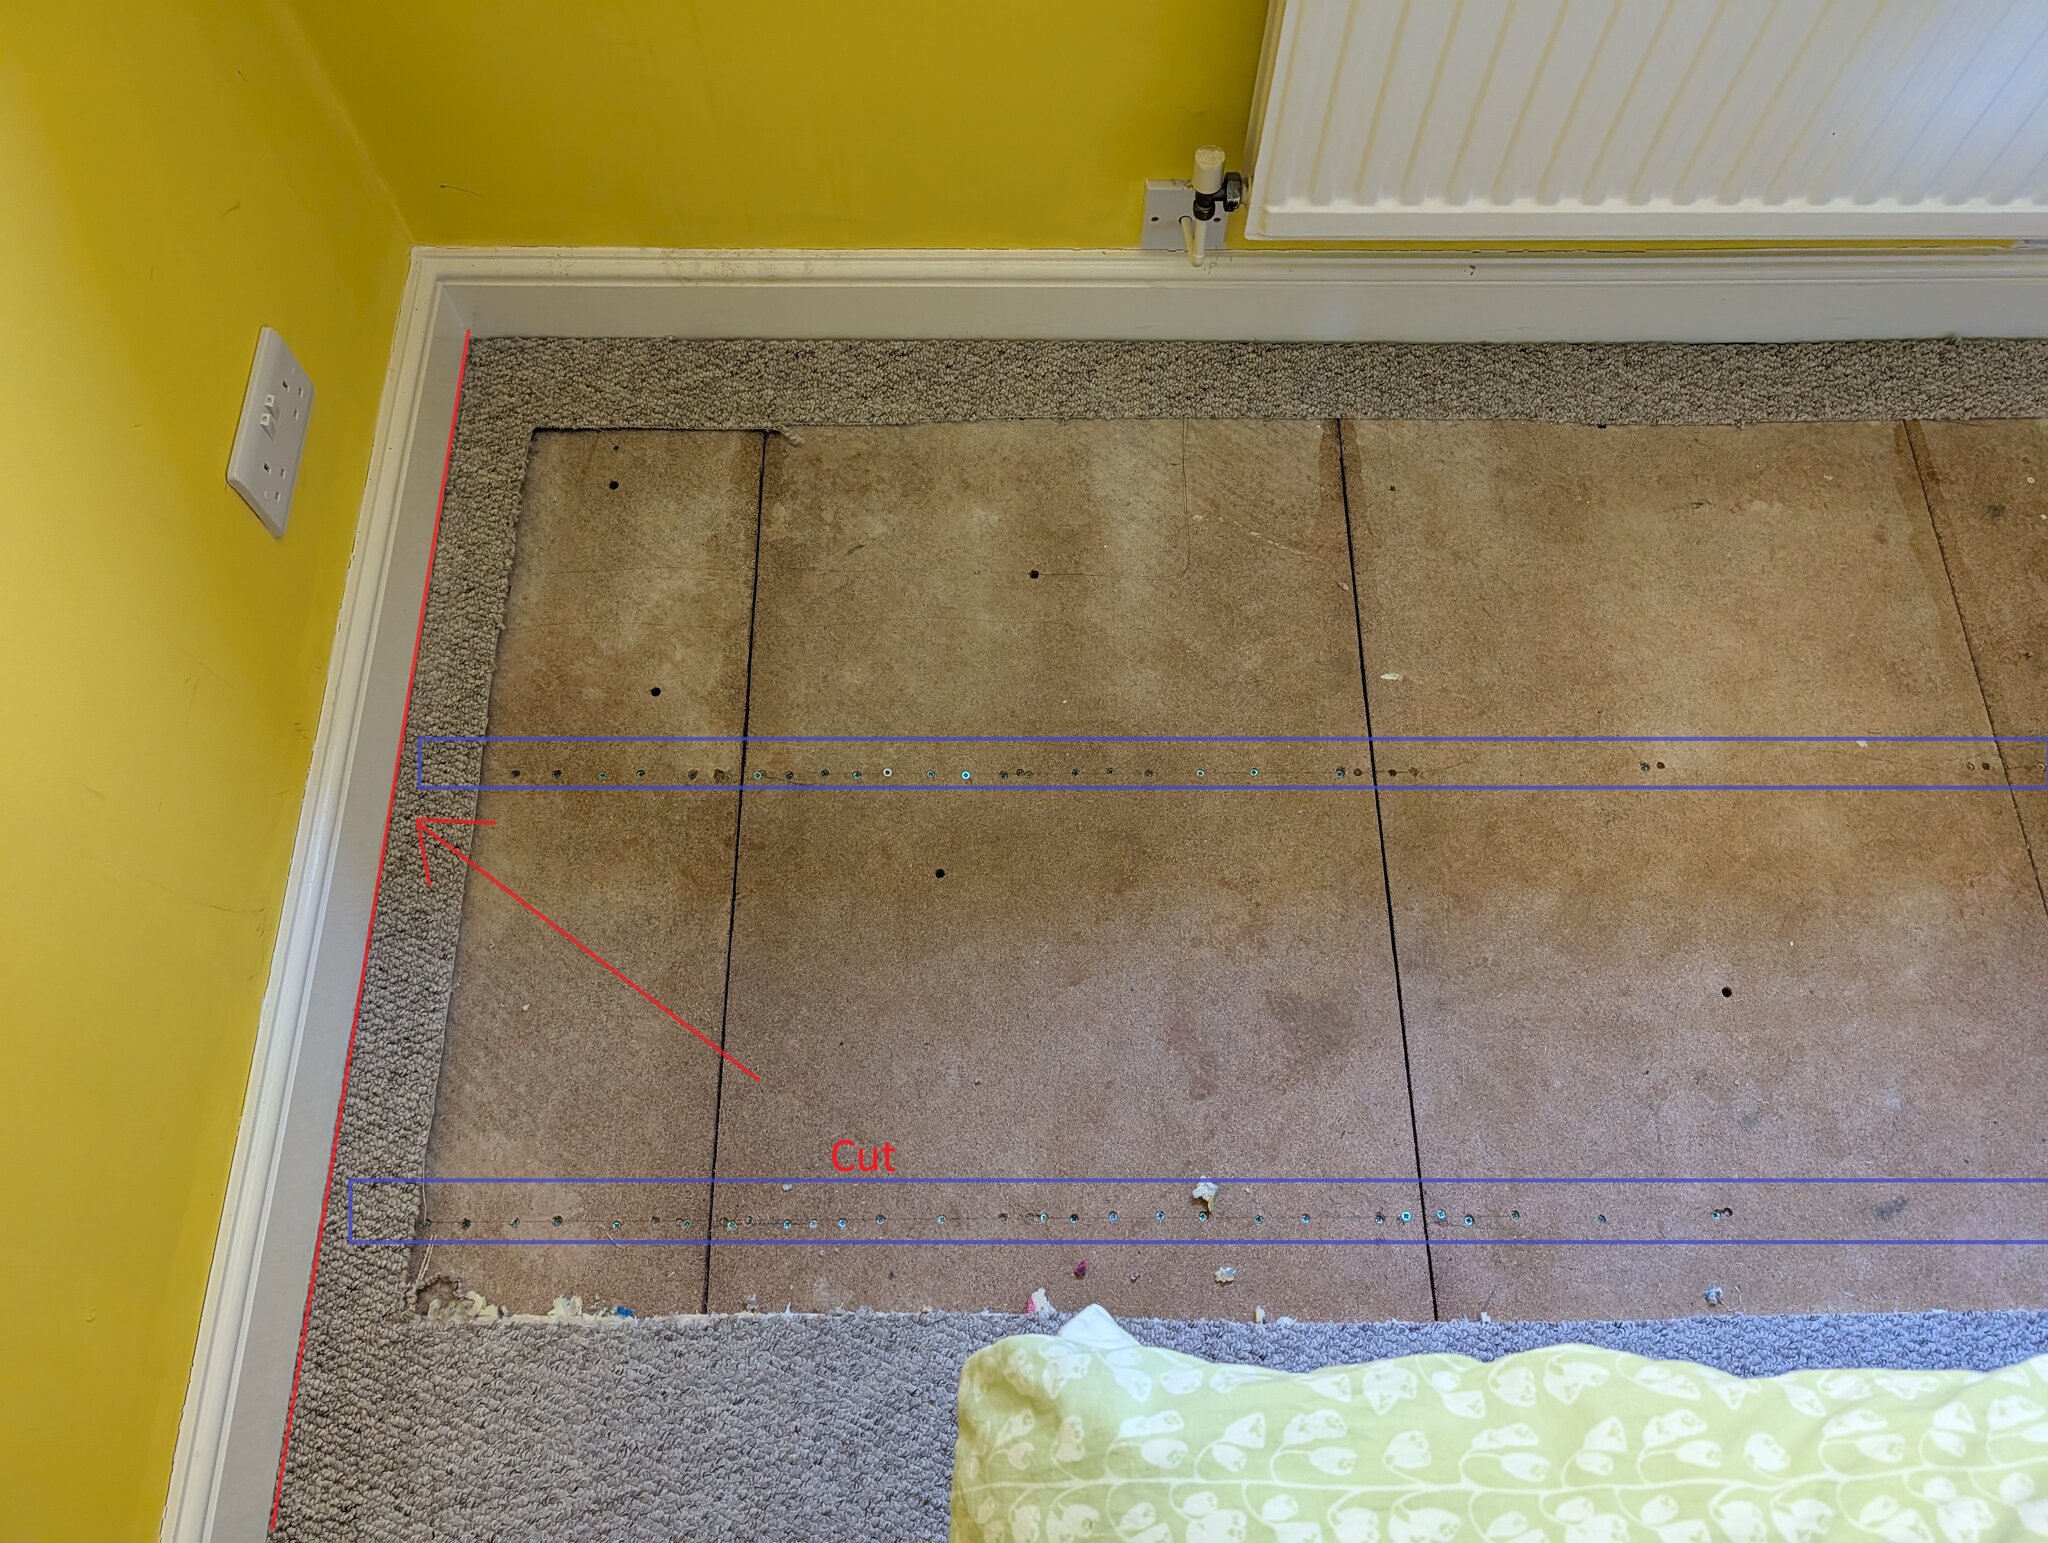
T&G chipboard has to be one of the worst-installed materials in the world - there's nothing wrong with the material
per se, and it is easy to install properly - it's just that there are far too many cowboy builders, pricework monkeys, dodgy Bob the Builder types and other assorted idiots (and cheapskates) who can't get their heads round how to select or install the stuff correctly.
The reason why chipboard floors have problems are down to a list of issues:-
1. T&G sheets not glued to tops of joists
2. T&G tongues not adequately glued
3. Boards not pulled up tight when installed
4. Boards nailed down (a pet hate of mine done so frequently by cowboy builders)
5. Or not adequately screwed down (e.g. wrong type of screw, screws too short or too small diameter, insufficient number of screws, screw heads not sunk flush, etc)
6. Screws (or nails) missing joists completely or worse only just catching the edges of joists (which generates squeaks)
7. Sheet not fixed fully down onto joist - there must be not gap under the sheet. If this is a problem for you, drive the screw in, back it out half way they put all your weight on the board and drive again -that normally cures it (but an impact driver
really is better)
8. I think that's about all of the boo-boos I can think of, for now...
So depending on how bad your floor is you may be able to just rescrew the entire floor using Floor-Tite screws (or flooring screws if you have an impact driver). Squeaky joints can sometimes be fixed by drilling into the tongue at 45 degrees and squeezing in PU glue - you need to drill every 150mm or so to make this work, but at least you can feel when you hit the hollow where the groove is (about 13mm in at 45 degrees). Maybe worth a try before you start ripping out floors, especially if it is only small areas. I've used a similar repair technique on engineered oak flooring and laminate on a number of occasions, filling the holes with hard repair wax afterwards
One additional issue I have come across is that of a wall sole plate being badly nailed into the joist below it - where the nail has gone in at an angle and either just grazed the joist or only just gone in, causing a split. If plain shank nails are used the problem can be much worse. Those can drive you crazy and may require chunks of plasterboard to be removed to cure 'em (by screwing through the sole plate into the joist, making sure that you don't hit any services which are buried n the ceiling void below)
The reasons for using 8 x 2ft (1200 x 600) T&G chipboard sheets are several-fold: trying to manhandle an 8 x 4ft sheet of anything upstairs is difficult enough (18mm hardwood plywood weighs 35 to 45kg - not good for the back), but getting it round corners/over newel posts and baullustrades, etc can be a bear then trying to position it on bare joists without putting a foot through is beyond some people (ask my last apprentice!). Decent hardwood plywood isn't cheap. either, and you still potentially have the issue of unsupported edges moving (rubbing) - at one time on commercial jobs we used to get the workshop to rout us a 6 x 15mm groove in the edges of 8 x 4 boards and supply 20/22mm wide rips of 6mm plywood which we then glued in as loose tongues. Nowadays we often just use 22mm T&G chipboard or 25mm T&G spruce plywood (which comes in 2400 x 1200 sheets, but is designed for multiple nailed and glued layes, so not suitable for domestic IMHO)
But for anyone interested in how to install T&G chipboard properly, read this:
The procedure requires that you start tongue edge against a wall. If your rows mean that you'll end up with a narrow rip as the last row you may need to take a bit off the tongue edge of the first row before you start laying. Anyway, first mark joist positions along the wall with a pencil. Then run beads of glue (D4 expanding/PU type) along the tops of the joists for only the 2400mm (8ft) length x 550mm or so width of the first T&G sheet you are going to lay - don't go beyond that as you end up covered in glue with black hands. Drop the sheet onto the joists, tongue edge towards the wall and manouevre into position. The chipboard should remain at least 10mm off the masonry - that gap prevents moisture bridging from the walls. The sheet is then screwed down to the joints using flooring screws (4.5 x 45/50mm for 19mm flooring, 4.5 x 60 for 22 or 25mm) at 150mm centres along the joist. You don't need fancy Tongue Tite or Floor Tite screws, but you do need reasonable quality screws, something like single start ones. If it helps use a chalk line (or a straight length of stud and a pencil) to mark the joist positions across the top of the board. These lines need to be in the centre of the joists - accuracy is important. You ideally need an impact driver to do this properly - because most cordless drills simply lack the grunt to sink the screw heads flush unless you laboriously pilot each hole. Run a complete row of T&G before starting the next row, End to end T&G joints also need to be glued as well and pulled up tight. You can align the first row of T&G boards by using a straight piece of 4 x 2in CLS about 8ft long as your straight edge, or a 6ft spirit level (now you know one reason chippies have them

)
The next row needs to be staggered - we call it "brick pattern". For this and subsequent rows run a bead of glue on the top of the tongue, put matching bead along the bottom of the first row groove, and remember the glue beads on the tops of the joists. Don't be stingy with the glue, but also don't flood it. Position the boards touchingeach other then "tap" up tight. By "tap" I mean take a 4 or 5ft length of 4 x 2in CLS and lay it flat against the open edge of the new board, put your heels on the sheet, toes on the CLS, feet widely spaced, then tap the edge of the CLS between your feet with a 7lb sledge hammer. The weight of the sledge means that a few gentle taps is all you need to use to pull the joint up tight, although you may need to move the CLS up and down the sheet a couple of times to even the joint out. If you try smashing the board really hard you run the risk of deforming the sheet's groove edge and the joint may actually open up (equal and opposite reaction - think about the Newton's balls toy). When this next sheet down, mark the joist centres and screw the sheet down as before. And so on and so forth. If you don't have any 4 x 2, 3 x 2in CLS will work - it just that I have big feet...
The glue you use is
very important - it MUST be D4 polyurethane (expanding). You only glue and lay a single sheet at a time because (a) this glue goes off fast (so no bunking off for a cuppa before you finish screwing down that last sheet) and (b) if you put too much down you will get it all over your hands, clothes and tools - it makes your skin go black and it takes 2 to 4 days of washing to get rid of it.
The only other thing is don't skimp on the T&G - buy the best you can afford (normally Egger or Caber Decor) and go for a waterproof grade (i.e. P5 - which can be used in bathrooms and kitchens providing the floors are subsequently sealed (e.g. ceramic tiles, welded vinyl, etc)
But I'm saying this as a (now retired) joiner, rather than any other type of trade.... In any case I think I've written quite enough for tonight. G'night