Sash window to casement window gap filling

Joined
26 Feb 2023
Messages
9
Reaction score
0
Country
United Kingdom
Hi All,
Just carrying out a diy project of installing new casement window where old wooden sash window was. I am confused regarding 2 points.
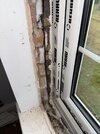
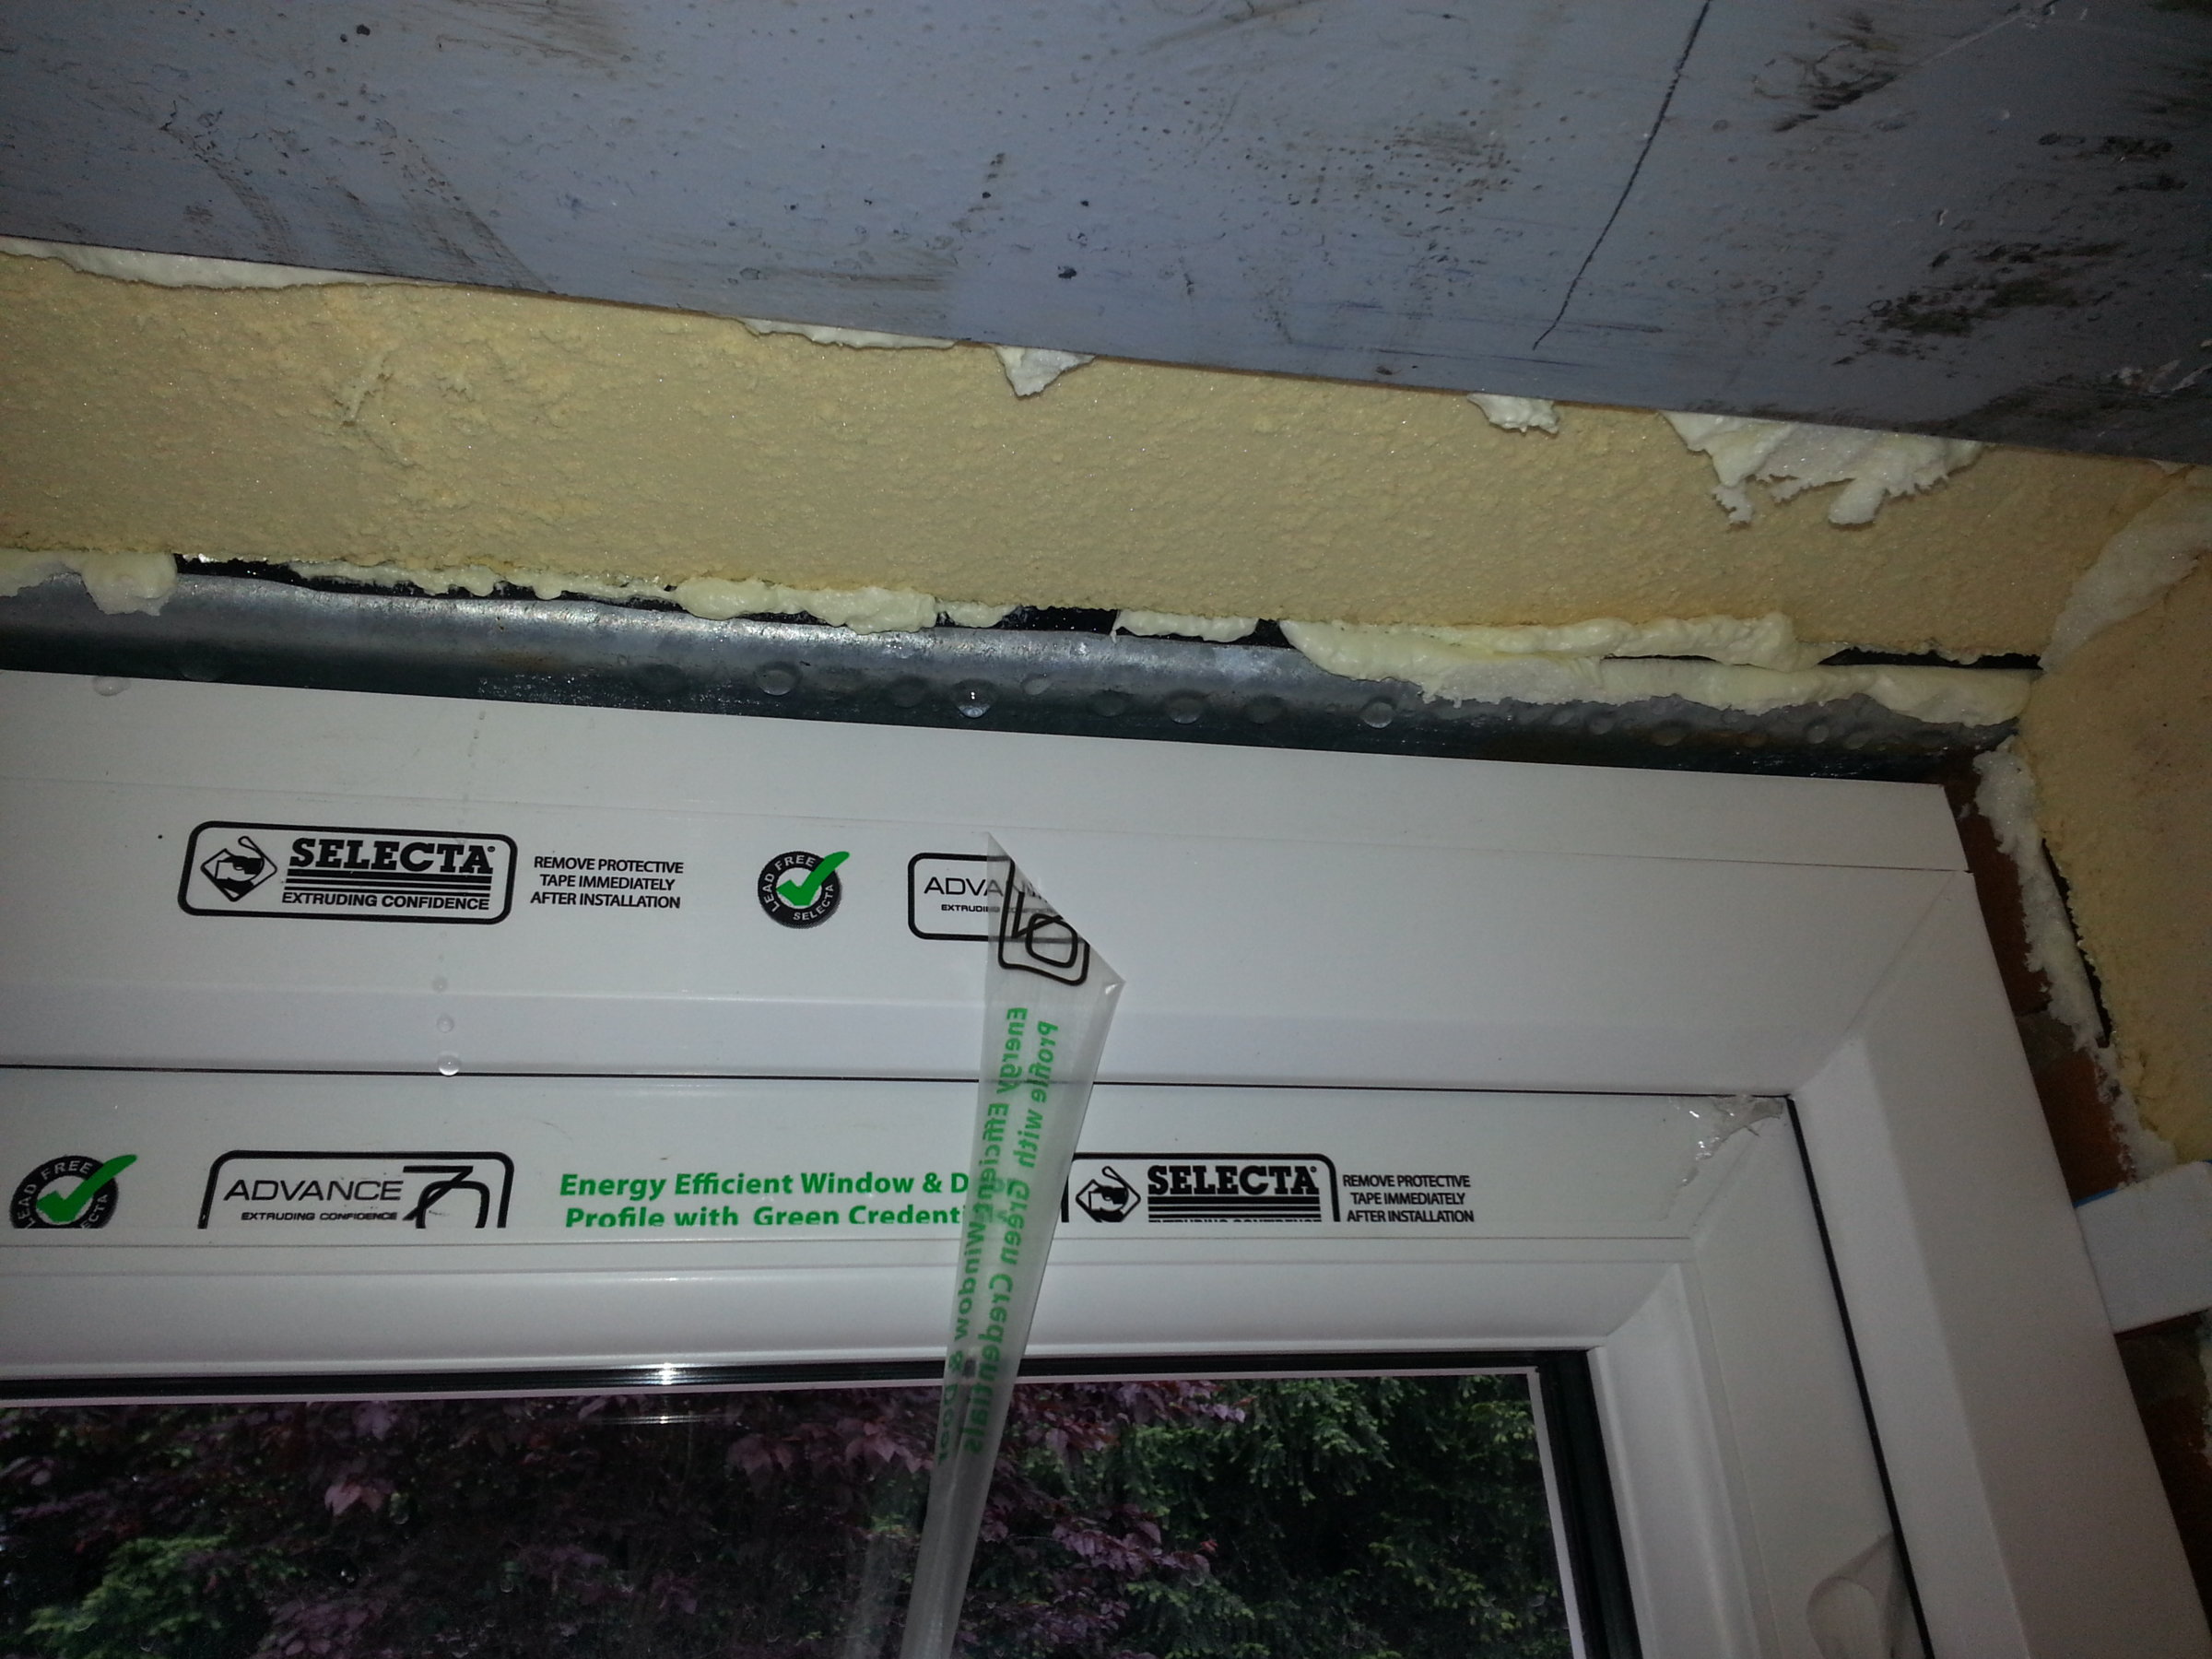
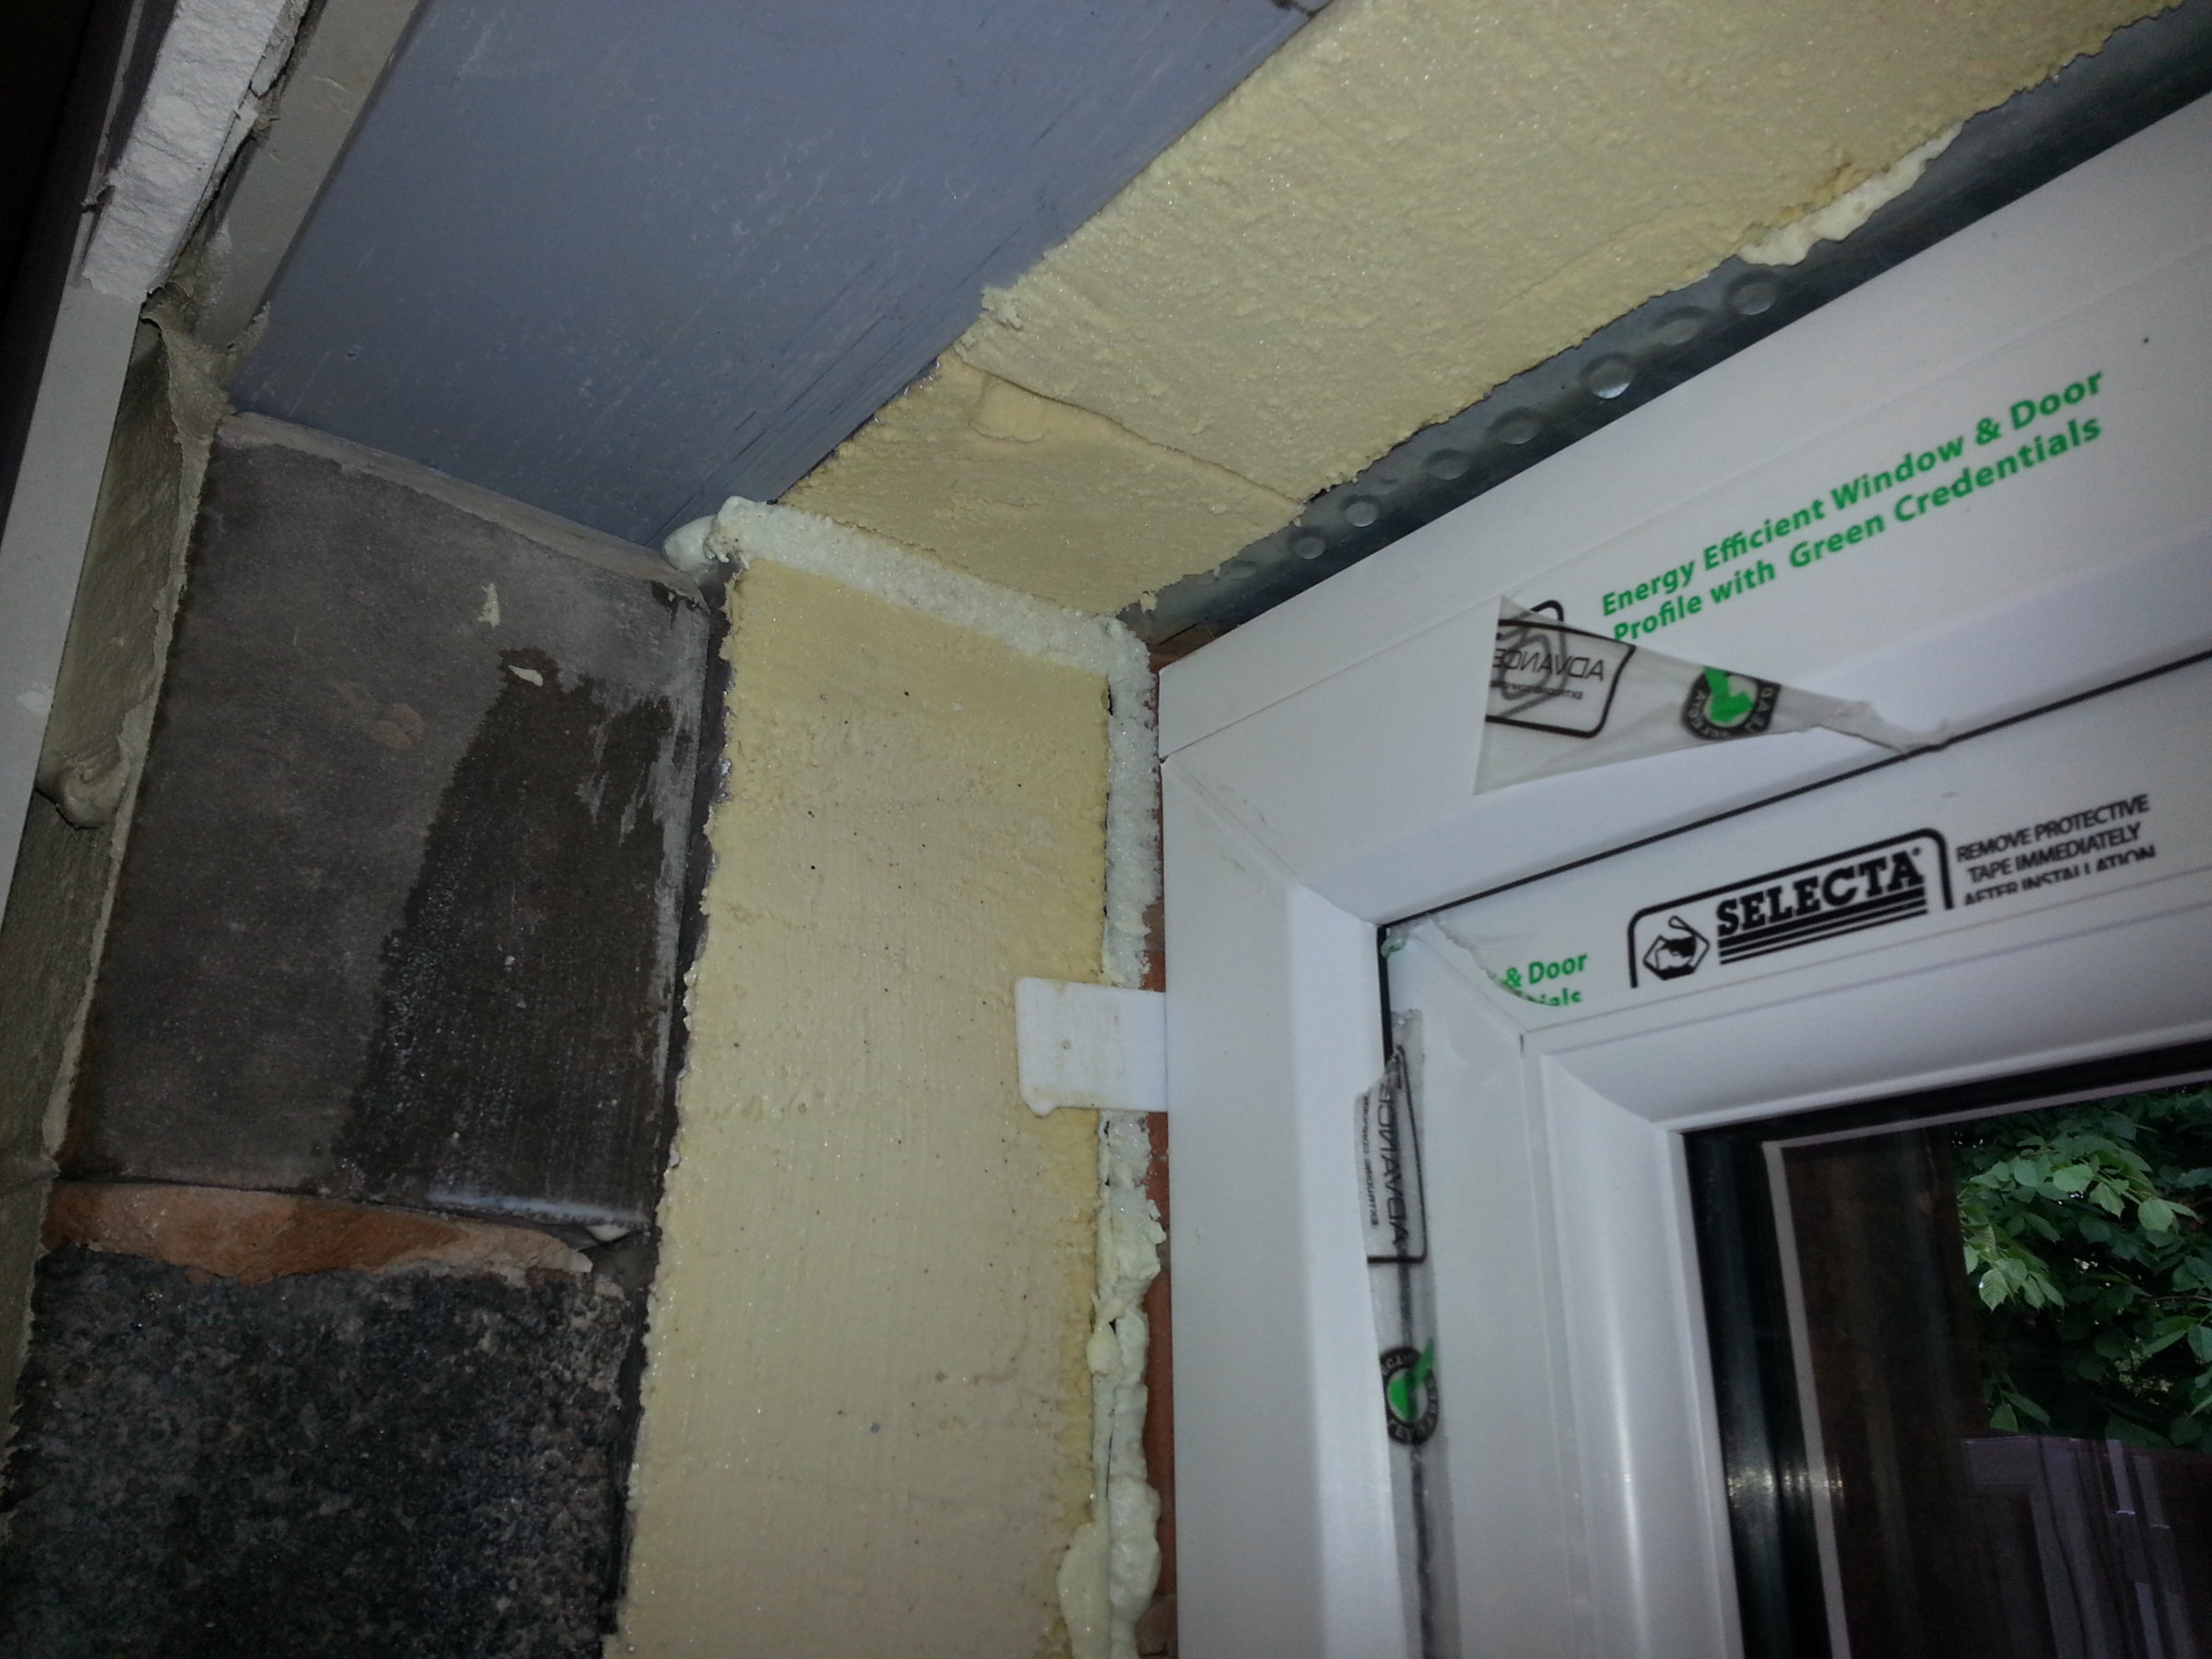
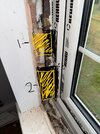
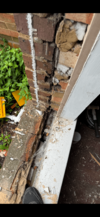
Firstly the old wooden sash frames had vertical DPC pinned into the frame and pushed into the cavity. Would I need to replace this with UPVC casement windows?
Secondly how would I fill the remaining approx 4 inch gap that’s left behind because of the frame thickness difference? I don’t want to use UPVC trim I want a plastered finish. My worry is I don’t want to connect the inside and outside wall and result in damp issues later on down the line.
From the images you can see it’s a brick and block wall with a minimal cavity.
Any help will be most appreciated!
 

Attachments

  • IMG_6249.jpeg
    IMG_6249.jpeg
    279.2 KB · Views: 93
Sponsored Links
The outside brick is showing on the inside. You should have installed dpc around the outer skin before installing the window to isolate the outer brick from the inside. Whatever you do now will be a challenge because you have to assume that bit of brick showing on the inside will be wet at times.
 
My plan is to take the foam out of the sides of the window frame and slip in new dpc. Just trying to decide how i would build up the gap to plaster. Maybe sand cement ?
 
Once your DPC is in, if the plaster is at least 10mm thick, slice through the plaster just inside (40-50mm) the reveal corner to a straight edge (diamond cutter in angle grinder is fastest but dusty - don't hammer it or it will crack all over - multitool with correct blade is possible), trim off the excess plaster to the window, chamfer off the plaster cut edge with coarse sandpaper or sanding disk. Piece of plasterboard (foil backed if you want a bit of extra protection, 9mm if needs to be thin) fixed with foam adhesive down each side and across the top, scrim tape across the joint on to the chamfered plaster edge, and skim.

If you try just filling the gap straight over it will almost certainly just crack.
 
Sponsored Links
The outside brick is showing on the inside.
The window would have been better positioned back against that window-board. That's the exact position architects specify, but are rarely implemented by fitters. It's because there is little opportunity for fixing. I'm forever bollacking window fitters for this very reason....


You can actually see the condensation dripping from the steel lintel. The window should be all the way back to the cav closer, at least. We get around this with strategic application of DPC and the board adhesive.
 
Last edited:
In theory would the following illustration in my drawings not work? The black being the DPC and yellow being either the plaster board or plaster. I have attached two potential options as there is already an original bitumen DPC in between the cavity. Not sure if this would work though. Also any thoughts on a liquid waterproofer like the attached?
 

Attachments

  • IMG_6249.jpeg
    IMG_6249.jpeg
    316.8 KB · Views: 46
  • IMG_6317.jpeg
    IMG_6317.jpeg
    58.6 KB · Views: 39
Take the window fixings out, saw through the foam all round and move the window backwards into the room so it bridges the cavity and foam it up again. The window, together with the internal wall, forms part of the insulated envelope of the house. To have an external wall on show on the room side means you have a cold bridge, across your insulated layer, to the outside world and you'll forever be fighting condensation driven mold in that location

If you're bothered about a mechanical fix and are unable to hit either wall using skew screwed fixings you can either put a short battery in the cavity top and bottom on each side and screw to that or attach short galv straps to the window sides and screw those to the brick, then cover with a trim or plaster, but in practice a window properly foamed in and sealed both sides with mastic isn't going anywhere
 
Not sure if this would work though. Also any thoughts on a liquid waterproofer like the attached?
liquid waterproofed achieves nothing in this situation

putting in DPC and bending It where it meets window frame would probably work - you would need to use plasterboard on the reveals to push back the DPC, then trim it off once plastered.

but that’s doesn’t deal with the thermal bridging.


I can’t visualise how the original box sash was fitted as the window reveal doesn’t seem to have staggered brickwork forming a rebated for the box frame.
 
I can’t visualise how the original box sash was fitted as the window reveal doesn’t seem to have staggered brickwork forming a rebated for the box frame.
@Notch7 - look at the brickwork on the inner skin. Looks to me like the original reveal has been bricked up with offcuts.
 
Here is another image of the other side before window fitting.
 

Attachments

  • IMG_6320.png
    IMG_6320.png
    2.1 MB · Views: 51
Here is another image of the other side before window fitting.
So the window you took out wasn’t a traditional sliding sash with weight boxes?

Im guessing the removal of the original box sashes happened a long time ago and you were changing a previous replacement - maybe spring balance

usually the are positioned behind the outside skin, so external you only see about an inch or of the outer facing.
 
Hi,
Original that i took out was a timber sliding sash see attached photo.
 

Attachments

  • IMG_6322.png
    IMG_6322.png
    1.8 MB · Views: 37

DIYnot Local

Staff member

If you need to find a tradesperson to get your job done, please try our local search below, or if you are doing it yourself you can find suppliers local to you.

Select the supplier or trade you require, enter your location to begin your search.


Are you a trade or supplier? You can create your listing free at DIYnot Local

 
Sponsored Links
Back
Top