Sequence of installing a tray - please help!

Joined
26 Jan 2010
Messages
90
Reaction score
0
Location
Yorkshire
Country
United Kingdom
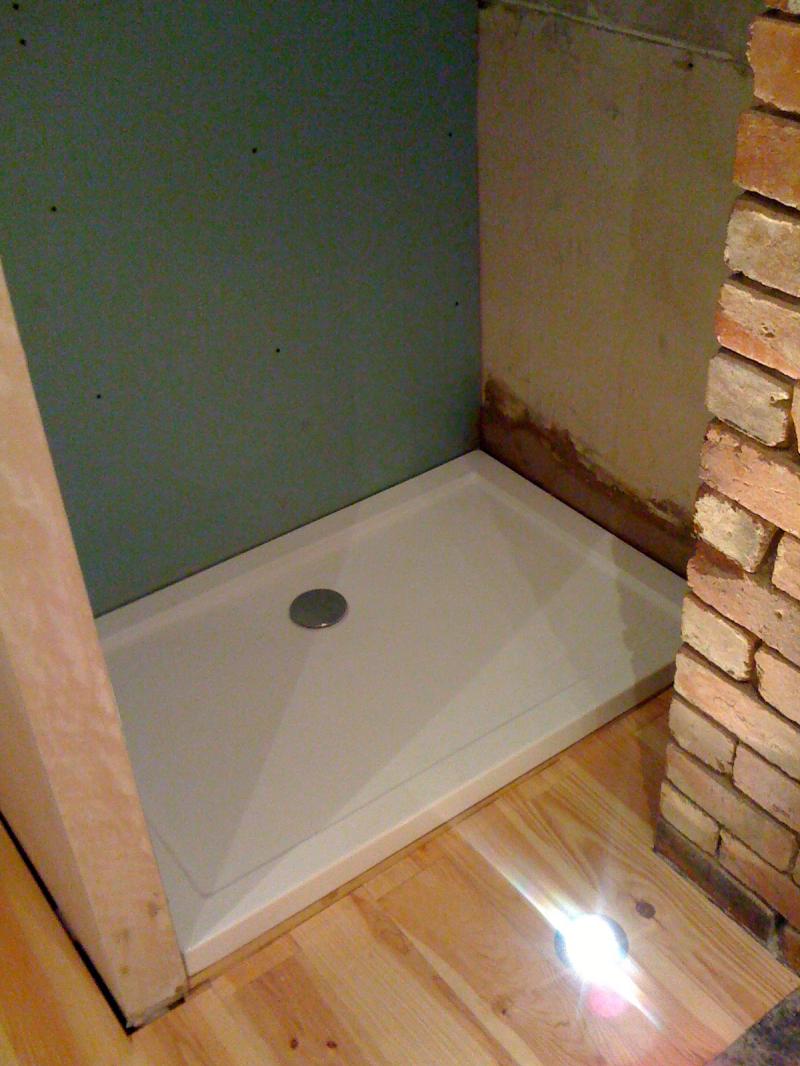
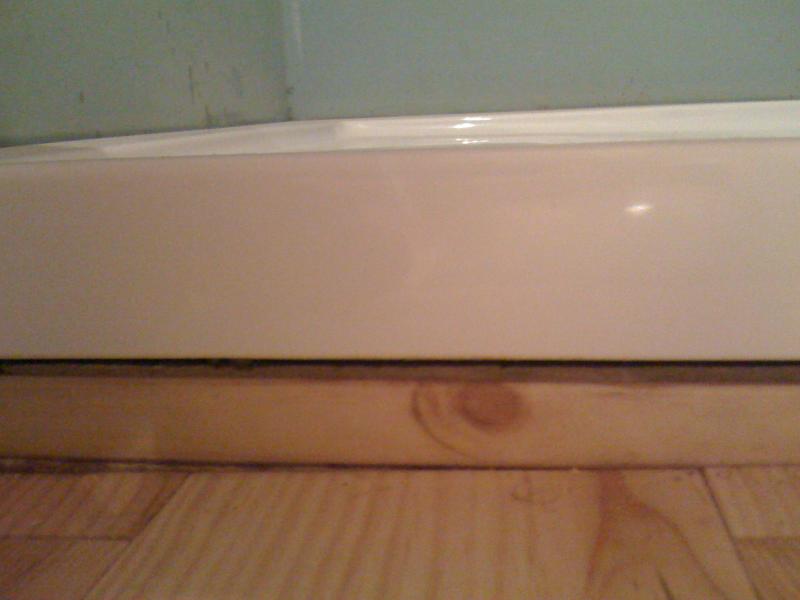
I'm fitting a 1200 x 800mm resin tray into a recess. I just want to be sure of the right sequence of events/detail, any advice greatly appreciated. The current state of the project is that the plumbing is in place, a solid timber baseboard has been fitted level over the joists. The recess has been boarded to two walls with moistureboard and the other wall is plastered masonry.

1) Unscrew the flexible compression hose from the waste. Apply silicon to bottom of waste, place rubber o seal on top of waste, then apply silicon to top of 'o'ring and position on underside of tray.

2) Tighten mushroom flange on top of tray to hand tight plus 1/4 turn. Leave for silicon to cure, then test for leaks.

3) Apply Dunlop shower waterproofing primer to all three walls, 1m high

4) Apply tape to the two vertical corners from bottom of wall to 1m high

5) Apply the waterproofing solution and wait for it to dry.

6) Mix a 5:1 cement mix and spread over baseboard.

7) Position tray over mortar ensuring it's level.

8) Reconnect waste

9) Silicon gap between walls and tray ensuring no silicon gets onto plasterboard above the level of the tray. Leave to go off.

10) Apply a primer as recommended by the manufacturer of the tiles, see below:

'I have looked over the order and if the slate is going onto a bathroom
wall it would be recommended to use a rapid setting adhesive which I
have replaced on the estimate attached. Something else to be aware of is
that the weight of the stones will be around 32kg per sq/m when fixed to
the walls, a plasterboard wall should be sufficient to hold this weight,
providing you also use a prime bond (neat) to coat the walls prior to
fixing. It is often the case that a skim plastered wall will not hold
this weight, regardless of wether prime bond has been applied or not.

It would be advised to use a wet cutter on the stones and to ensure they
are cleaned and dry prior to sealing/ fixing. We are running fine on
time to have delivery tomorrow, as and when you get back to me I will
have to check at that point.

11) Apply waterproof quick drying adhesive and start tiling, from the centre of the back panel outwards, using 2mm spacers.

12) Grout with flexible grout.

13) Fit Merlyn Series 10 frameless shower door.
 
Sponsored Links
I’m starting to feel like I’m chasing you around over various threads here. I also seem to be asking questions which your answering somewhere else; why do you keep creating new posts on the same subject! If you want different or are not satisfied with my answers, please say so & I will let someone else have the privilege. :rolleyes:
1) Unscrew the flexible compression hose from the waste. Apply silicon to bottom of waste, place rubber o seal on top of waste, then apply silicon to top of 'o'ring and position on underside of tray.
2) Tighten mushroom flange on top of tray to hand tight plus 1/4 turn. Leave for silicon to cure, then test for leaks.
No comment necessary.
3) Apply Dunlop shower waterproofing primer to all three walls, 1m high
4) Apply tape to the two vertical corners from bottom of wall to 1m high
5) Apply the waterproofing solution and wait for it to dry.
I already advised what I would do on one of your other threads but if you only want to tank 1 metre on PB, this risk is yours; I would also tank below the tray first.
6) Mix a 5:1 cement mix and spread over baseboard.
7) Position tray over mortar ensuring it's level.
Again, just answered that on your other post + you’ve answered one off the questions I asked there on this new post.
8) Reconnect waste
Well yes.
9) Silicon gap between walls and tray ensuring no silicon gets onto plasterboard above the level of the tray. Leave to go off.
I don’t do this & remember what I said about silicone on your other post.
10) Apply a primer as recommended by the manufacturer of the tiles, see below:
Yes
'I have looked over the order and if the slate is going onto a bathroom
wall it would be recommended to use a rapid setting adhesive which I
have replaced on the estimate attached. Something else to be aware of is
that the weight of the stones will be around 32kg per sq/m when fixed to
the walls, a plasterboard wall should be sufficient to hold this weight,
providing you also use a prime bond (neat) to coat the walls prior to
fixing. It is often the case that a skim plastered wall will not hold
this weight, regardless of wether prime bond has been applied or not.
It would be advised to use a wet cutter on the stones and to ensure they
are cleaned and dry prior to sealing/ fixing. We are running fine on
time to have delivery tomorrow, as and when you get back to me I will
have to check at that point.
What is this all about :eek:

If that heavy, you definitely need a flexible cement powdered adhesive. Raw plaster must be primed before using cement adhesive or it can react with the Gypsum plaster! Are you sure the tiles are that heavy? You may have problems with the plaster skim holding them up! Wet cutter was exactly as I advised on your 1st post.
11) Apply waterproof quick drying adhesive and start tiling, from the centre of the back panel outwards, using 2mm spacers.
Plan you layout carefully & don’t mix up more adhesive than you can use in around 40 minutes so you can clean up & mix your next batch. Don’t forget to remove the tile spacers once the adhesive has set.
12) Grout with flexible grout.
Yes.
13) Fit Merlyn Series 10 frameless shower door.
Yes

Got to admit I don’t really see the point of most of this post, starting to feel a little confused! :confused:
 
thanks again, just wanted to make sure I was doing things right, thanks for your advice and sorry for repetition.
 
just seen your post on my other thread - hadn't seen it before as I didn't get a notification hence repetition!
 
Sponsored Links
I've installed my tray on cement as advised on Saturday. The drying out process has created a small 1mm crack between the baseboard and the tray - is this normal?

The tray does seem very solid and does not move but I am worried about any cement cracking/crumbling and leaking out of the gap, should I put some silicon down this edge to seal it all in?

The tray is a slimline 40mm high tray to put the pictures in proportion. I don't want to tank it out until I know the tray is ok.
 
I dont follow you; whats cracked, the cement on the baseboard? the base board itself? what's it made of & how thick is it?
 
The base is 38mm pineboard. The cement has a 1mm crack between the tray and baseboard where is has shrunk upon drying, the tray is in tact and not moving. I don't suppose you can eliminate shrink cracking (I did not make the cement mix too wet either). I'm just worried about any of the cement crumbling and coming out of the crack in time. Should I seal this edge with some grout or silicon to prevent this?
 
Pine is not ideal as a base board, you should use WBP ply. Problem with pine (softwood) is it will absorb a considerable amount of water from the mortar, expand & could warp; what happens is the mortar dries hard in 24 hours but pine will continue to shrink back after as the moisture evaporates & that’s when you get cracking; using damp timber is one of the biggest causes of cracks on timber stud walls.

If it’s solid & not flexing, it should be OK as the idea is to fully support the base of the tray; you could run a bead of silicone along the edge but wait until it’s all finished as it will take a week or even longer to dry out thoroughly.
 
Cheers Richard. The wood was bone dry and I applied three coats of polyurethane varnish to it prior to applying the cement, so hopefully it will not have taken in any moisture. I will give it a few more days and ensure it is still solid before taking a decision to tile, gut feeling says it should be ok as long as I can seal the crack.
 

DIYnot Local

Staff member

If you need to find a tradesperson to get your job done, please try our local search below, or if you are doing it yourself you can find suppliers local to you.

Select the supplier or trade you require, enter your location to begin your search.


Are you a trade or supplier? You can create your listing free at DIYnot Local

 
Sponsored Links
Back
Top