small leak at eaves valley after repair

Joined
10 Dec 2009
Messages
711
Reaction score
16
Location
Middlesex
Country
United Kingdom
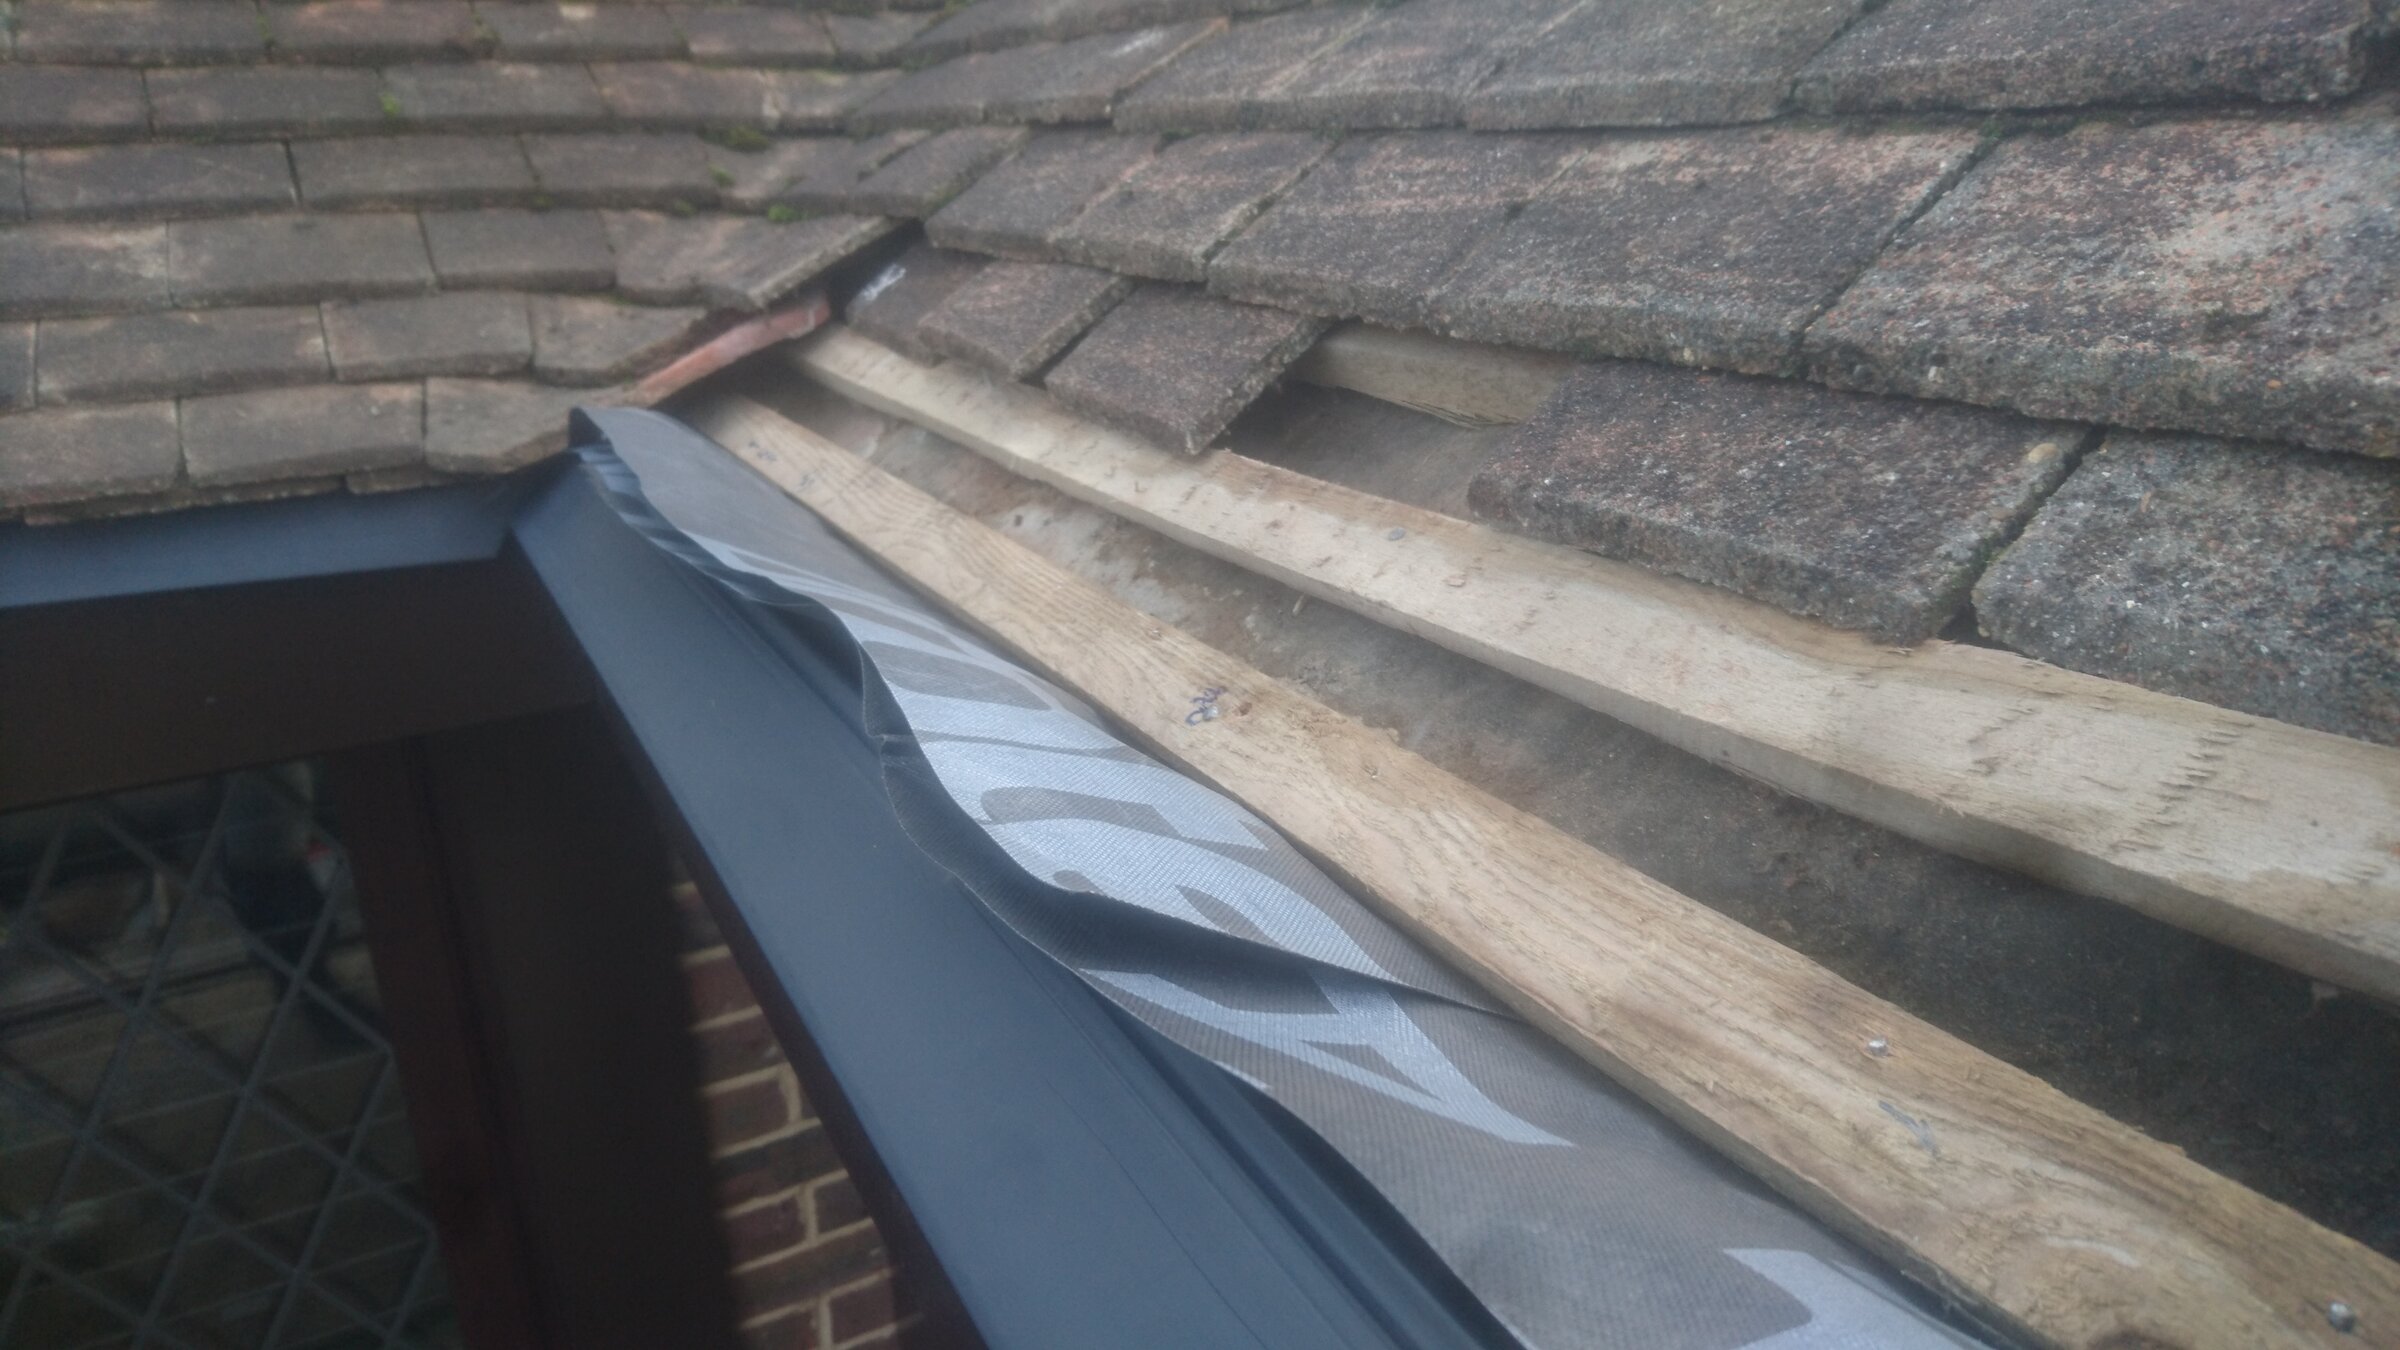
Recently fitted some eaves trays and new membrane to stop the water that i was getting running down the fascias.

also replaced a short section of fascia that was water damaged/cracked at the top.

in the recent rain i noticed that im still getting the occasional bit of water running down the fascia near the corner join on the right side of the joint. (not a huge amount but enough that would probably cause damage if left long enough)


on inspection there is water somehow getting to the underside of the eaves tray and on top of the fascia on the right side.

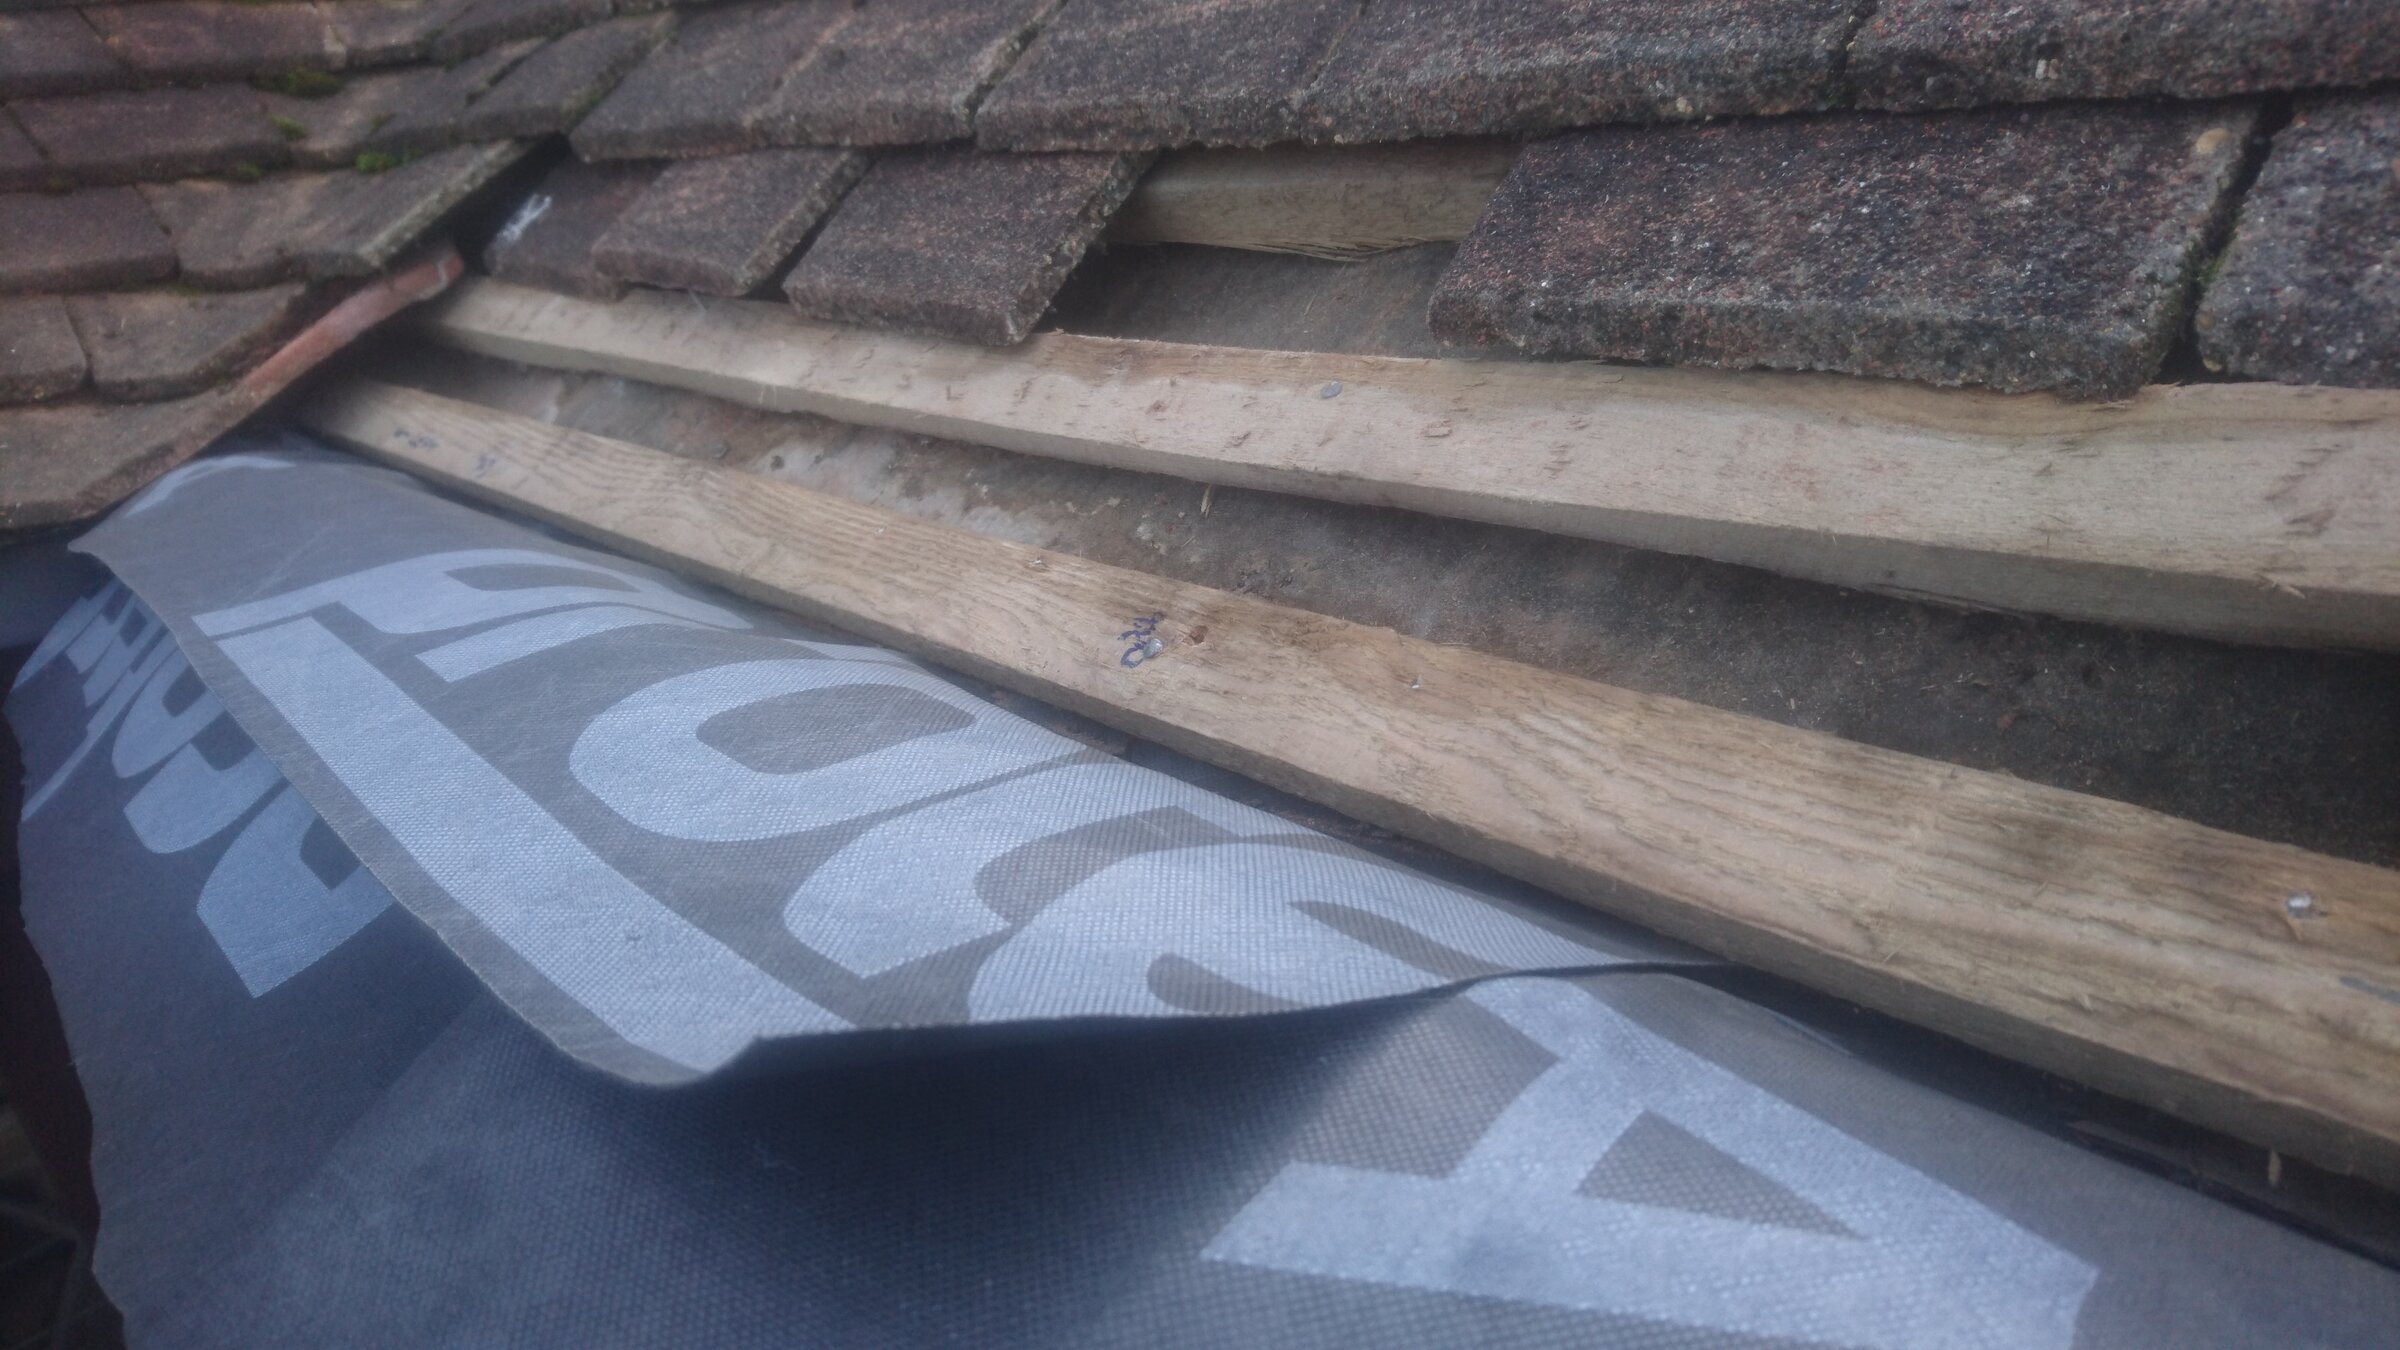
I removed a few the eaves tiles near the corner for a better look today and the new underlay is all dry on both sides as is the old felt further up.
but the eaves tray is wet underneath.

when i fitted the underlay/eaves trays i did these as separate pieces each running into the corner making sure i had a good overlap.

Thinking that i may need to fit another single piece of underlay that spans across the valley and laps down to the eaves on both sides.

any other suggestions
 
Sponsored Links
How does your eave sit your kick looks high from what I can see.

It has quite a high kick, didn't measure it tbh but just replaced the fascia at the same height as where the old one was fitted. (so the top is level with the adjacent fascia)

When i dismantled the old fascia, it was very wet and the top had started to rot out
the square batten (not for the tiles) directly behind the old fascia nailed to the rafters, lined up with the top of the fascia. That also needed replacing as it was on the way out due to water damage.

Strangely the soffit was bone dry with no sign of water ever making it to that point. rafter ends were a damp but not damaged.

replaced the fascia and batten like for like refitting in the same positions and fitted new underlay plus the tray which had to be trimmed down to accommodate the kick with the flat part of the tray sitting on the top of the fascia/batten behind it.

will have to whip the tiles off again when i get a chance to try and work out whats going on
 
I hear you
Just because it was like that before doesn't mean it's correct is sometimes applicable
Without being up close and personal it's hard to see sometimes.
You've done everything to the book
Just seems the eave tray is sitting high and this may affect the natural plane of the roof making the eave sit flat and potentially back fall.
Hope this helps mate
 
Sponsored Links
I hear you
Just because it was like that before doesn't mean it's correct is sometimes applicable

True indeed.
Hopefully it'll stay dry enough at some point this weekend and ill take a look to see if i made any mistakes when fitting the tray.
cheers
 
As others, its difficult to see whats happening.
Power to you as a DIY'er for working off a ladder on eaves/valley detail in this weather.

FWIW:
the fascia seems too high but it has to match the return fascia as you noted. Why such deep fascias?
Your new eaves membrane seems to be in sections when it should be in one continuous roll that drops from under the old felt and battens to go over the plastic eaves tray.
If you've found it necessary to go on top of the last batten with the eaves tray - then the tray and the membrane must still be falling over the fascia, no ponding pockets allowed behind the fascia.
Maybe I've got things wrong but if you post some week end pics things will be much clearer - for me anyway.

On valleys I like flush with roof plane valley boards and a very wide valley membrane strip - the membranes from the intersecting roof planes can then roll across and past the valley for say two rafters.
 

DIYnot Local

Staff member

If you need to find a tradesperson to get your job done, please try our local search below, or if you are doing it yourself you can find suppliers local to you.

Select the supplier or trade you require, enter your location to begin your search.


Are you a trade or supplier? You can create your listing free at DIYnot Local

 
Sponsored Links
Back
Top