I've just finished installing my shower enclosure and have reached the stage where I'm ready to install the mixer valve.
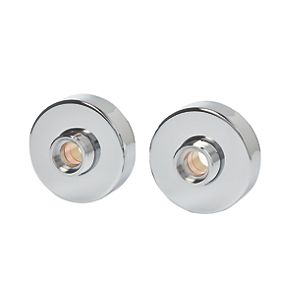
I received a set of push-fit mixer brackets with the shower I purchased and wrongly assumed that due to the term 'push-fit' being employed and a quick scan of the installation instructions that PEX would be suitable for the tails.
Upon closer inspection of the instructions (although not stated explicitly - as far as I can see), it seems that these brackets are intended for use with copper tails (!)
I attempted a test-fit with the PEX pipe and a Superseal insert and although i didn't force it, it felt significantly tighter than a standard push-fit interface to the point where I the insert didn't want to push past the o-ring.
I suspect that these brackets are reasonably commonplace and that there are some folk on here with expeirence fitting them, so my questions are:
1. I understand that superseal inserts are a baw hair wider than generic inserts. Will a generic insert work with these brackets?
2. The instructions are very specific that the tails must protrude no less than 28mm and no more than 30mm from the finished wall. Will I have to shave 2mm off the end of the tails to account for the inserts, should I end up using them?
3. Due to the nature of the install, would I be reasonably safe to forego inserts completely and install the PEX into the brackets Commando?
My other plan was to saw the flanges off the superseals, tidy up the ends and push them flush into the tails, but I suspect there will be little to no benefit to this and that they would likely end up migrating out of the pipe and into the bracket eventually.
Any help much appreciated!