
- Joined
- 30 Oct 2018
- Messages
- 1
- Reaction score
- 0
- Country

Hello,
I currently have a Worchester Bosch green star 30 Ri compact boiler system. It's a open vented system with a hot water tank in the loft with the pump and valves etc.
I would like to upgrade the system to use the Nest 3rd Gen but I'm a little unsure of the wiring and what to do with the existing 3 cables at the current wall stat? I know the Nest smart stat requires only 12v supply and 2 connections on T1 & T2
This was the thread I was reading:
https://www.diynot.com/diy/threads/replacing-centaurplus-c21-with-nest-3rd-gen-heatlink.474747/
I have attached pictures of my current wiring set up, any help would be greatly appreciated.
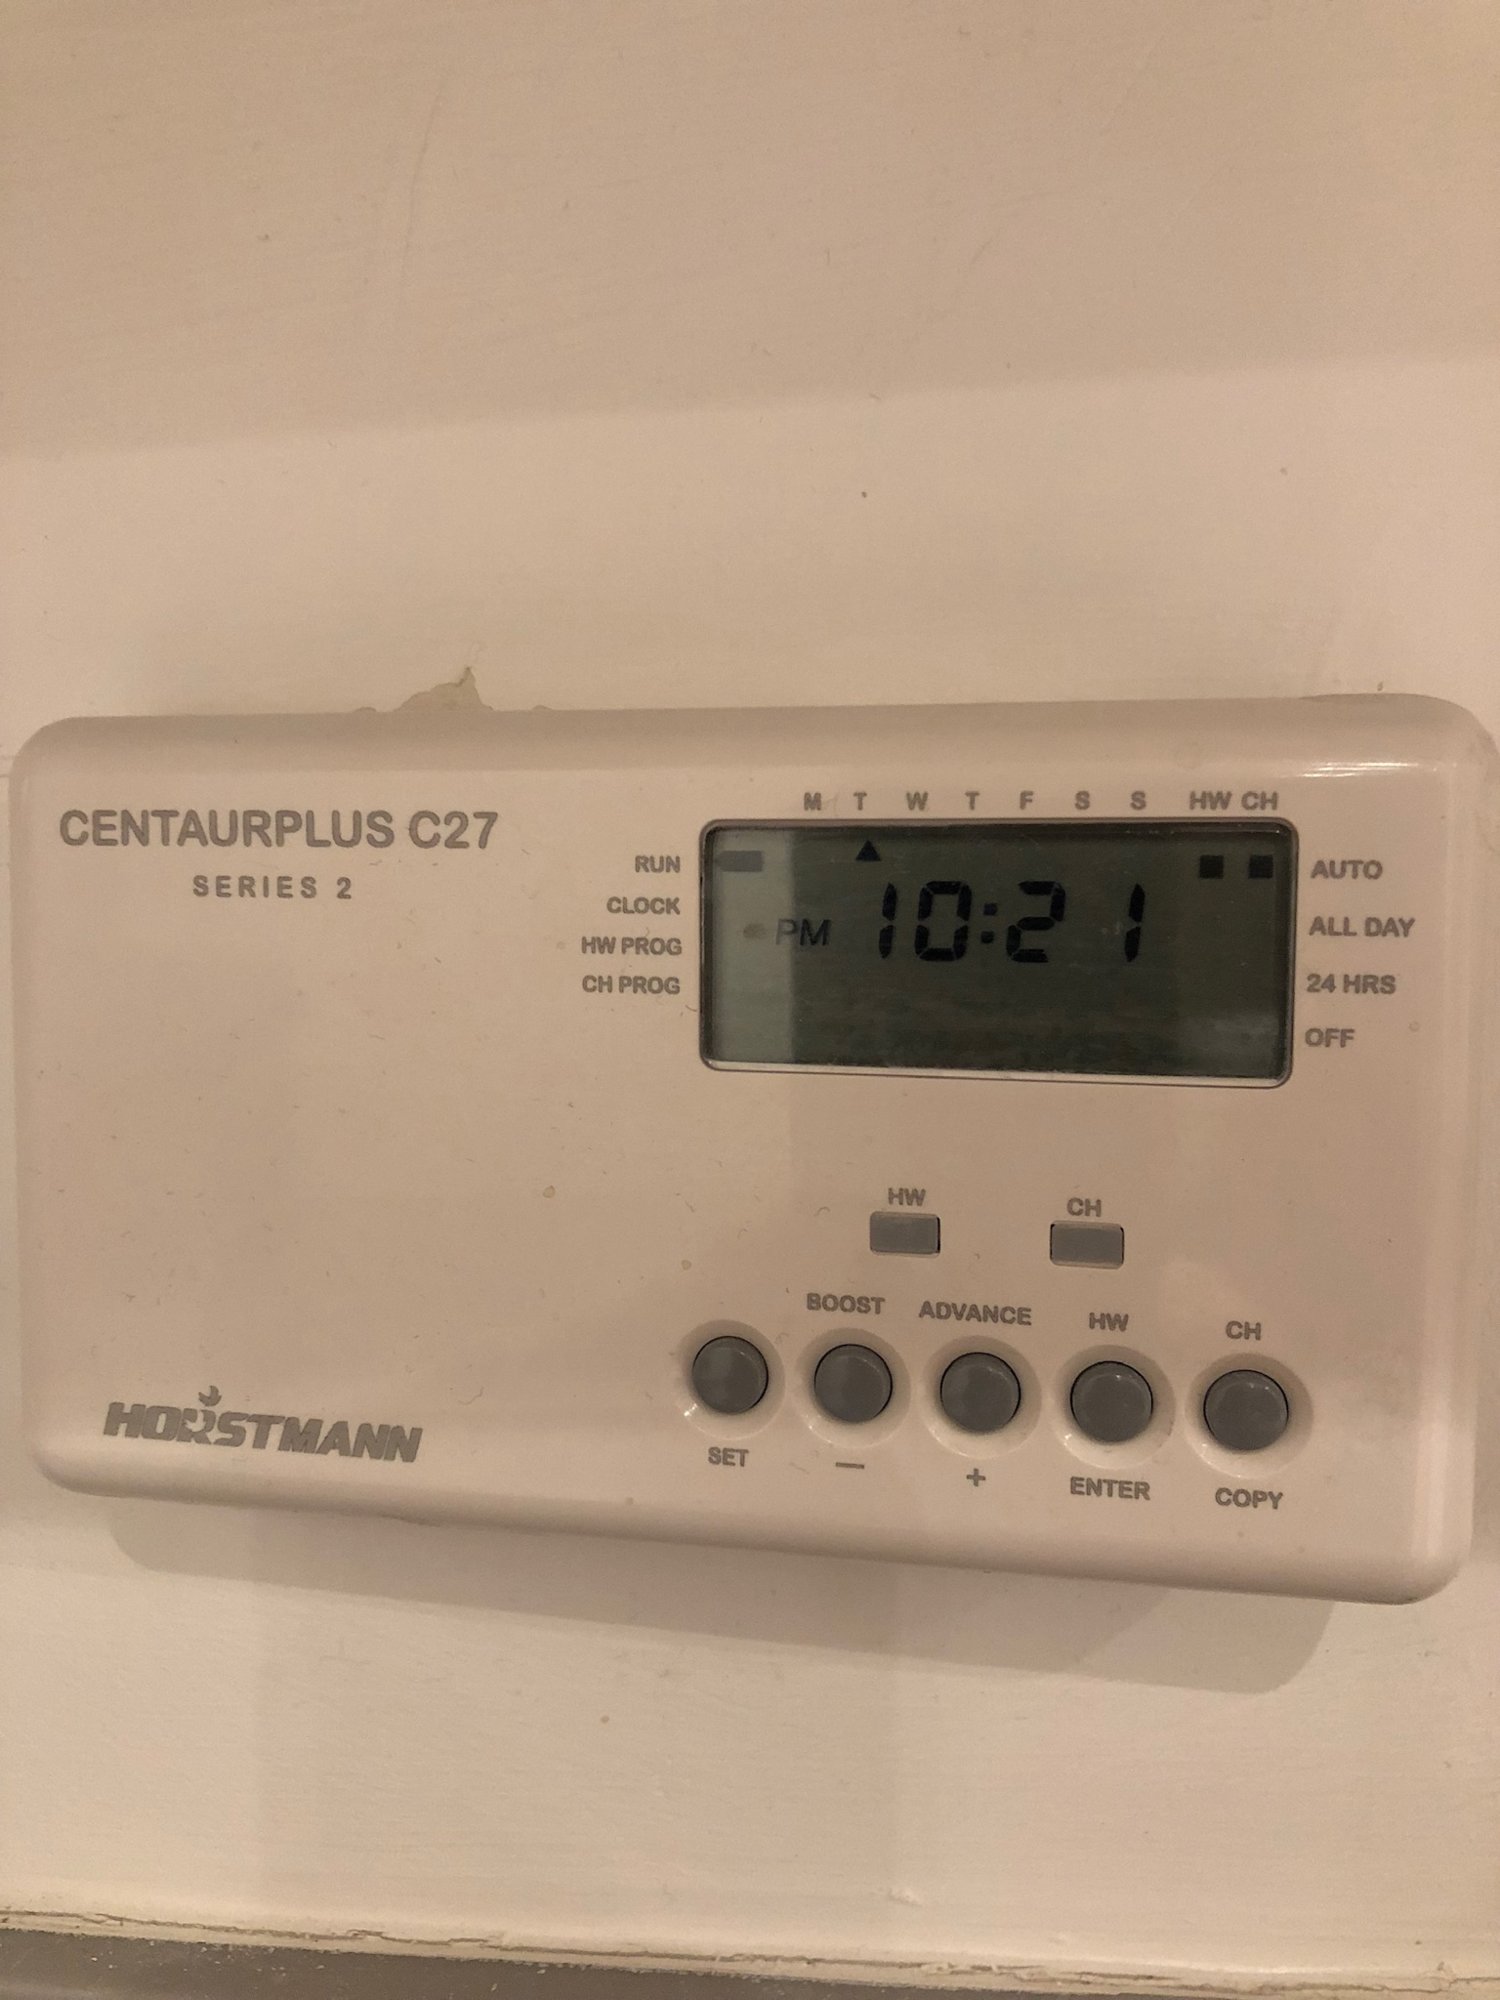
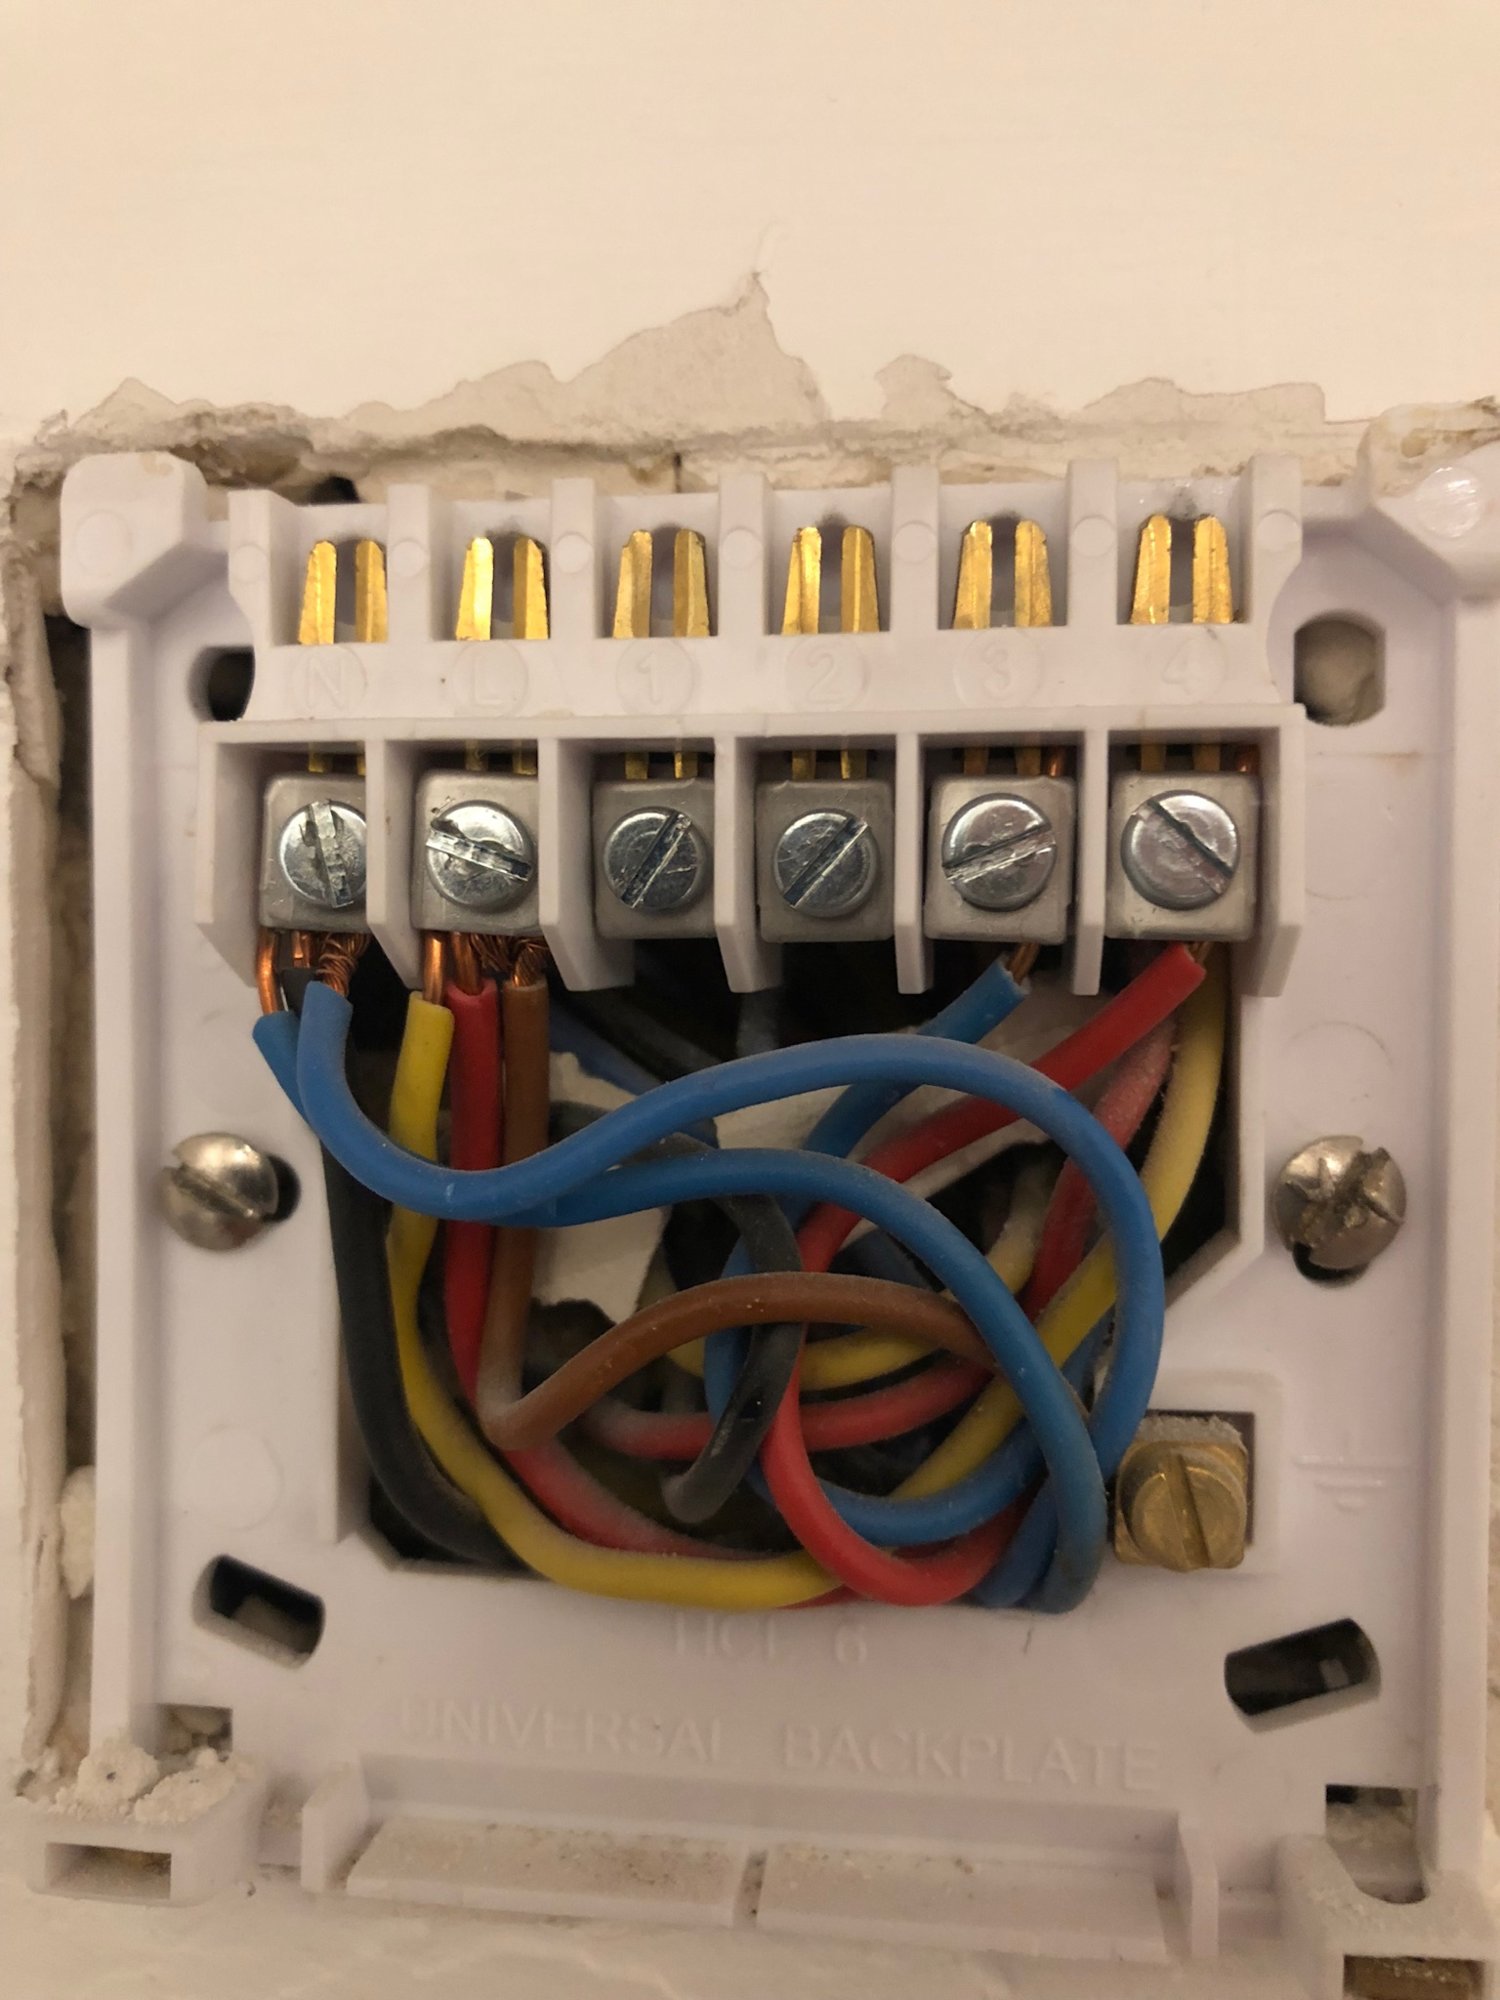
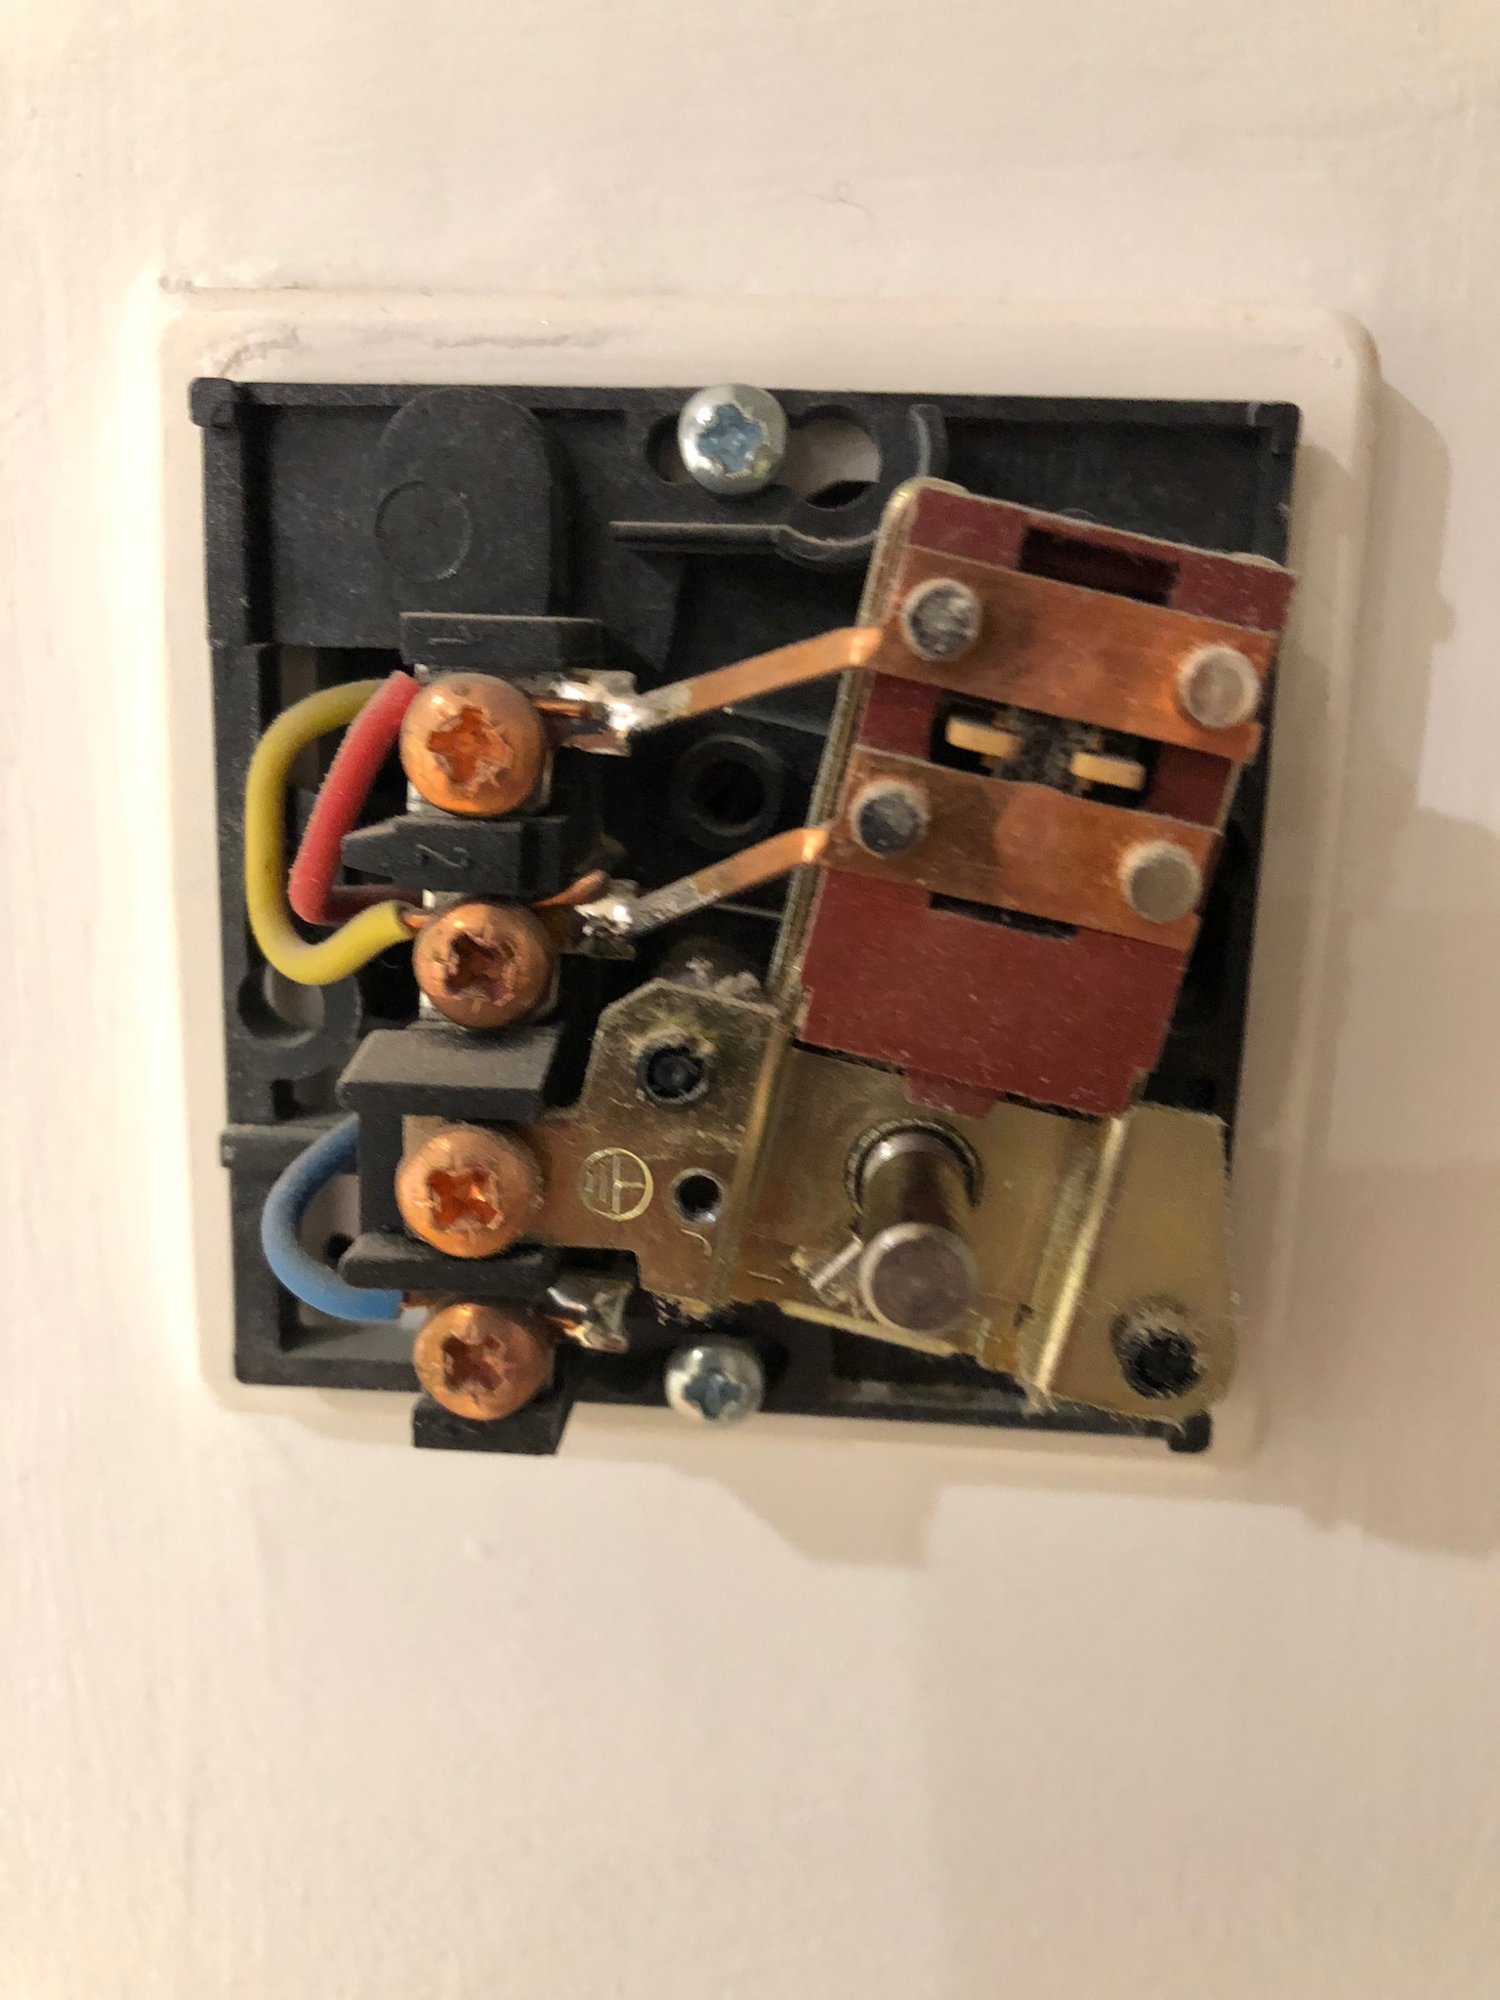
My only concern is the 3 wire existing room stat, at the moment on the C27 back plate it looks like the Red & Yellow from the stat are on the L connection and the Blue is on the N.
I know I will only be using 2 wires (Red & Blue) on the Nest in T1 & T2 what happens with the spare wire (Yellow)? Do I just need to place it into a connection block as its not needed at both ends?
With the Live and Neturals they just swap into the same on the Nest heat link as well as the heating on and hot water on from terminals 3 Blue, and 4 Red on existing back plate.
Do I then just need to link the two common terminals 2 and 5 to the L terminal?
Any help would be greatly appreciated.
I have been reading other people's post and have decided to make a post myself for help.
Read more: https://www.diynot.com/diy/conversations/hortsmann-c27-change-to-nest-3rd-gen.33873/#ixzz5Vd2VRF2h
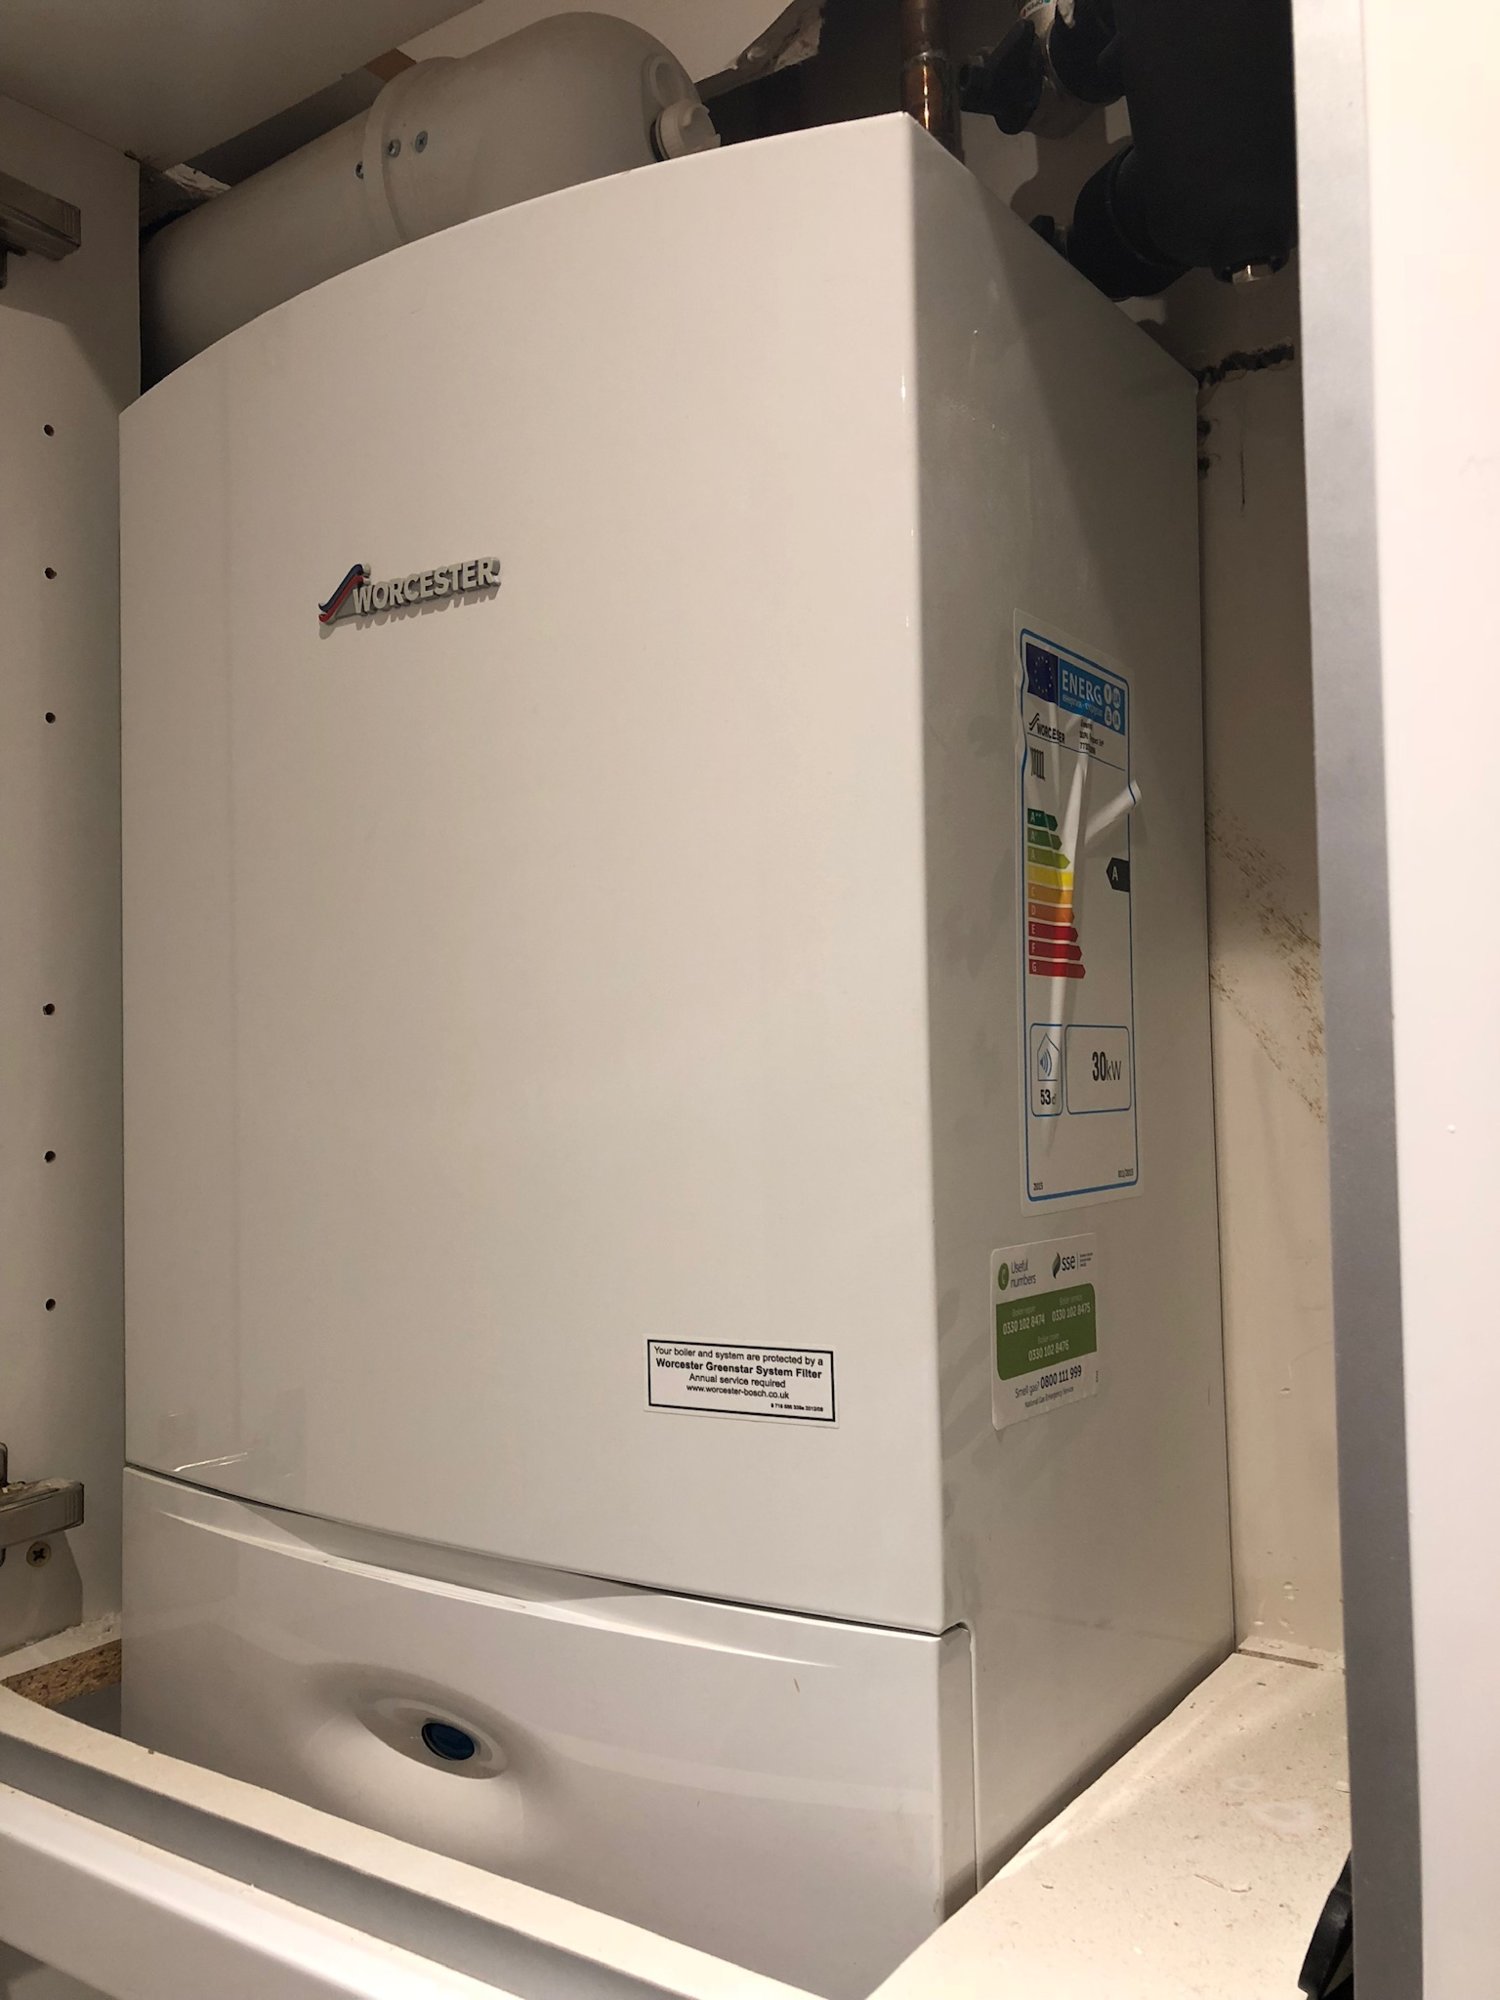
I currently have a Worchester Bosch green star 30 Ri compact boiler system. It's a open vented system with a hot water tank in the loft with the pump and valves etc.
I would like to upgrade the system to use the Nest 3rd Gen but I'm a little unsure of the wiring and what to do with the existing 3 cables at the current wall stat? I know the Nest smart stat requires only 12v supply and 2 connections on T1 & T2
This was the thread I was reading:
https://www.diynot.com/diy/threads/replacing-centaurplus-c21-with-nest-3rd-gen-heatlink.474747/
I have attached pictures of my current wiring set up, any help would be greatly appreciated.
My only concern is the 3 wire existing room stat, at the moment on the C27 back plate it looks like the Red & Yellow from the stat are on the L connection and the Blue is on the N.
I know I will only be using 2 wires (Red & Blue) on the Nest in T1 & T2 what happens with the spare wire (Yellow)? Do I just need to place it into a connection block as its not needed at both ends?
With the Live and Neturals they just swap into the same on the Nest heat link as well as the heating on and hot water on from terminals 3 Blue, and 4 Red on existing back plate.
Do I then just need to link the two common terminals 2 and 5 to the L terminal?
Any help would be greatly appreciated.
I have been reading other people's post and have decided to make a post myself for help.
Read more: https://www.diynot.com/diy/conversations/hortsmann-c27-change-to-nest-3rd-gen.33873/#ixzz5Vd2VRF2h