Think he means the lid, and in the new bathroom
")
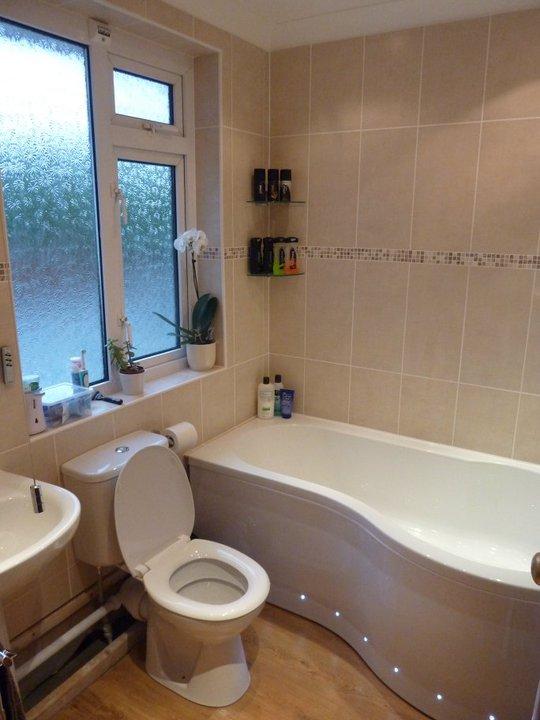
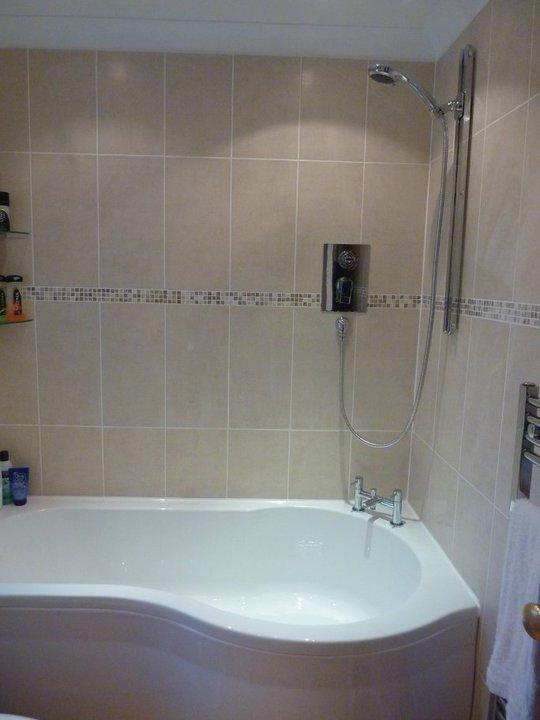
Looks nice though, (the bathroom, not the lid!)
Haha, I'll remember for the next photo shoot
Very rewarding isn't it guys, took a long long time to get there but well worth it. Overall cost of materials for the bathroom (everything you can see) is £1770, if I had paid someone for the labour I think I would be looking at well over £3k.
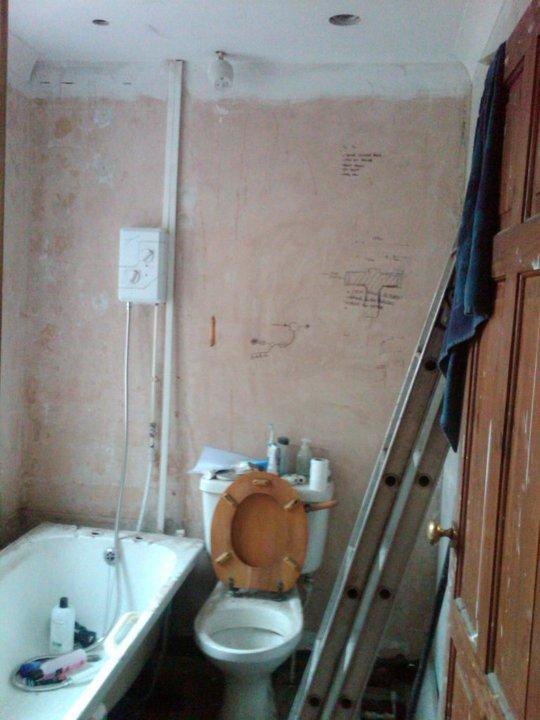
I had to strip of all of the old plaster from the walls, then reline with concrete board prior to the tiling, well worth the effort as the walls now feel solid.
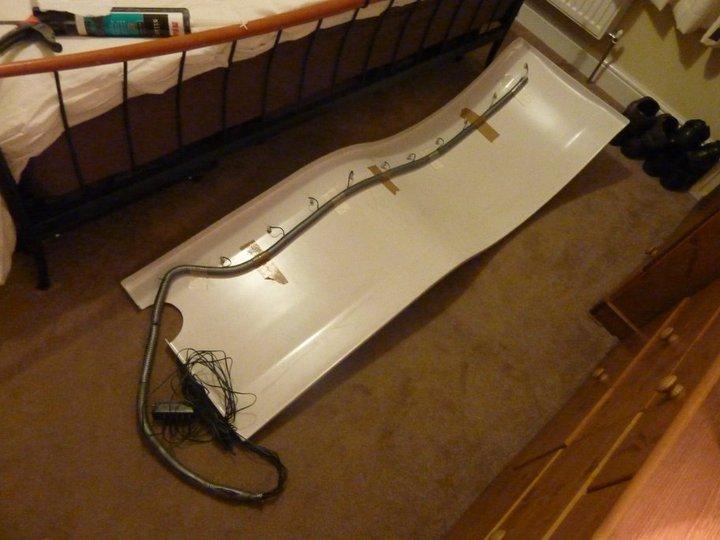
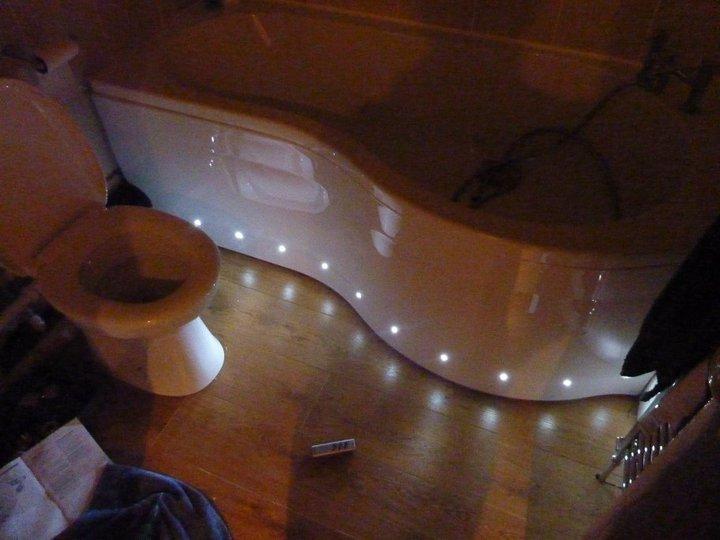
Schmill RE your PM, the LEDs are just a basic set from B&Q, 10 x 15mm LEDs for about £25 in blue or white, really good value, the transformer unit actually allows you to mix/match so you could alternate
They're IP44 rated for zone 1 too so safe to use in the bath panel, plus they're only 12v anyway.
The mirror was from a chap based in Frome but I can't for the life of me remember the name of the company, it was about £150 or so and includes the demister, the wave sensor and the LEDs, there is a version with shaver built in but I wasn't too bothered about that so went without.
Let me know if you need any help.